Okin Craft 04
In this issue we're going to take a look at making the Okin boxes. Every Okin came with it's own box made from honduran mahogany with a kraft composite shell. Some boxes came unpainted but most were finished with milk paint.
I chose Honduran mahogany as the ideal species for this project for a few reasons; It's dimensionally stable, the colour is neutral enough to play well with the milk paints, and it's easy to work with.
For the box design I went with finger jointed corners, they're incredibly strong and well suited to batch production.
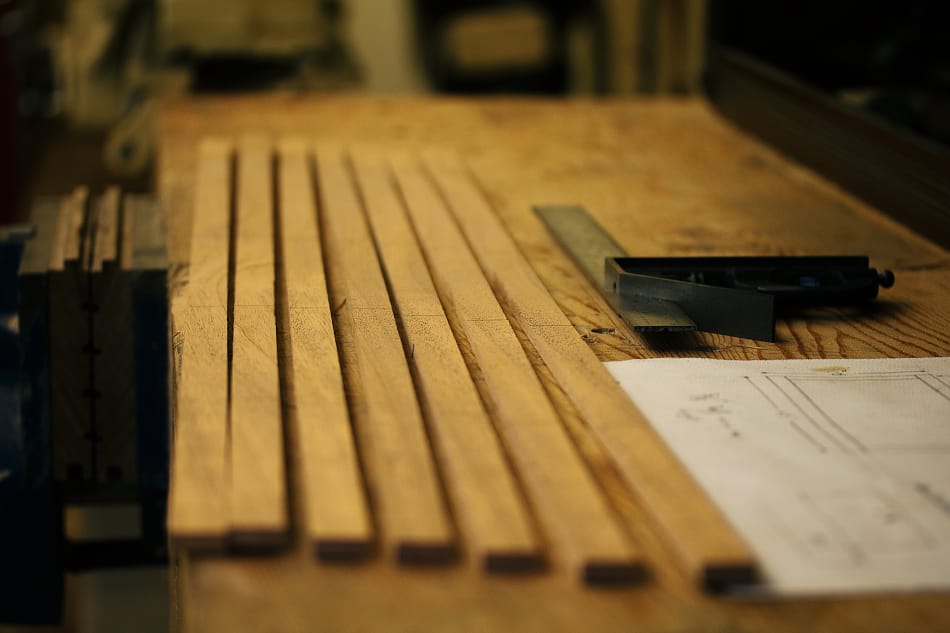
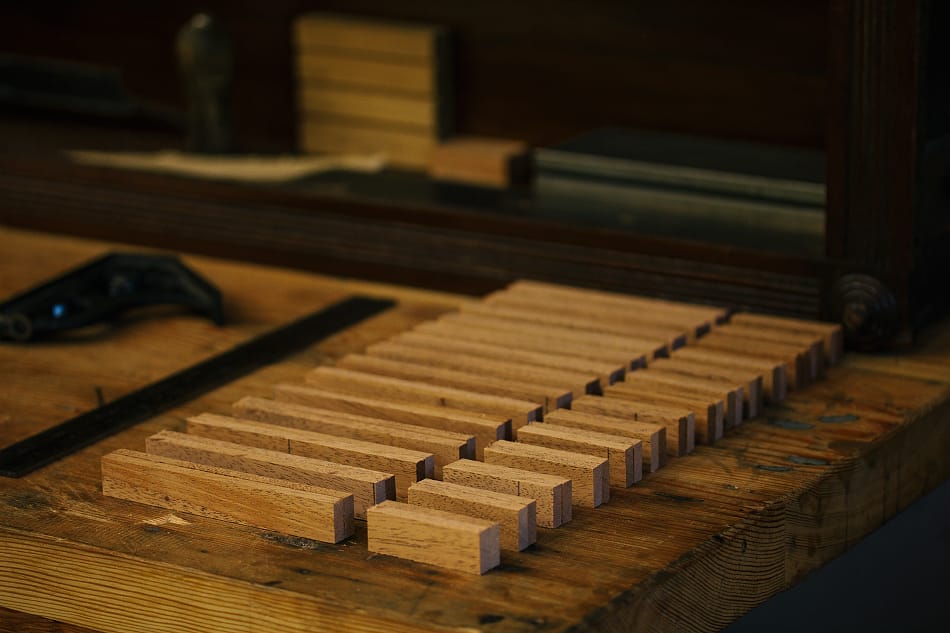
Before the joinery was cut I prepared the sides of each box by hand-planing the wood surfaces, checking for square, and cutting each piece to the required length.
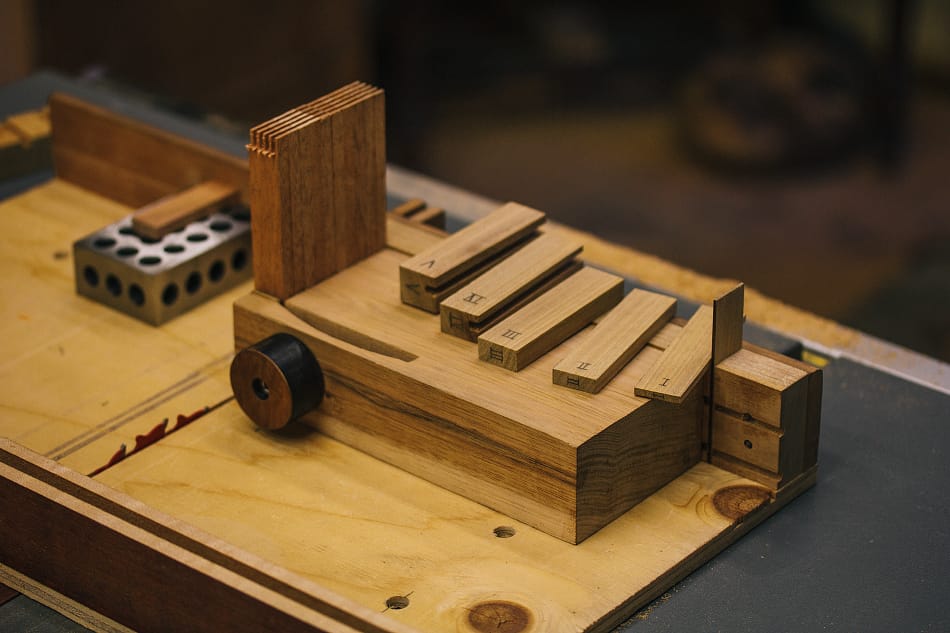
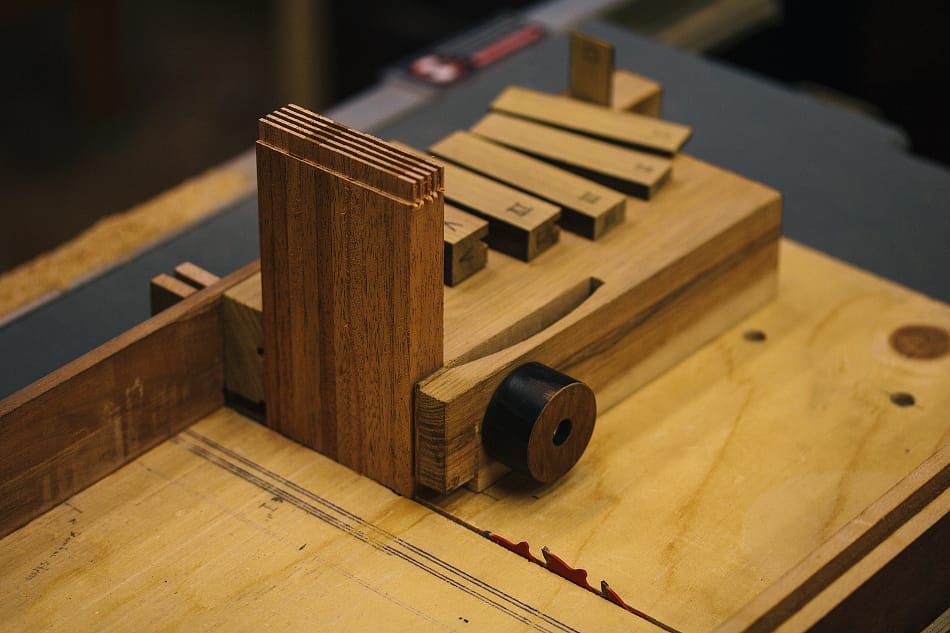
I made this finger joint jig that allowed me to cut the joinery for multiple box sides at once. A series of wooden spacers moved the location of the jig before making the next cut.
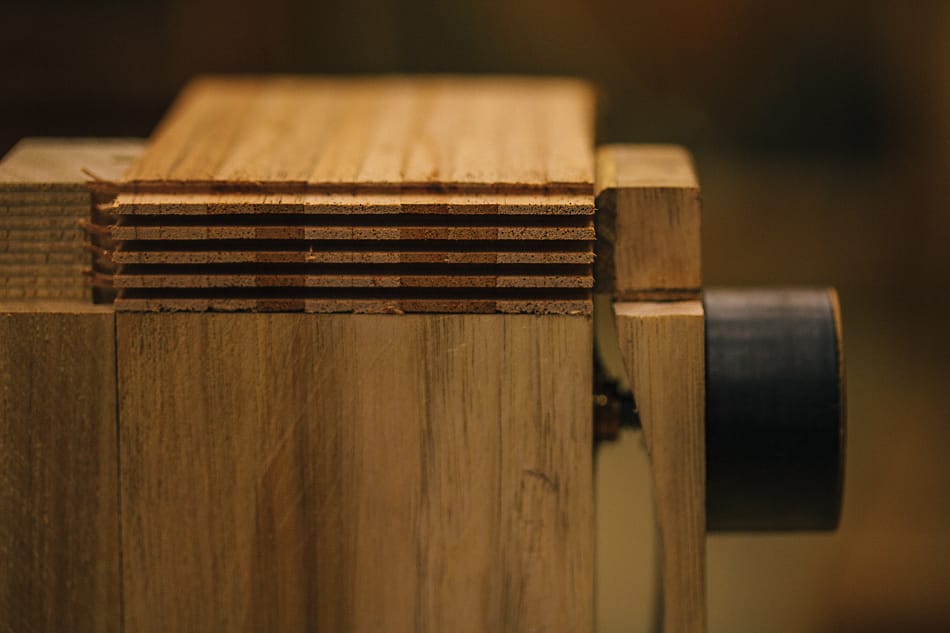
A thin-kerf saw blade is used to make the tiny slot cuts. You can see in this photo that one side of the joinery has already been cut. The box sides are flipped and re-installed in the jig to cut the other end.
The round wooden knob seen here is used to tighten the clamping jaw that's built into the jig. This holds all of the box sides securely while making each cut.
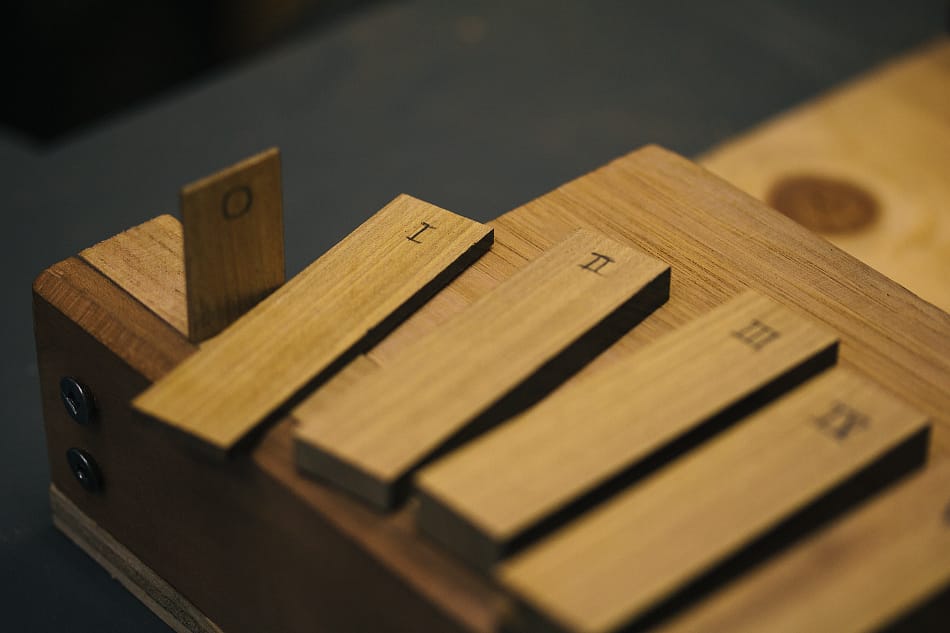
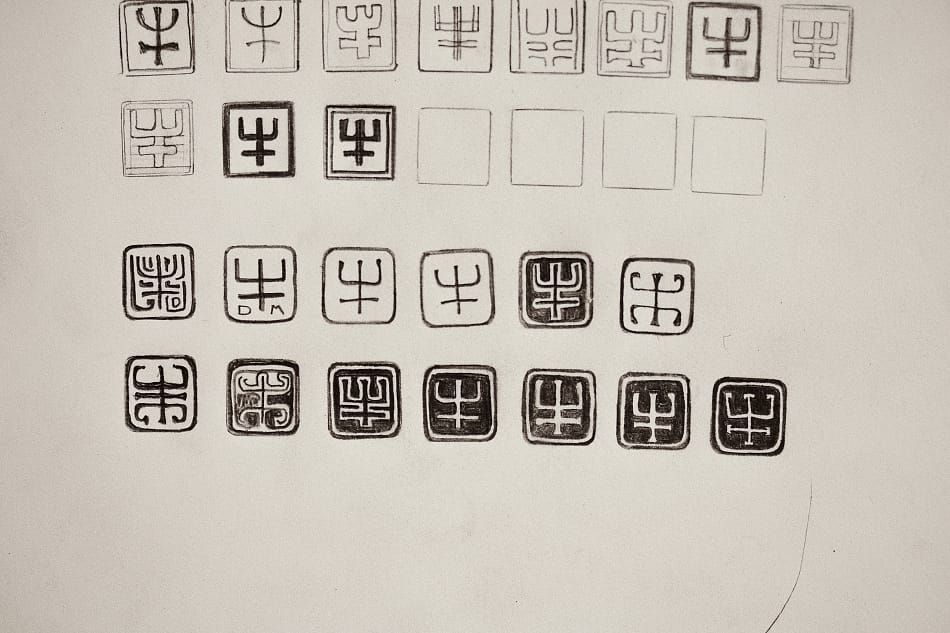
The numbered wooden shims.
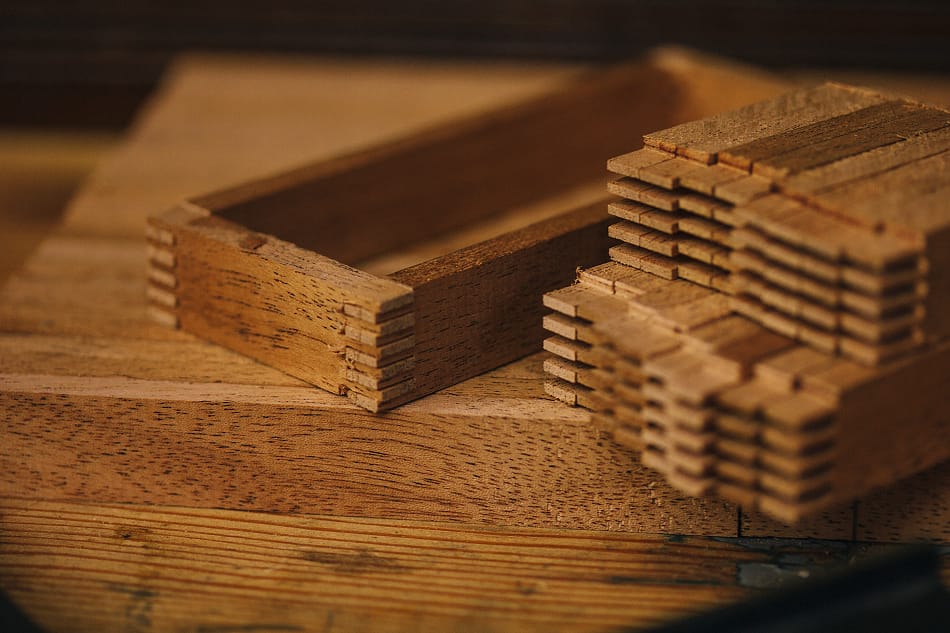
An underside view of the jig with a finished stack of box pieces.
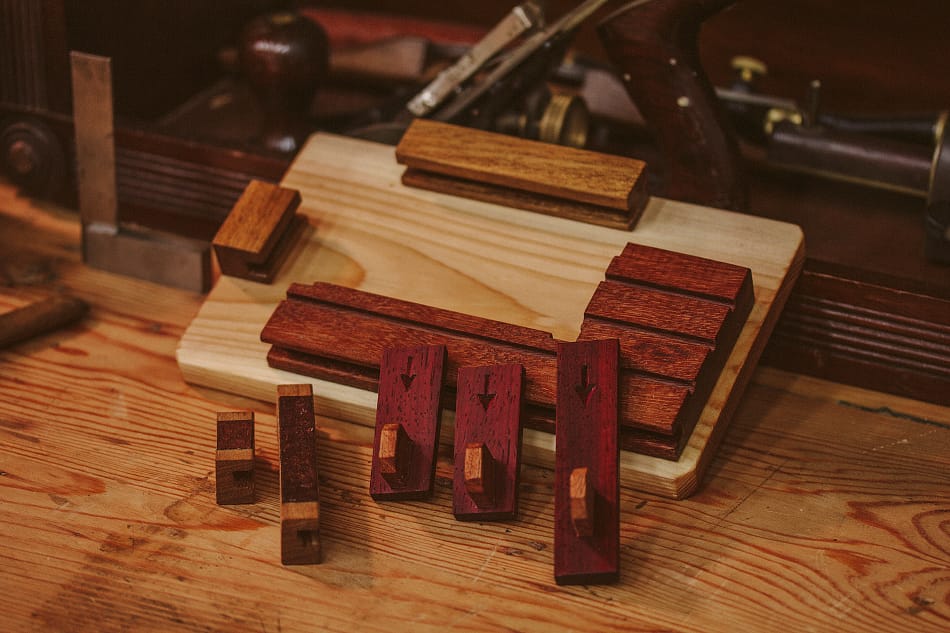
After the joinery is cut each piece is loaded into my gluing jig. This jig clamps each box on all four sides and holds them perfectly square while the glue dries.
Padauk wood wedges apply the clamping force.
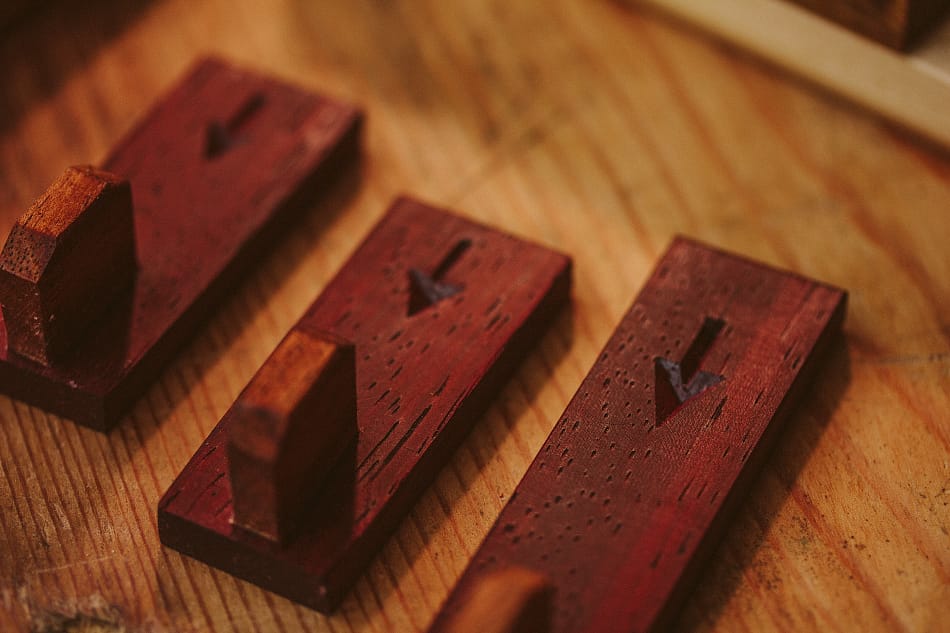
Each wedge is marked with an arrow to show the direction it needs to be inserted into the jig.
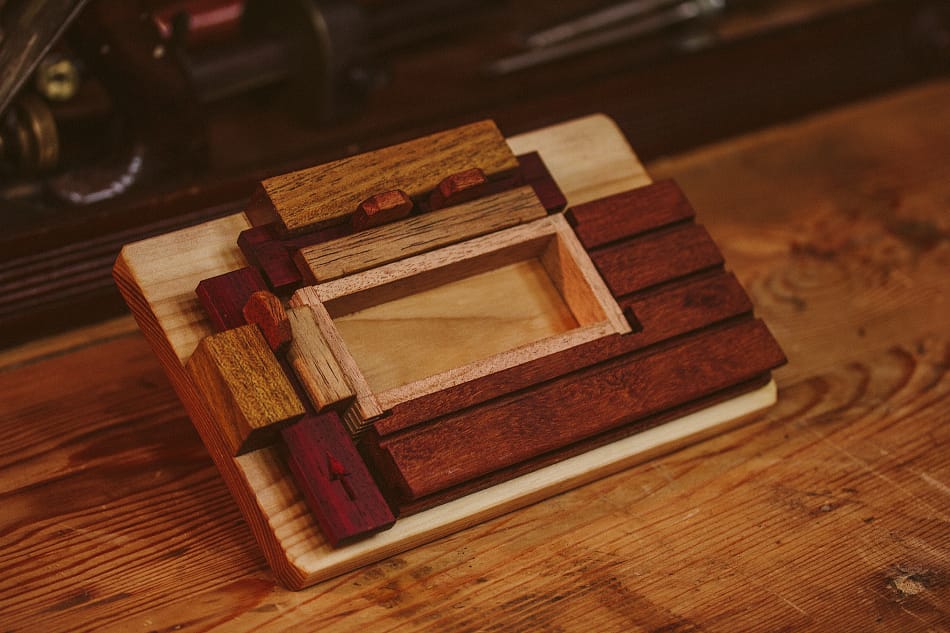
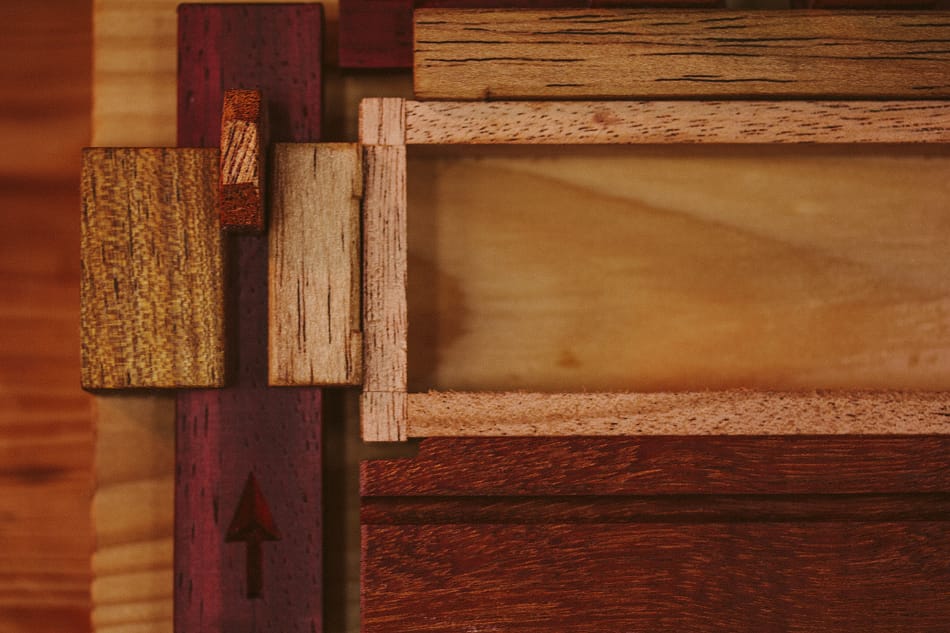
A close-up of a box being clamped. The clamping jaws are shaped to apply the clamping force near the corners.
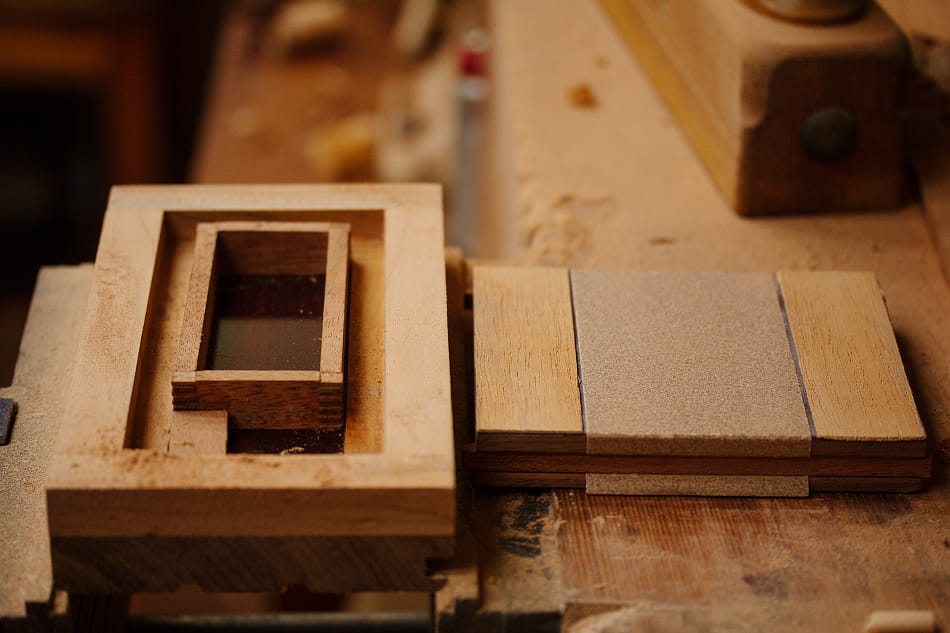
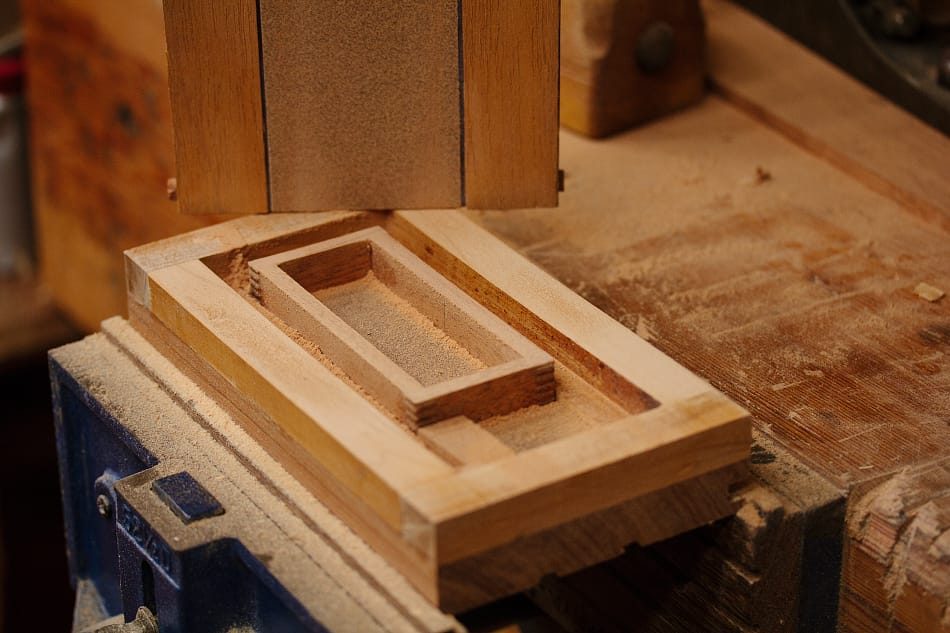
Yes, another jig! This is the sanding jig, it flattens the top and bottom faces of the box sides.
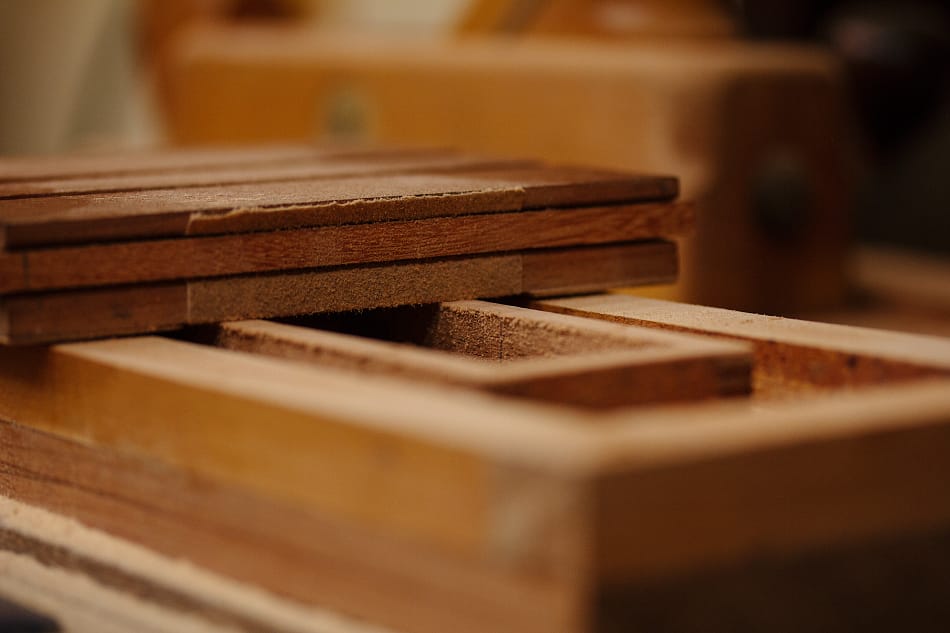
After flattening, a wooden bottom is glued on and the entire box is trimmed, and sanded.
Onto the wrapping... and another jig. I think I had a bit of a jig obsession during this period of my crafting career...
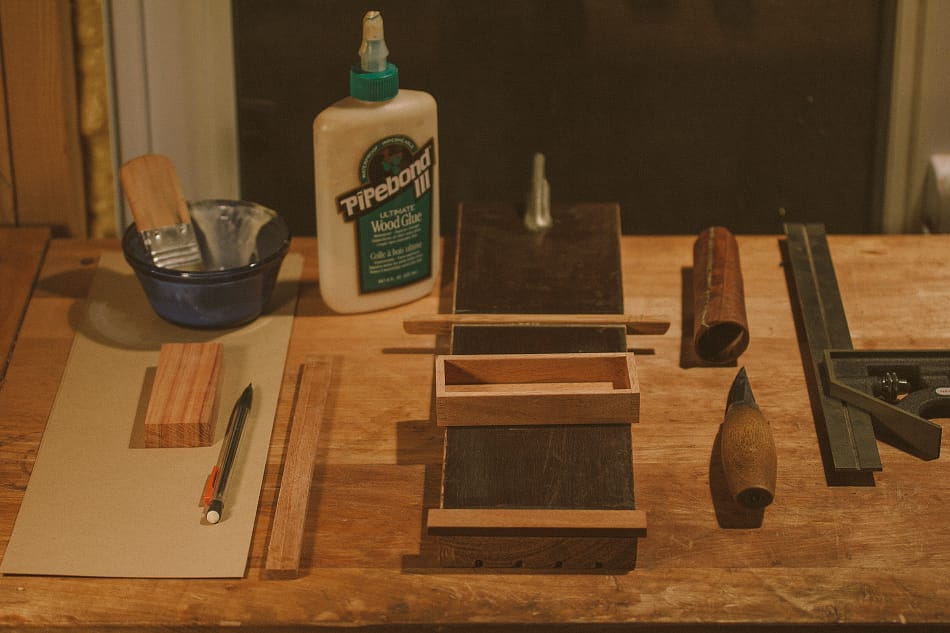
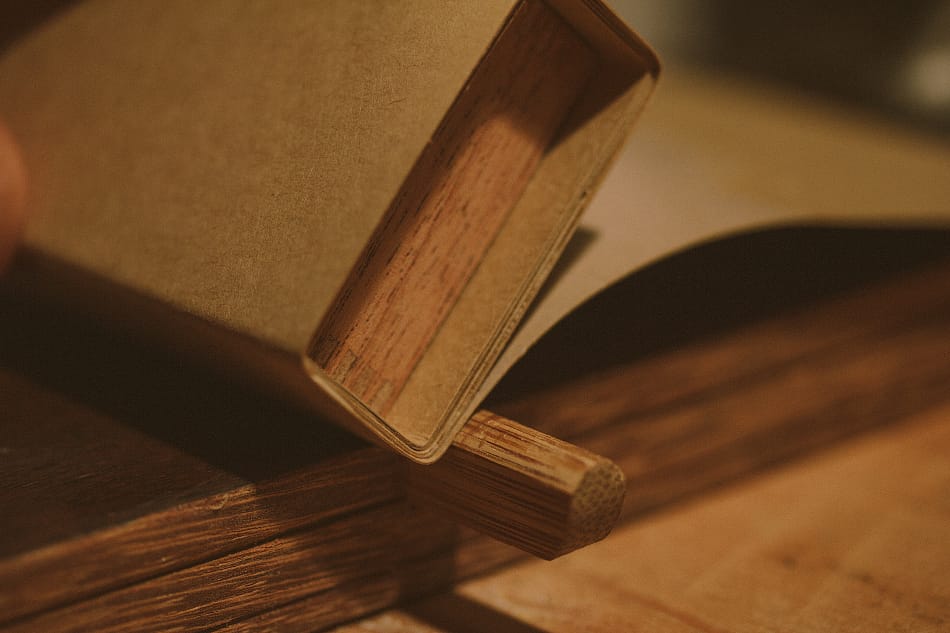
The kraft sleeves that would cover each box were made from acid free kraft cardstock and Titebond III glue. The kraft strips were wrapped tightly around each box.
Steff and I both worked on these boxes, but near the end of the Okin production run Steff would have completely taken over the kraft wrapping. She brought a more delicate and patient hand to the process that seemed to mesh really nicely with the medium.
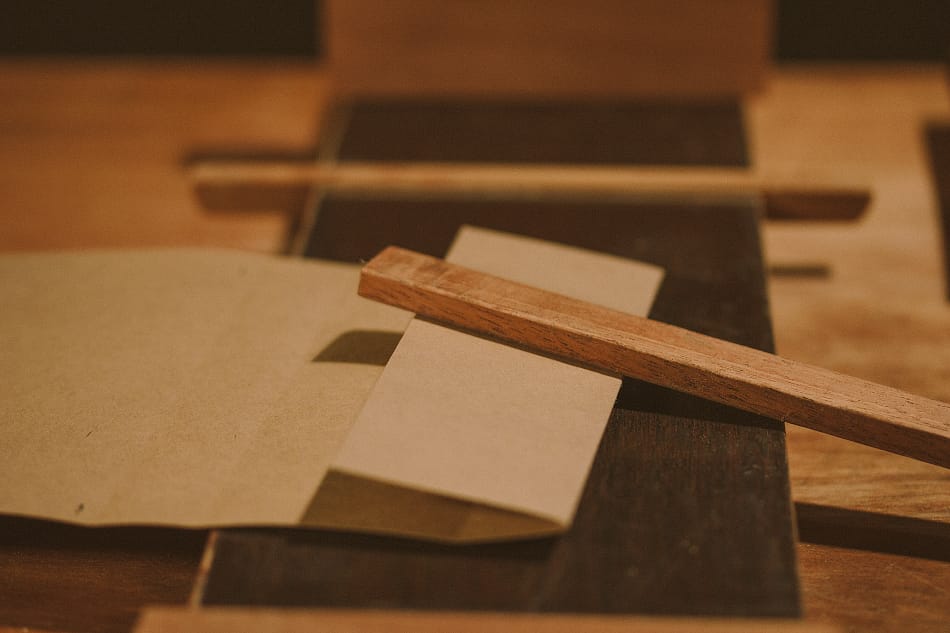
A series of folds would start us off.
These first folds were the most critical to get right, if the kraft didn't fit tightly around the box at the start... all subsequent layers wouldn't be right. There was definitely a balance to be had as well... it couldn't be too tight. The wrapping was quite tricky, and even after a lot of practice there were still a few rejects per batch.
Pressing sticks would be used to make sure the glue was well adhered.
With the first layer we had to be extra careful with glue squeeze-out. Too little glue and the kraft layers wouldn't adhere fully... but too much and it would squeeze out onto the wooden box, sticking the two parts together permanently.

Each box required two strips of kraft. Here is the first strip being trimmed at the end.
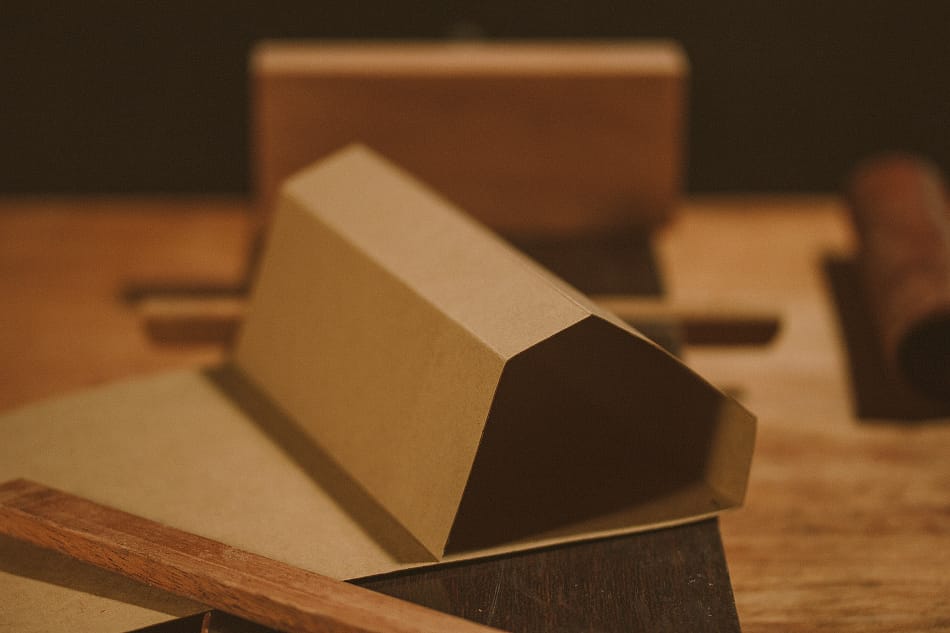
The first layer complete.
The second layer going on. Each face is glued, wrapped, pressed.
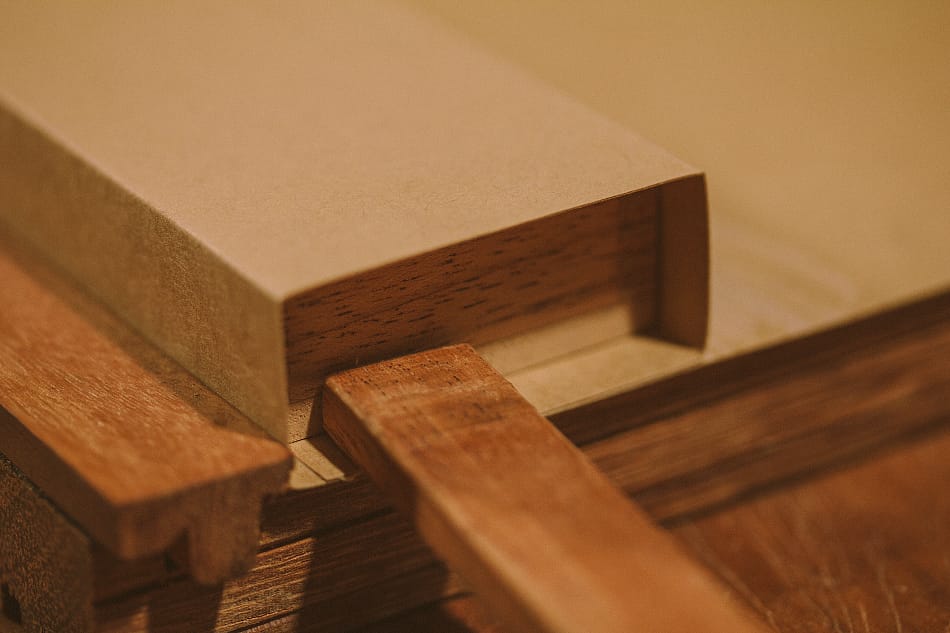
The wrapping jig helps press the joint so that there are no air bubbles caught between the the layers.
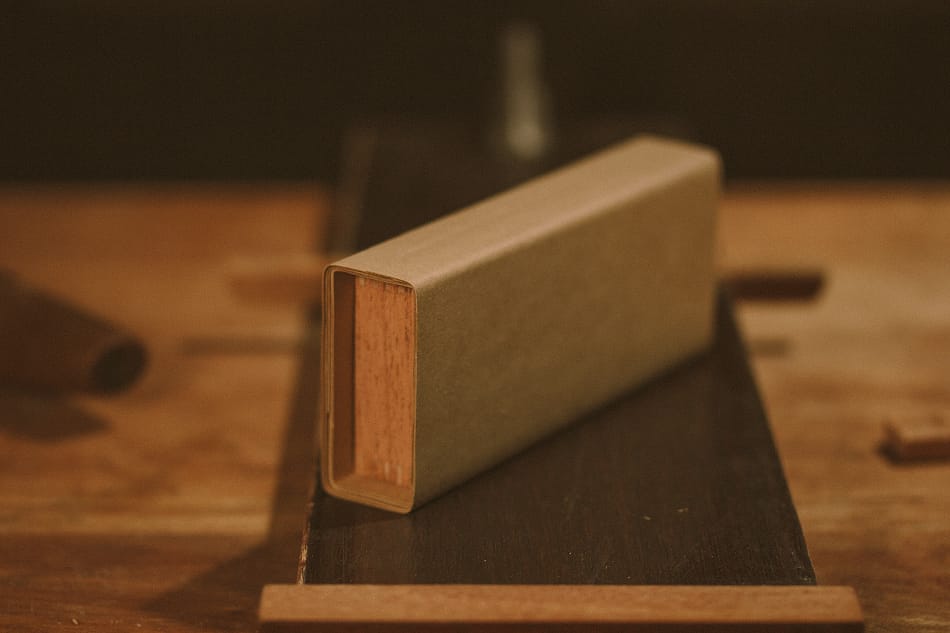
The wrapping complete.
Each box would be rotated while drying to ensure even shrinkage. As the moisture left the kraft paper it would shrink onto each box, creating a perfect matched set.
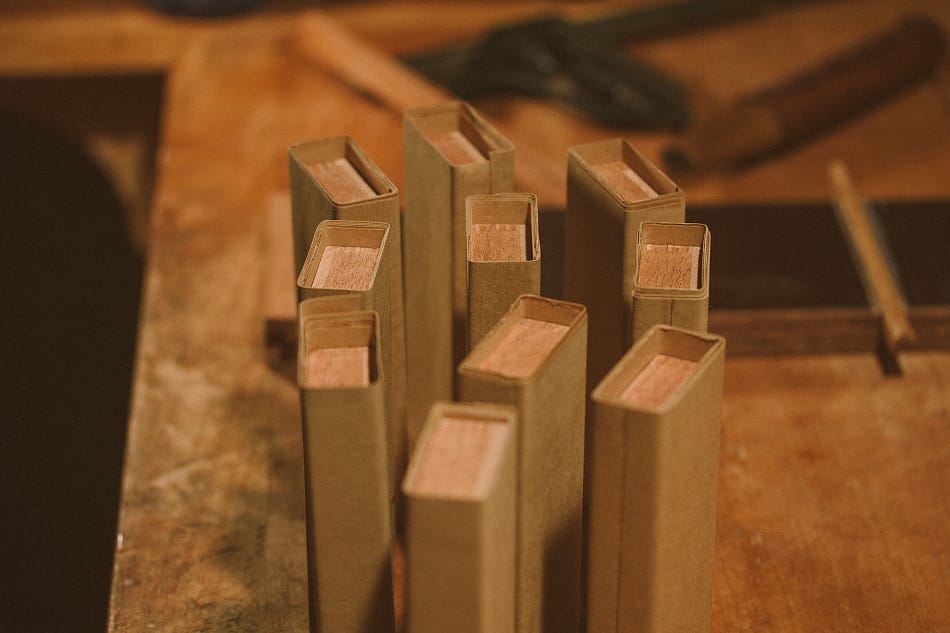
After drying, each kraft shell is trimmed on the tablesaw and the cut edges sanded smooth.
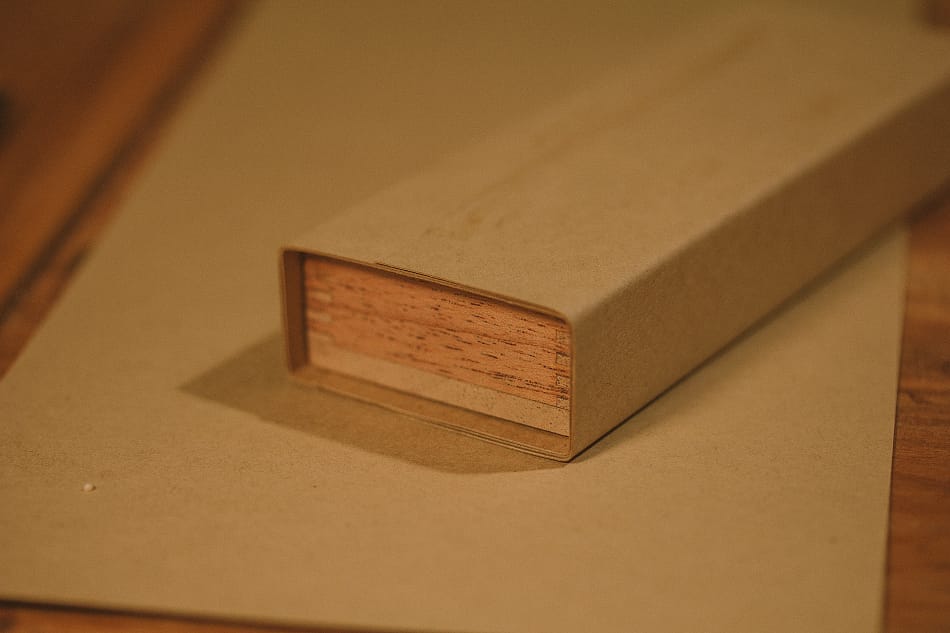
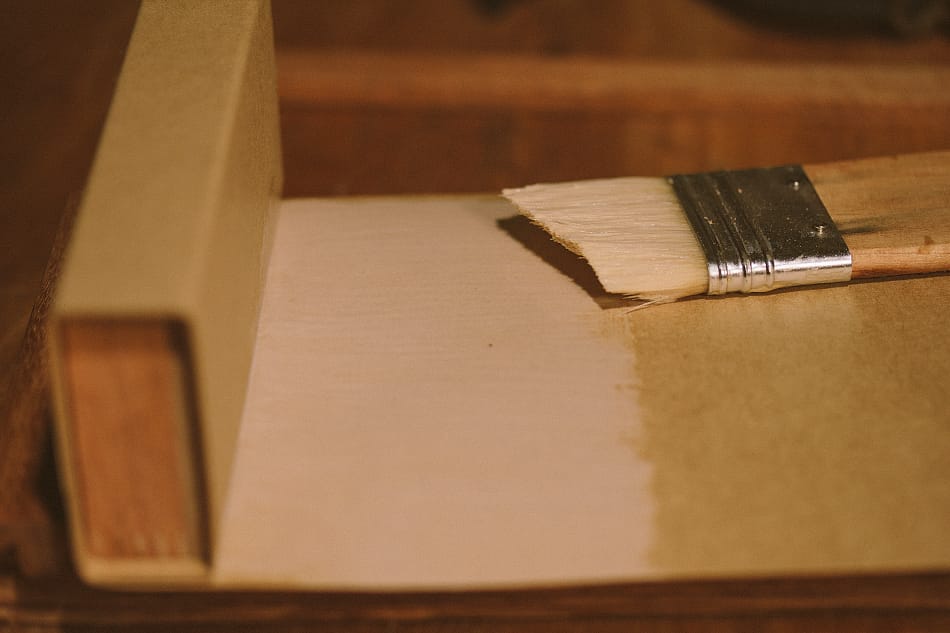
The wood box would get a final sanding and finishing with beeswax/mineral oil paste wax.
This kraft paper shell was my first exploration into composites. The layers of kraft and glue created a very stiff material that feels like softwood or hardened leather. The material has a little bit of flex that seems to work perfectly for a sliding box. The flex gives a bit of resistance to the sliding motion, making it possible to have a satisfying fit...even if the wooden box shrank or expanded a little bit during seasonal changes.
I would build on this design to eventually come up with the shell composite for the Toads... swapping out the Titebond and kraft for acrylic and washi.
In the next issue we'll take a look at how I paint and finish the kraft shells.