Toad Craft 04
In the next couple updates we're going to take a look at the brass and copper components that make up the electrical pathway.
The Toad has a very simple and durable circuit that is entirely analog. Most of it is hidden inside the wood and washi composite shell. This will be the first time these inner workings have been shared online.
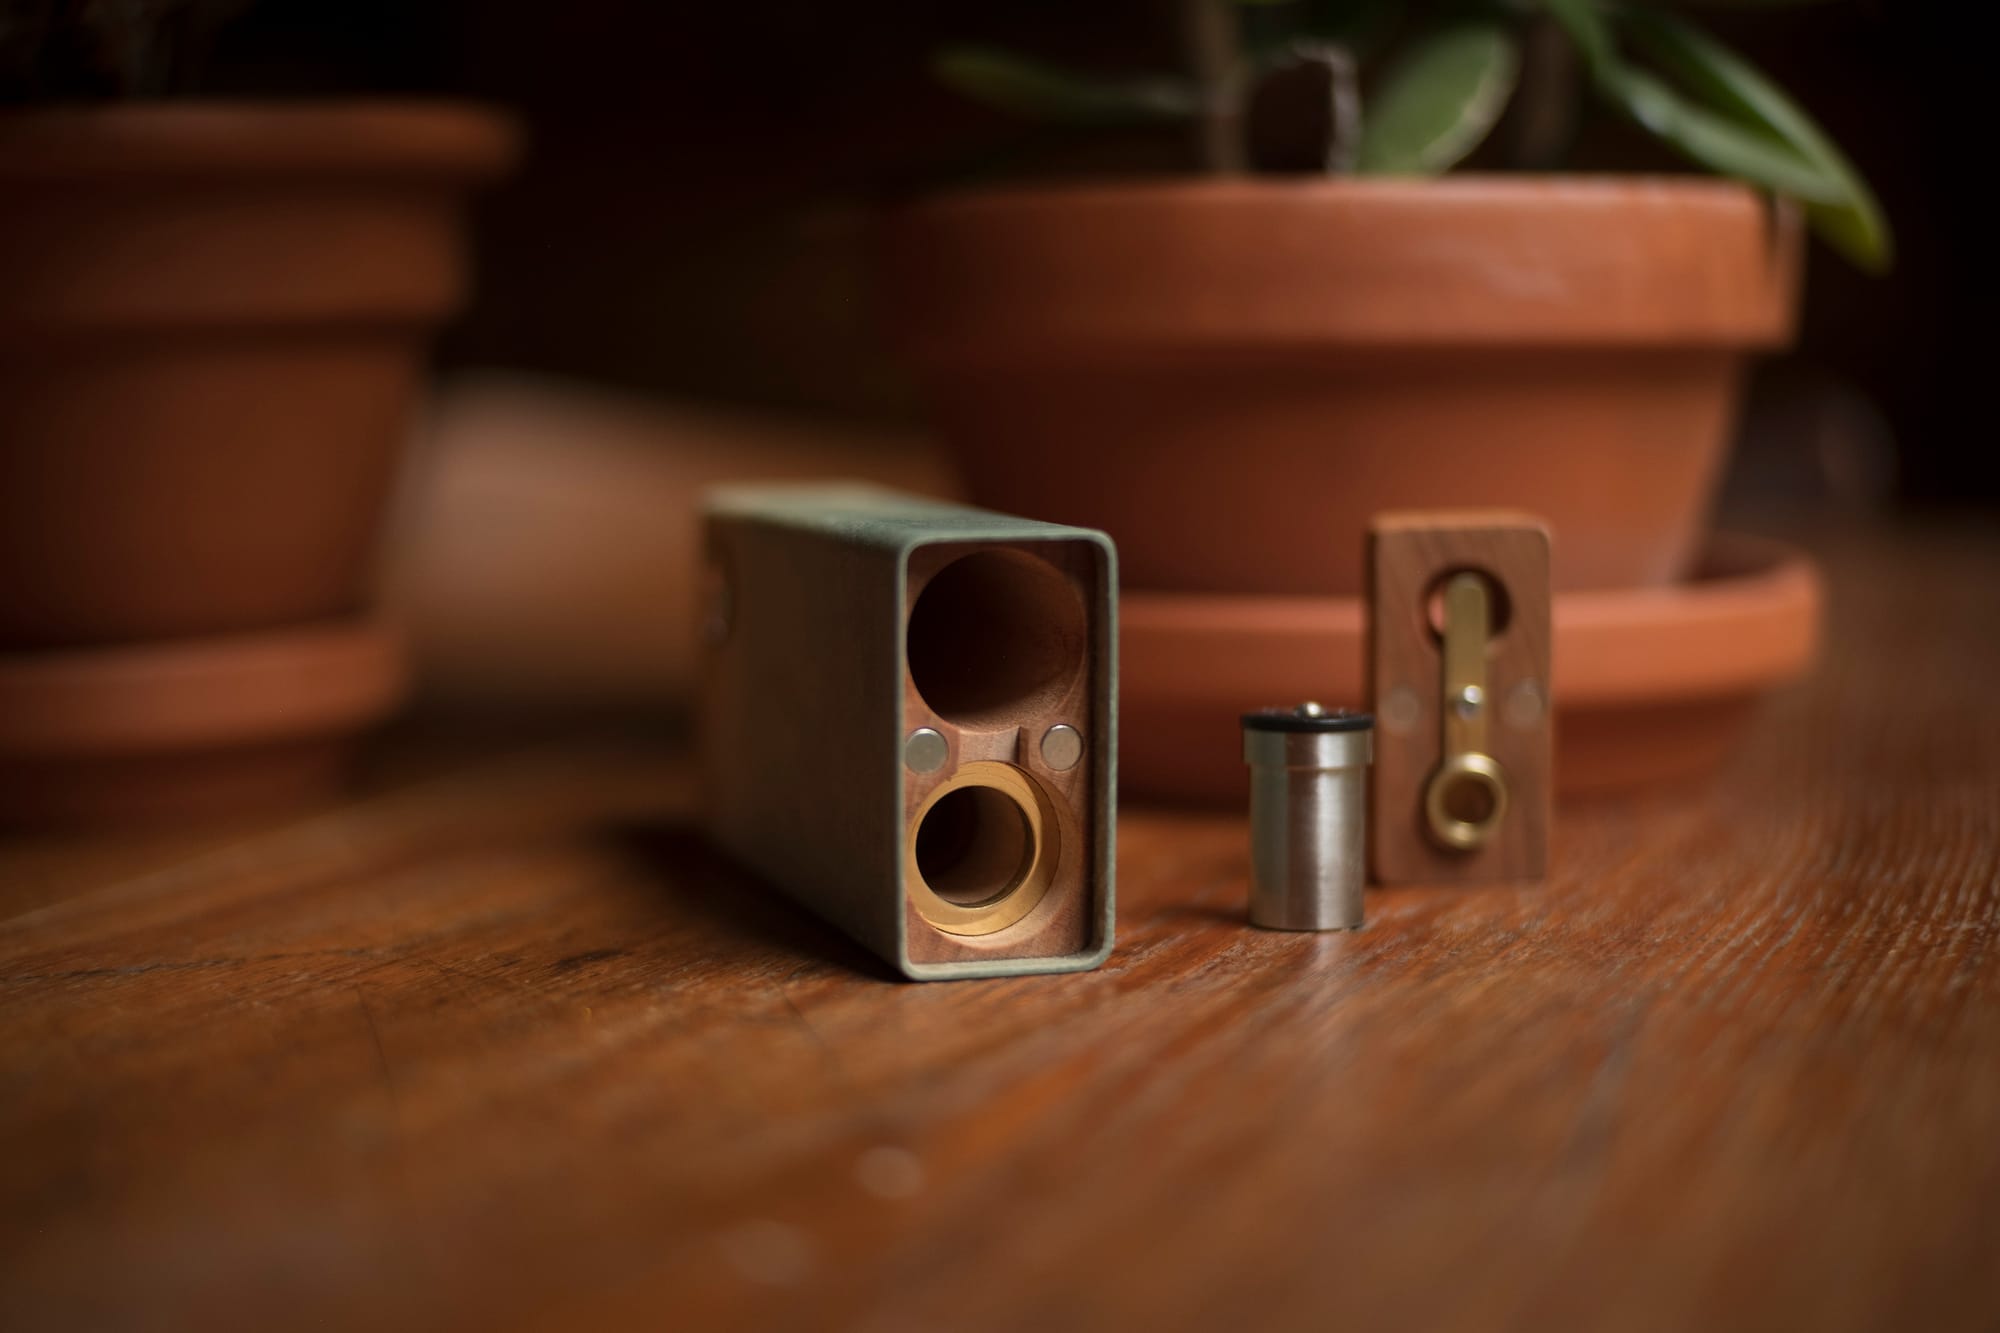
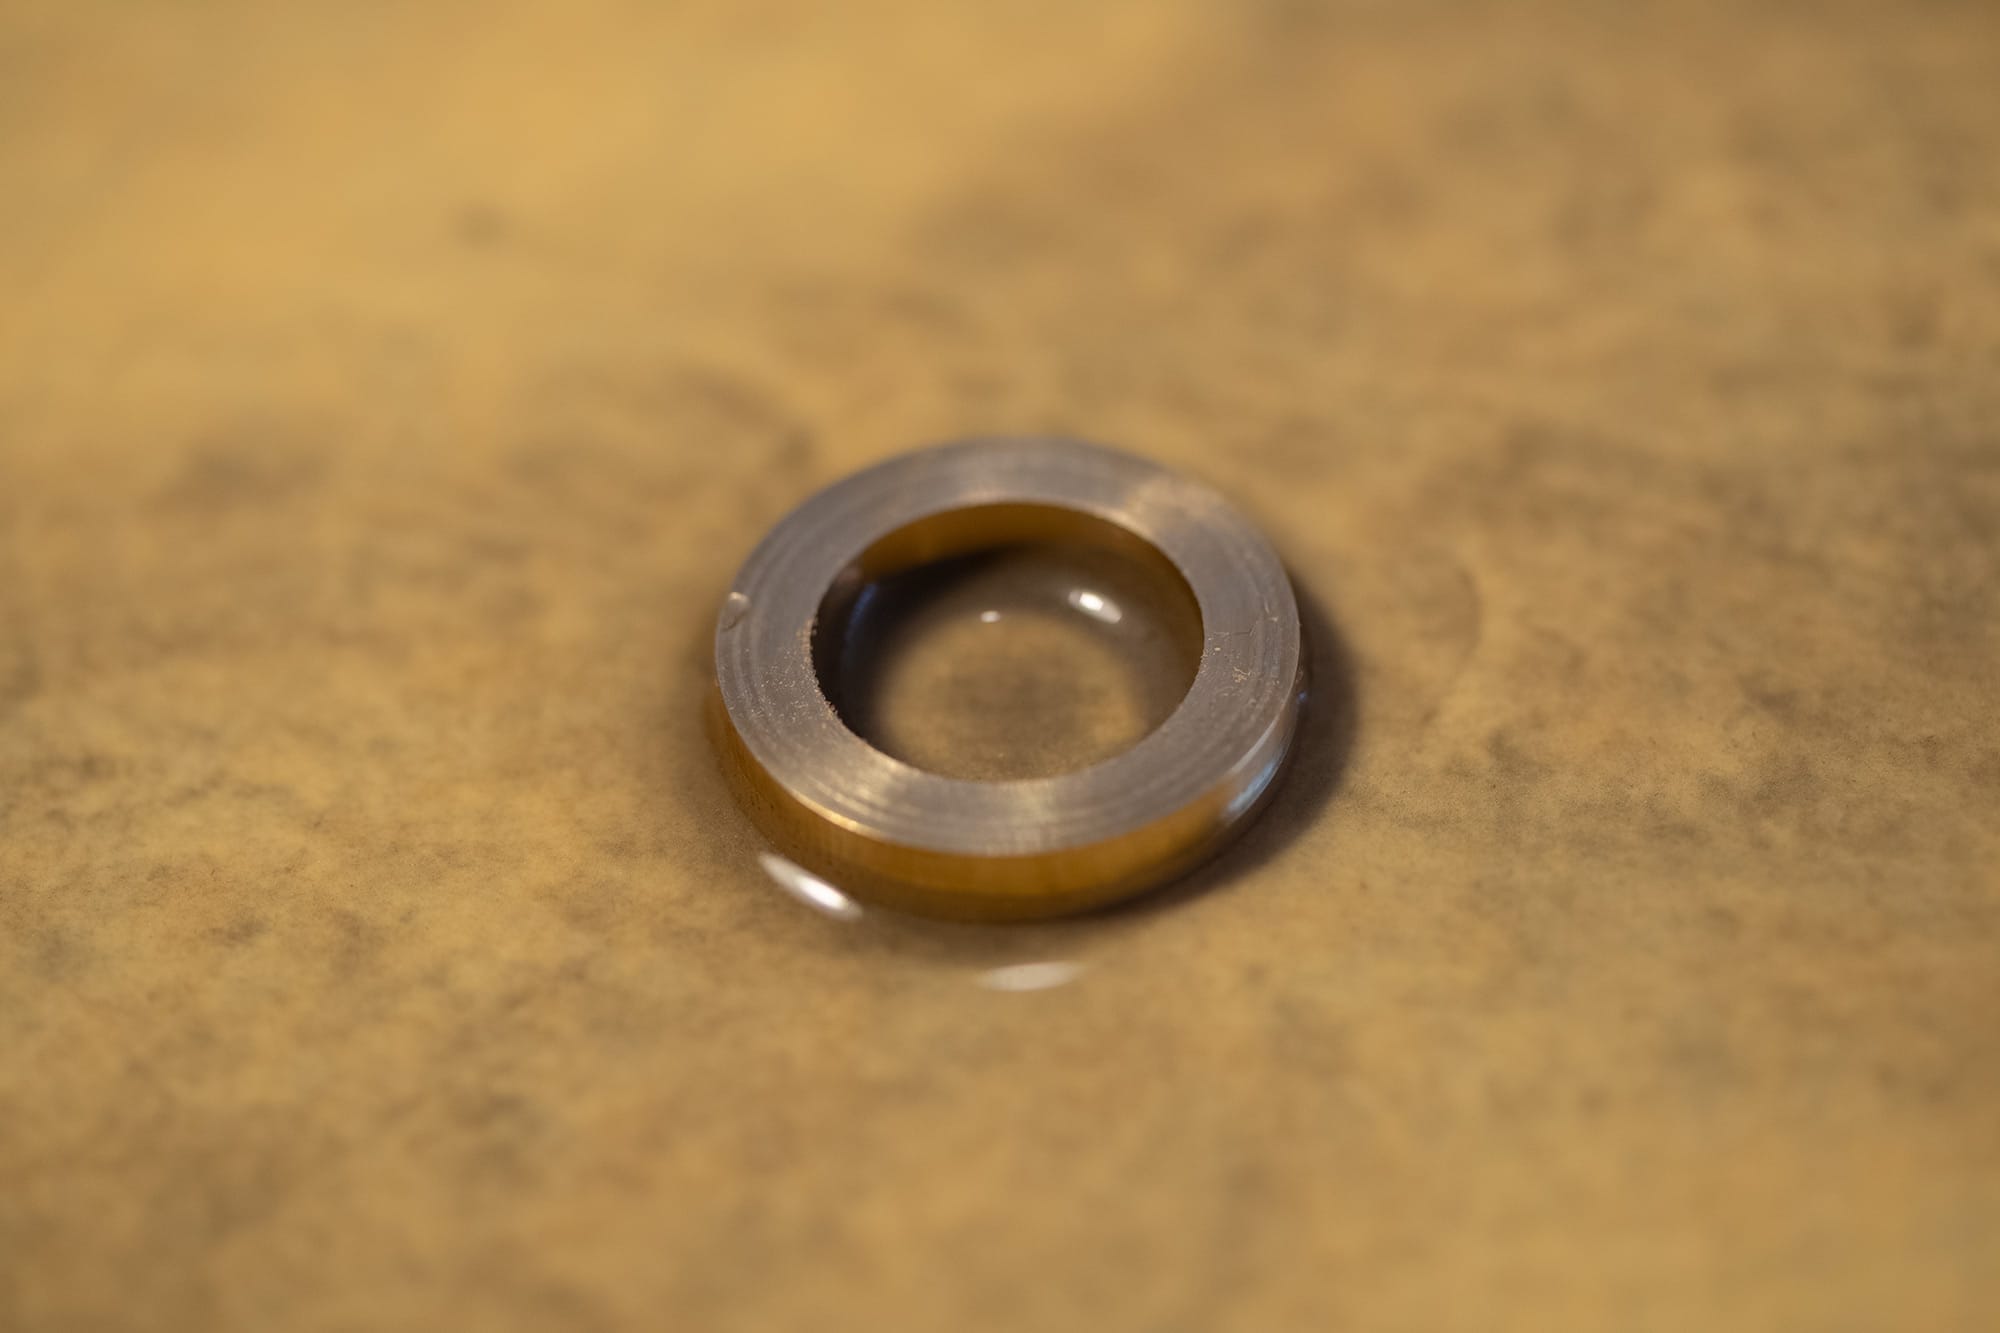
We start with the heater module contact ring. This is the brass ring that sits inside the bottom of the wood body shown in the photo above.
In the finished Toad this ring is visually surrounded by wood, there are no visible wires connected to it. But there is a hidden copper electrical pathway going to this brass ring, and that's what we'll be taking a look at in this update.
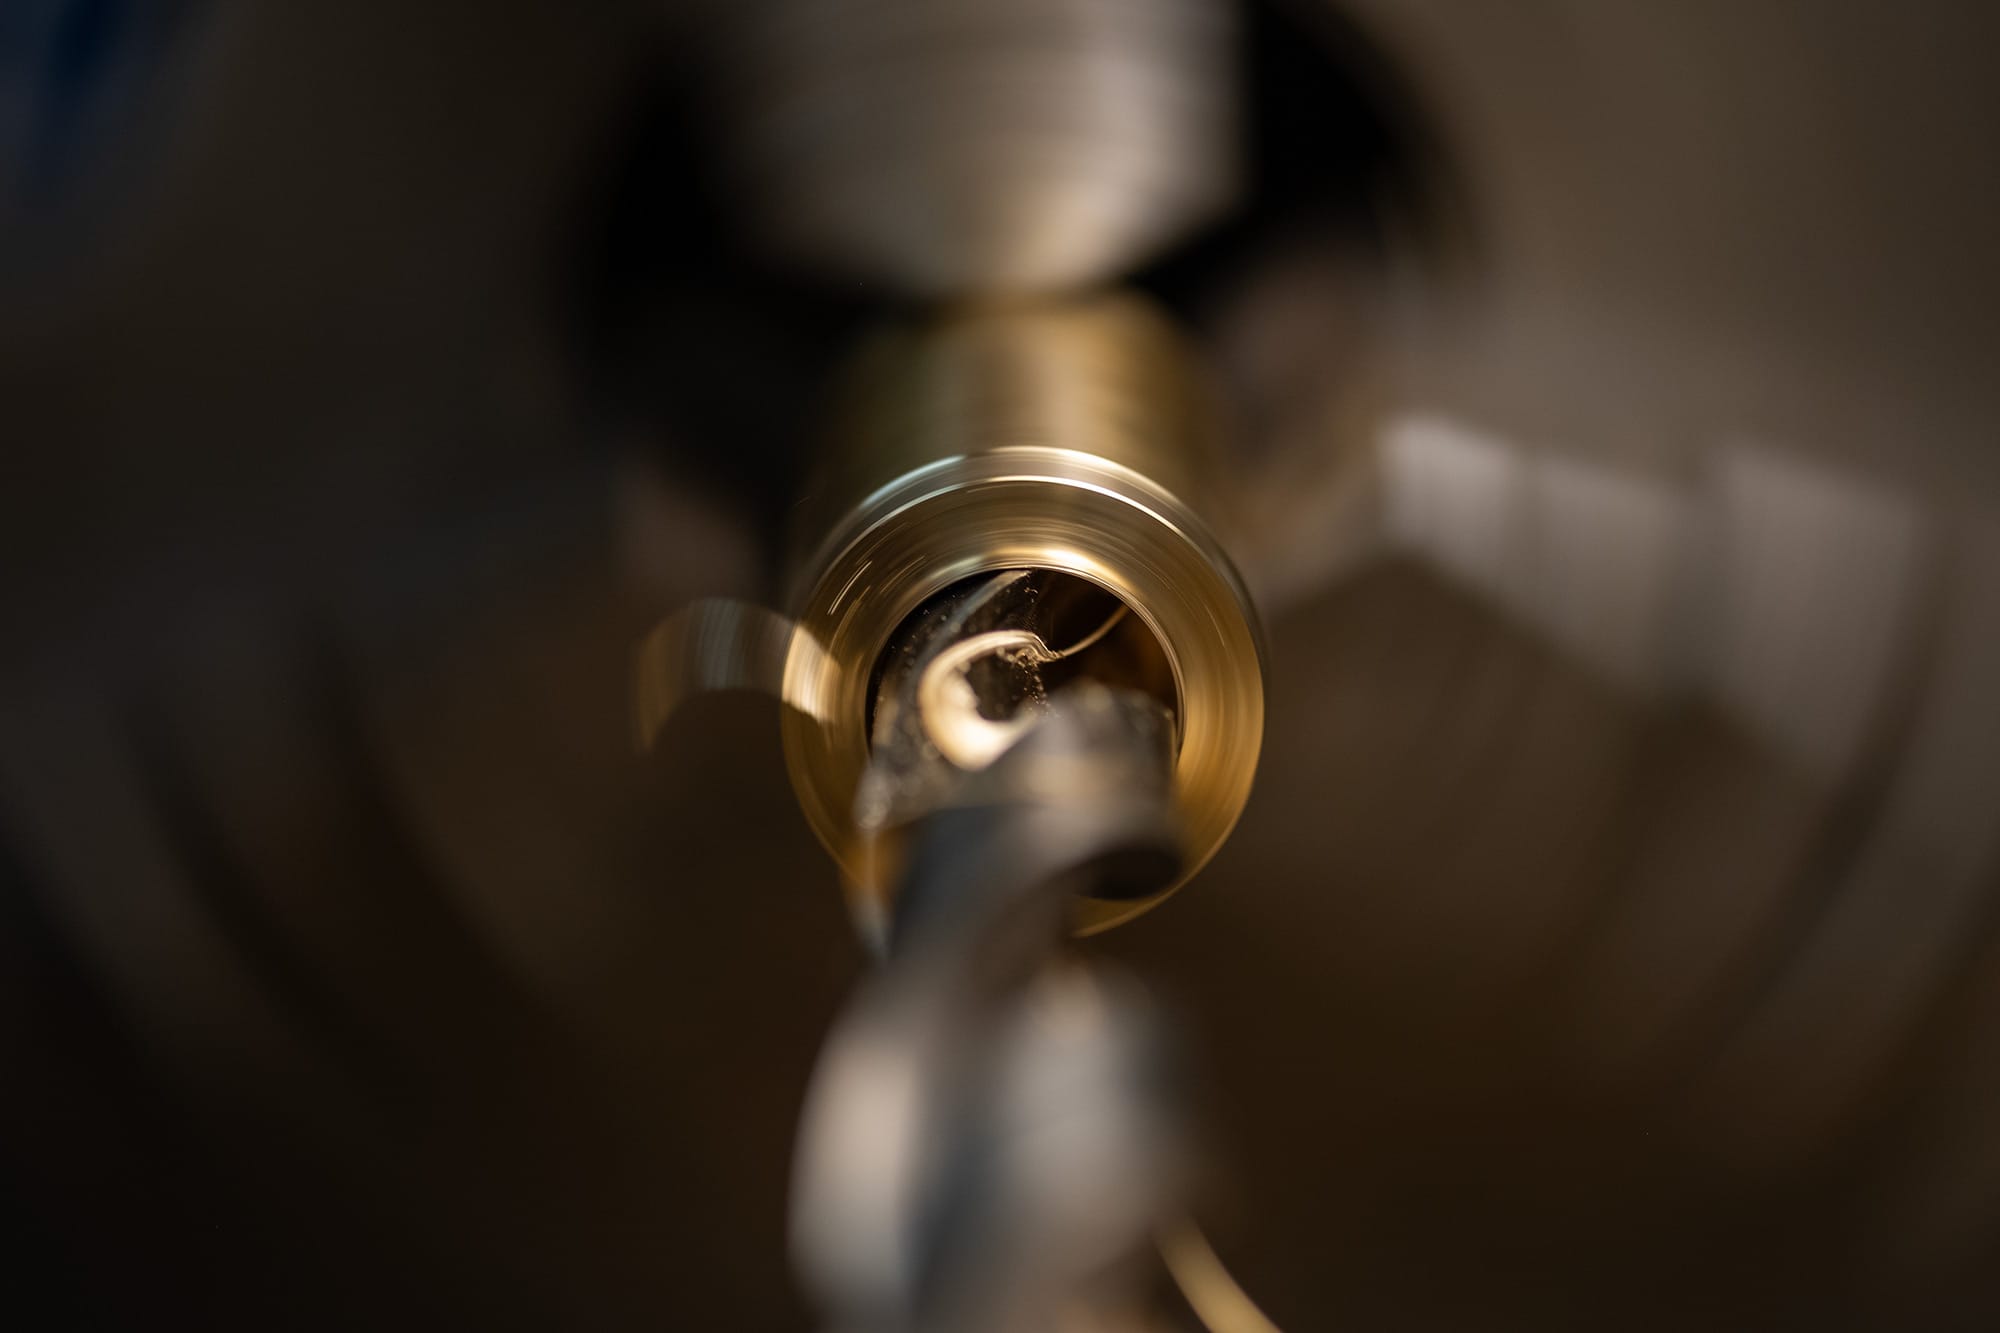
I start with a solid bar of 464 Brass. The first stage is to drill out the center close to the final internal diameter that I'm going for. I do this on the lathe.
I use a Micro 100 brand carbide boring bar to finish up. I've grown quite fond of this tool... the carbide tip is easy to re sharpen by hand on diamond plates and the brazed carbide tip makes for a very compact tool that allows more room to remove chips. The geometry of the tool also seems to work well for a lot of things; softwood, hardwood, brass, and Delrin all seem to cut nicely. It's just a great all-rounder!
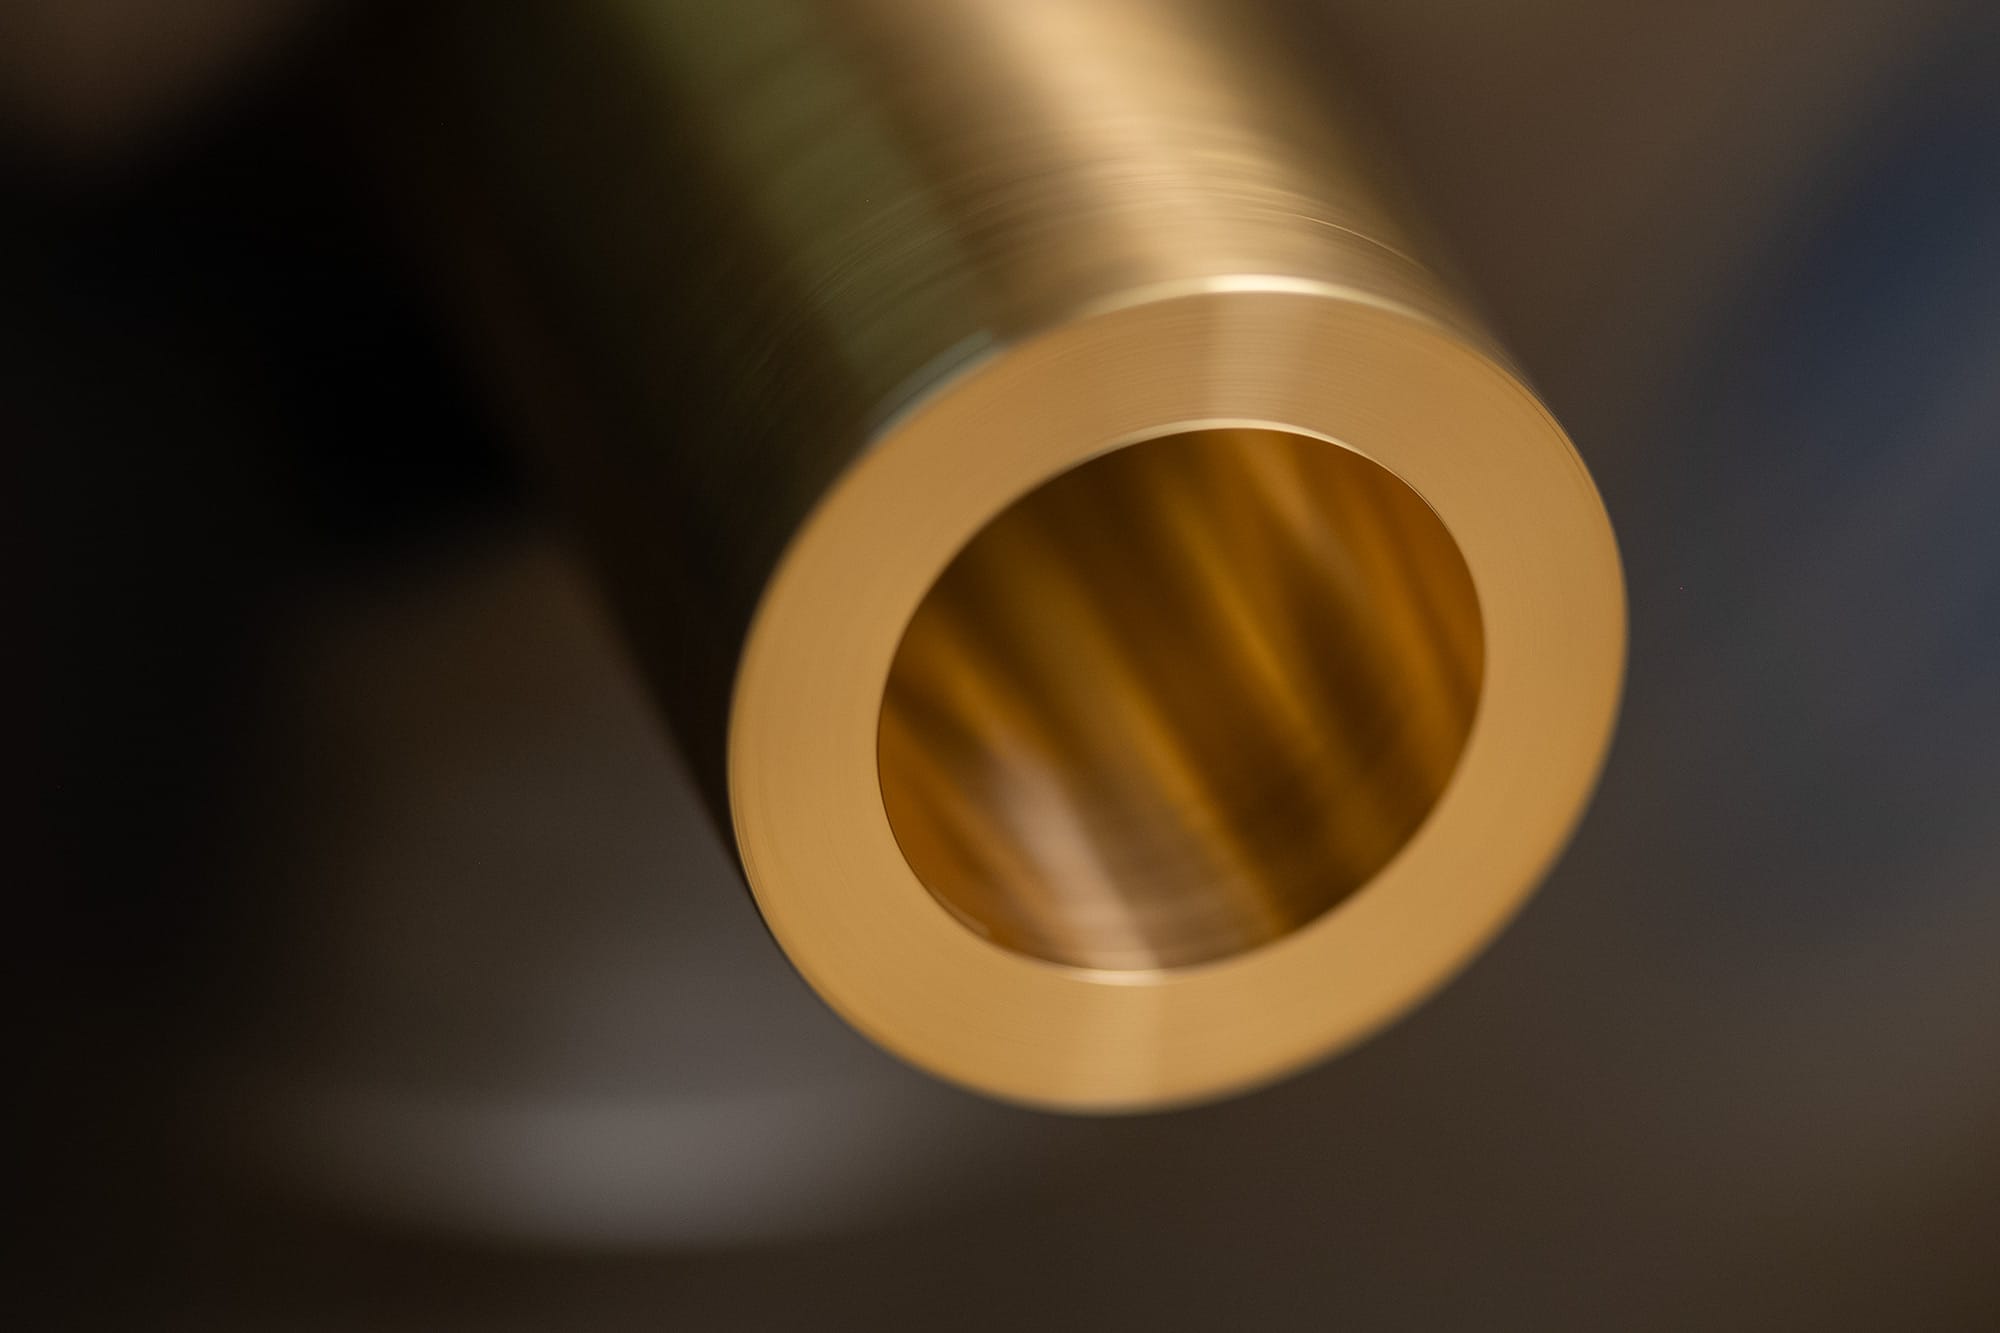
Smooth.
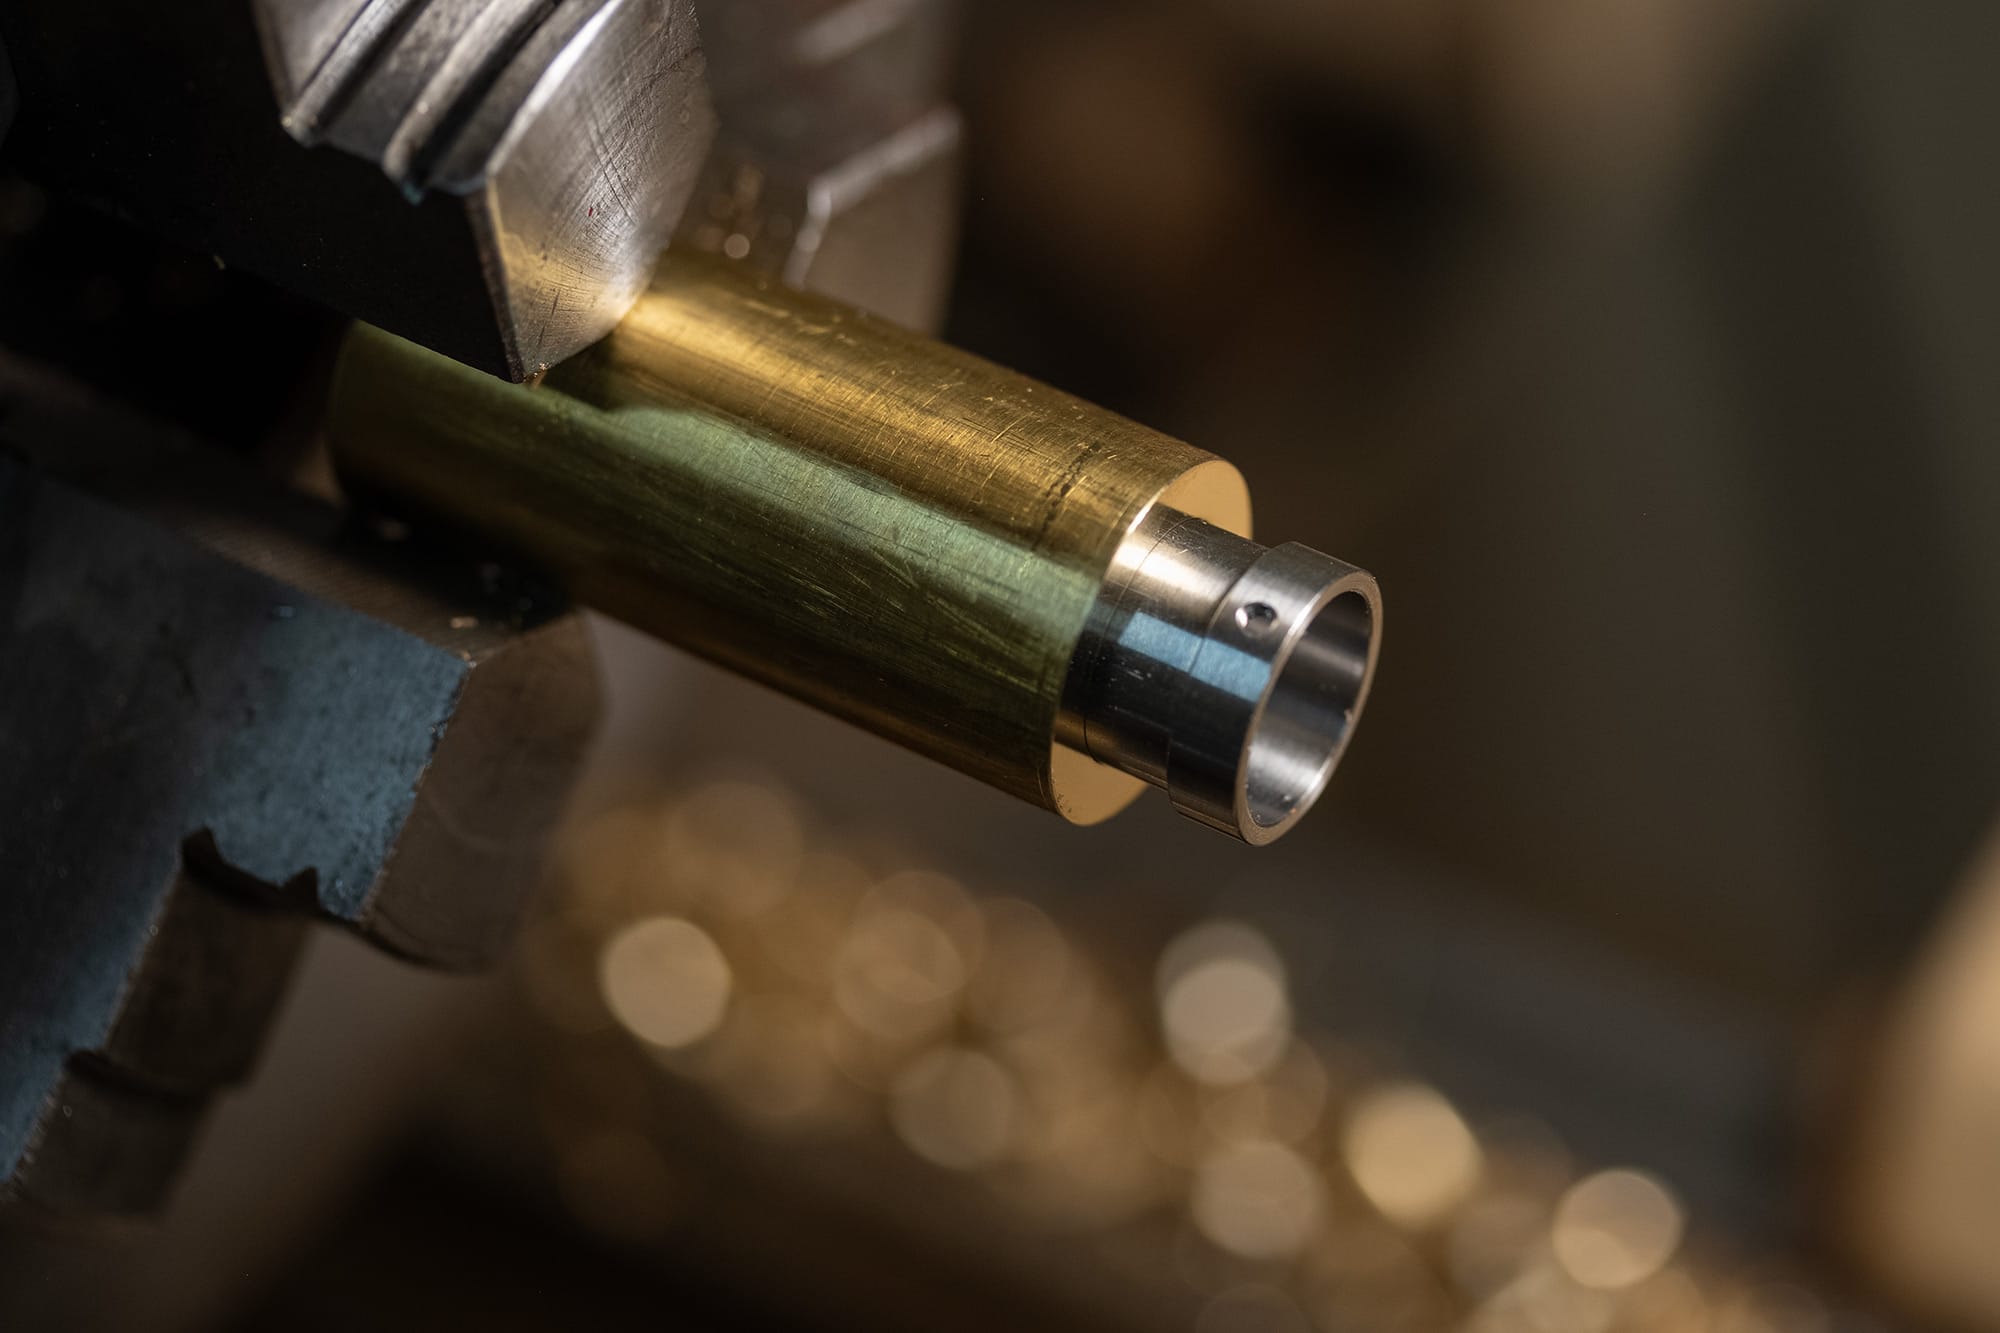
I use a spare heater module shell to test the fit.
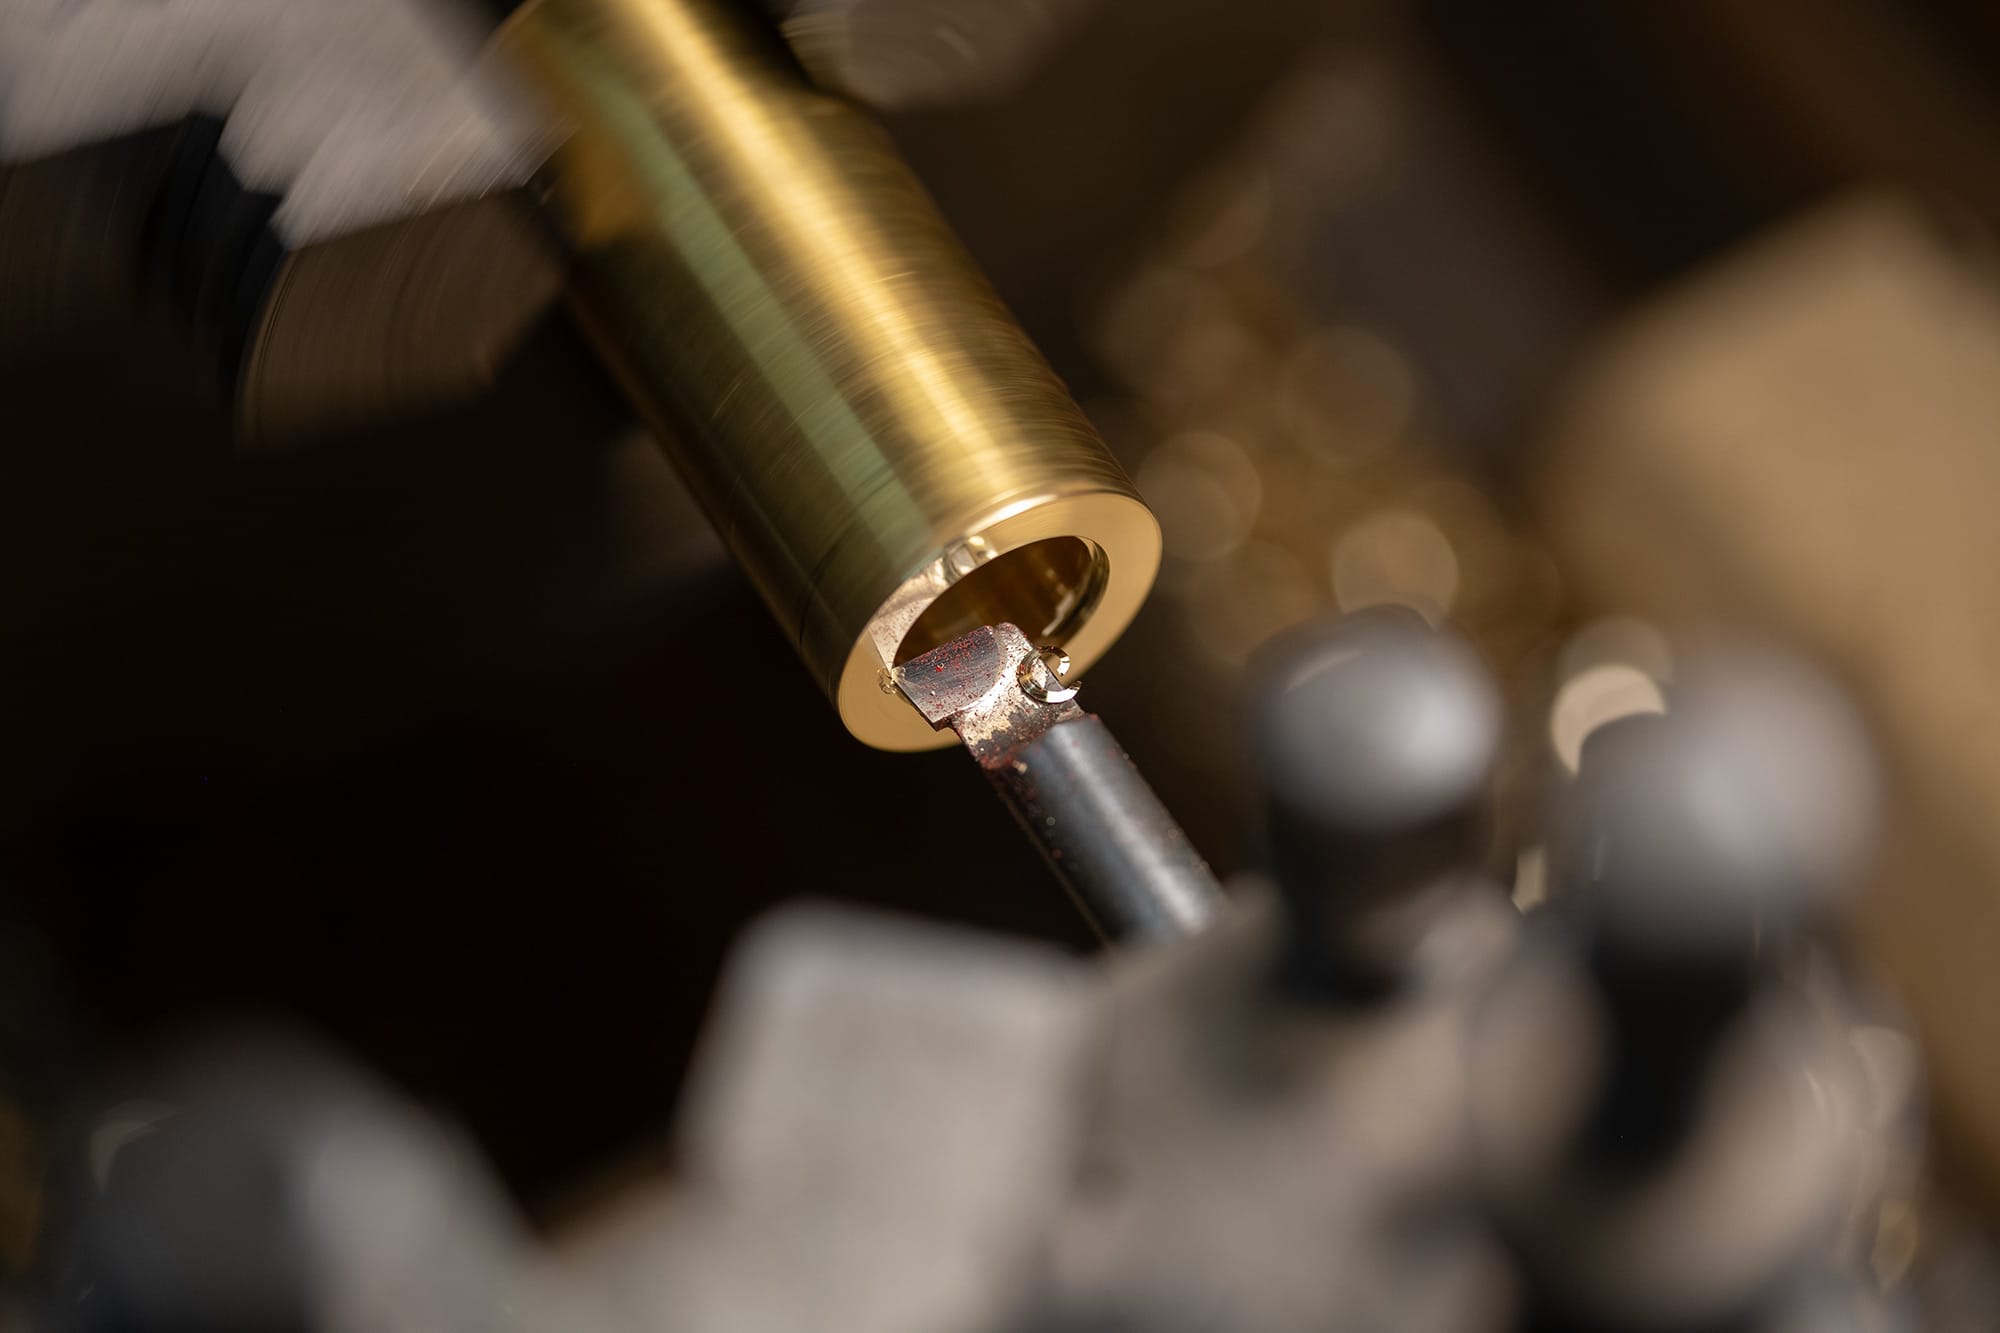
The outside diameter is turned next.
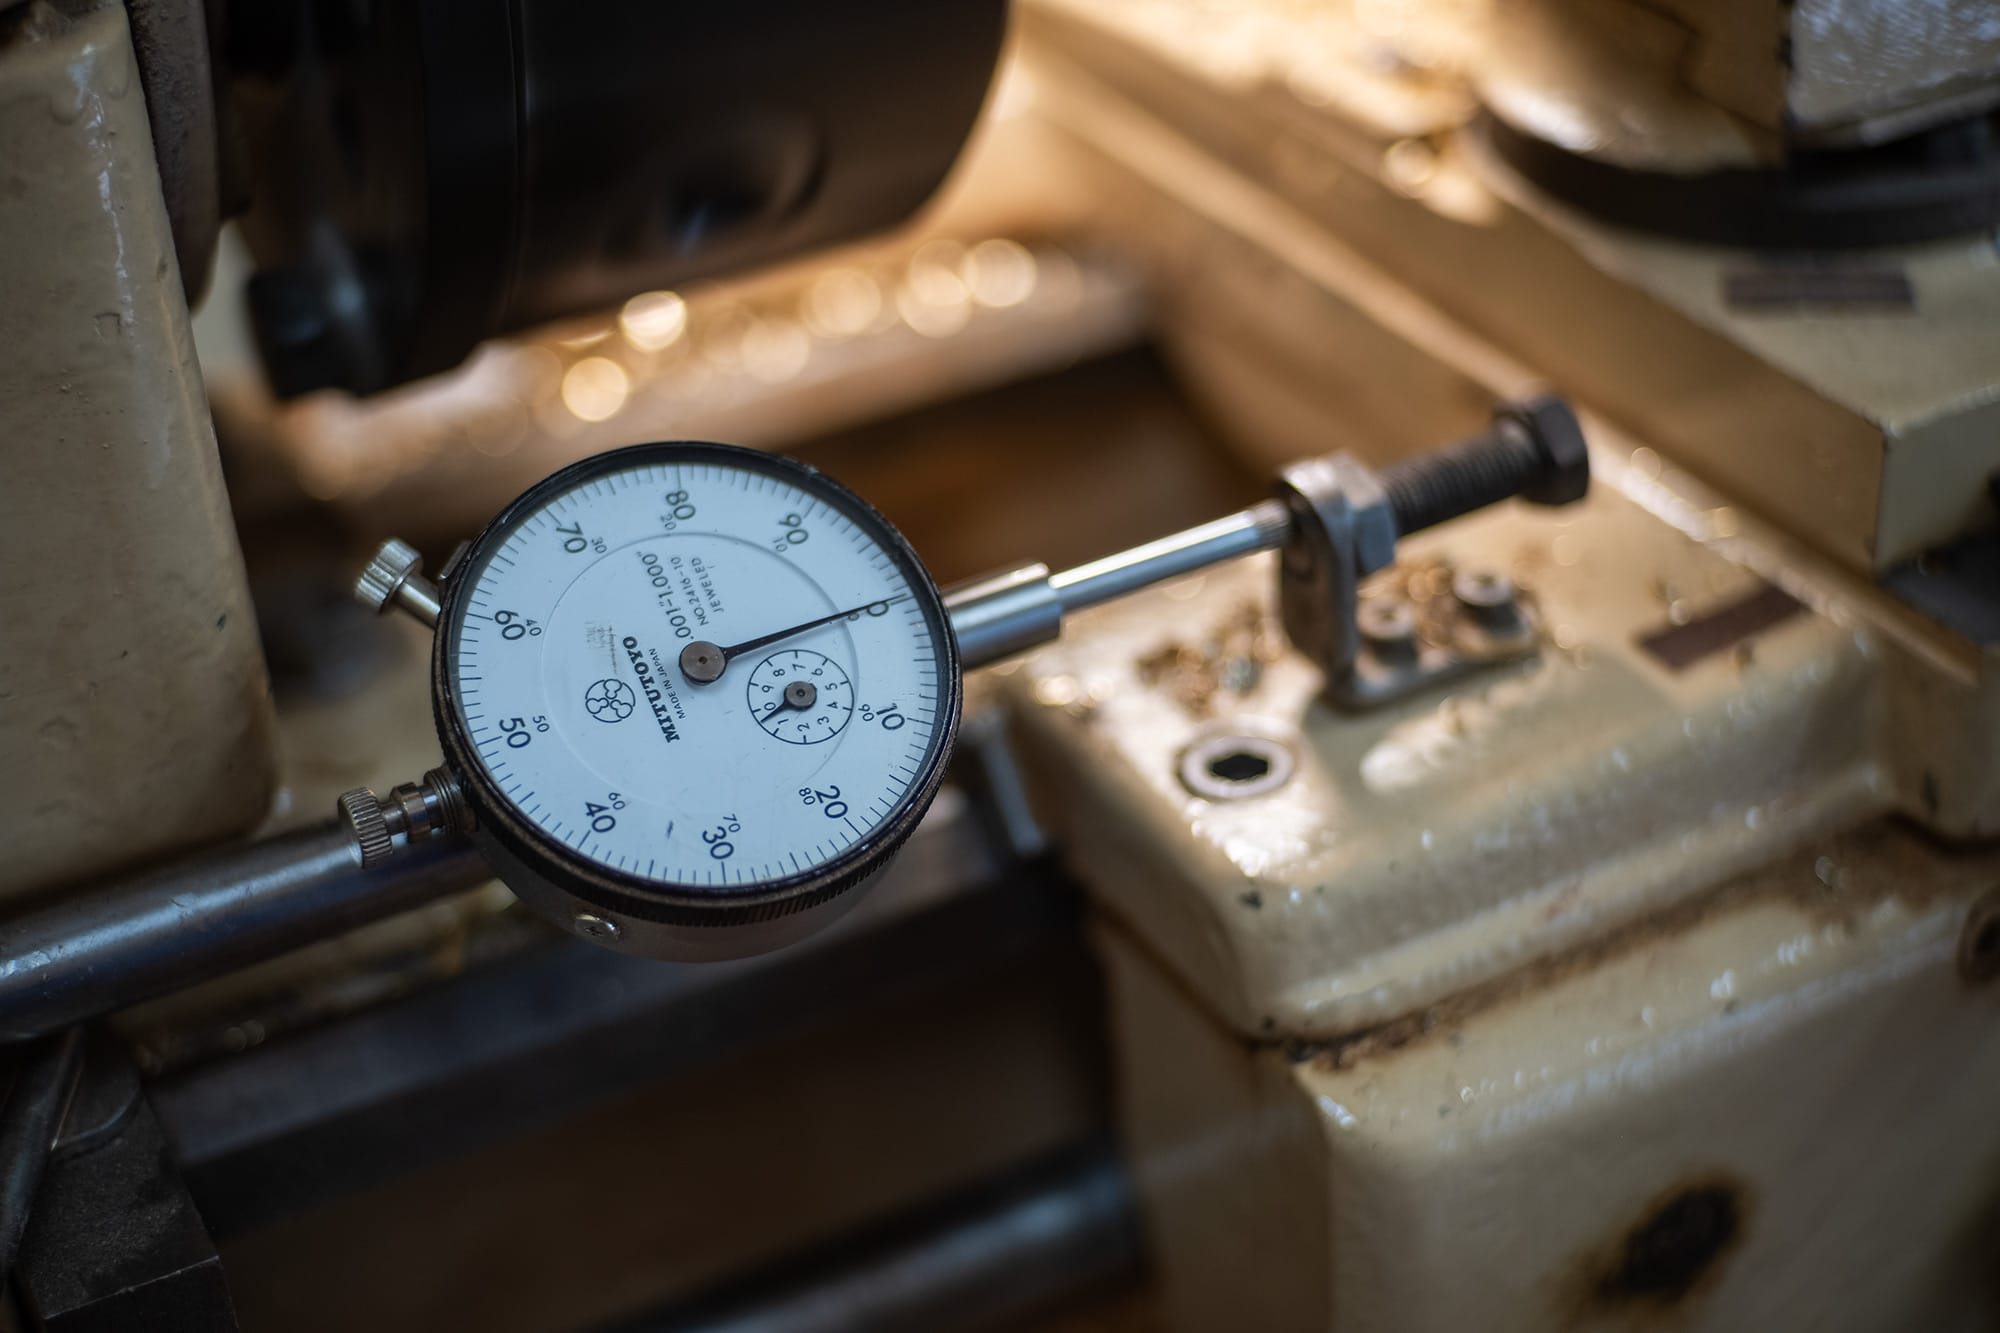
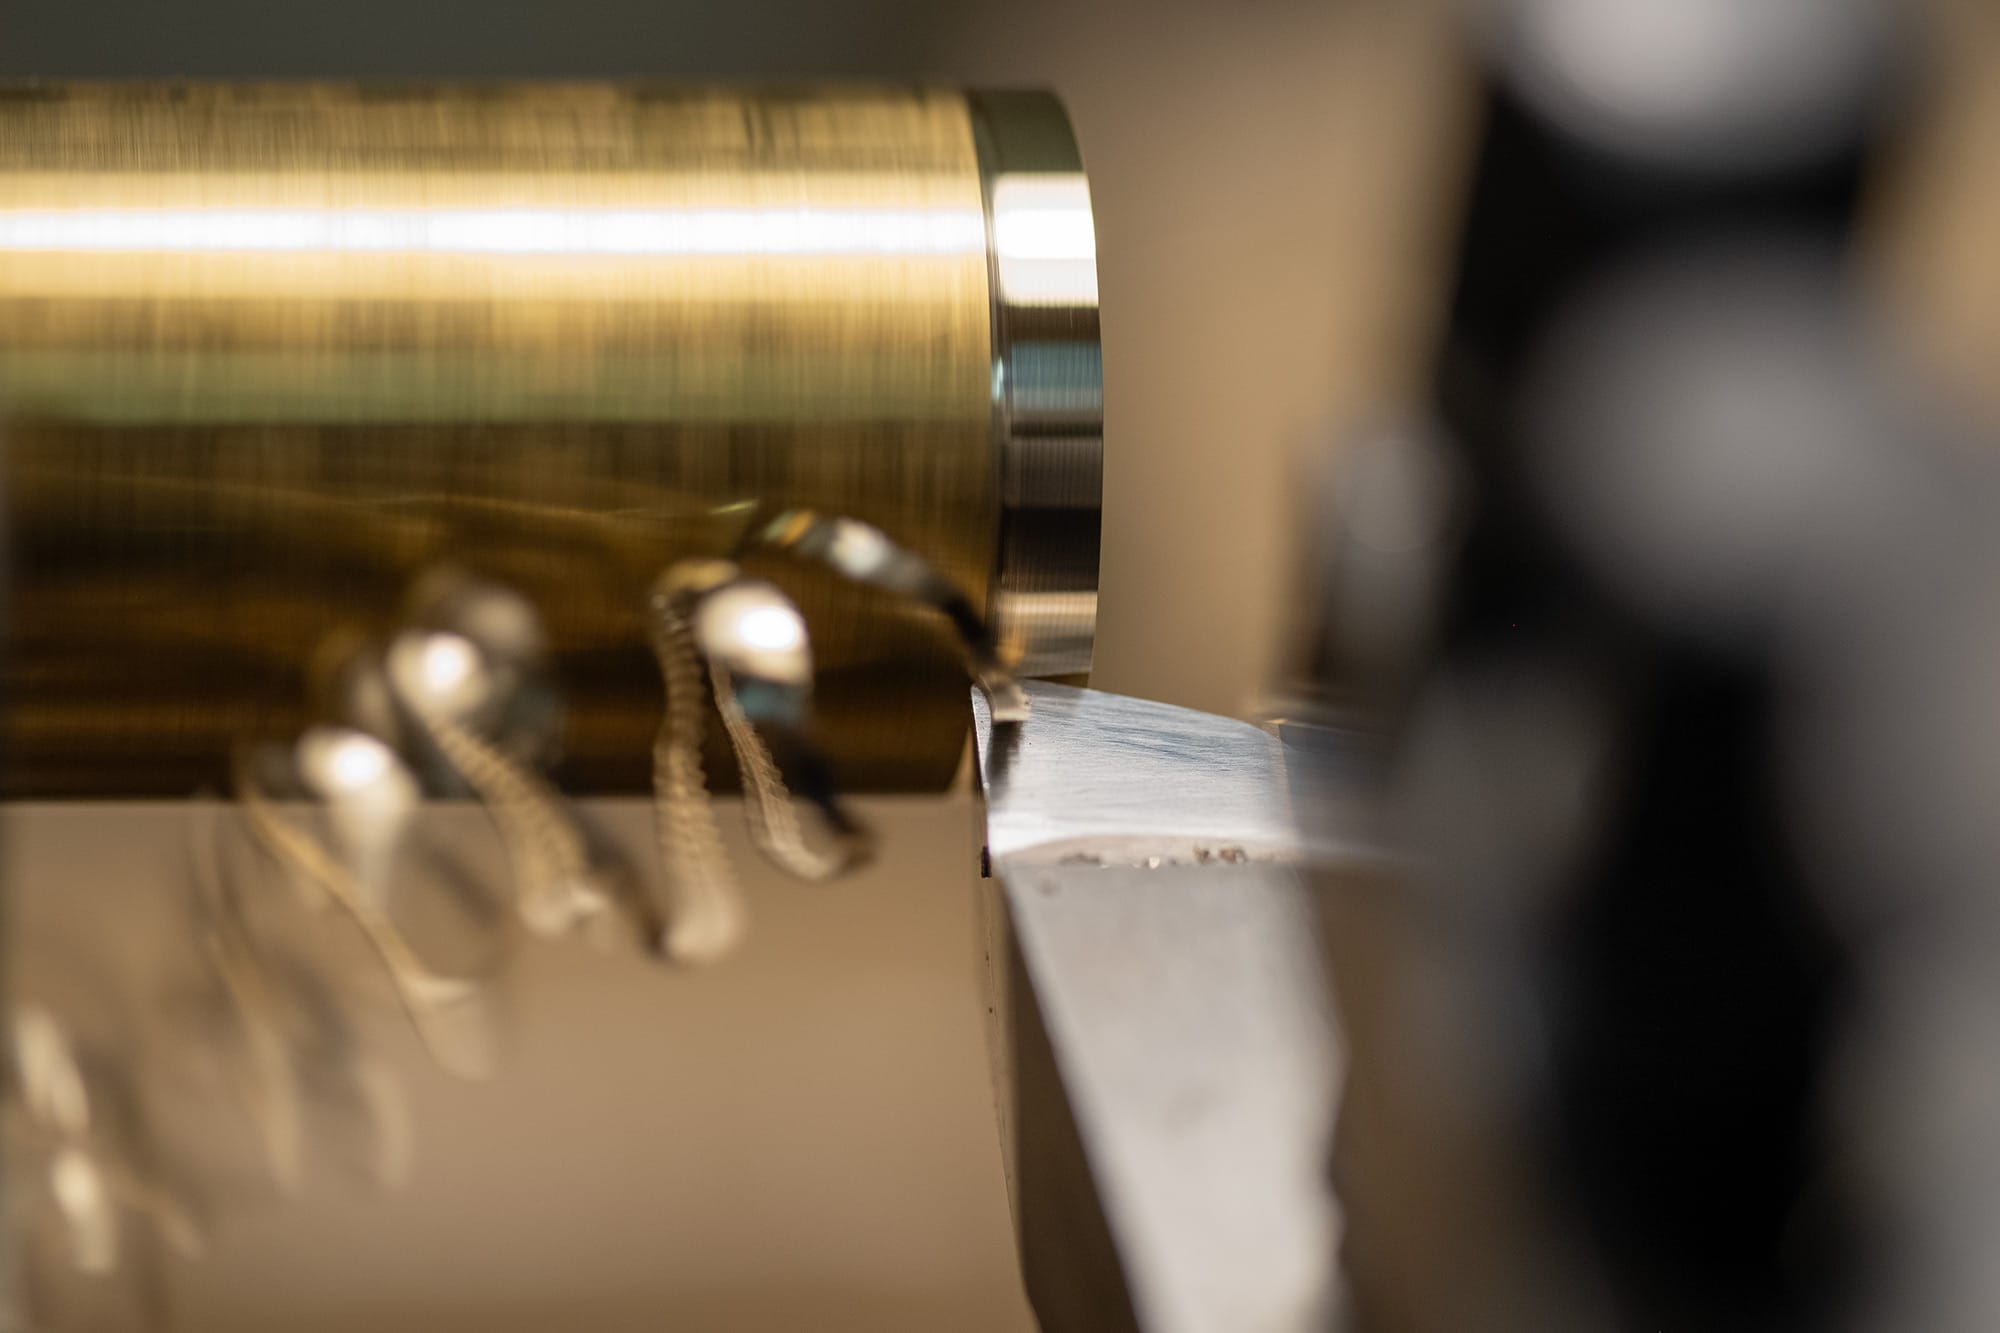
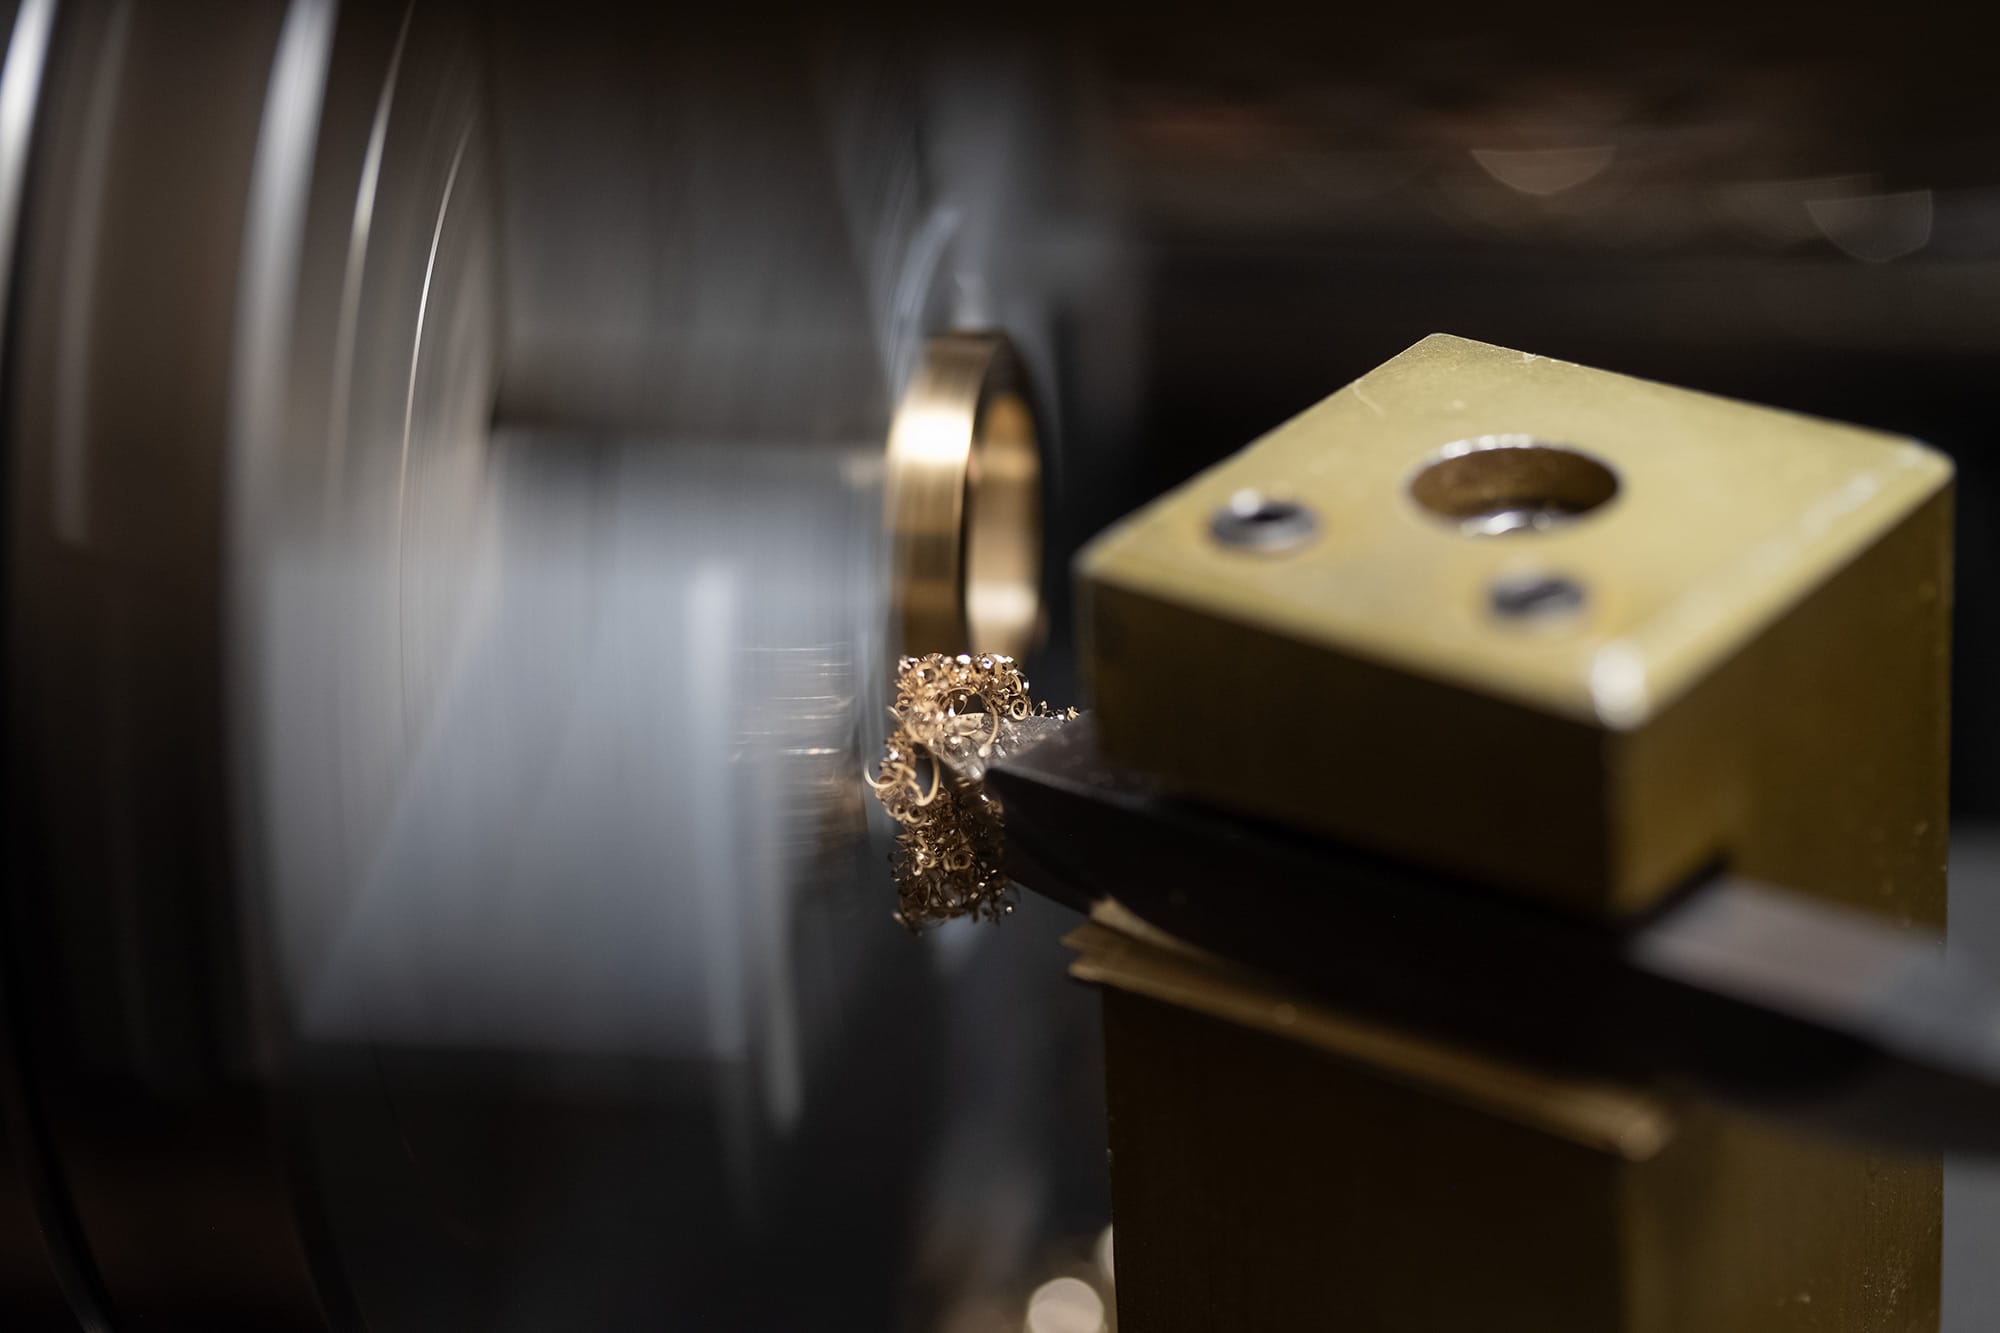
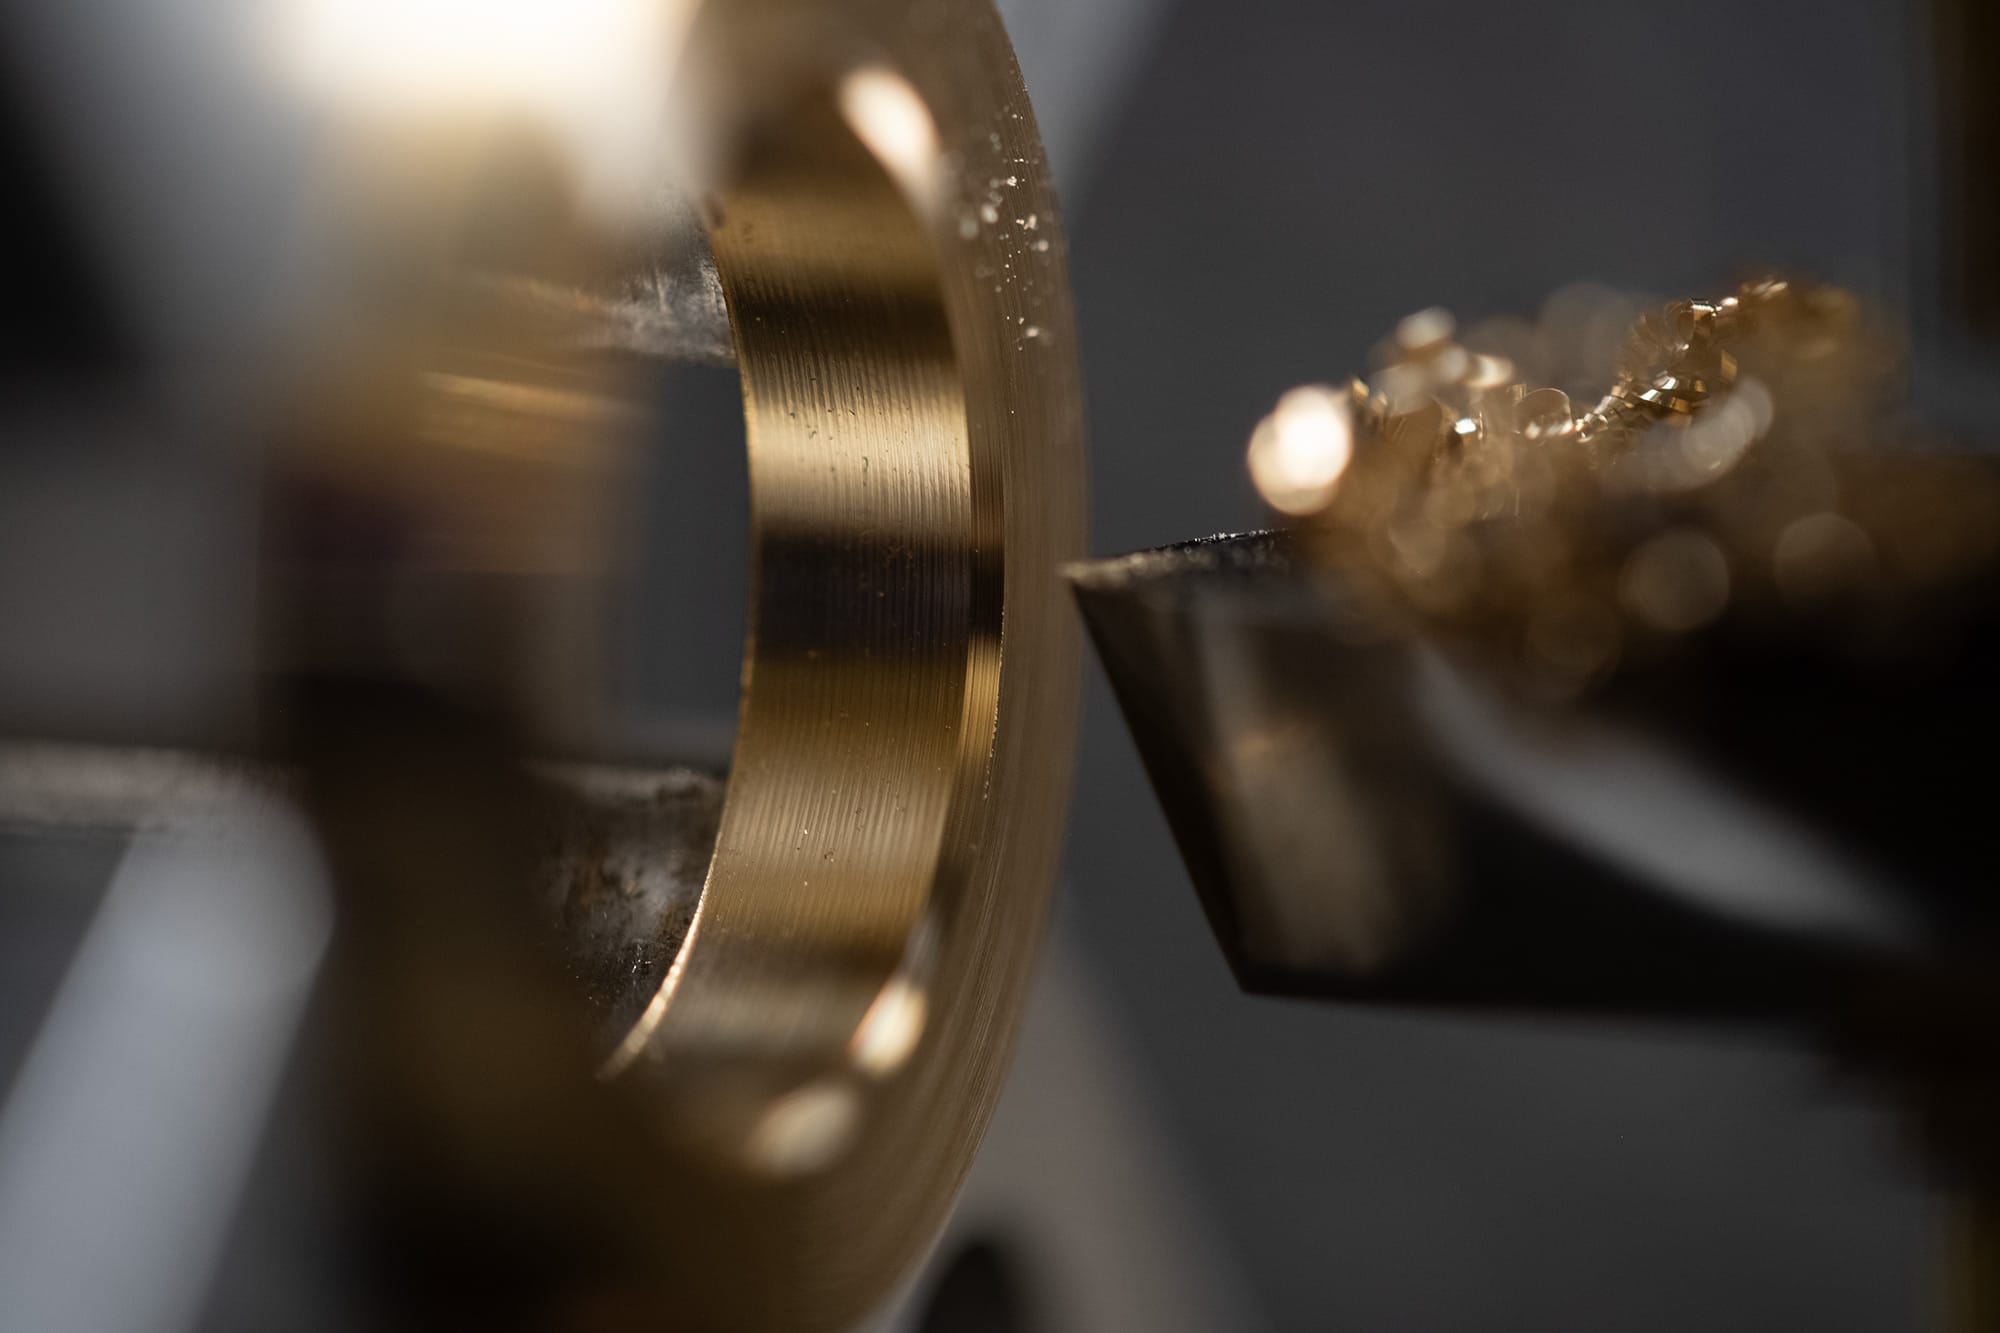
Now it's time to slice off a few rings. Each ring is .125" thick and I use my dial indicator to determine where to make each successive chop.
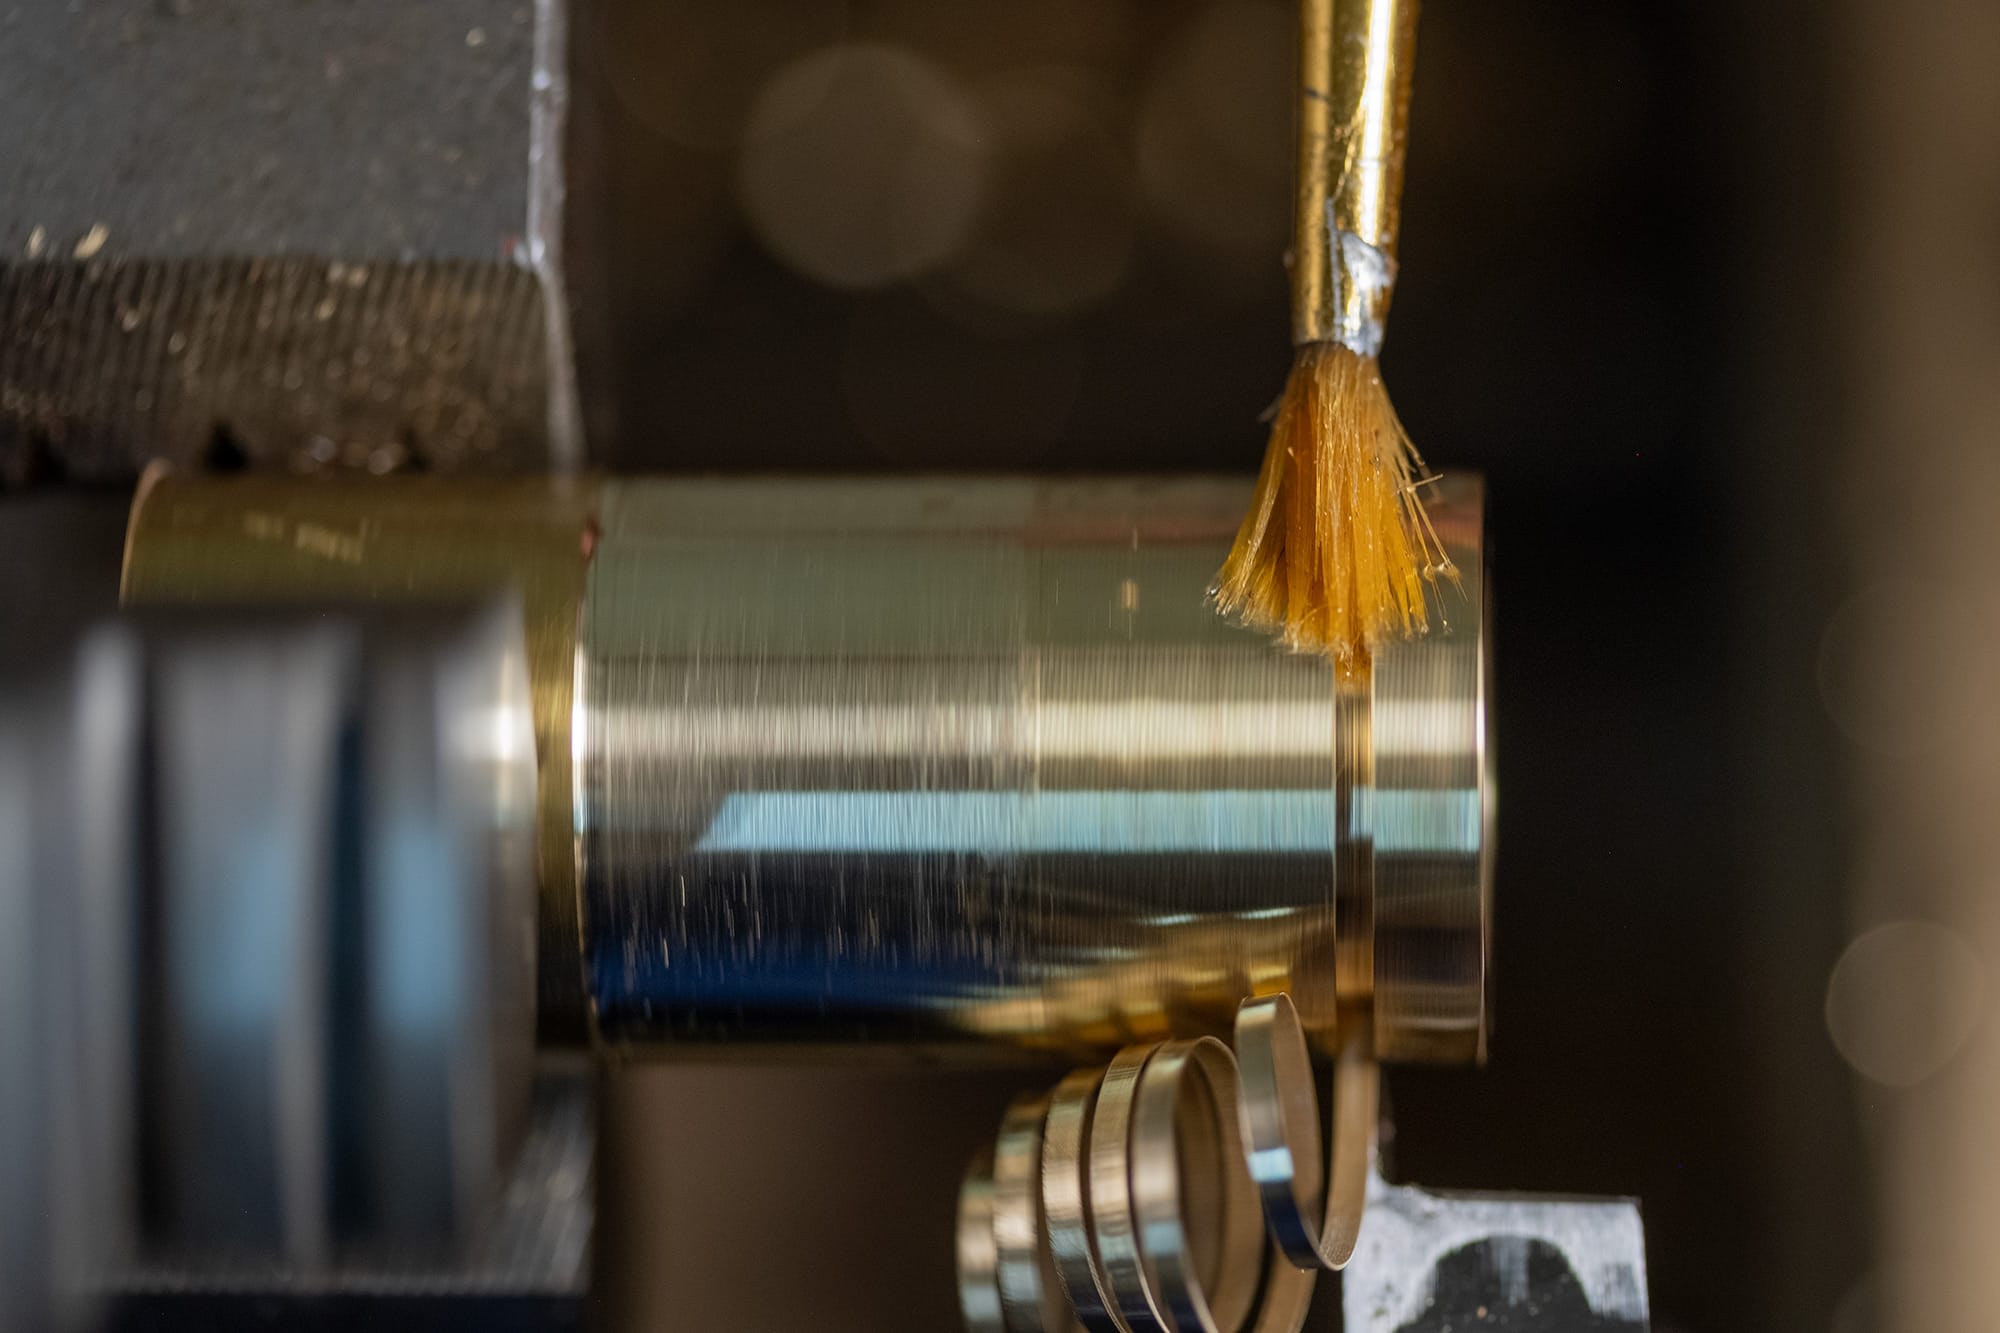
I use a little mineral oil to lubricate the cut, seems to help the surface finish.
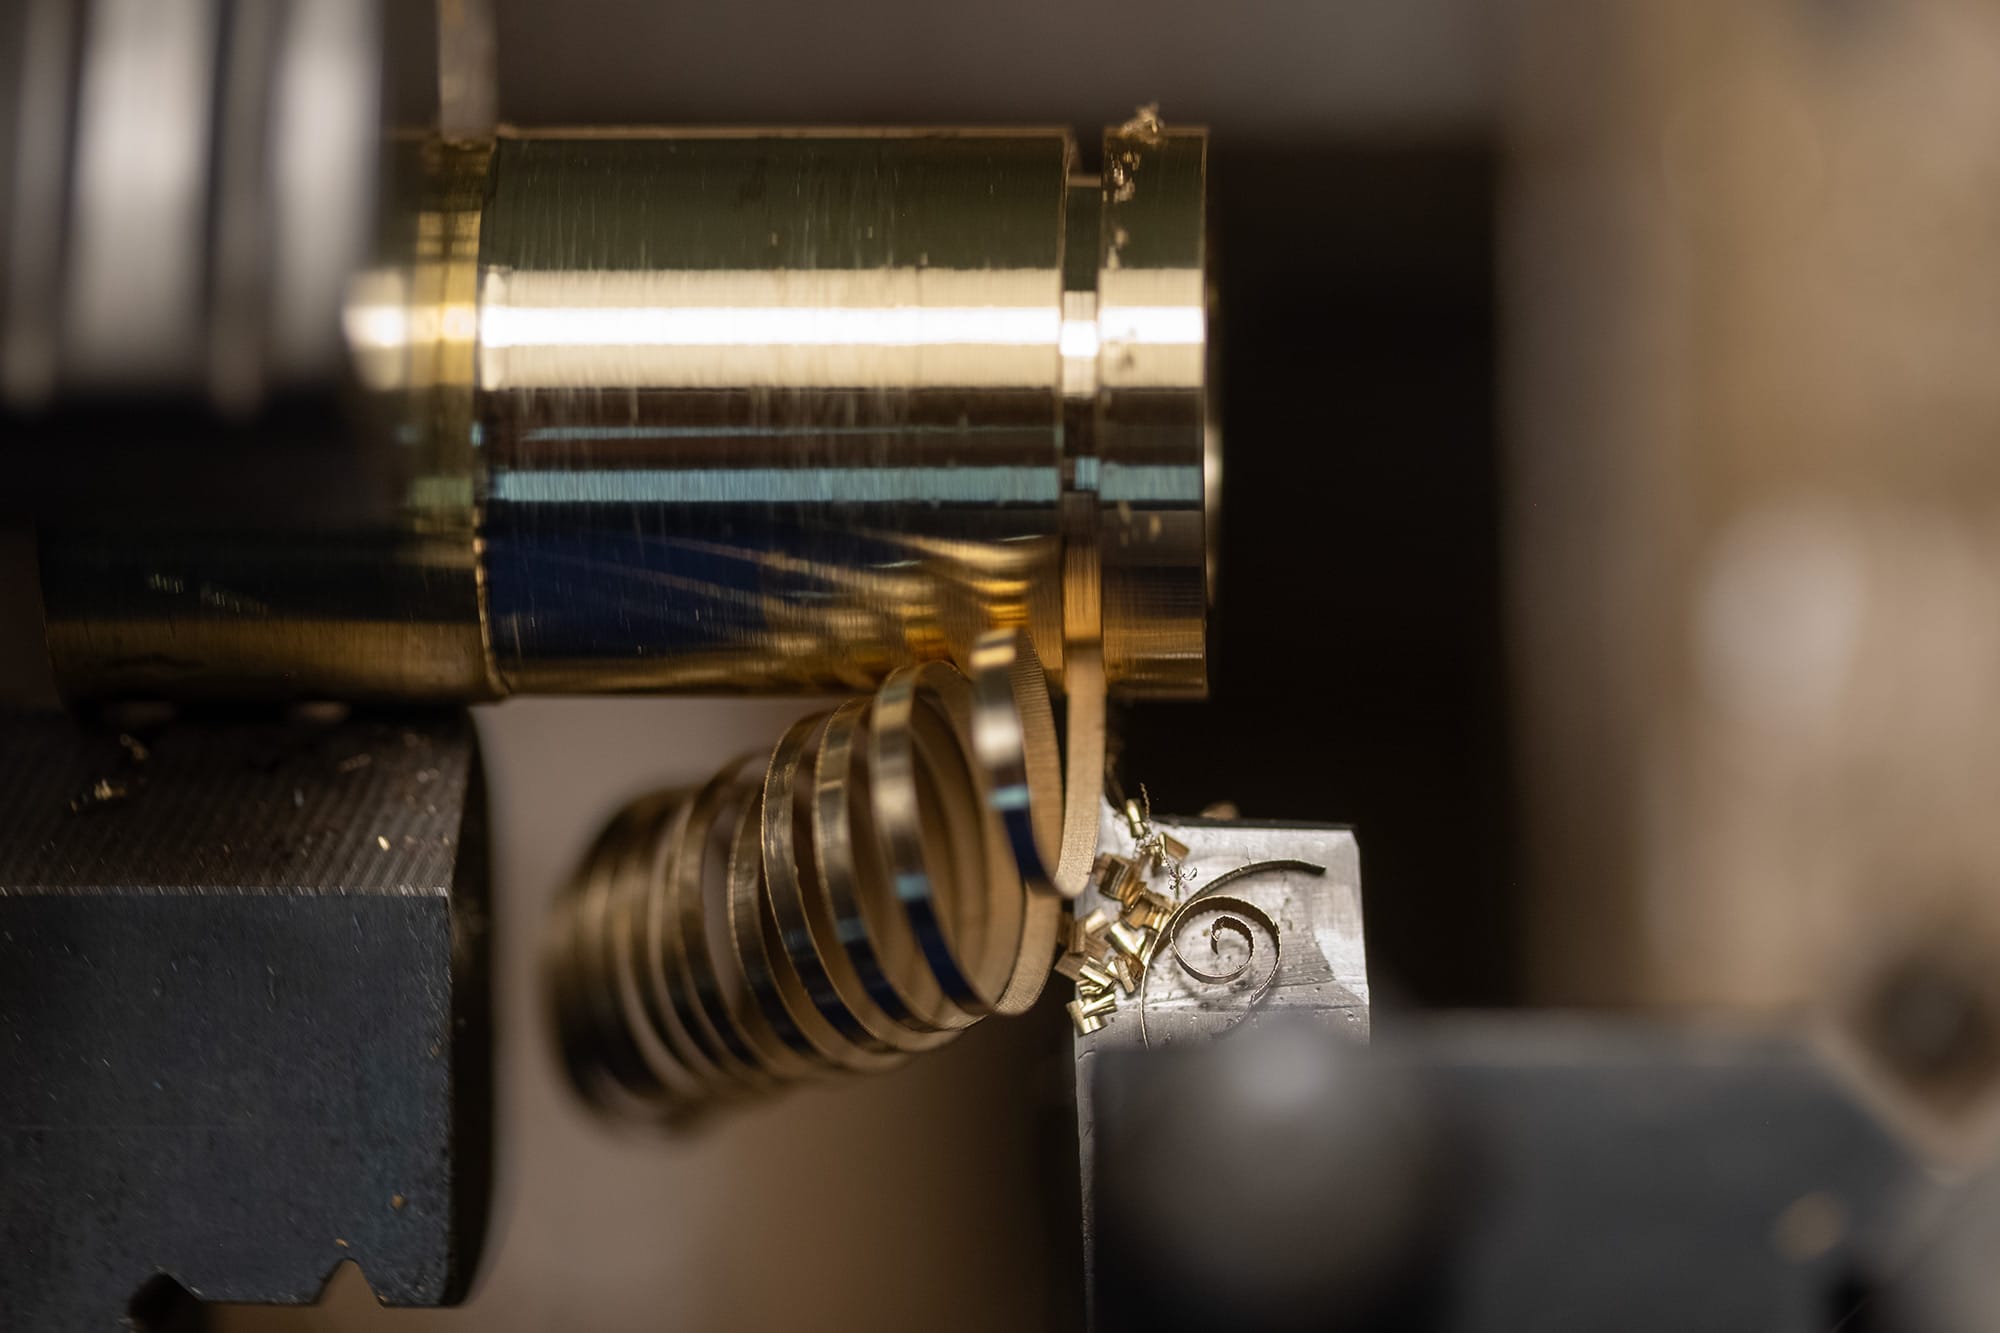
I really enjoy watching these golden curls!
Parting off stock with a parting tool like this almost never goes smoothly for me, but the stars aligned on this day and everything went totally fine.
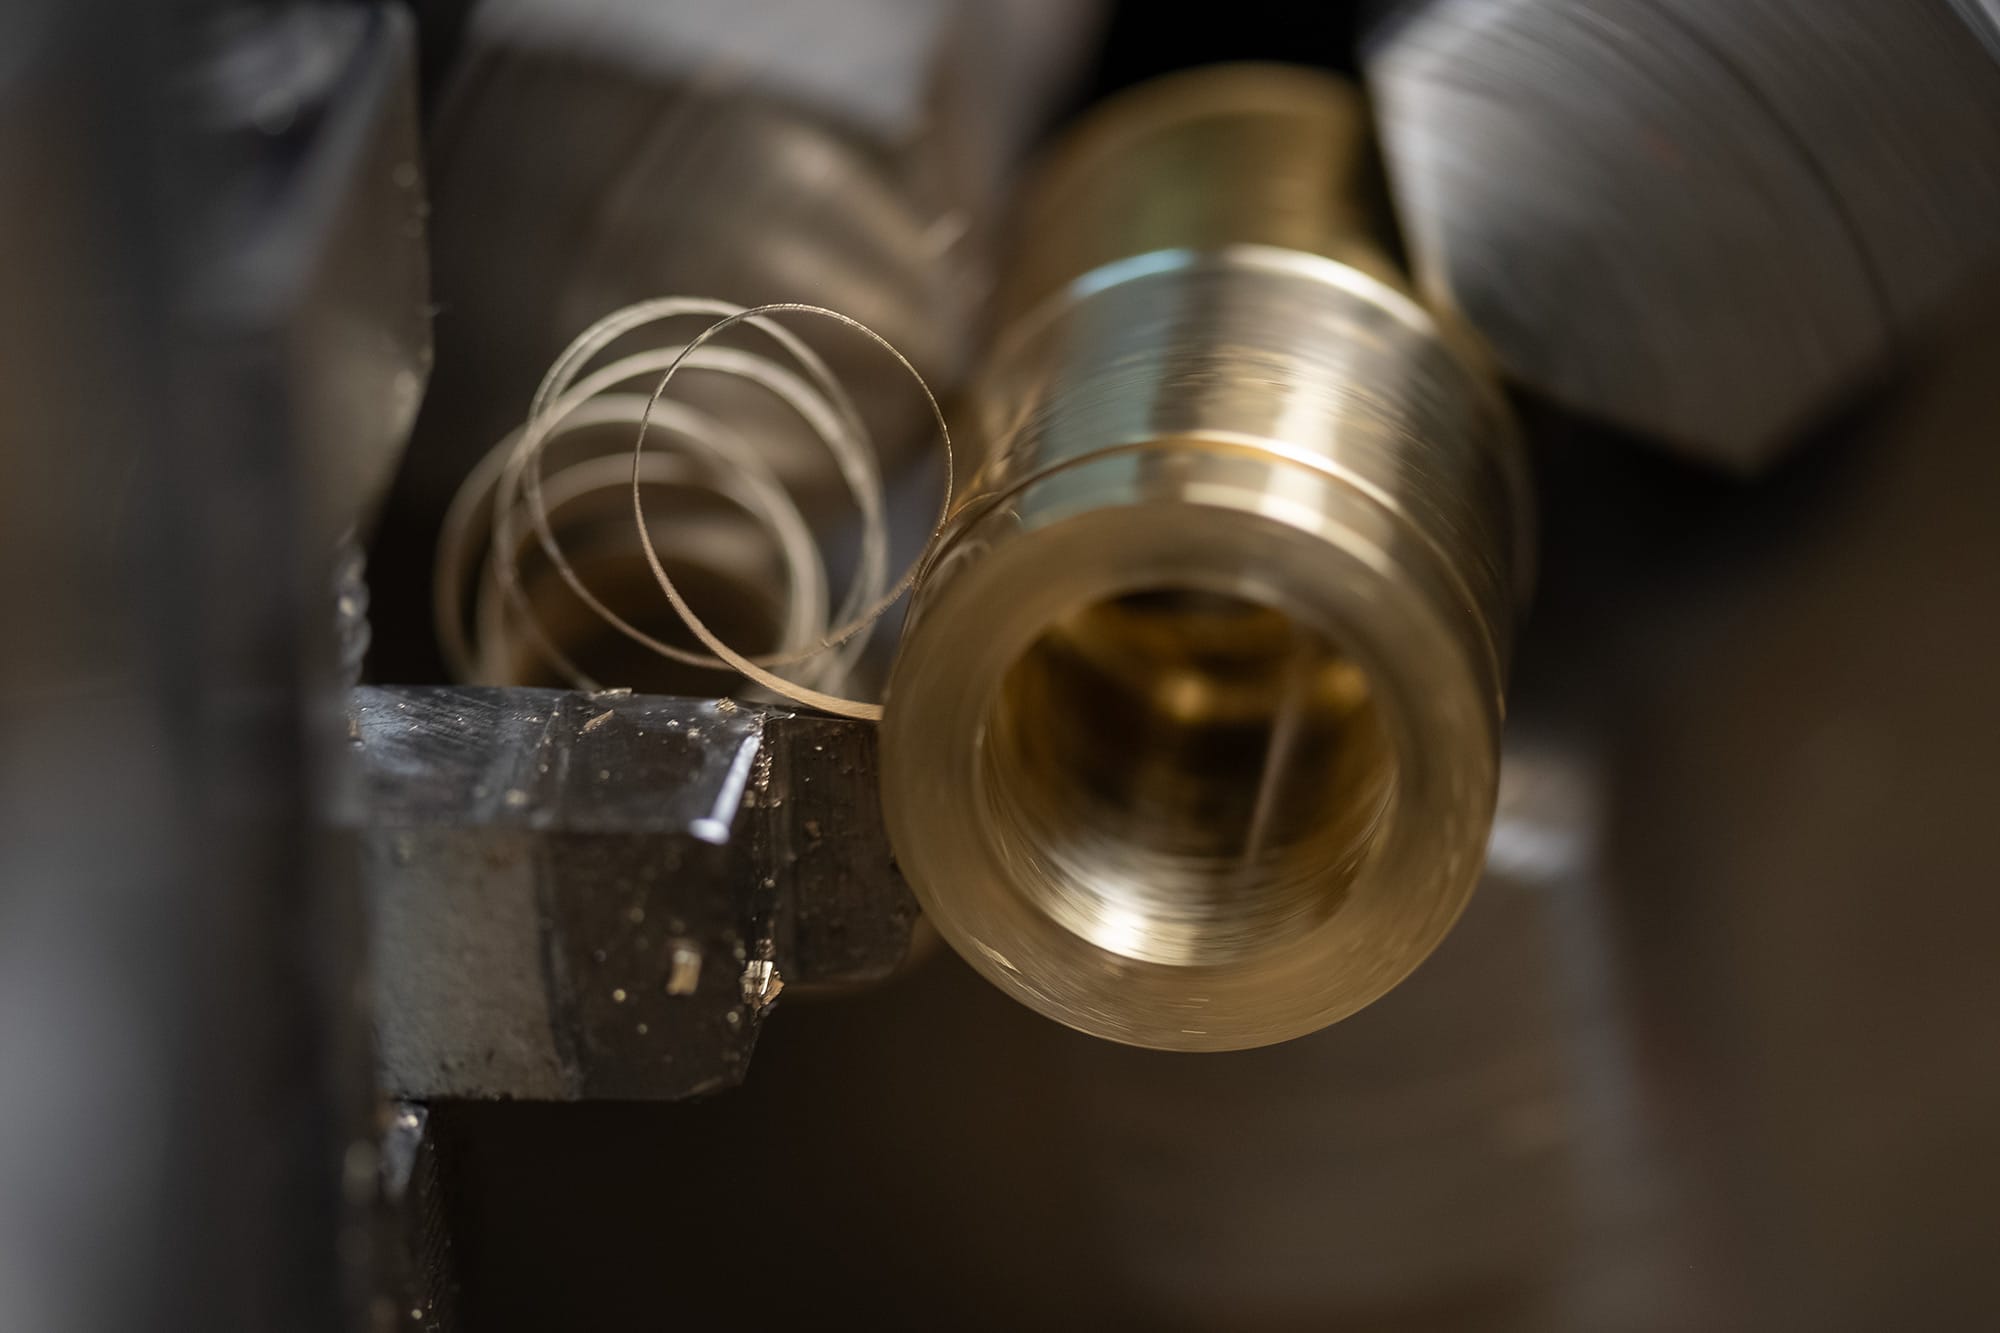
I try to catch each ring as it pops off the lathe... or else it'll definitely drop to the floor and roll into another dimension.
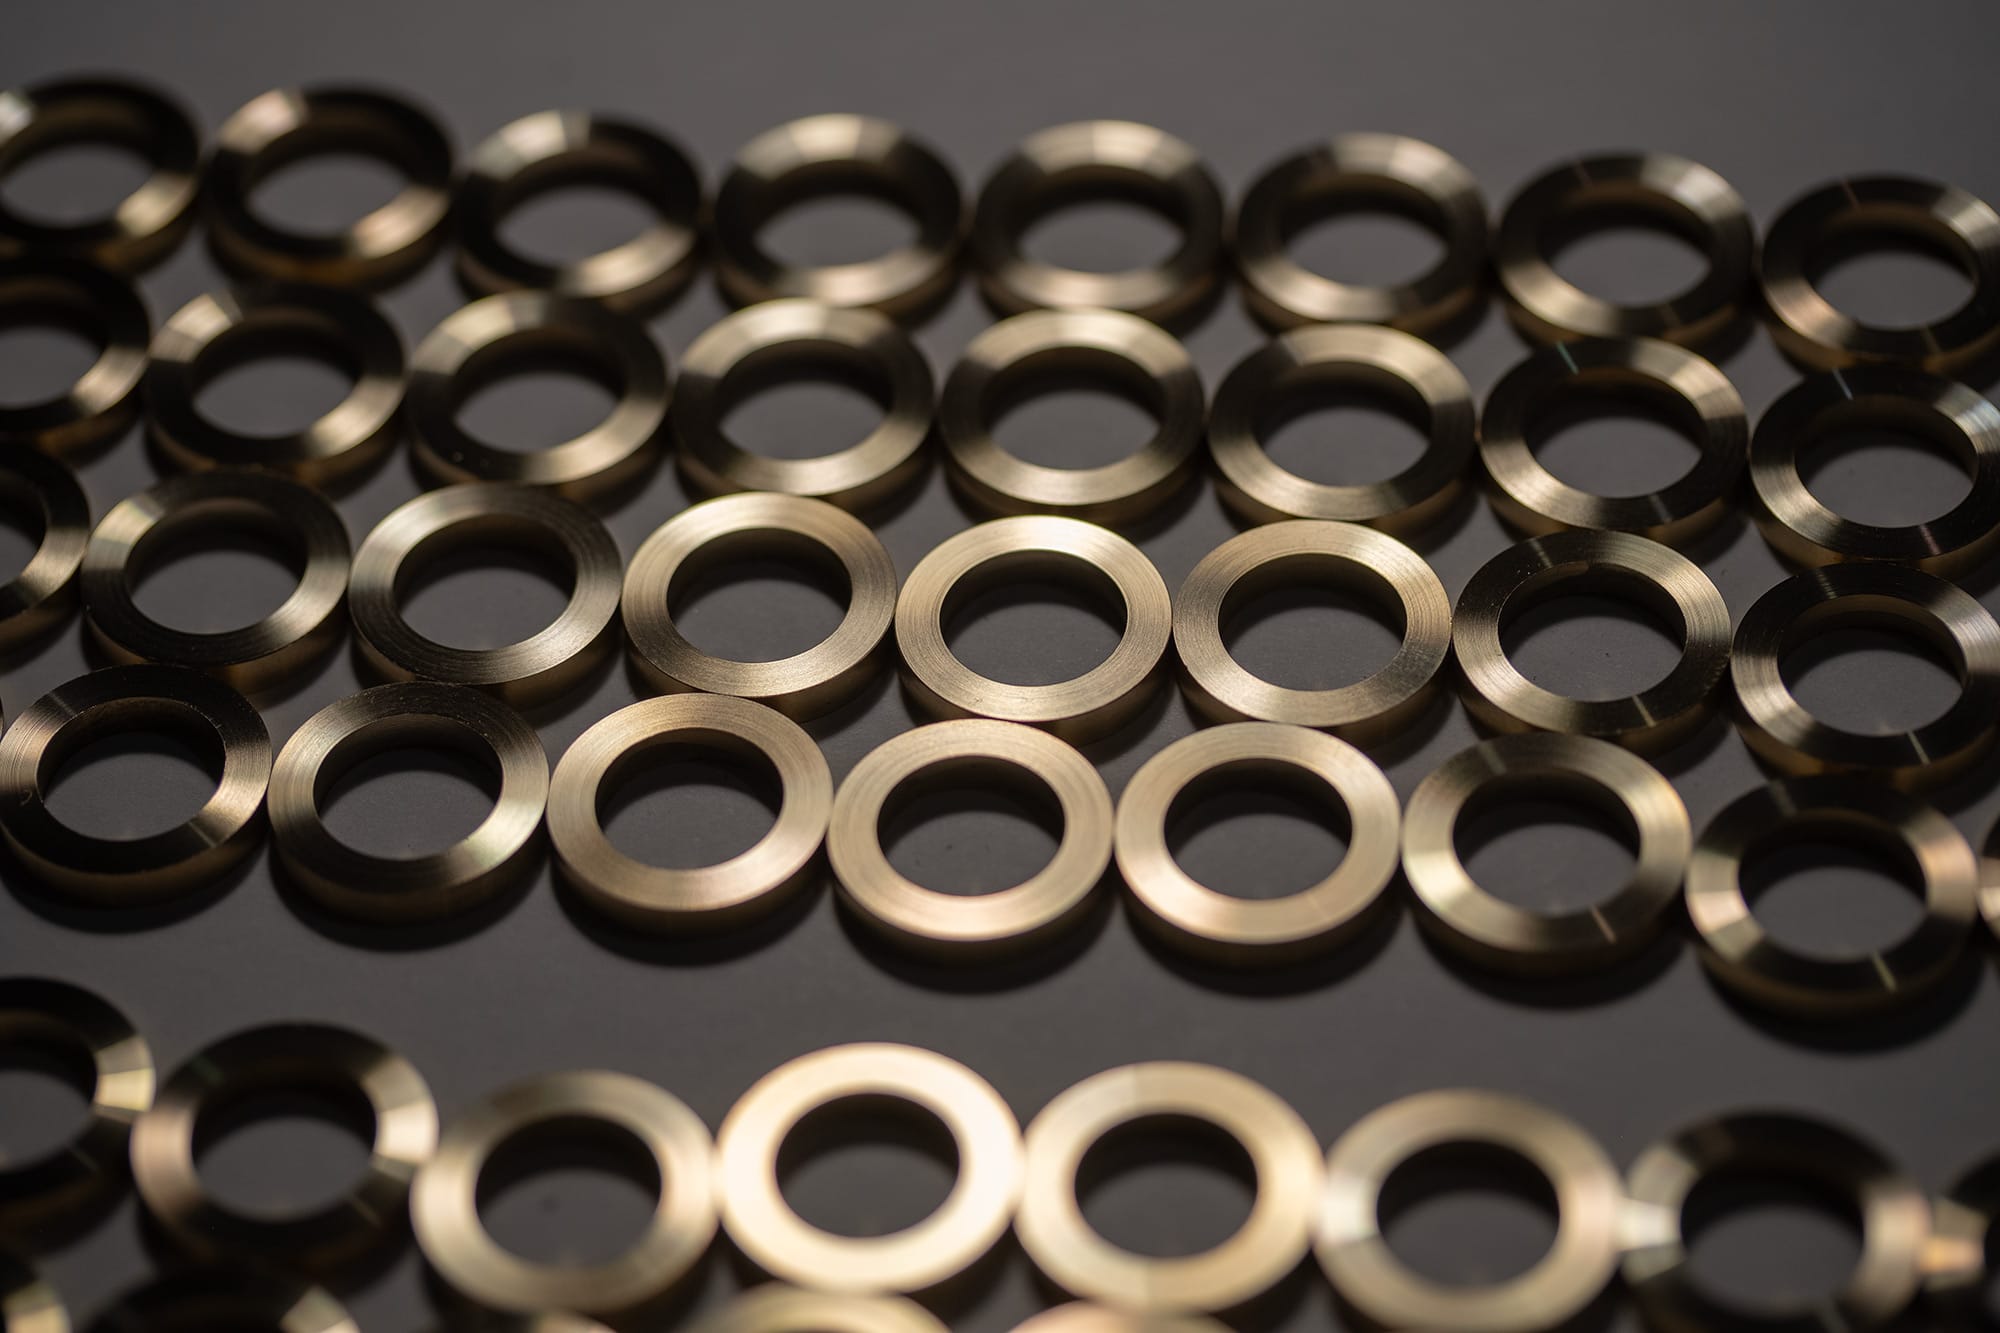
Ooh la la.
The rings comes off the lathe with machining marks on their faces and a couple sharp burrs. They're also a bit oversized on the thickness. The parting tool is not super accurate... at least with my equipment, and so I need to do a little tidying up.
The first step of tidying up is to sand one side flat. I use a piece of wet 800x sandpaper on a flat granite plate. Using a figure 8 motion to lap the part ensures that I don't introduce a bias towards one edge that would turn a flat face into a curved one. Hand lapping takes a bit of practice, but it's such a useful skill in the workshop. The same skills carry over into sharpening as well, a nice bonus!

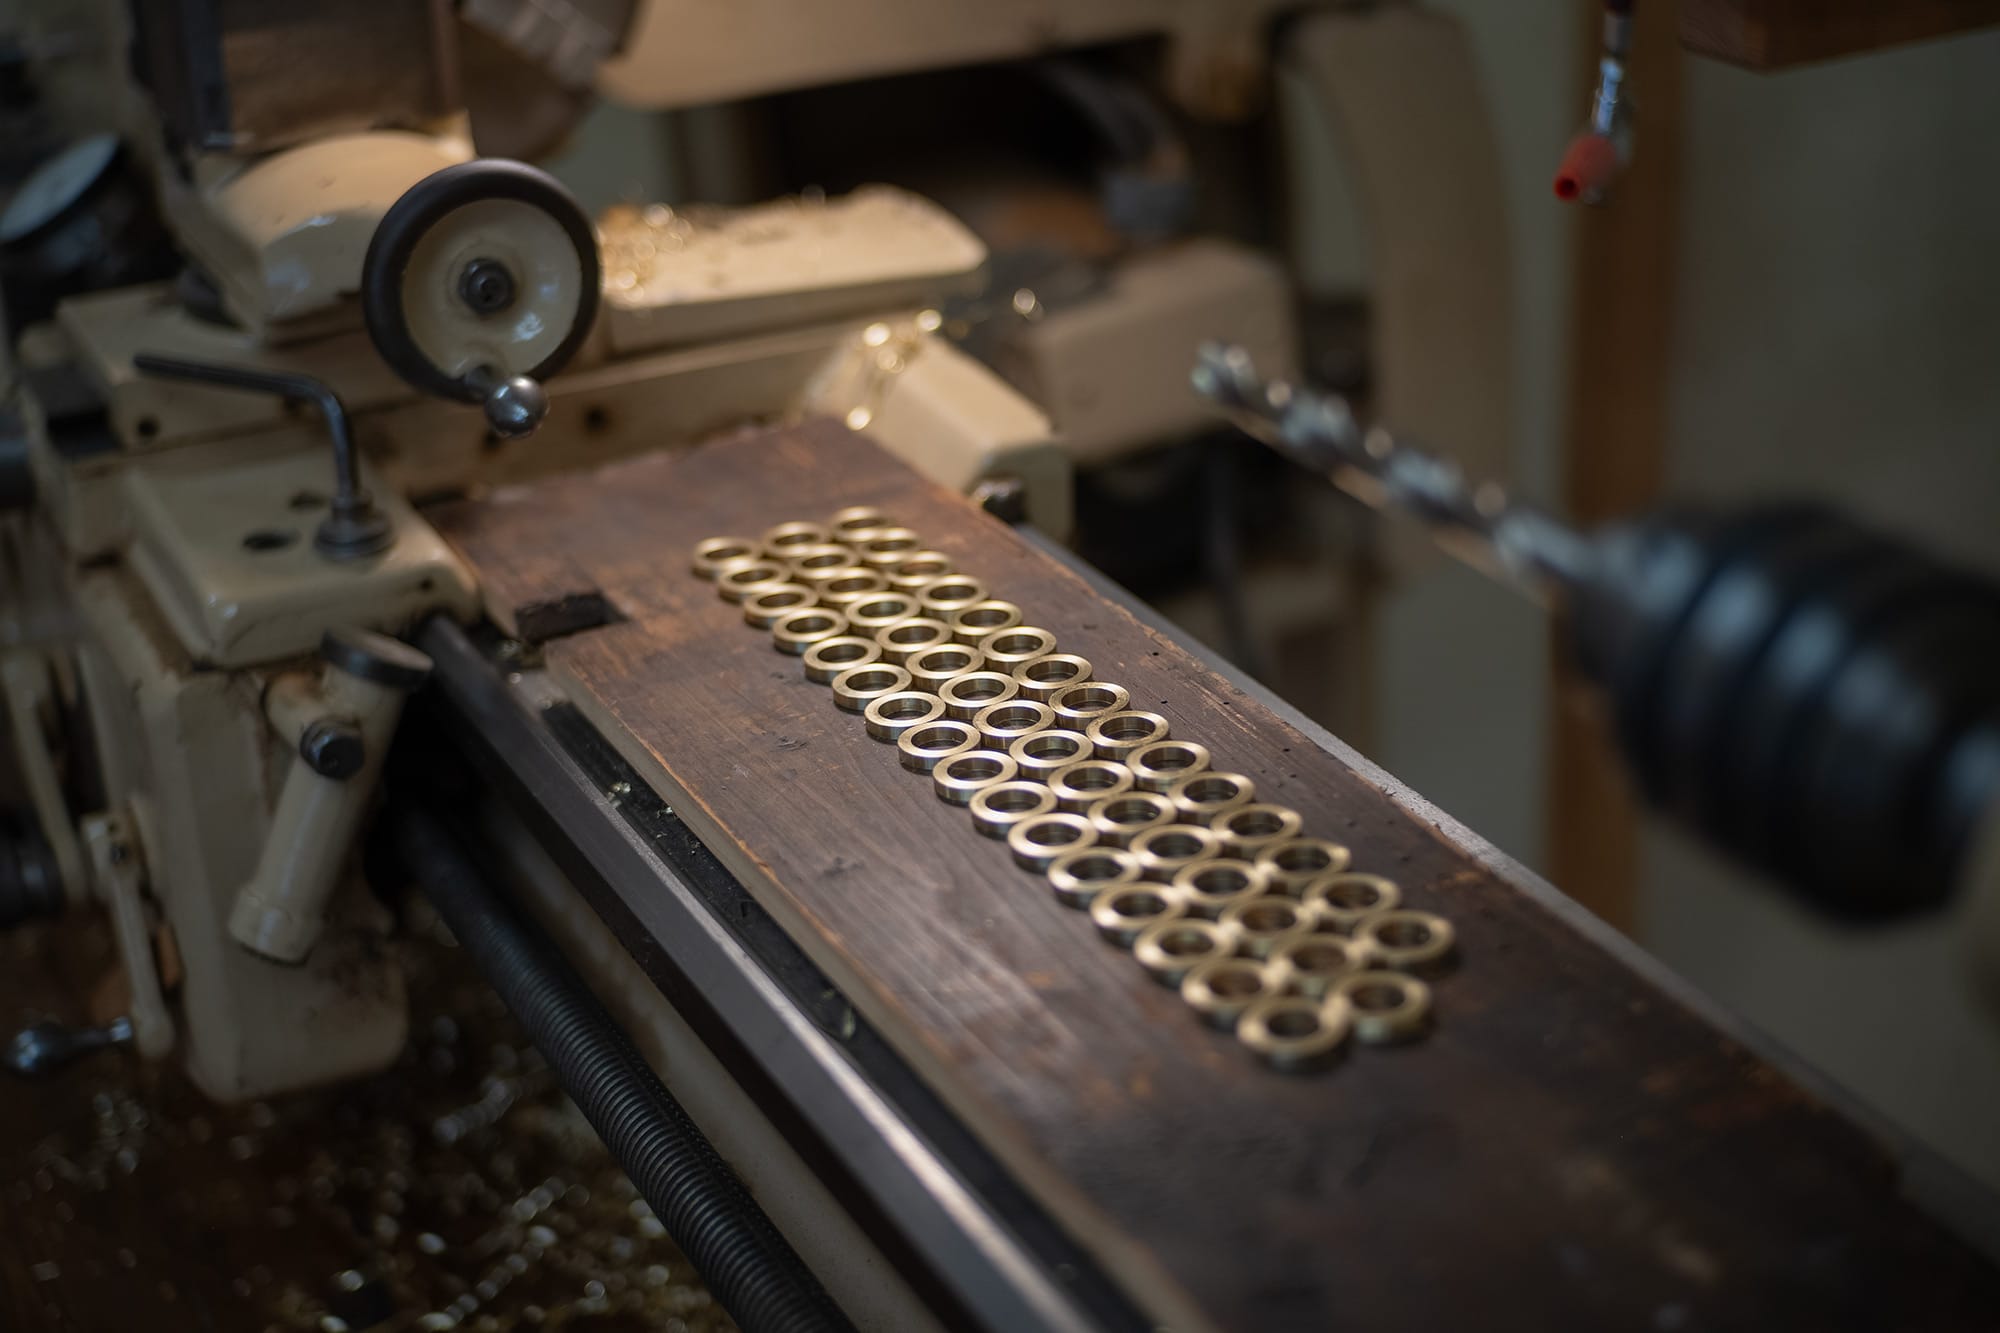
All of these faces have been lapped flat and the burrs on this side are gone.
Each ring is chucked on the small Taig lathe and a freshly sharpened tool is used to take a final face cut. This brings each ring into the exact 0.125" thickness and also cuts a smoother surface that'll be easier to polish later on.
Since this brass ring is a major visual element on the Toad it needs to have a nice surface finish. A mirror polished piece of brass is susceptible to scratching and can start looking poorly if not babied. Often, it's better to go with a more satin semi-polished look, with a very fine scratch pattern that helps hide wear n' tear. The radial scratch pattern created by the lathe is a perfect starting point. All future hand polishing steps are also done on the lathe to maintain that radial scratch pattern.
A tiny bevel is added to the inside edge of the brass, this will help the heater module to slide into the ring easier and sit flush against its face. This tiny relief also gives dust particles a place to go so that they doesn't interfere with the electrical connection.
The inside surface and the bevel will be further refined with sandpaper in a later step.
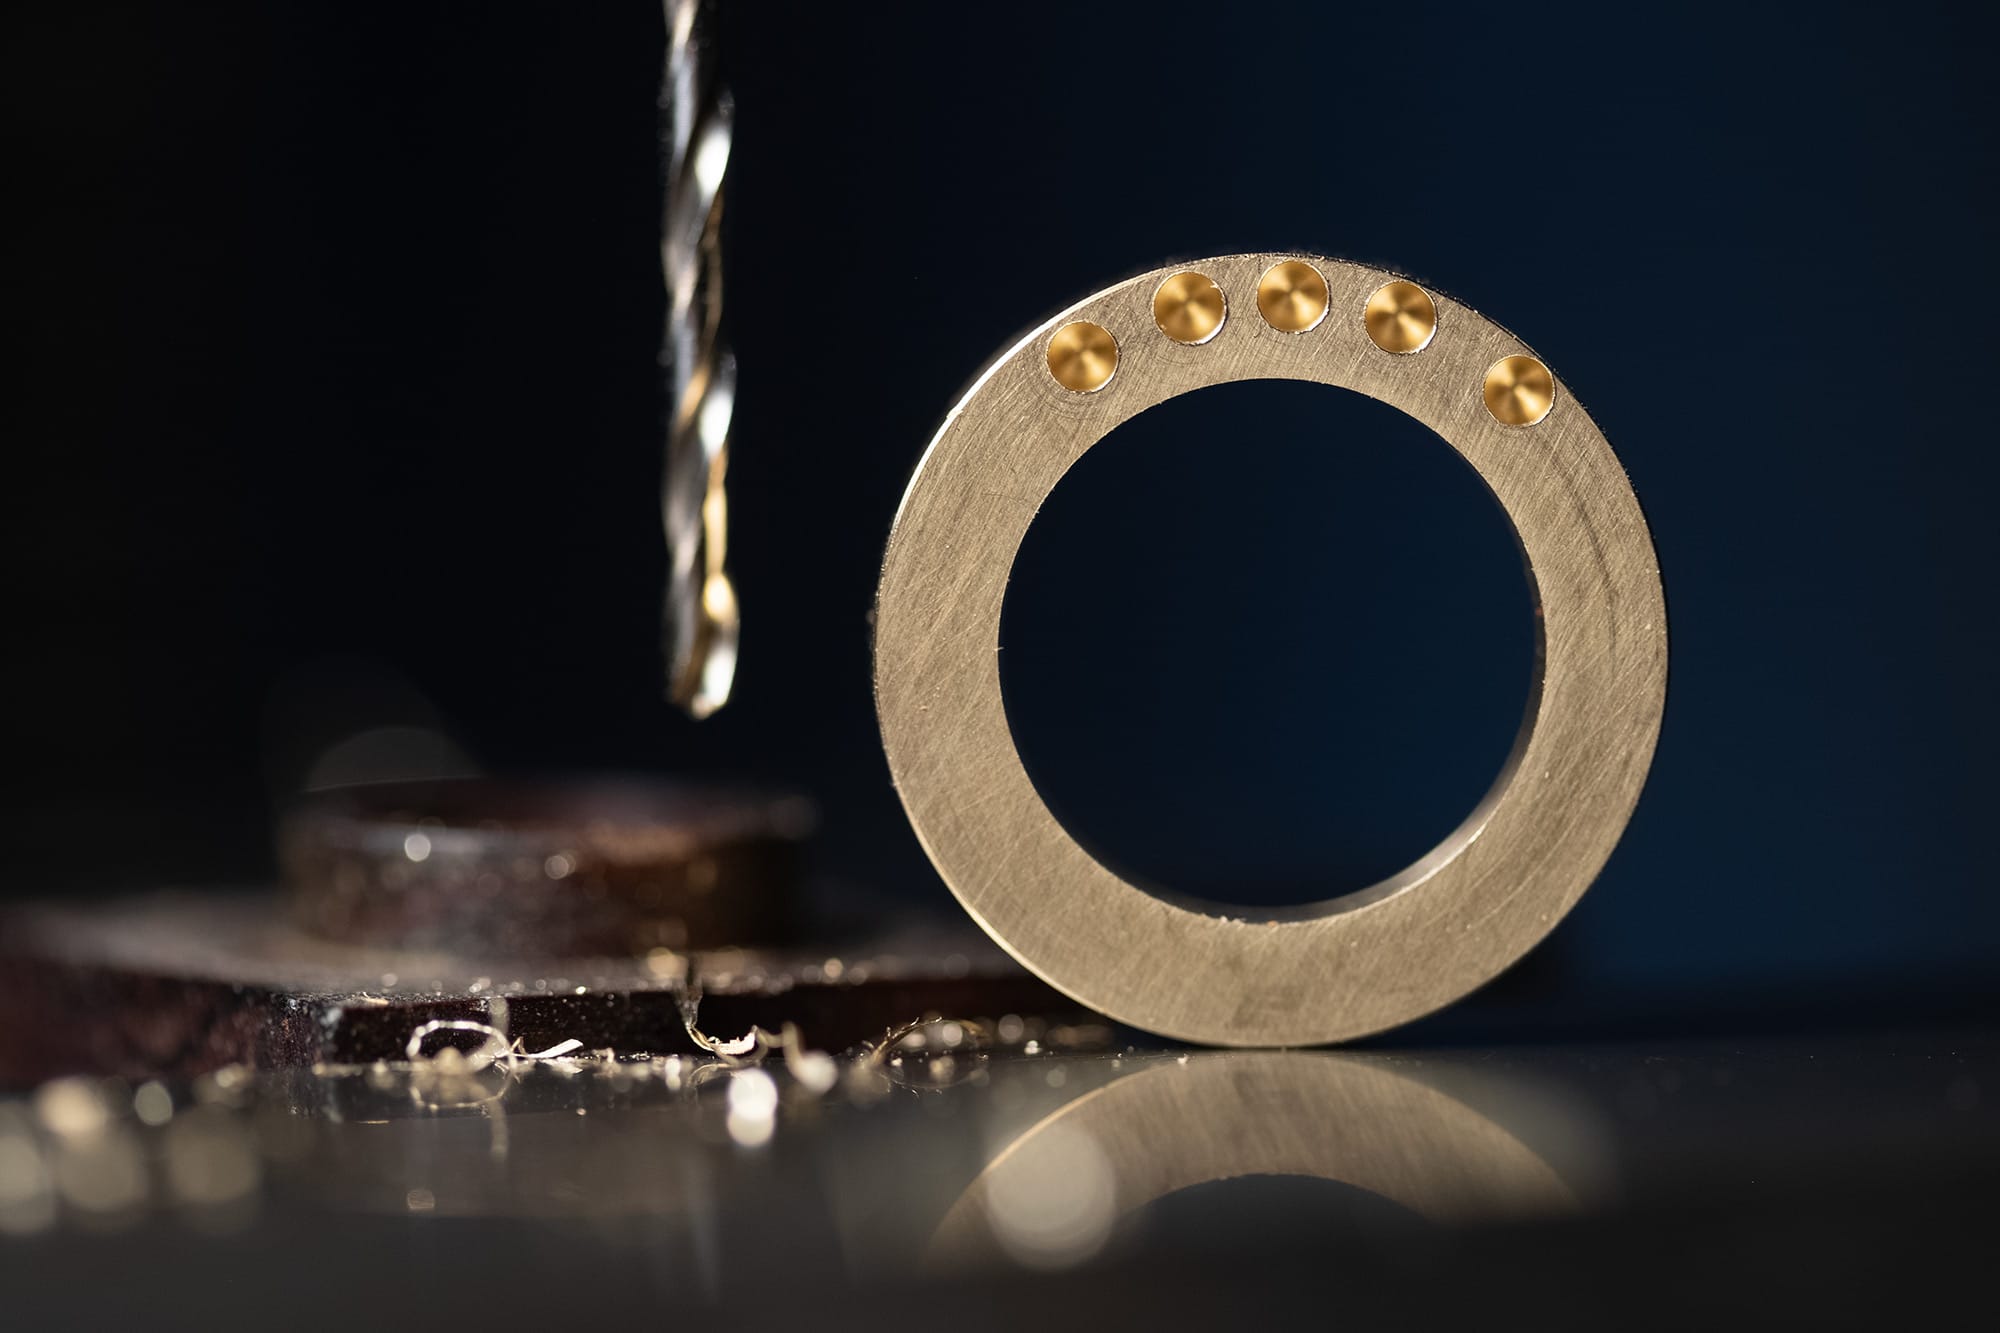
Here, I'm making a test piece to set up the milling machine. Each hole gets progressively closer to the outside edge of the ring until it starts to bust out the side. The hole must be as close as possible to the edge. You'll see why later.
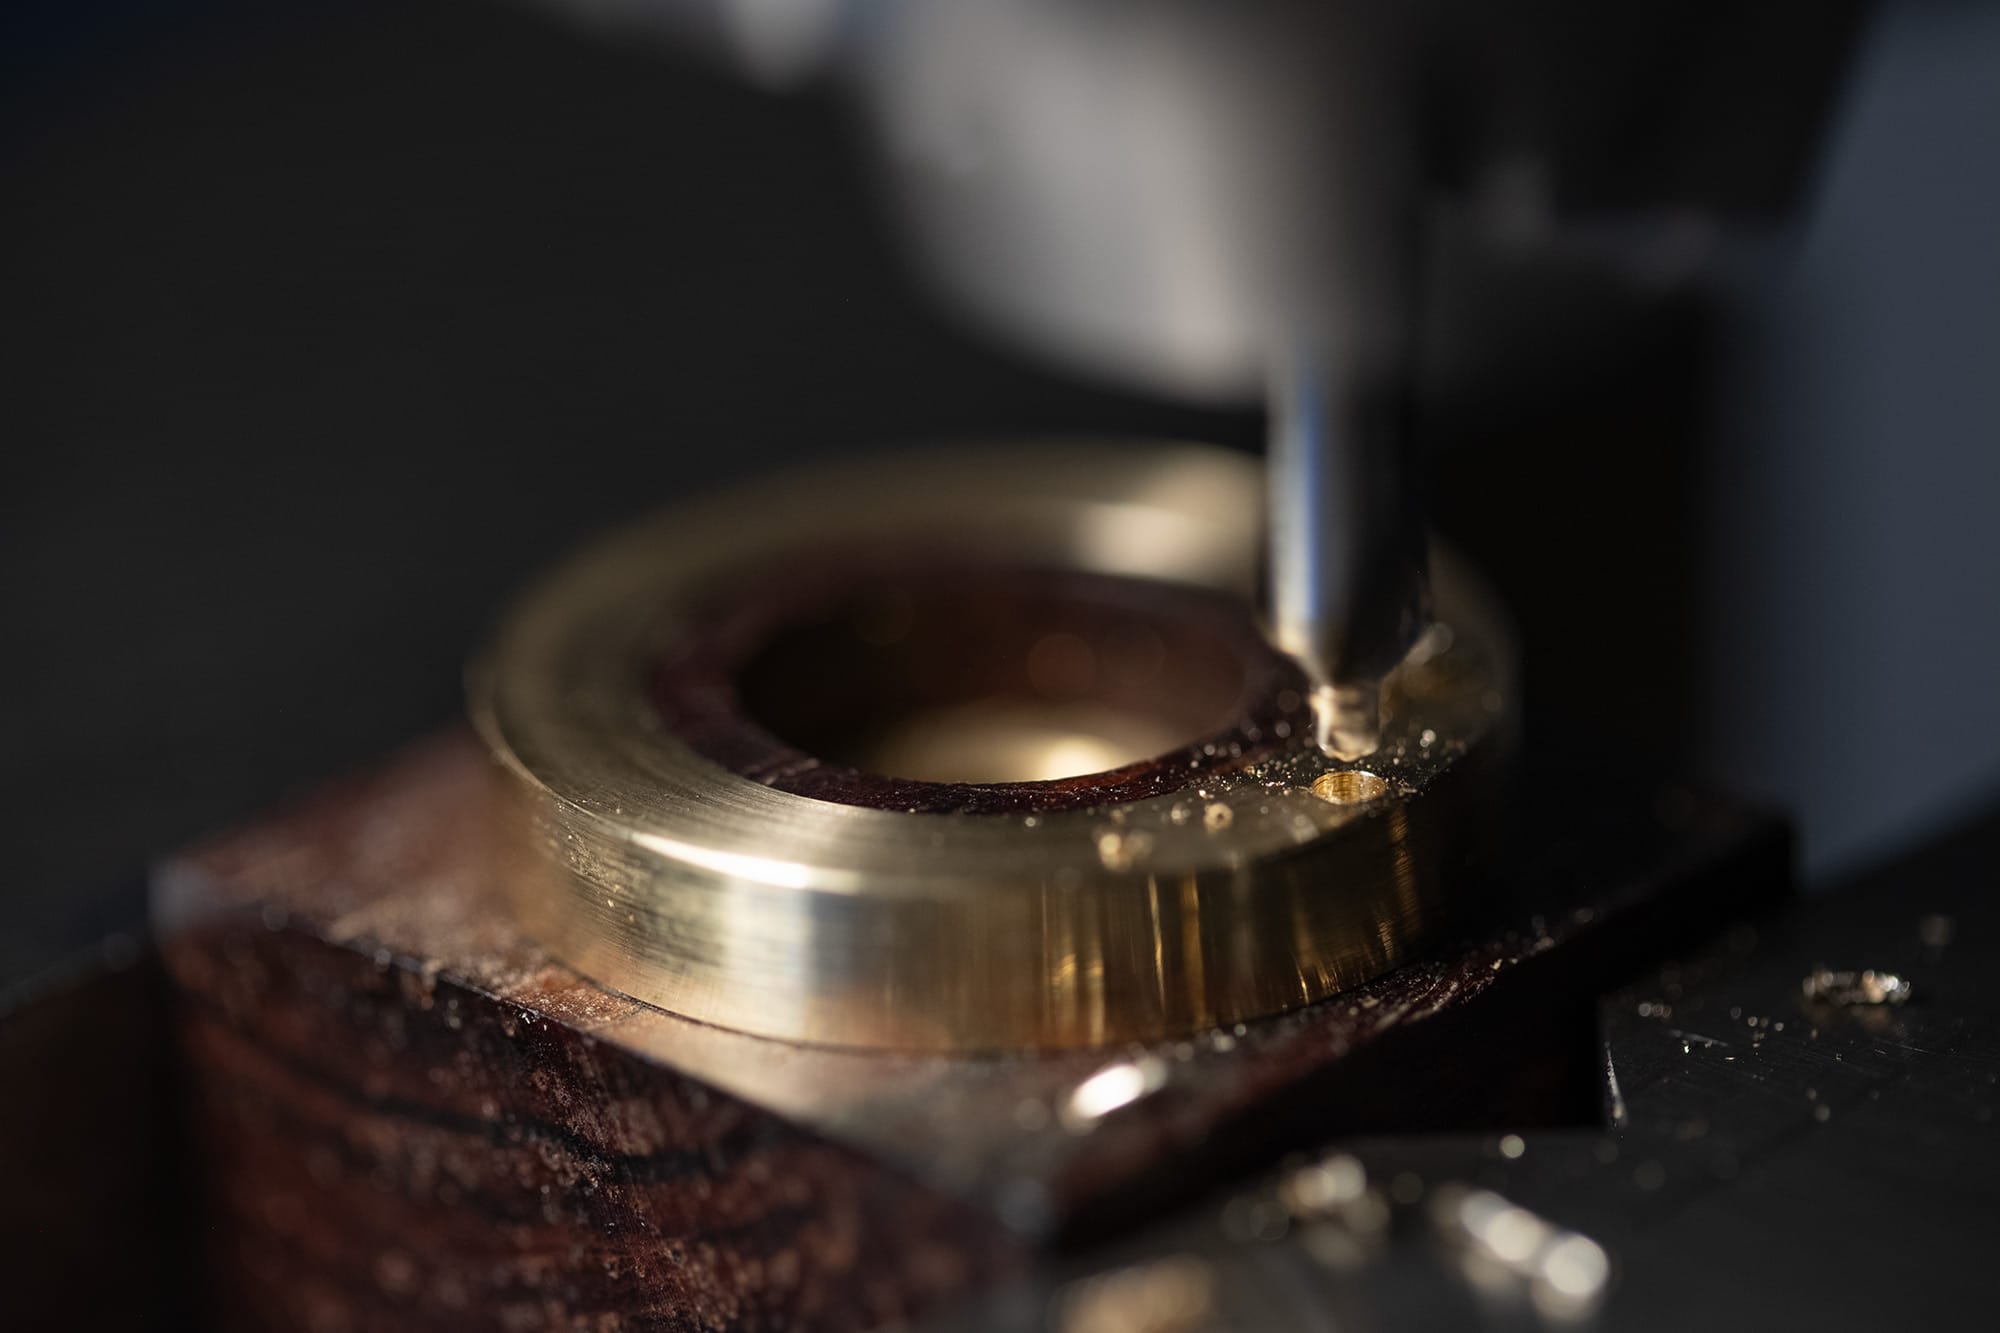
With the milling machine set up, I mount each ring onto a wooden fixture block to drill the mounting hole for a copper pin. I start with this center drill and then finish up with a stubby twist drill to final depth.

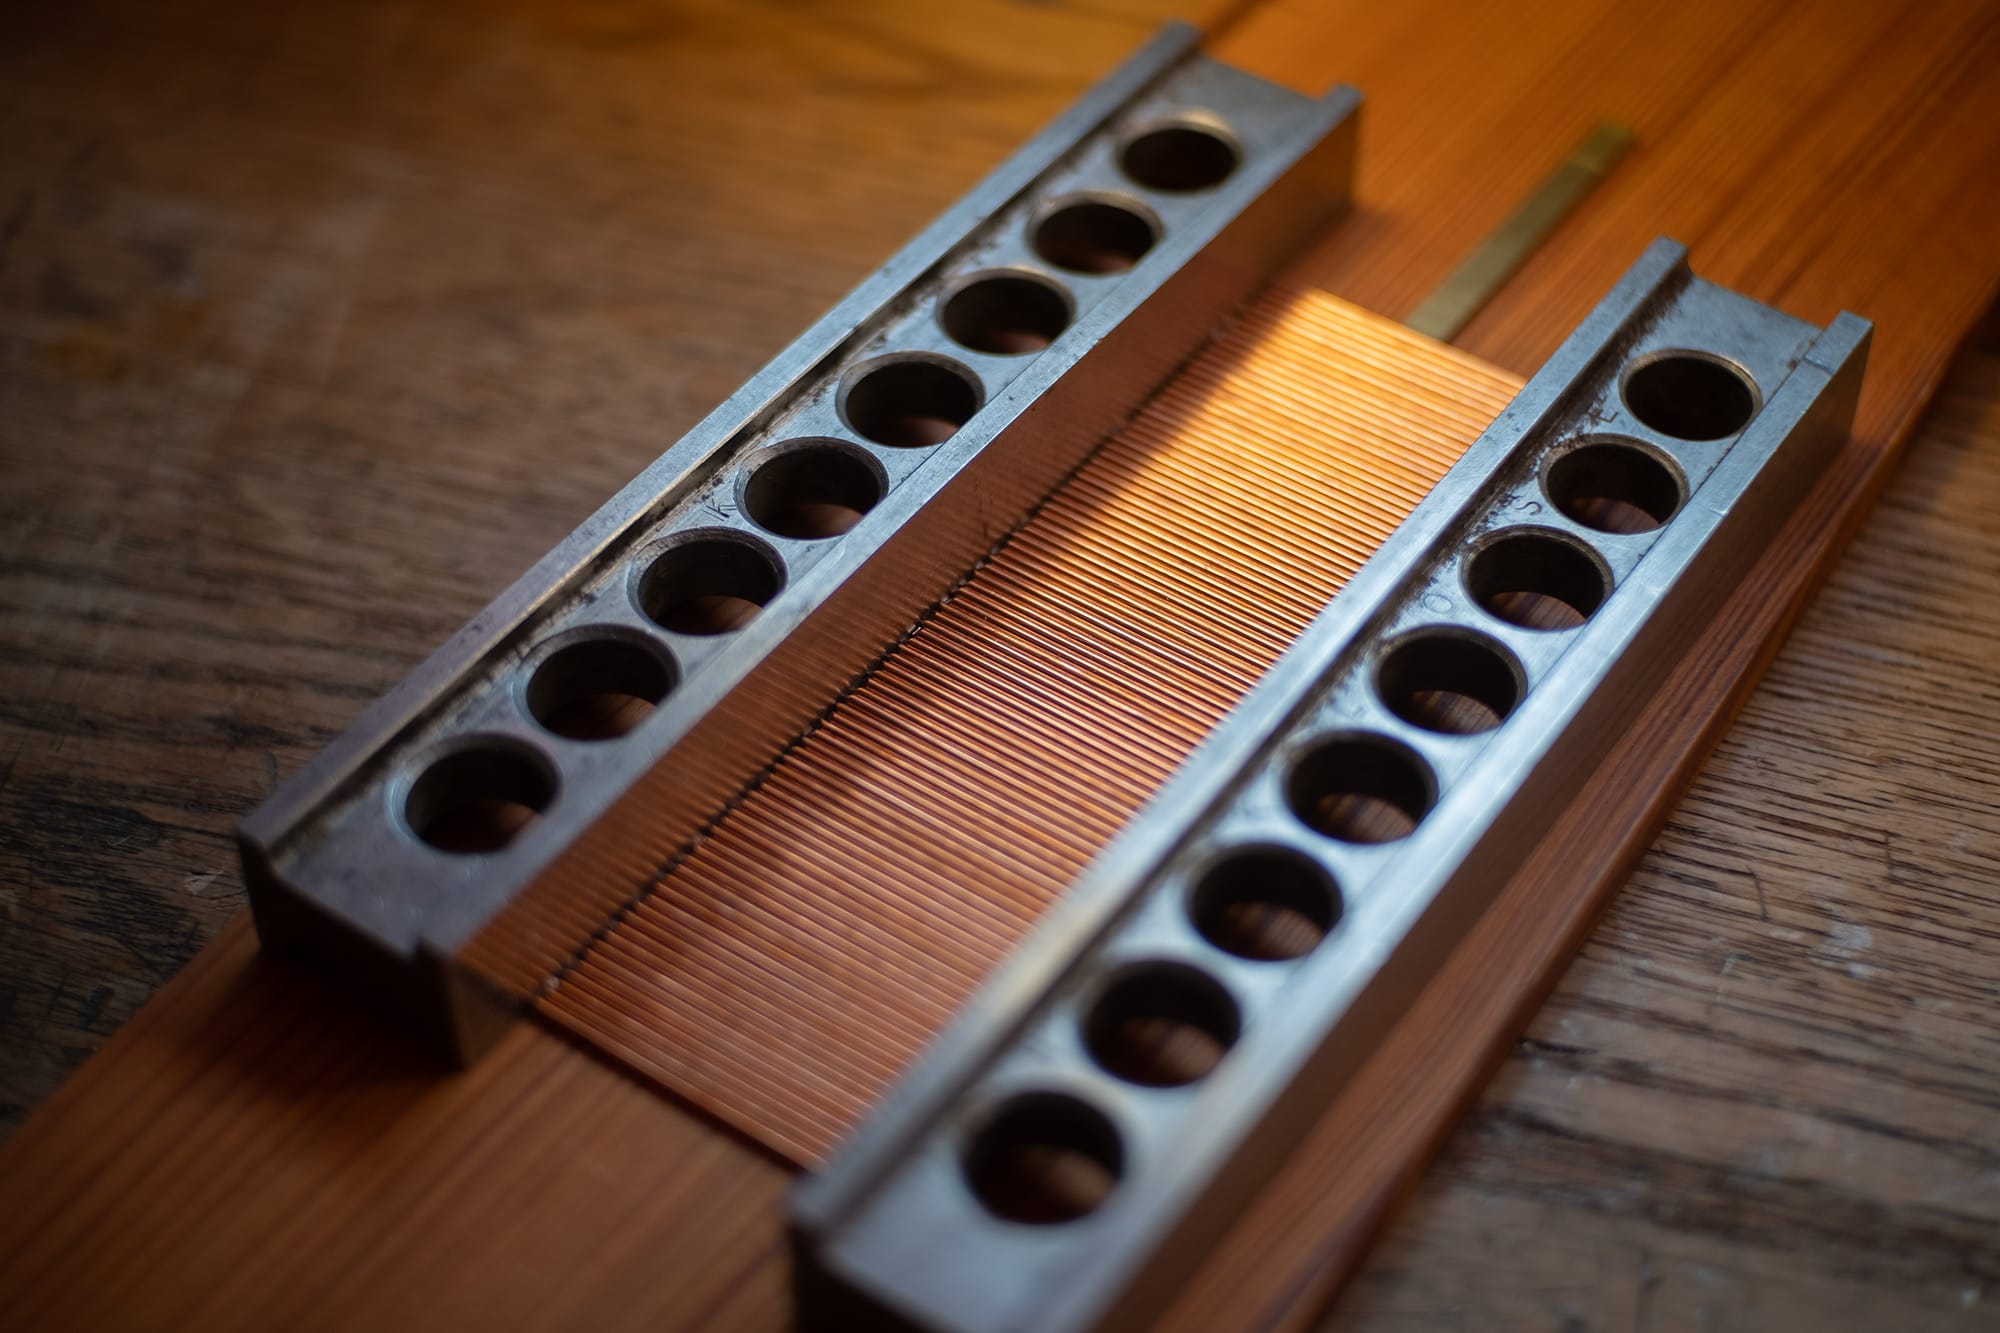
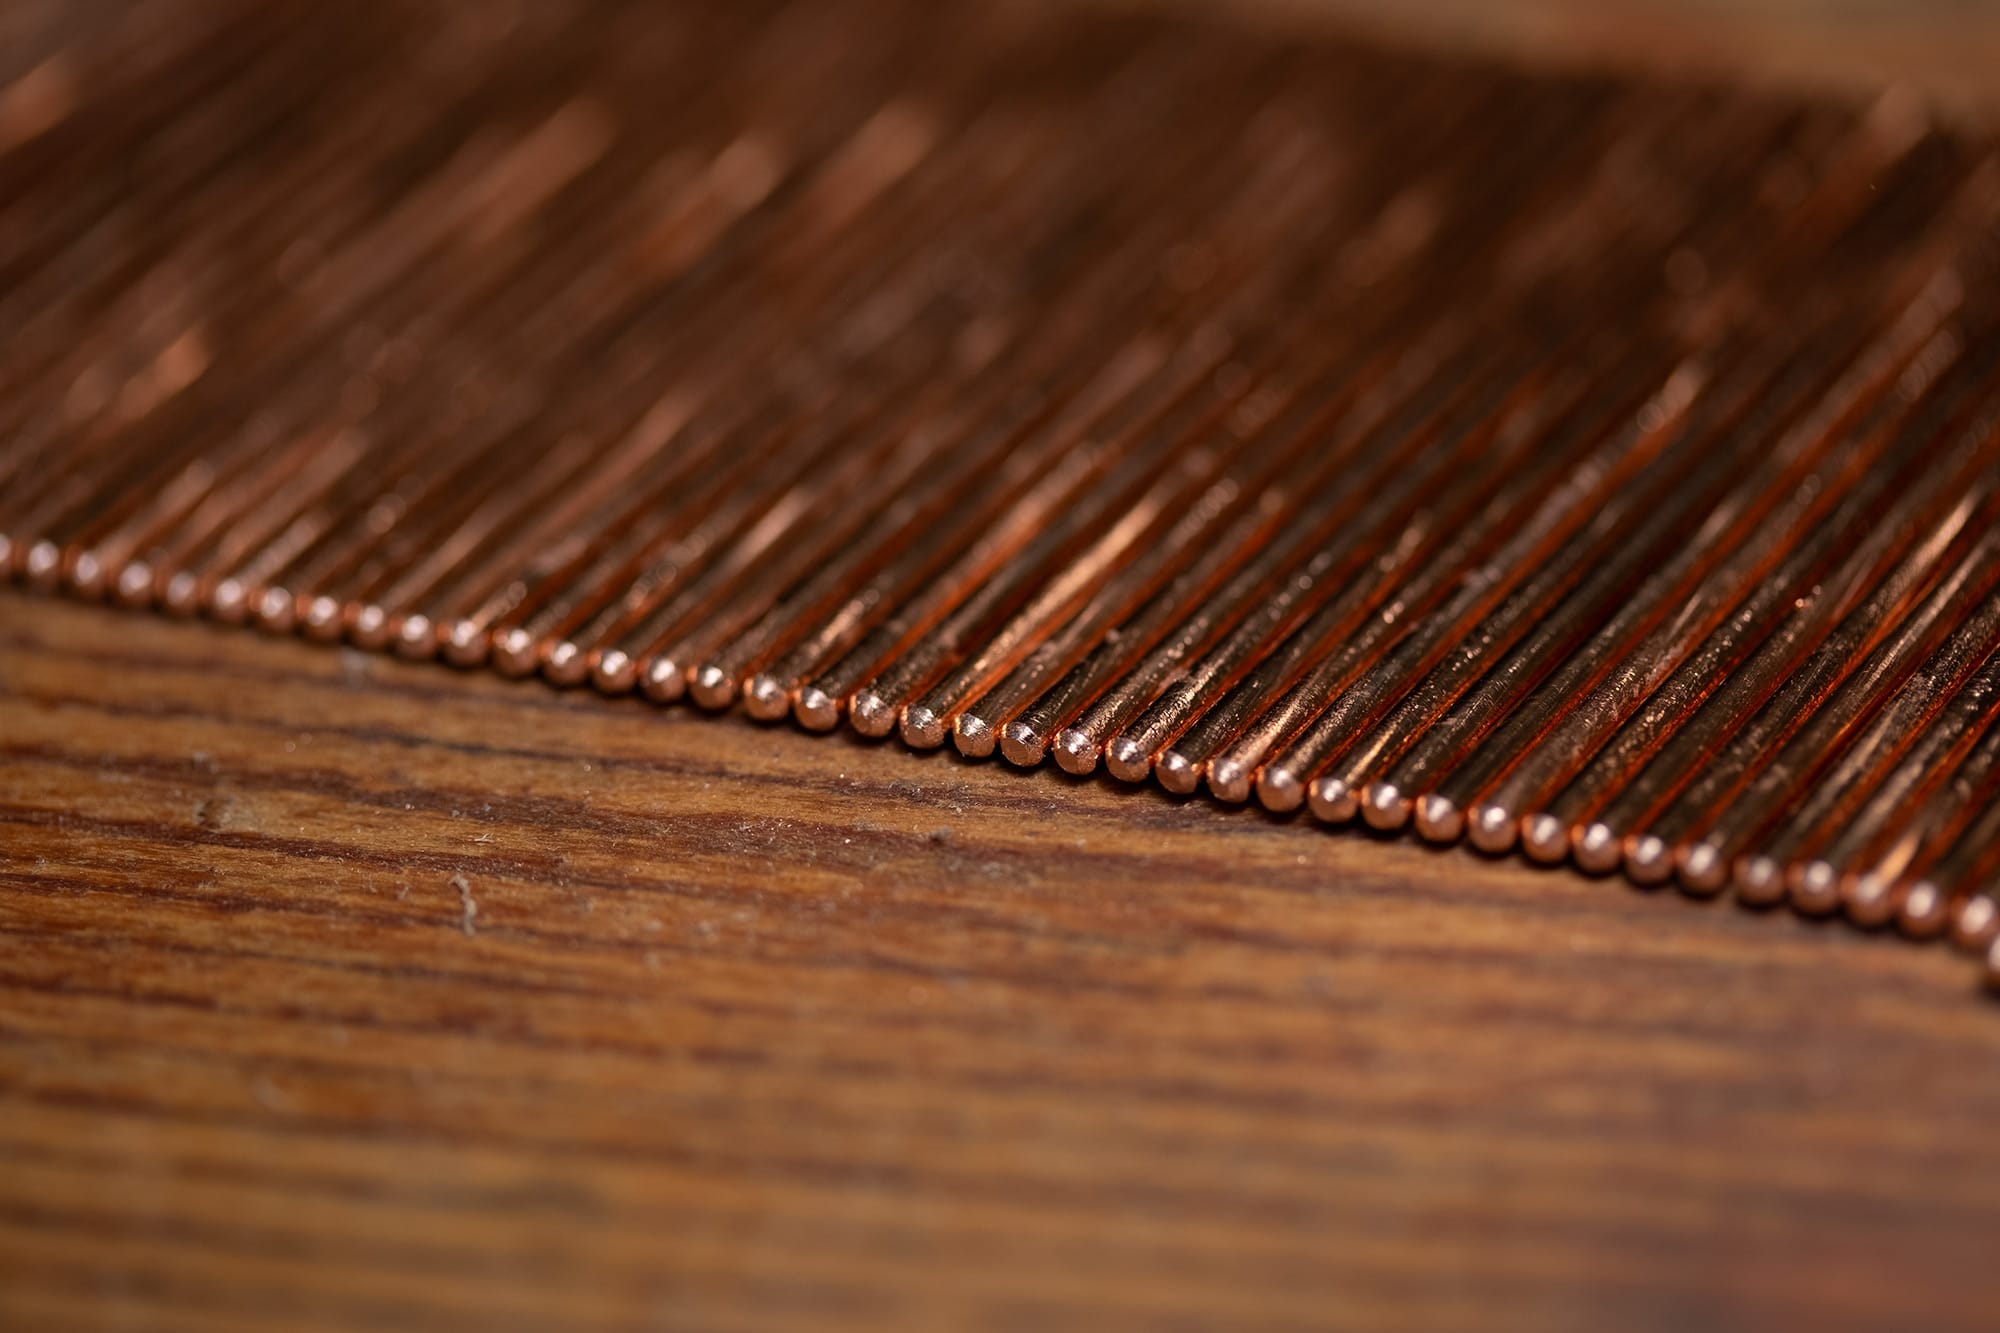
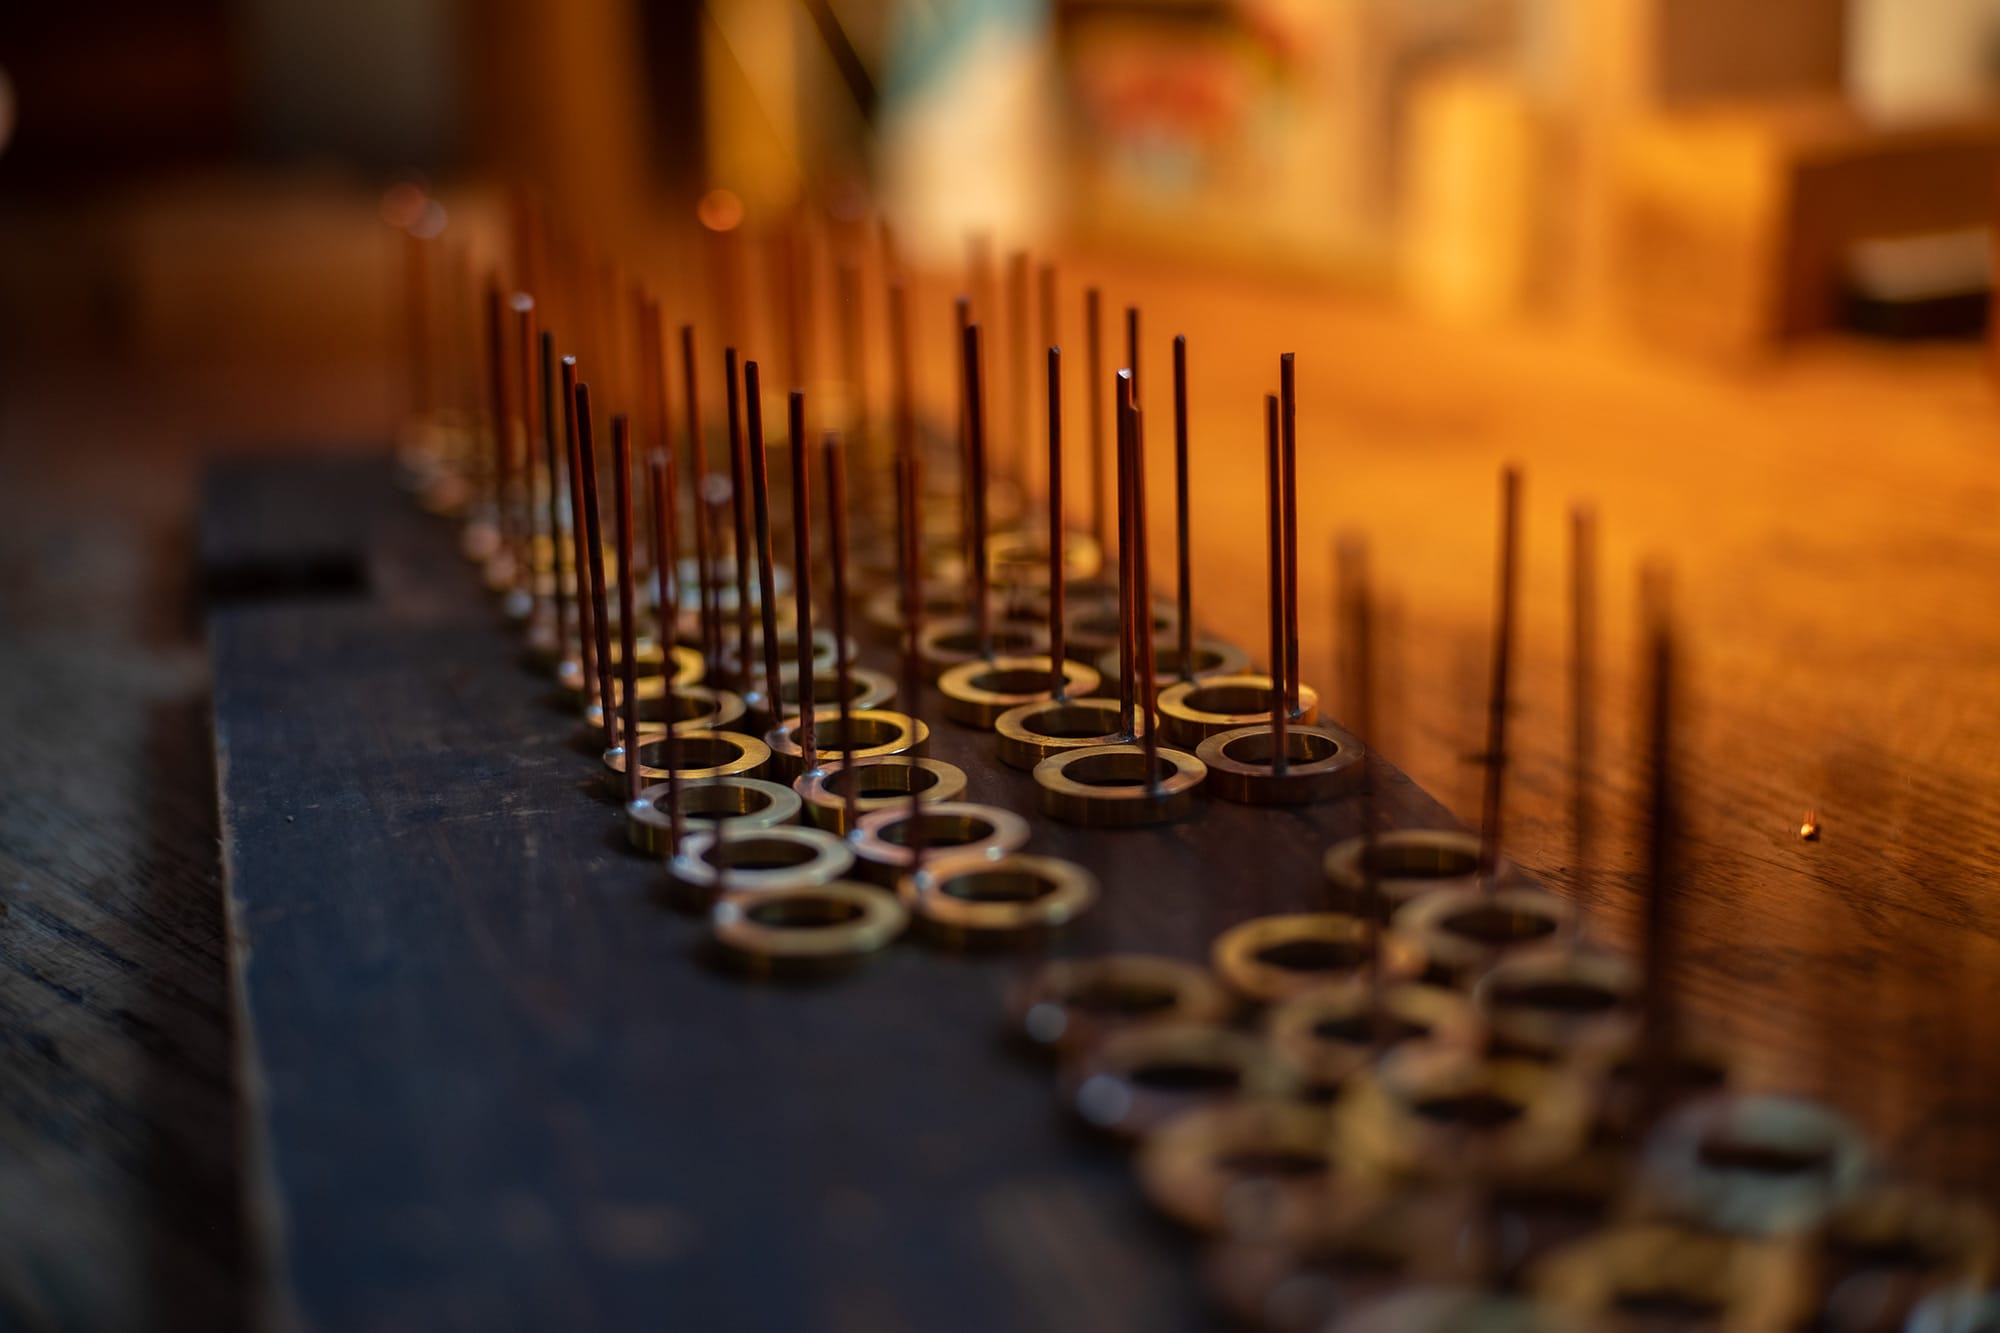
Each ring is attached to a hidden copper electrical pathway that snakes its way through the wooden Toad body and up into the button area. The copper pins that make up this pathway are first cut to size using this rudimentary jig. It's essentially blocks of wood taped to my desk and a pair of side cutters mounted in a vice. Easy way to cut each pin to the same length.
The pins are laid out so that I can tape em' up with masking tape. I roll the flat strip of pins and tape into a spiral and wrap that again in tape to create a little bundle of pins.
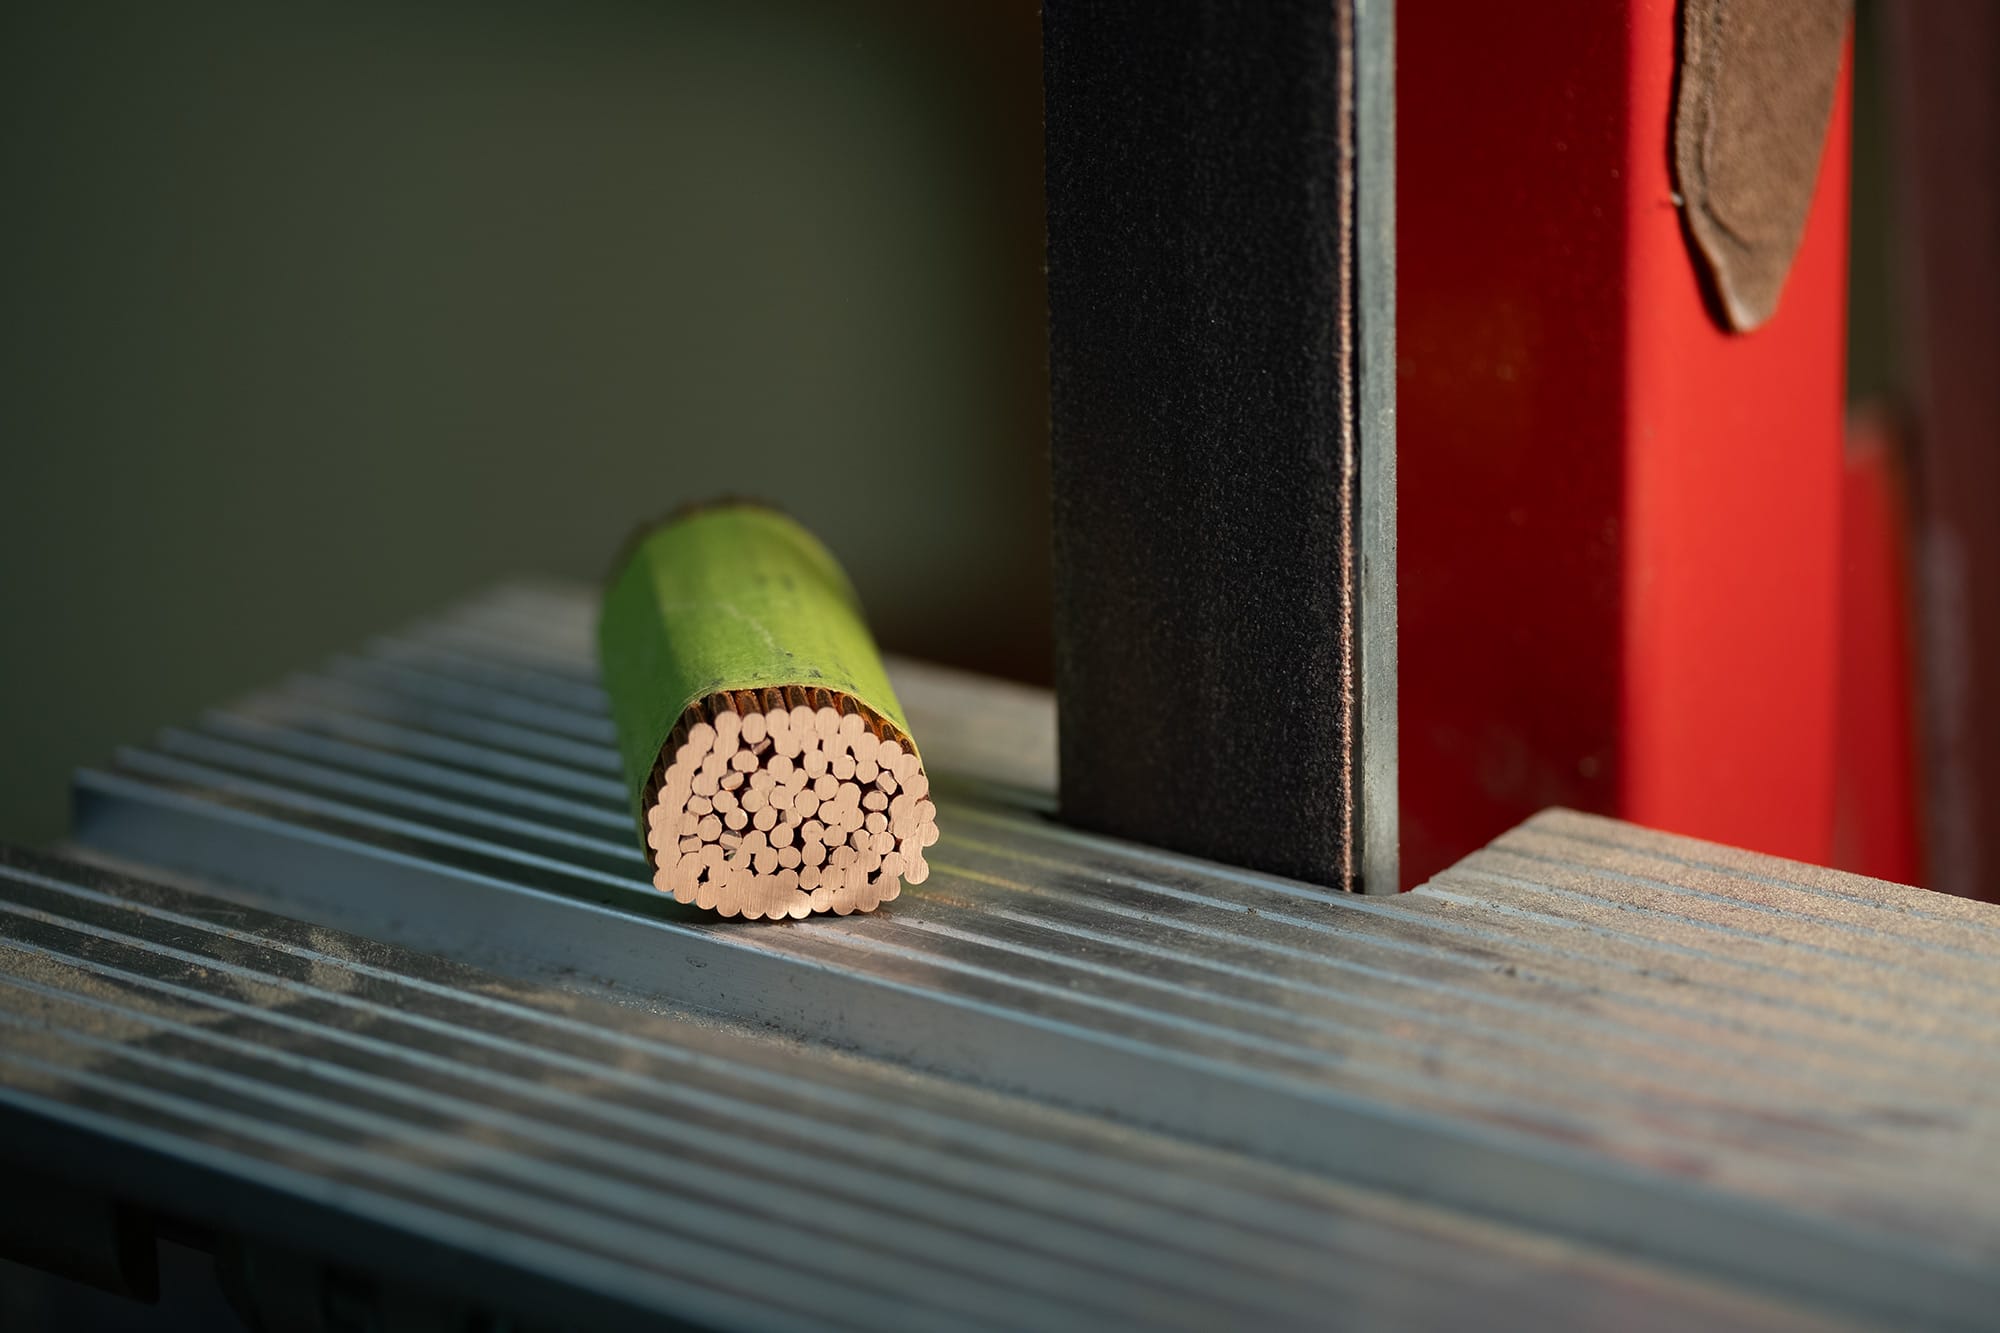
The bundle is sanded on the belt sander to create a flat end on each pin.
The same belt sander is then used to create a bevel on the flat end of each pin. I just do this manually, one pin at a time. The bevel allows easier insertion into the hole that I drilled into the brass rings. Also, because the bevel closely matches the angle at the tip of my drill bits, the pin will be able to sit as deep into the hole as possible.

The end of each pin is squished in a vice just a teeeny tiny bit to create a slightly oval end. My low-tech version of swaging. This 'swaged' end is then press fit into the brass rings. The oval shape creates a special type of press fit that has a few advantages...
For the strongest mechanical connection you might want to opt for a completely airtight press fit between the brass and copper. But, on this scale, a reliable press fit is very hard to achieve. The risk of a failed press fit is far too high.
A solder-only joint is way easier to get repeatable results from but it lacks mechanical strength and can, over long periods of time, crack and fail.
I'm using a hybrid approach called a solder assisted press fit. It's half press fit, half solder. This method gives you the mechanical strength of a press fit and the reliability of solder.
If you imagine pressing an oval pin into a round hole, you'll have two points of contact between the base materials, this is your press fit. You'll also have two air gaps, this is where solder will flow into.
With this approach I'm hoping that I'll never have a failure at this joint, not now, and not in 10, 20... 50 years. So far so good!
These parts are ready for the next steps.
And now I wanted to show off what's been going on with those pin/choke cherry burls I harvested this past winter, last seen in Toad Craft 02
They've been drying outside with the bark on for a few months and so they were more than ready to be cut up into blocks and Toad stem blanks.
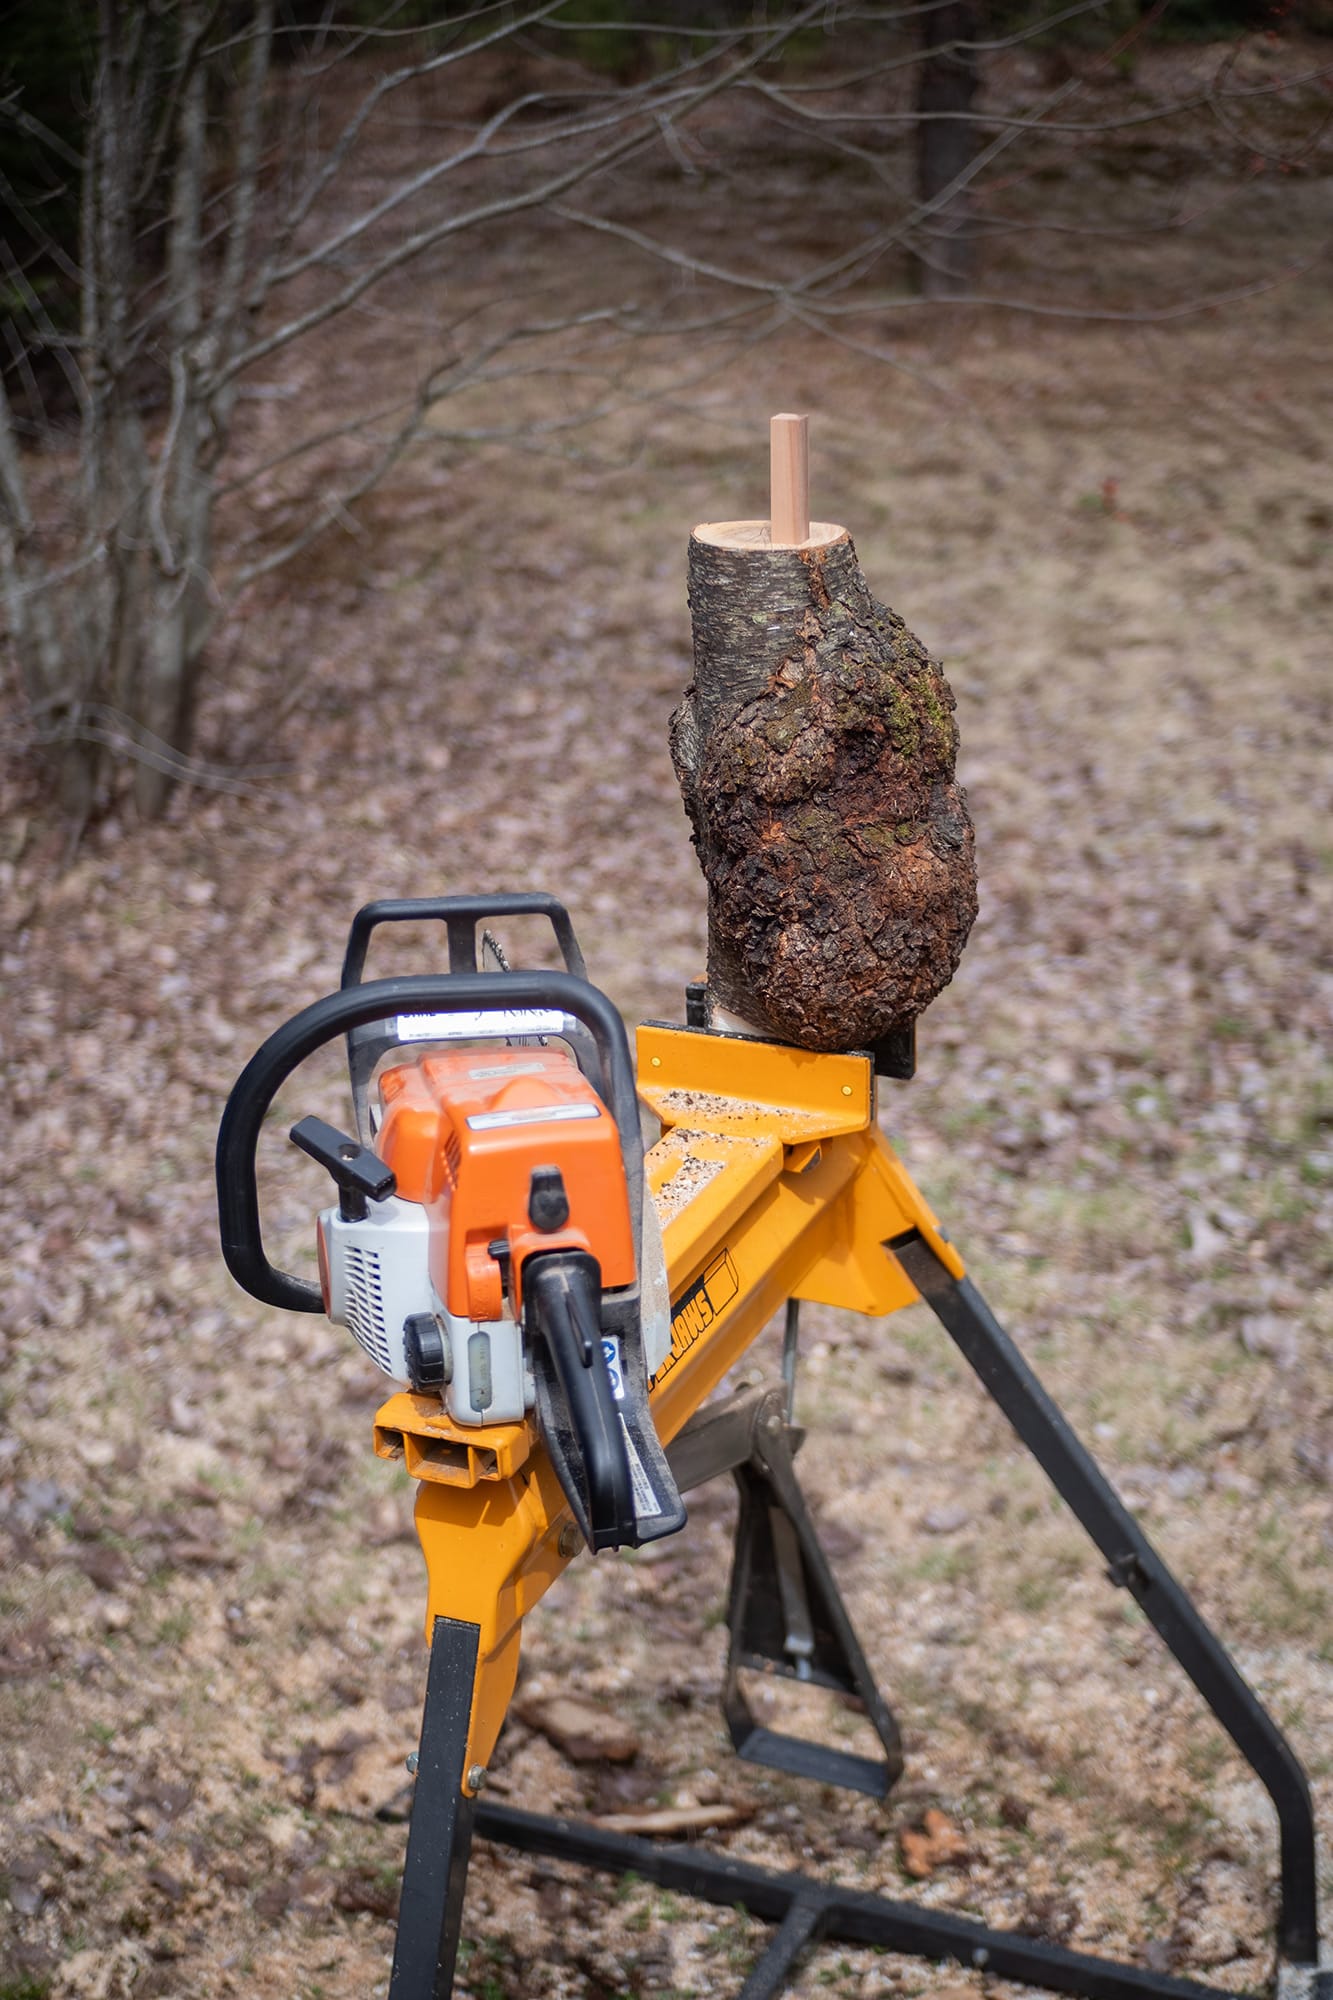
I use this handy stand-alone vice to hold the burls that'll be cut open with a chainsaw.
The first cuts are always so exciting!
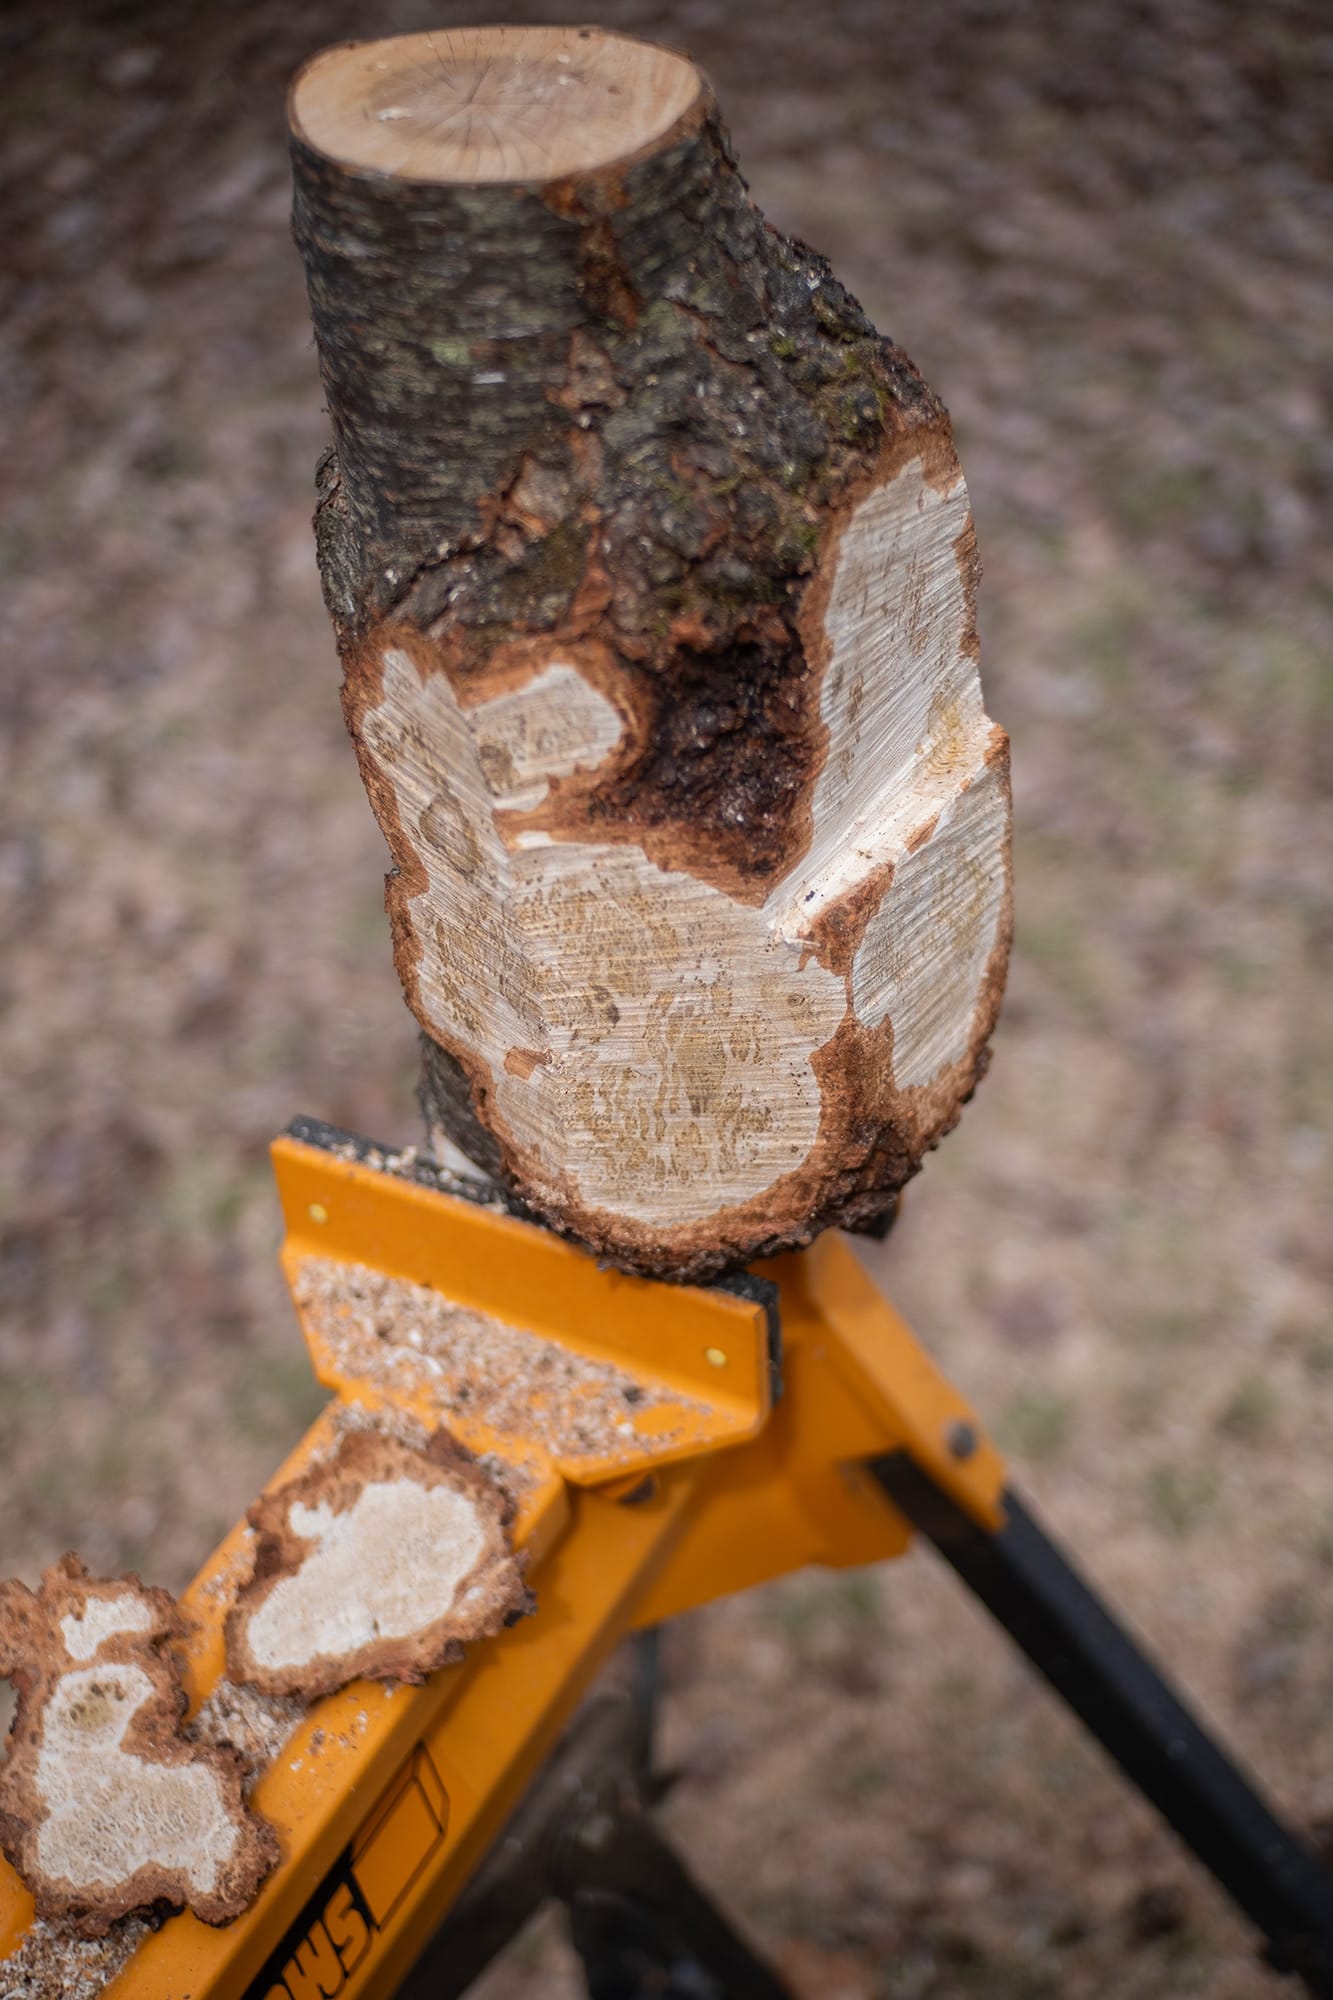
Lookin' solid.
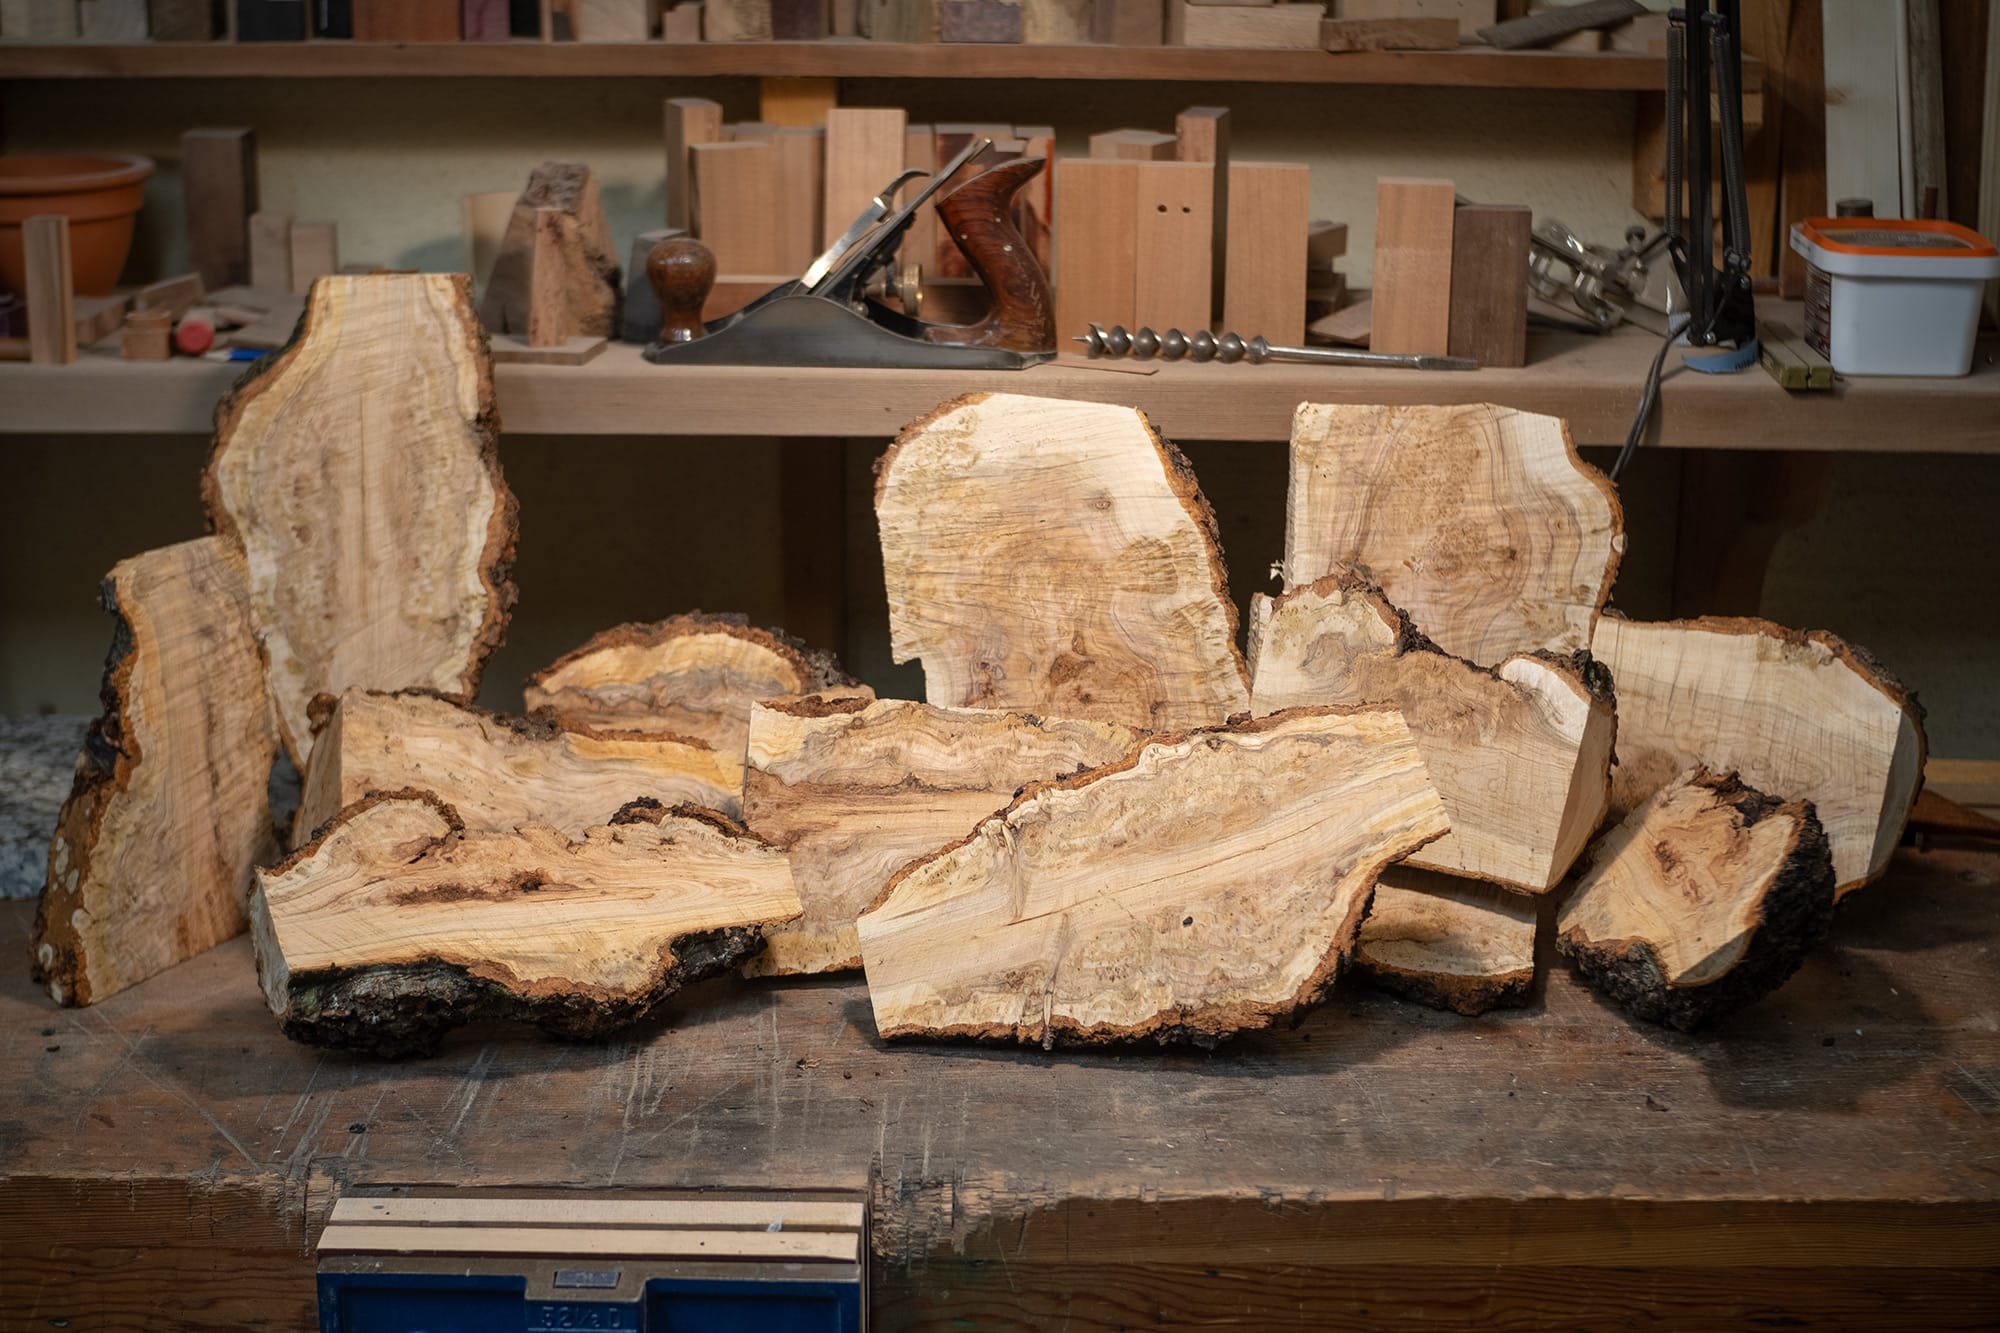
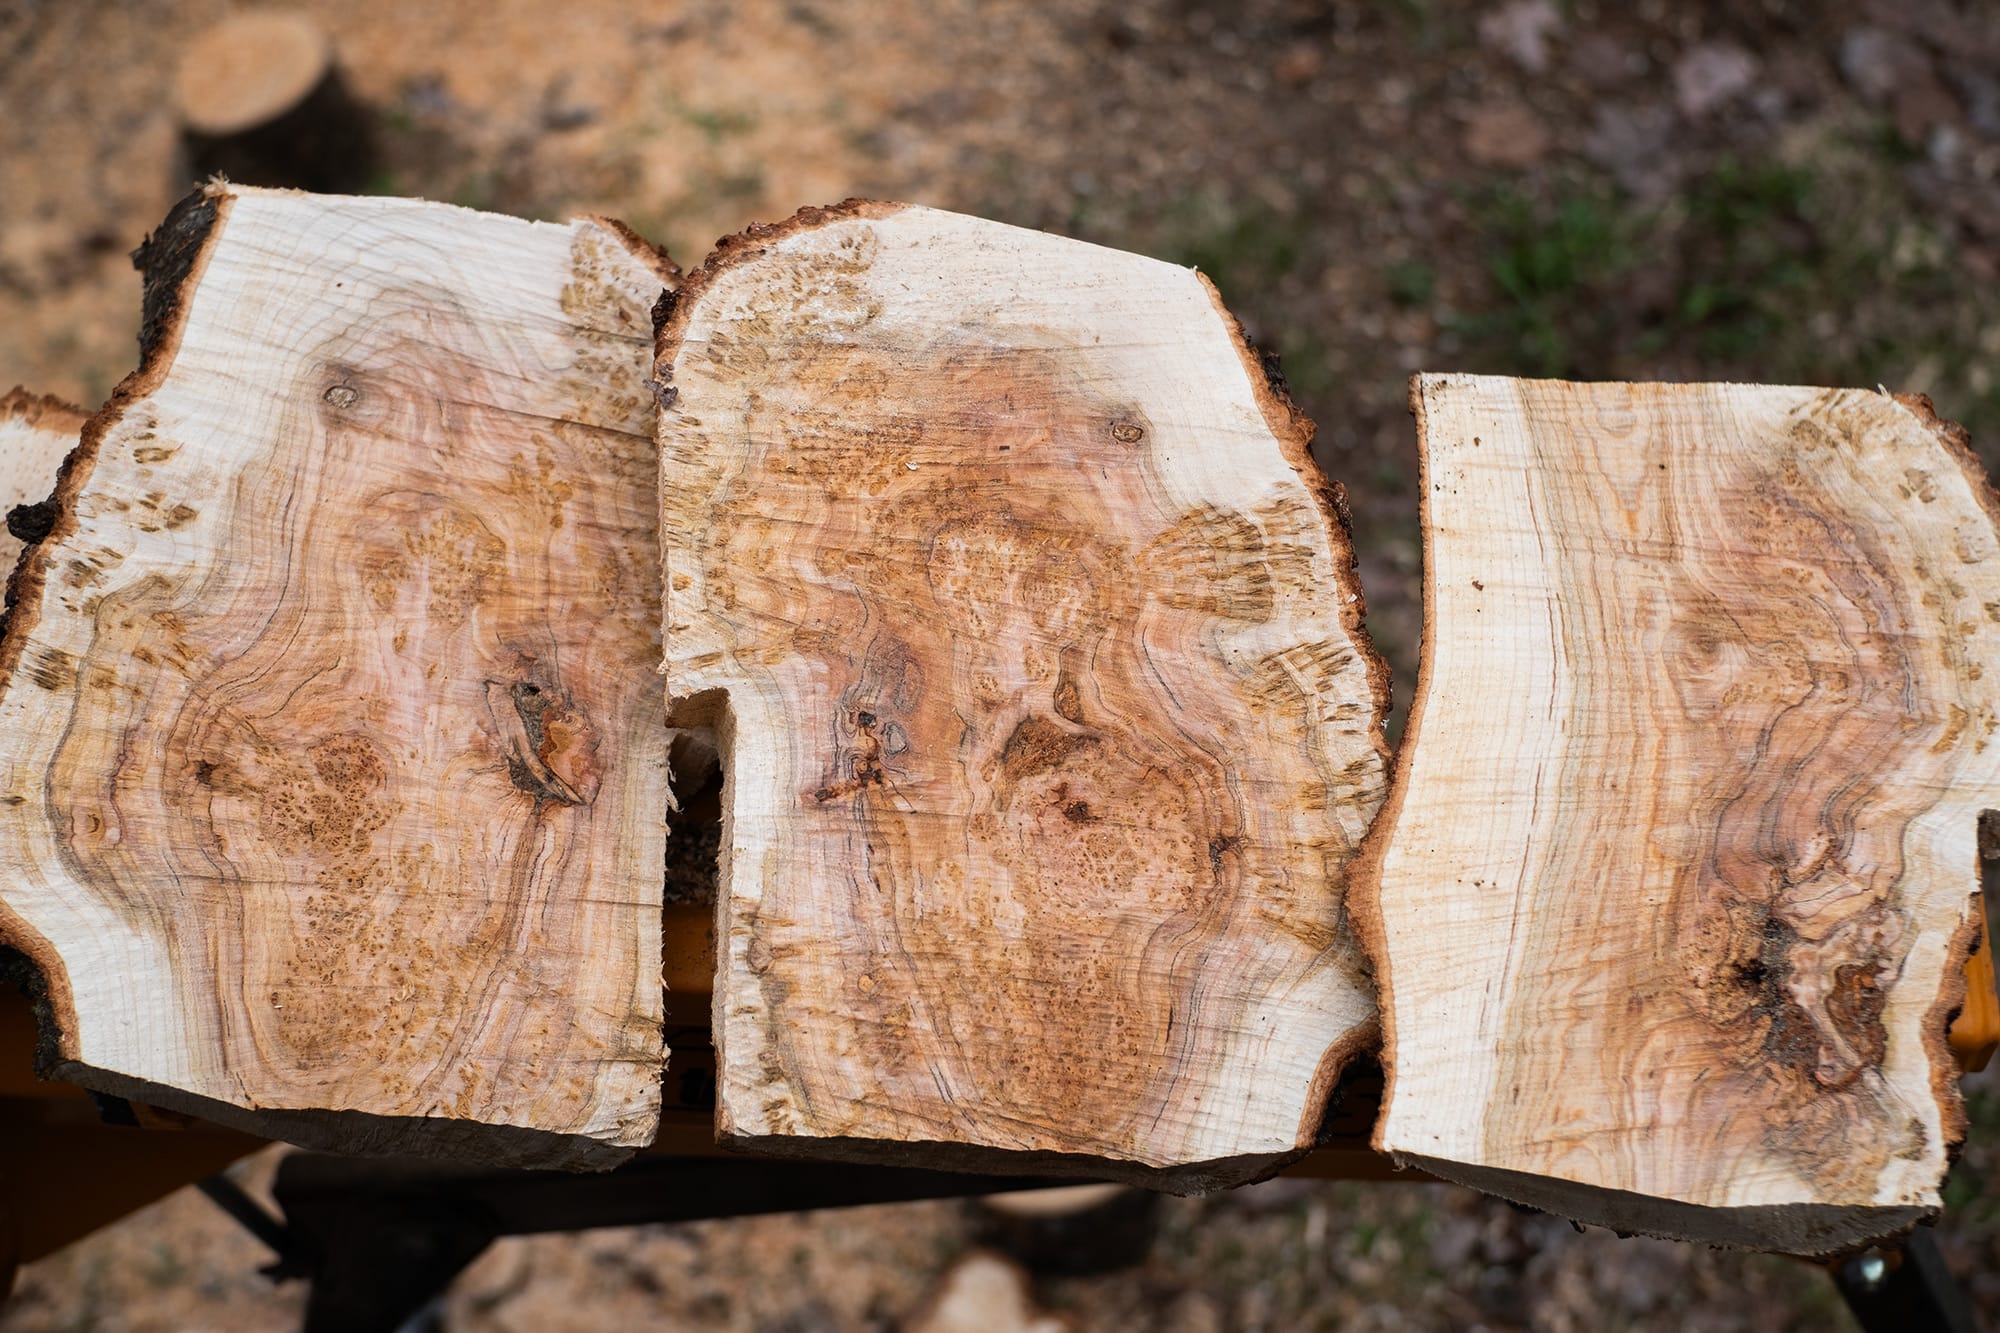
Here are all the opened burls. I cut with the direction of the grain, right through the pith or center of the tree. Depending on the size of the burl I might cut it into two halves, or three. At this point I'm simply trying to guess where the best burl patterns will be and making a cut based on vibes.
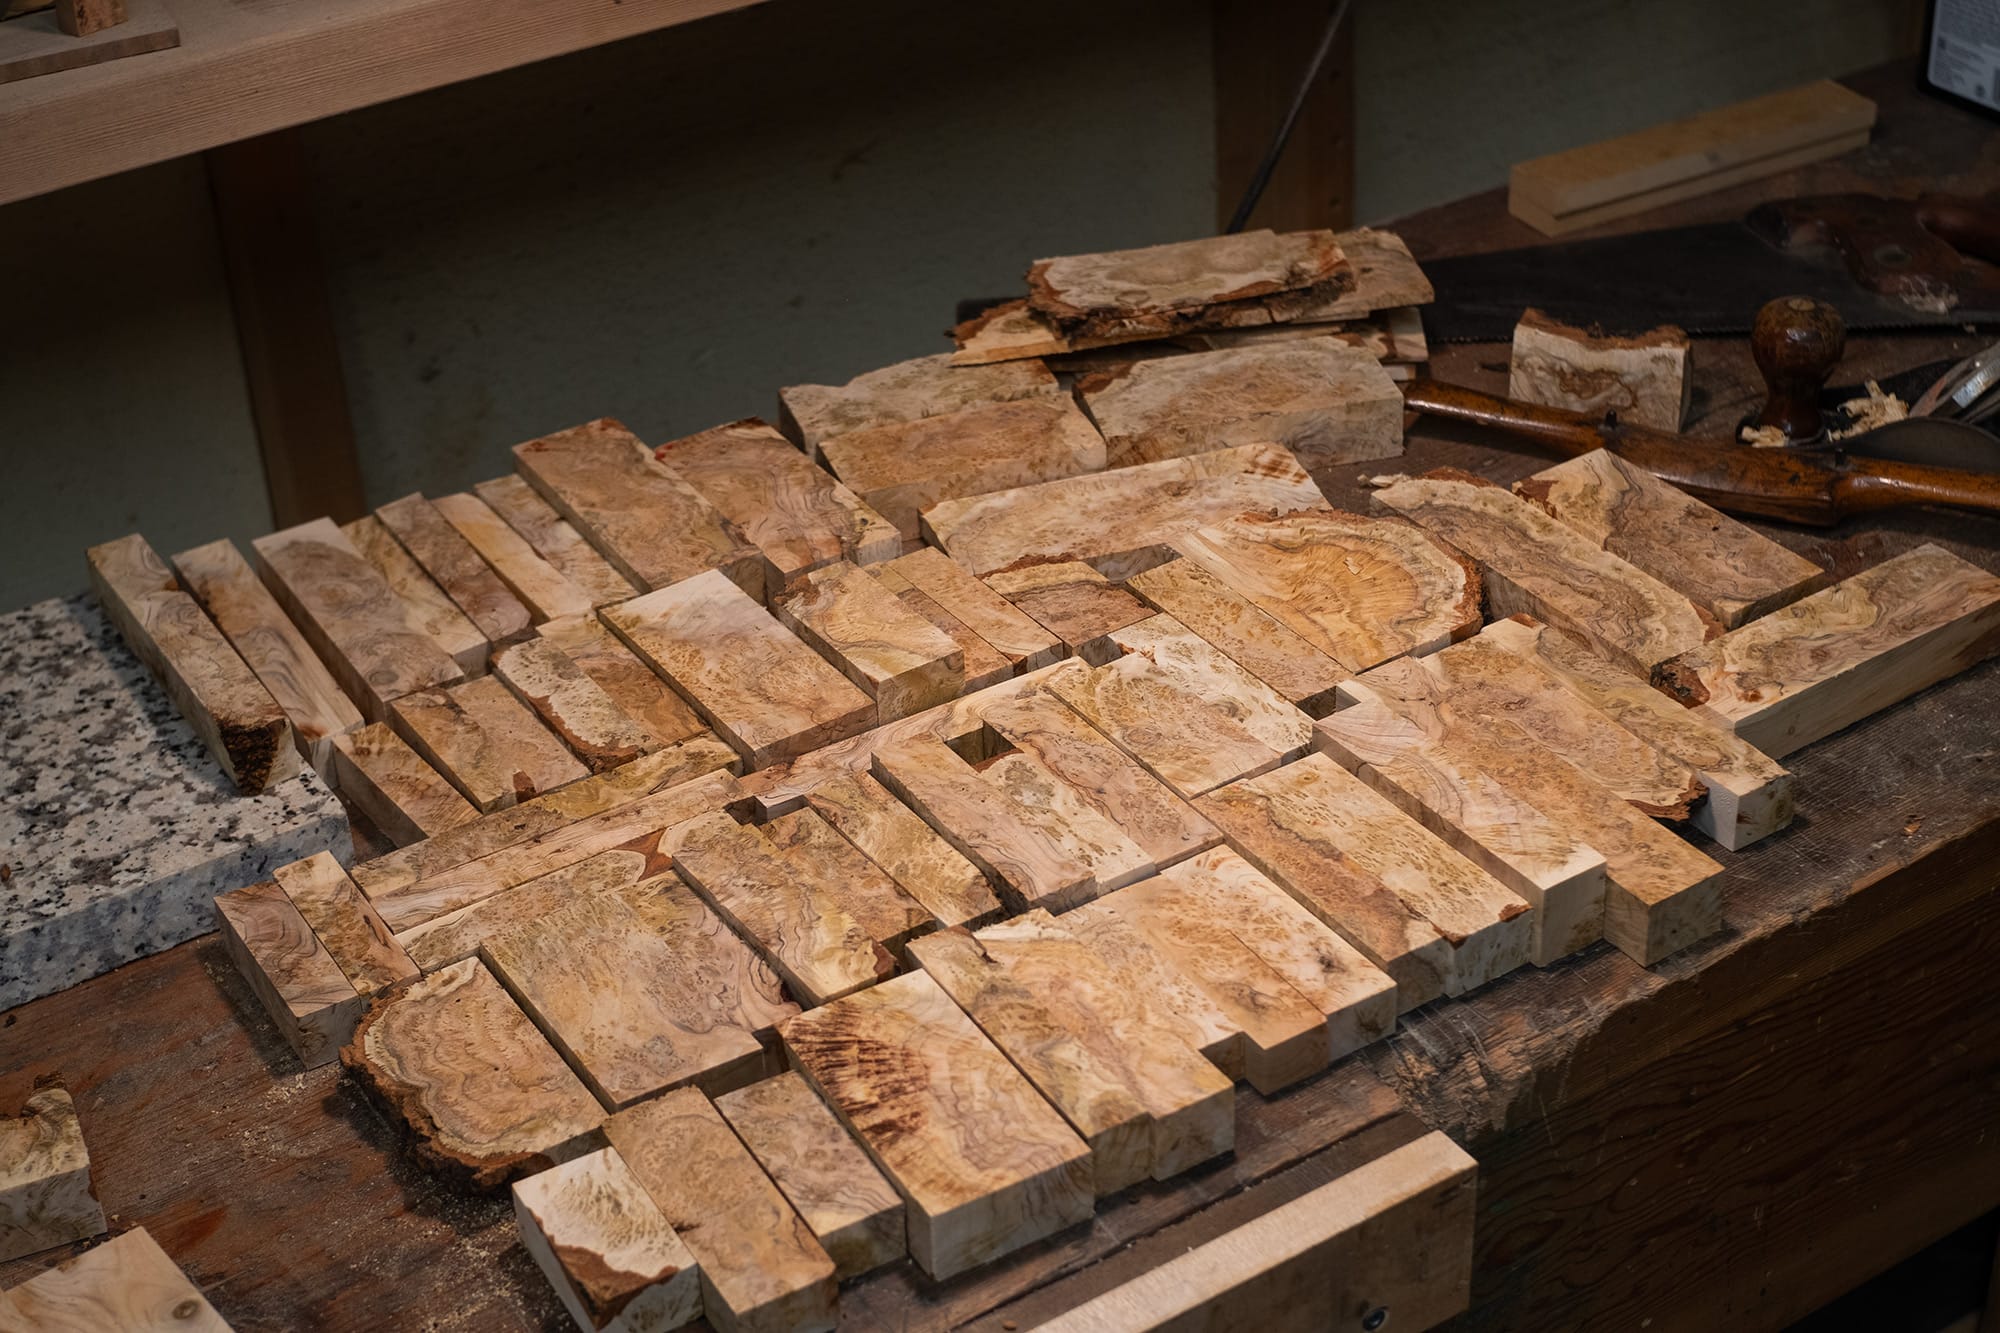
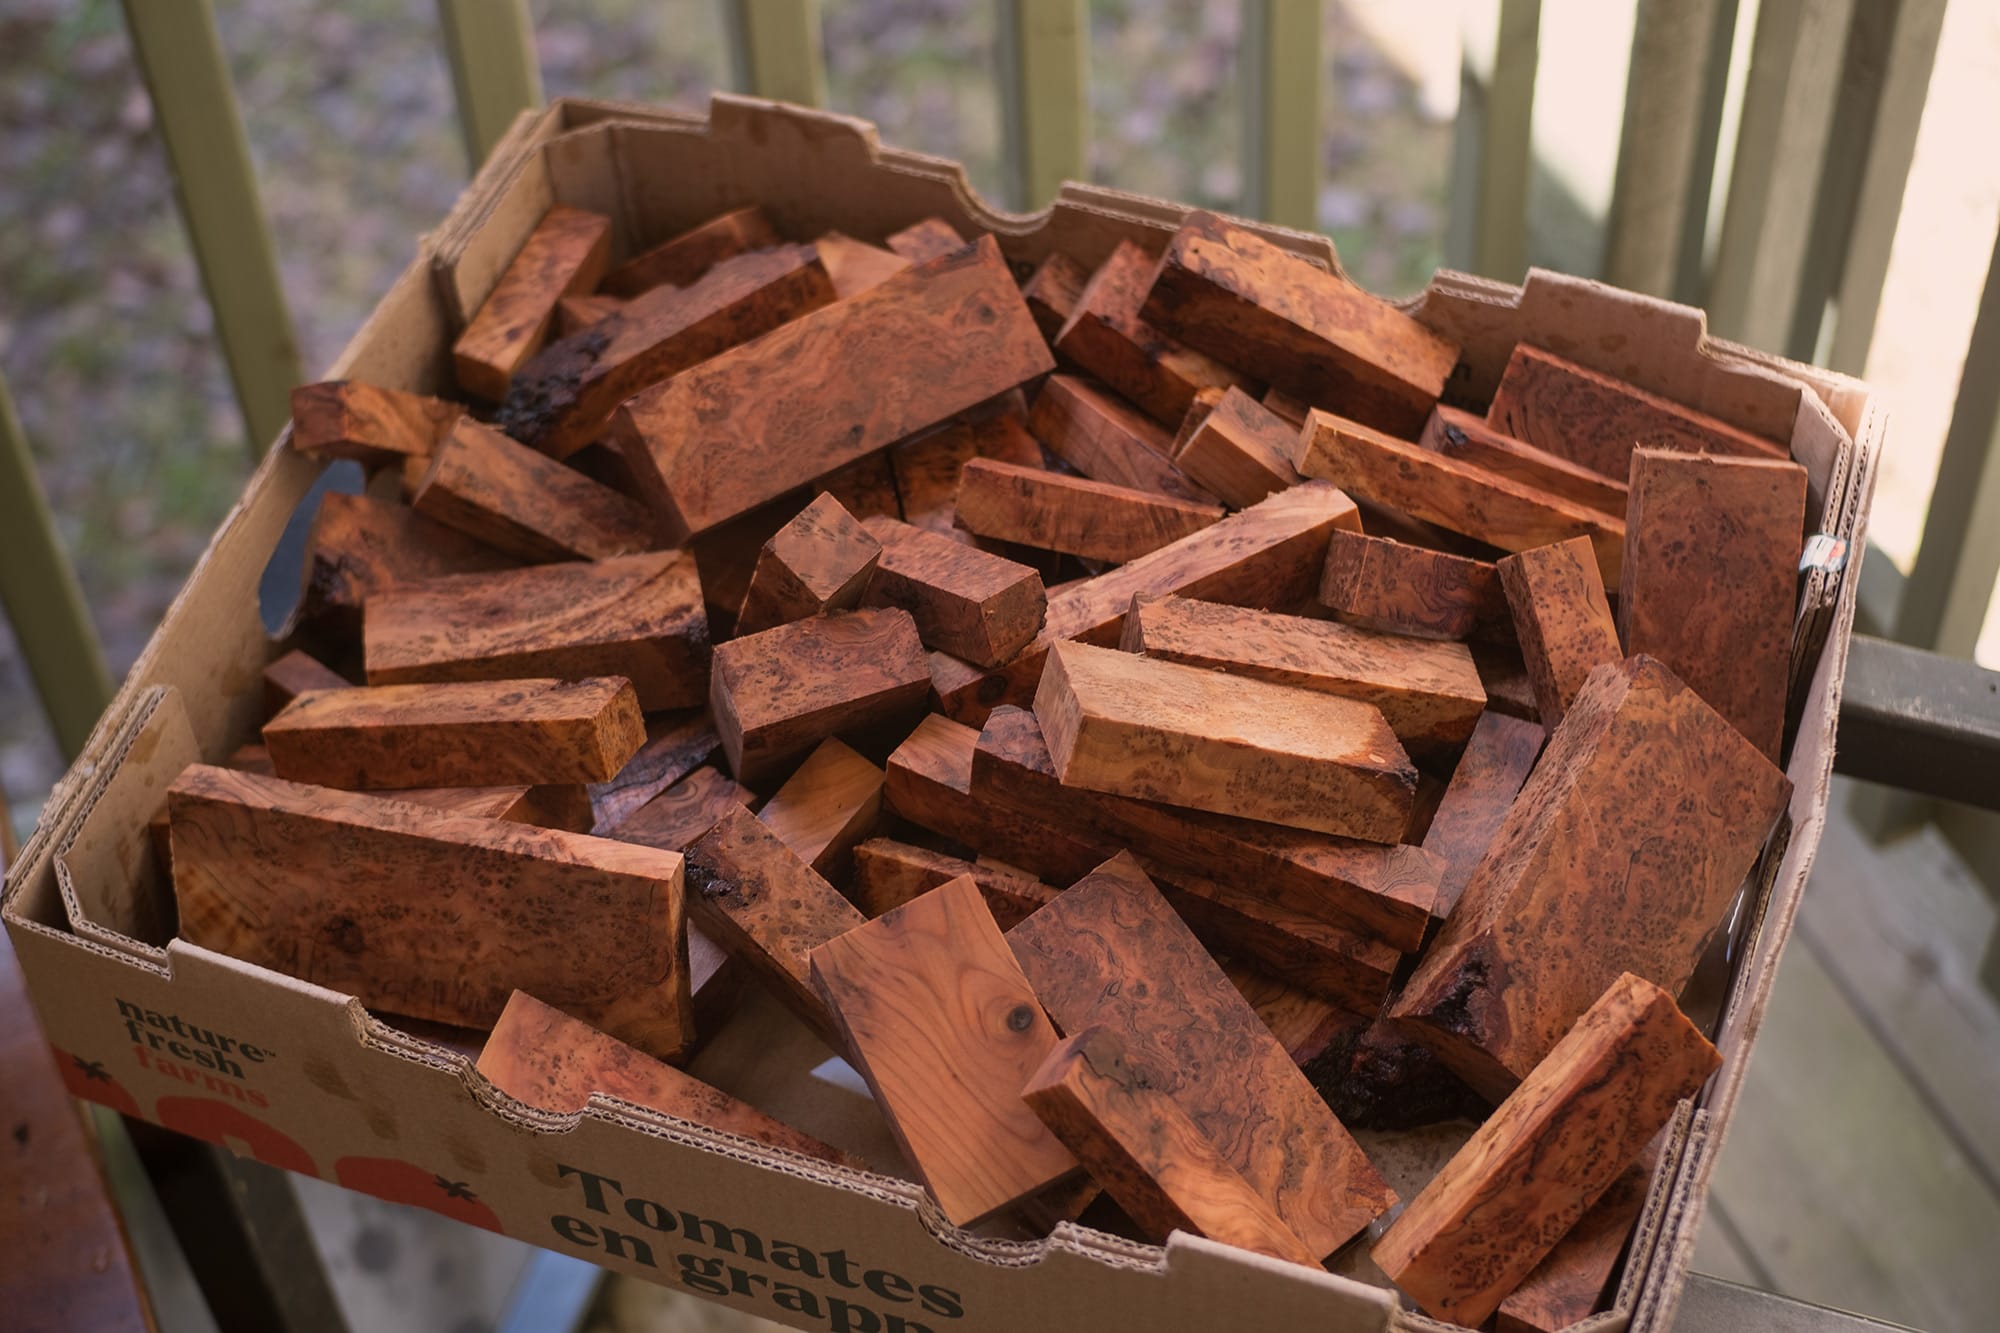
I further process the rough burl slices into blocks on the table saw.
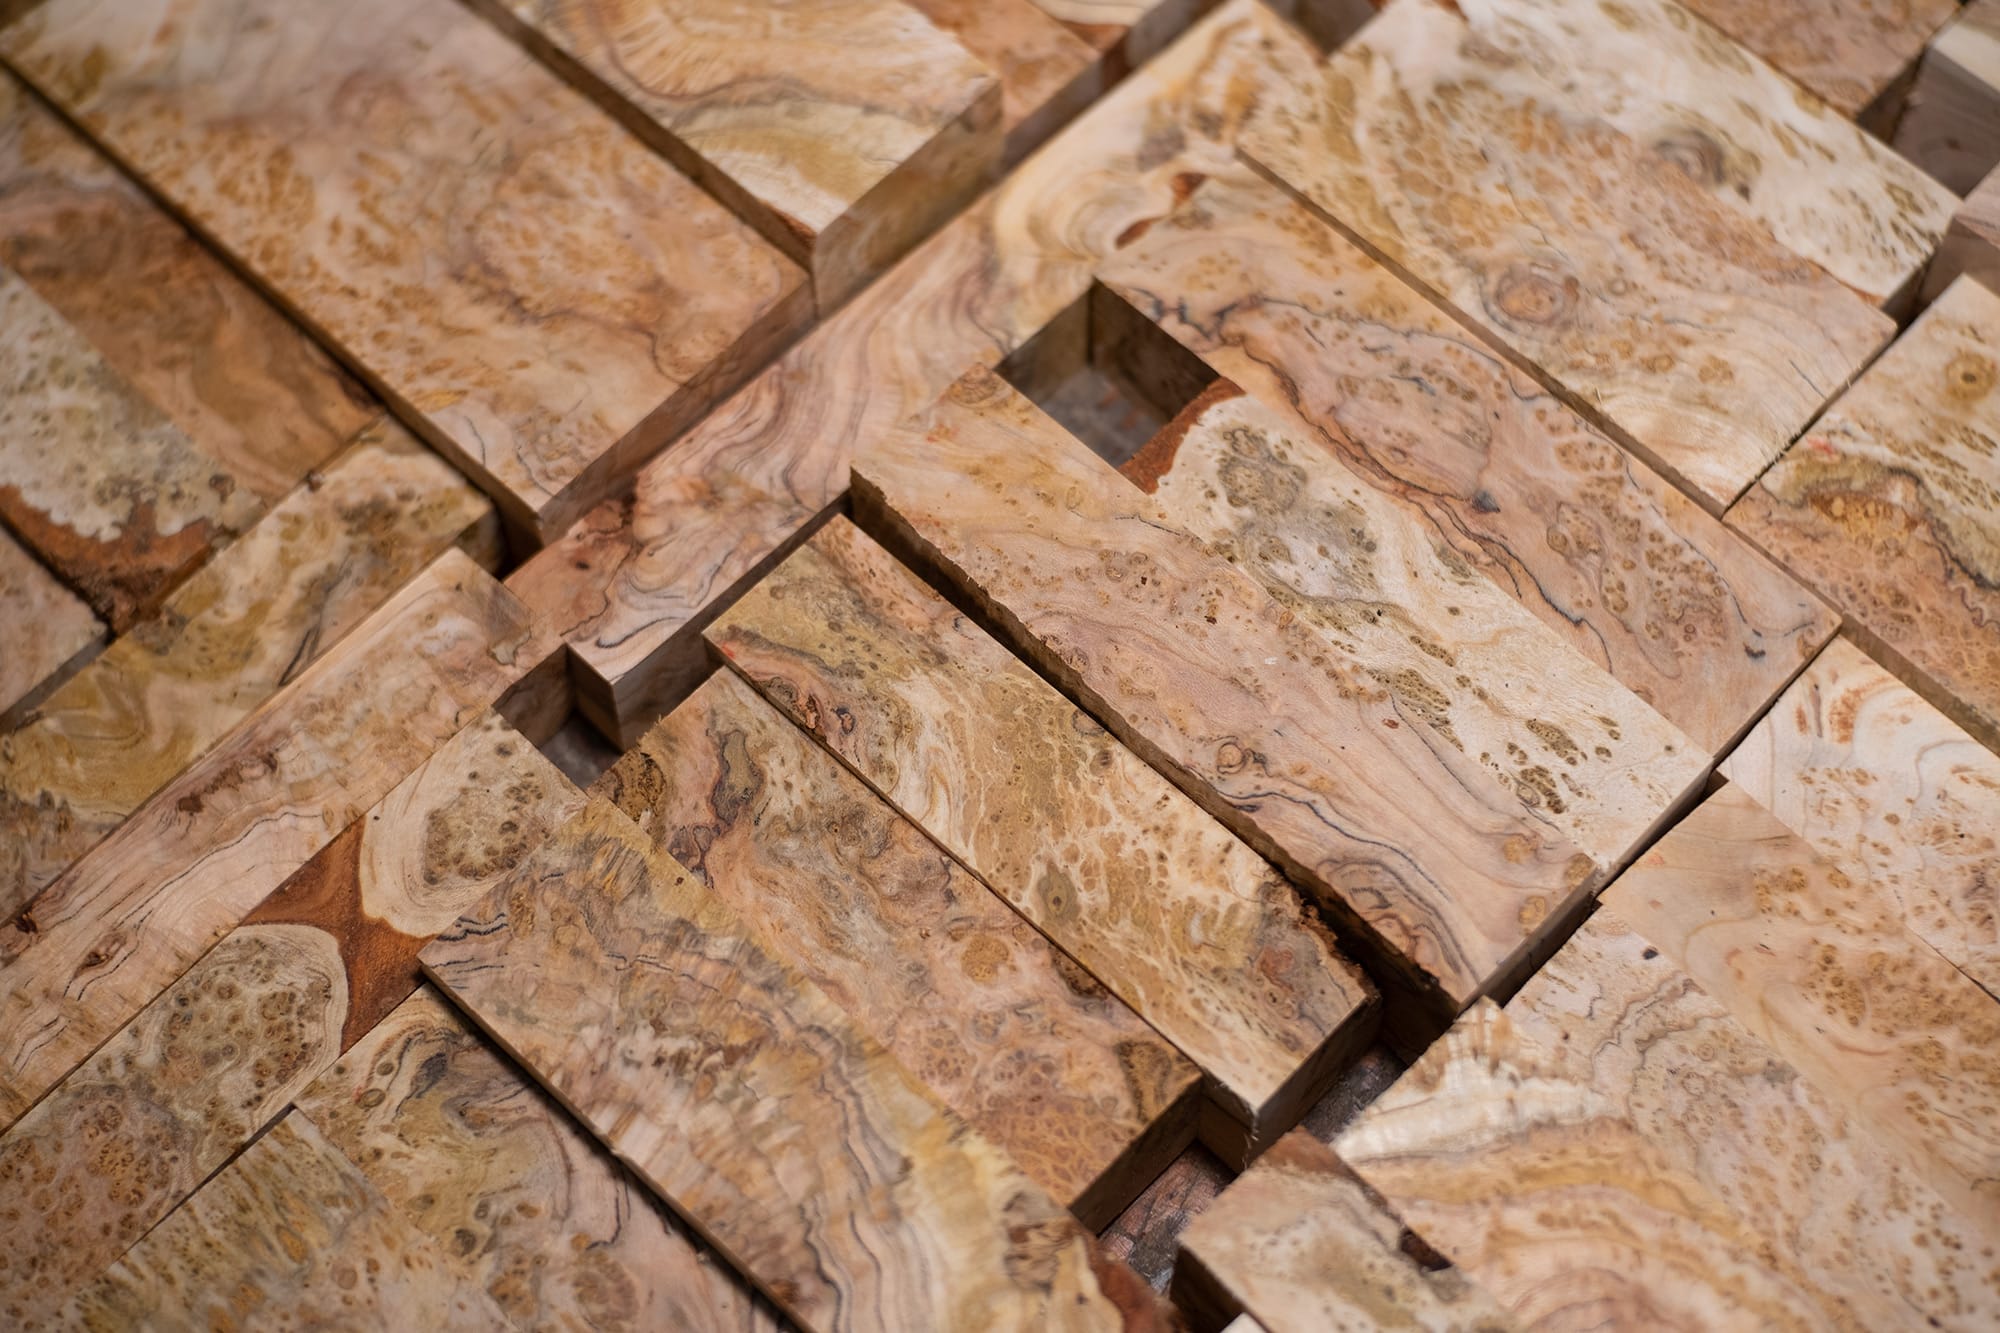
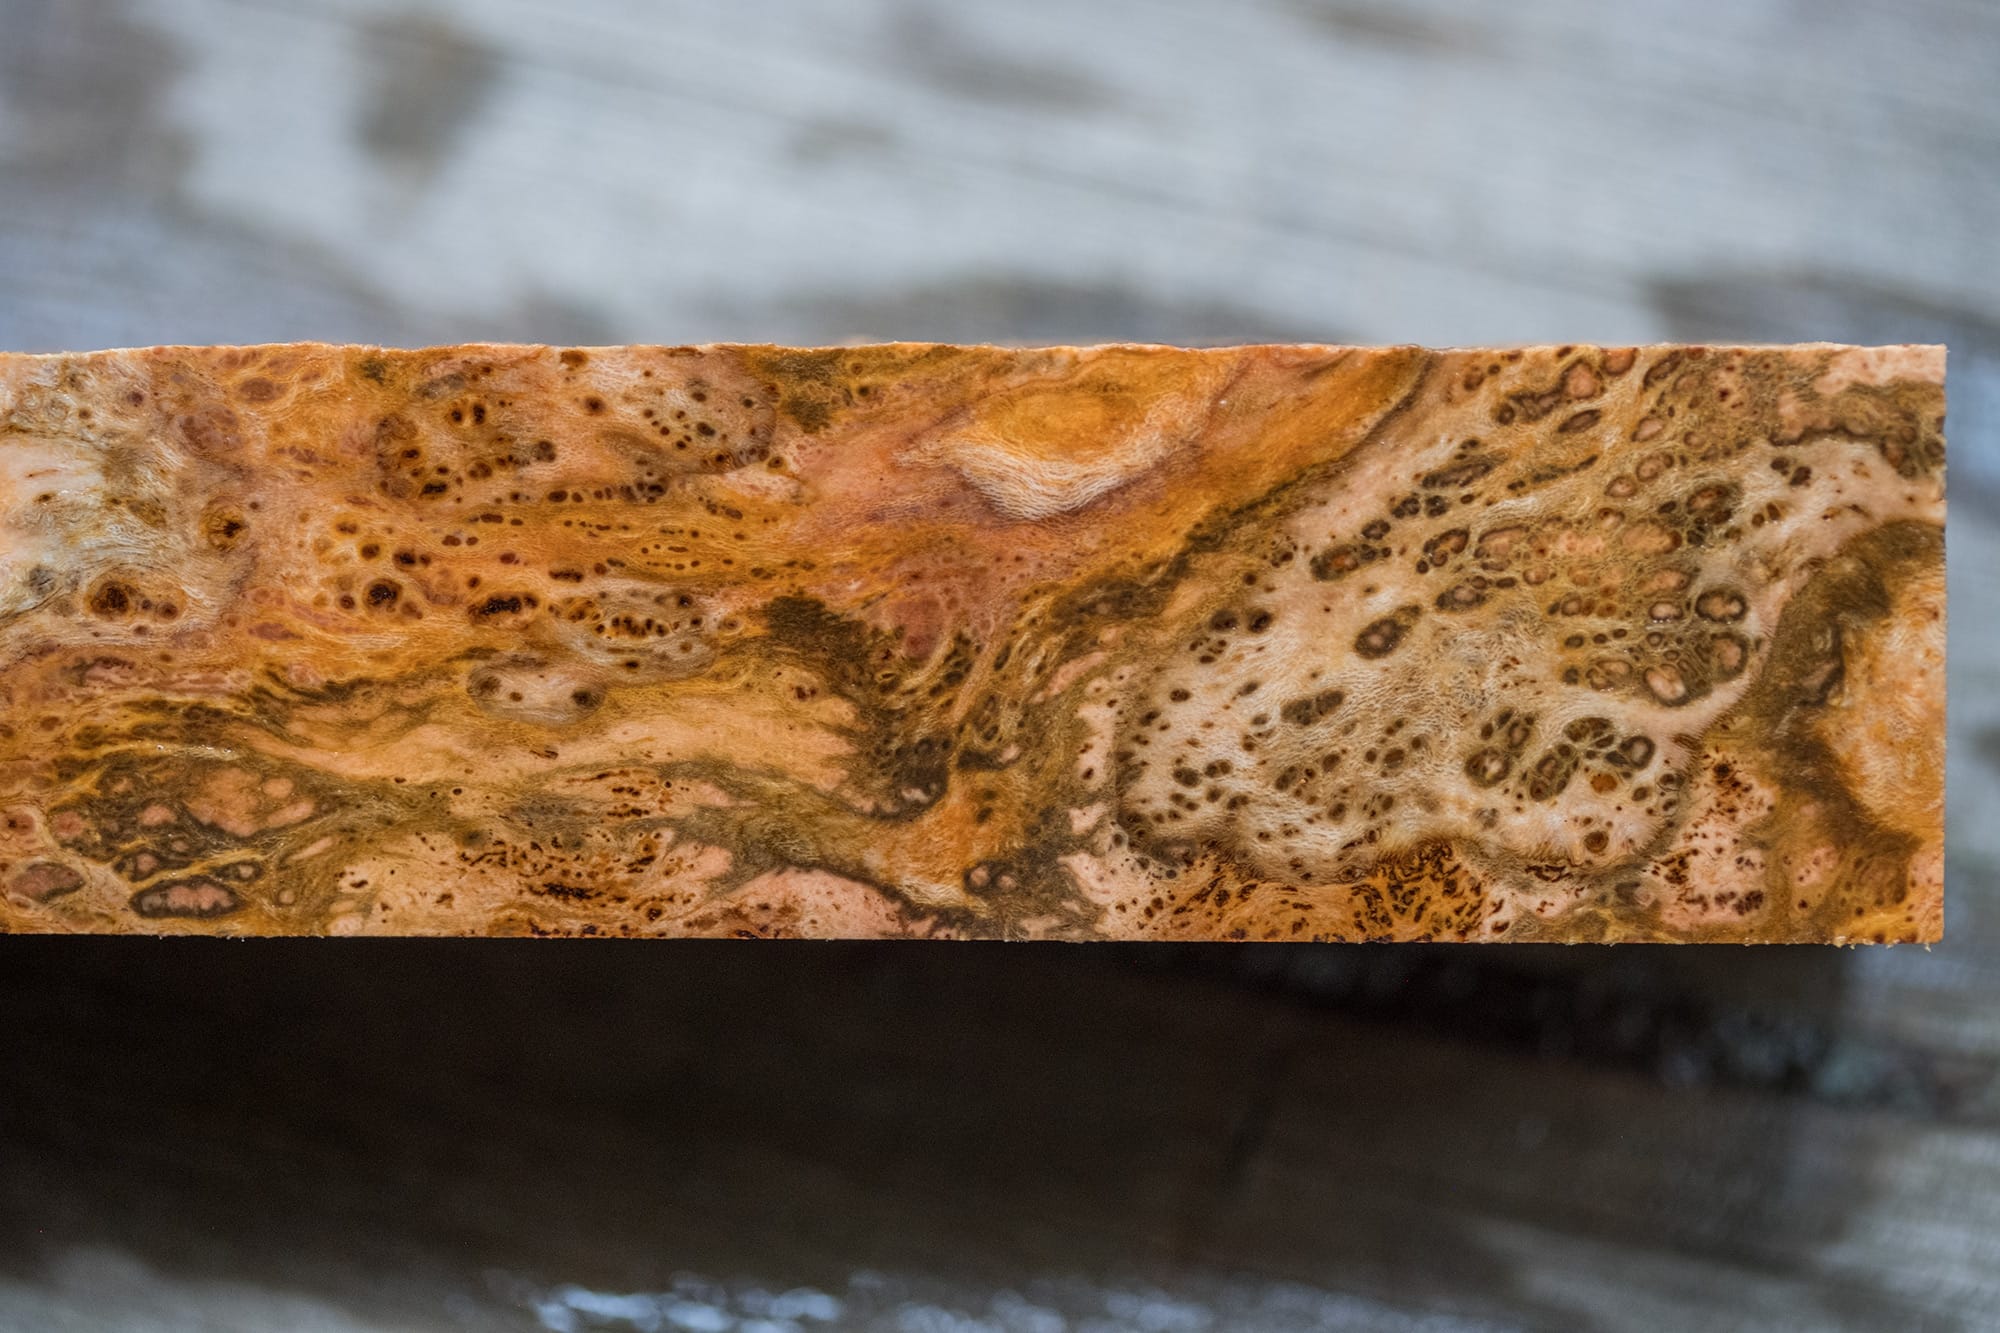
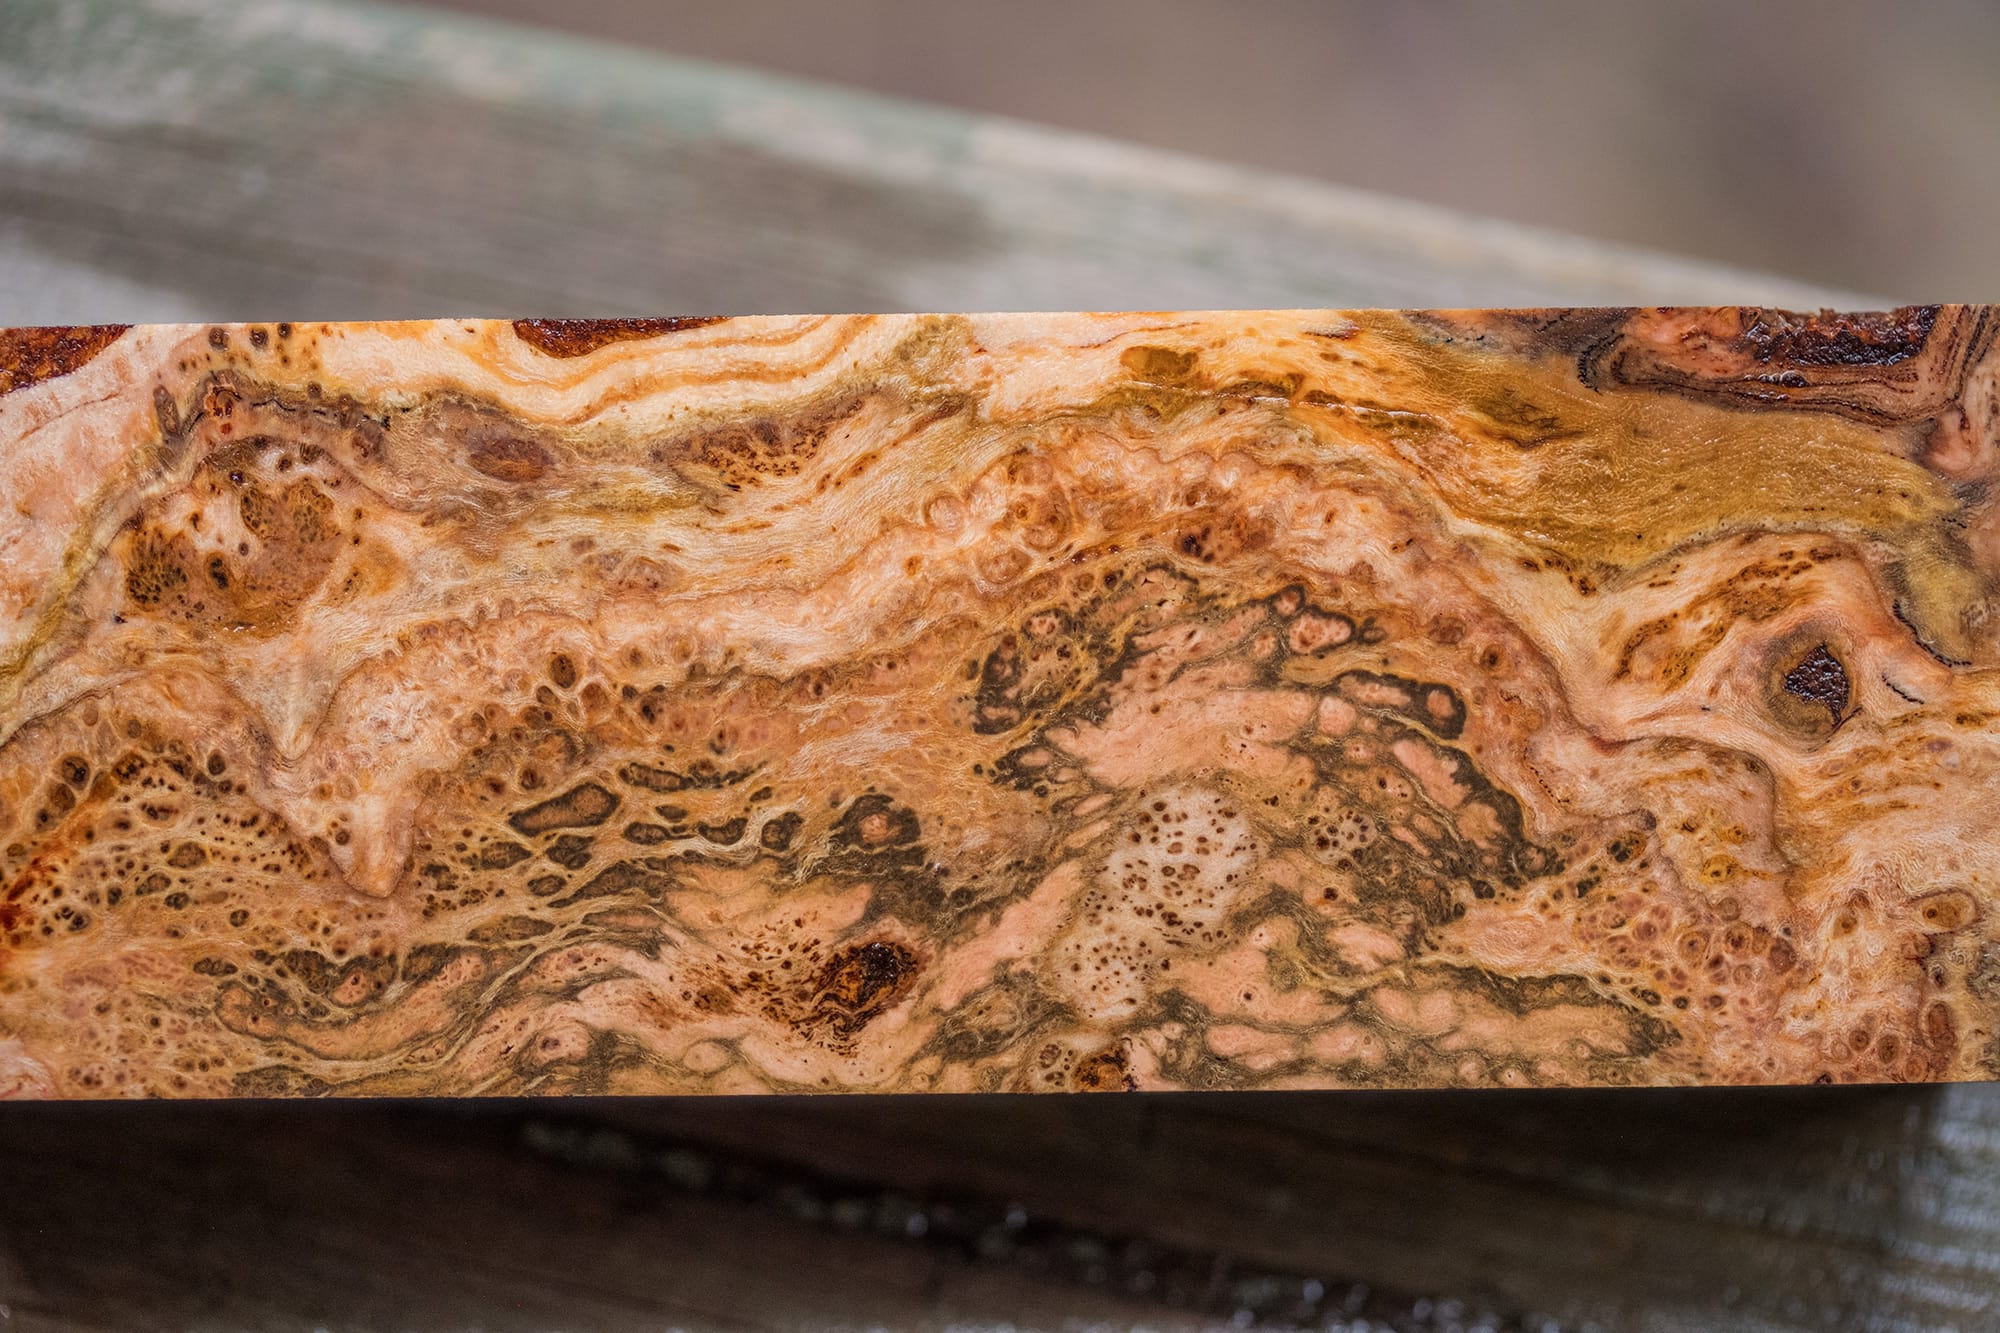
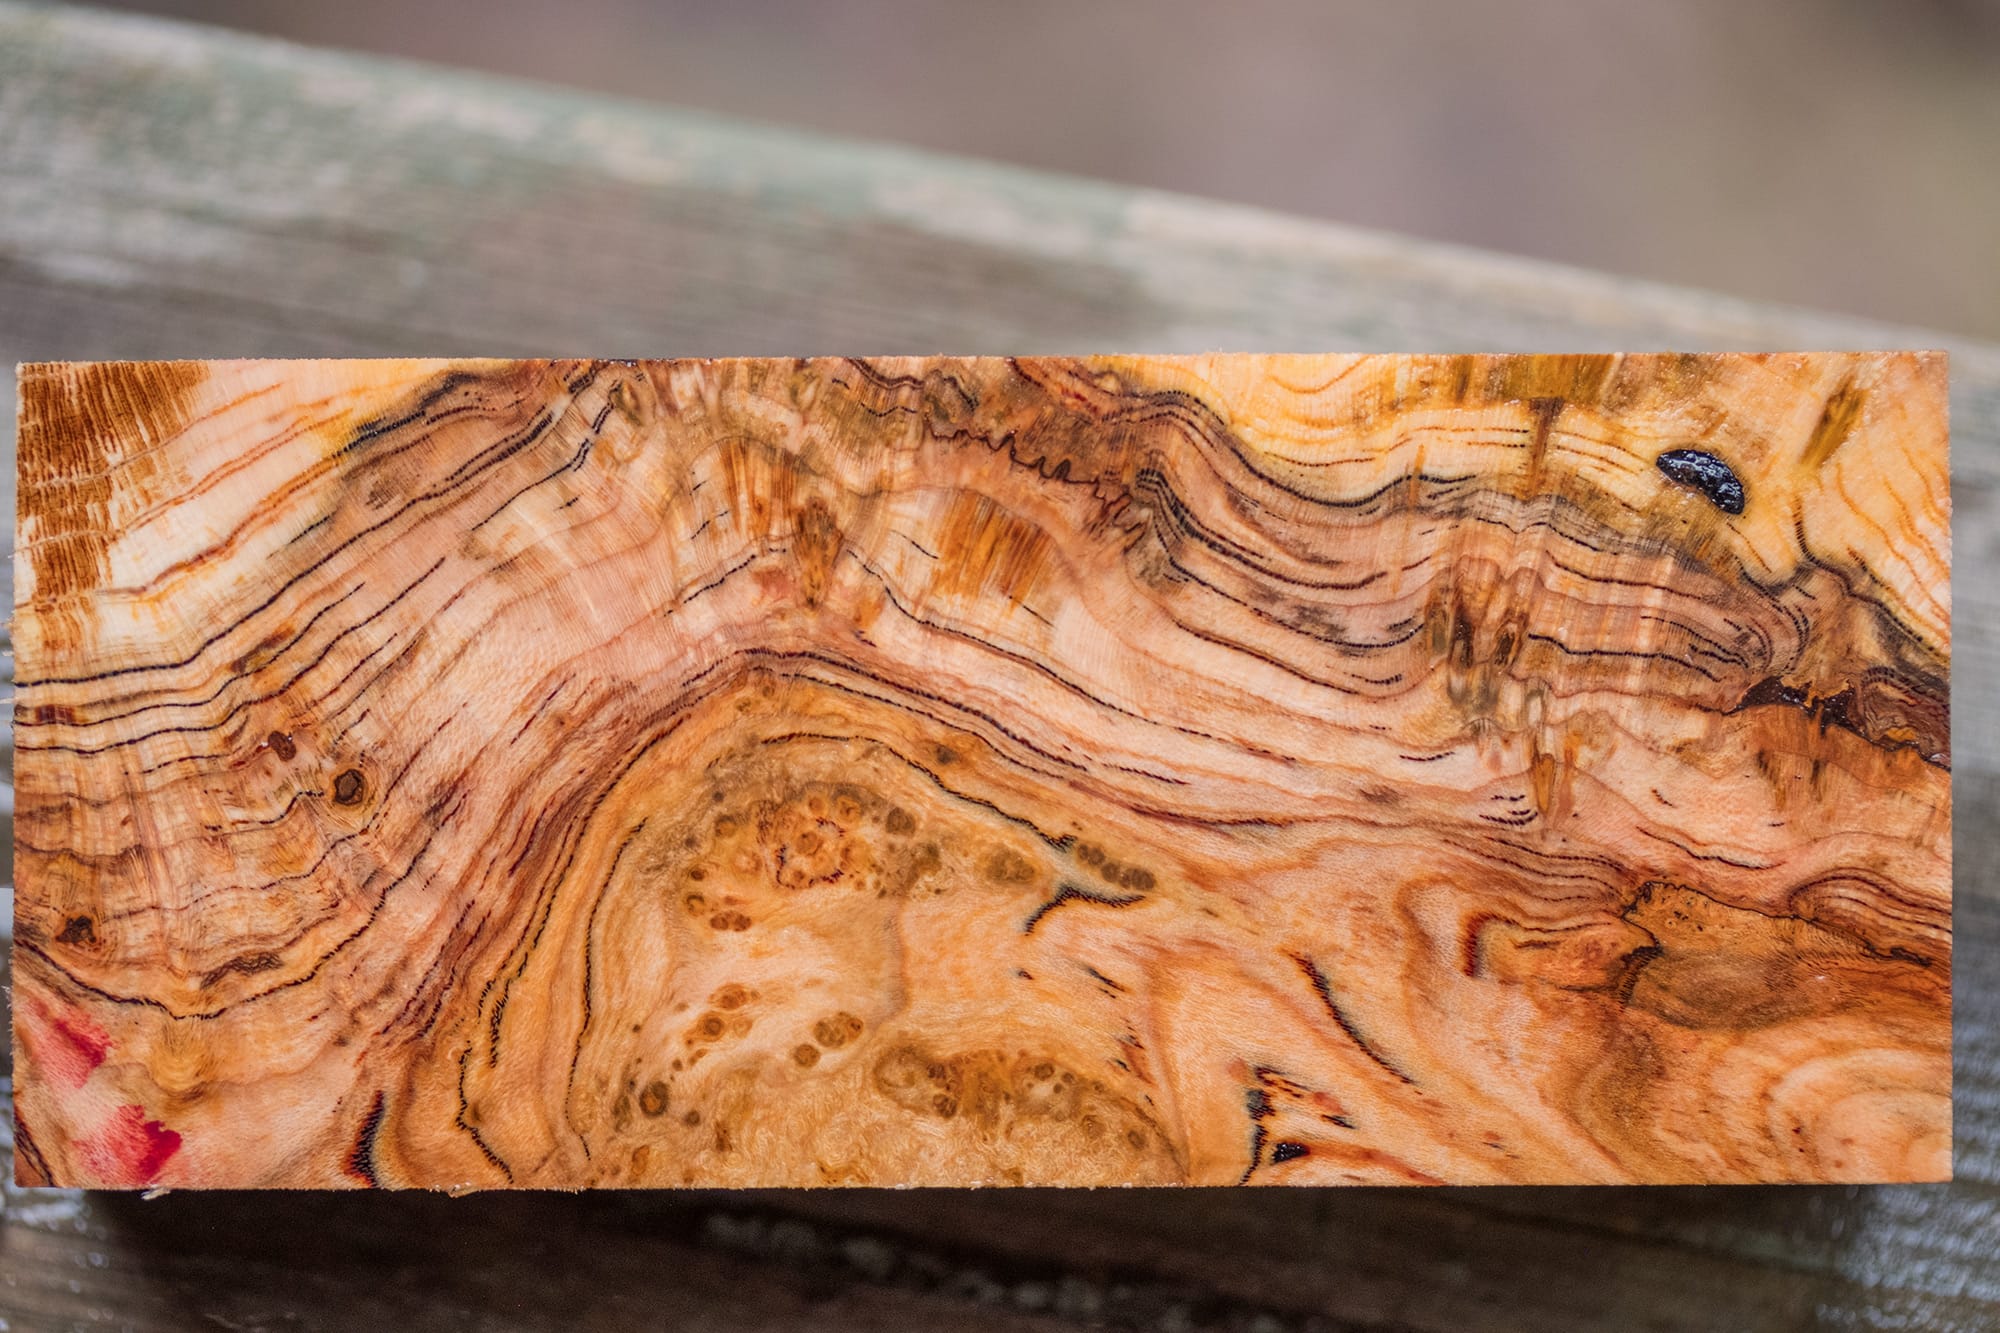
These burls ended up having a ton of weird colour variations, lots of greenish tones, and overall just insane quality.
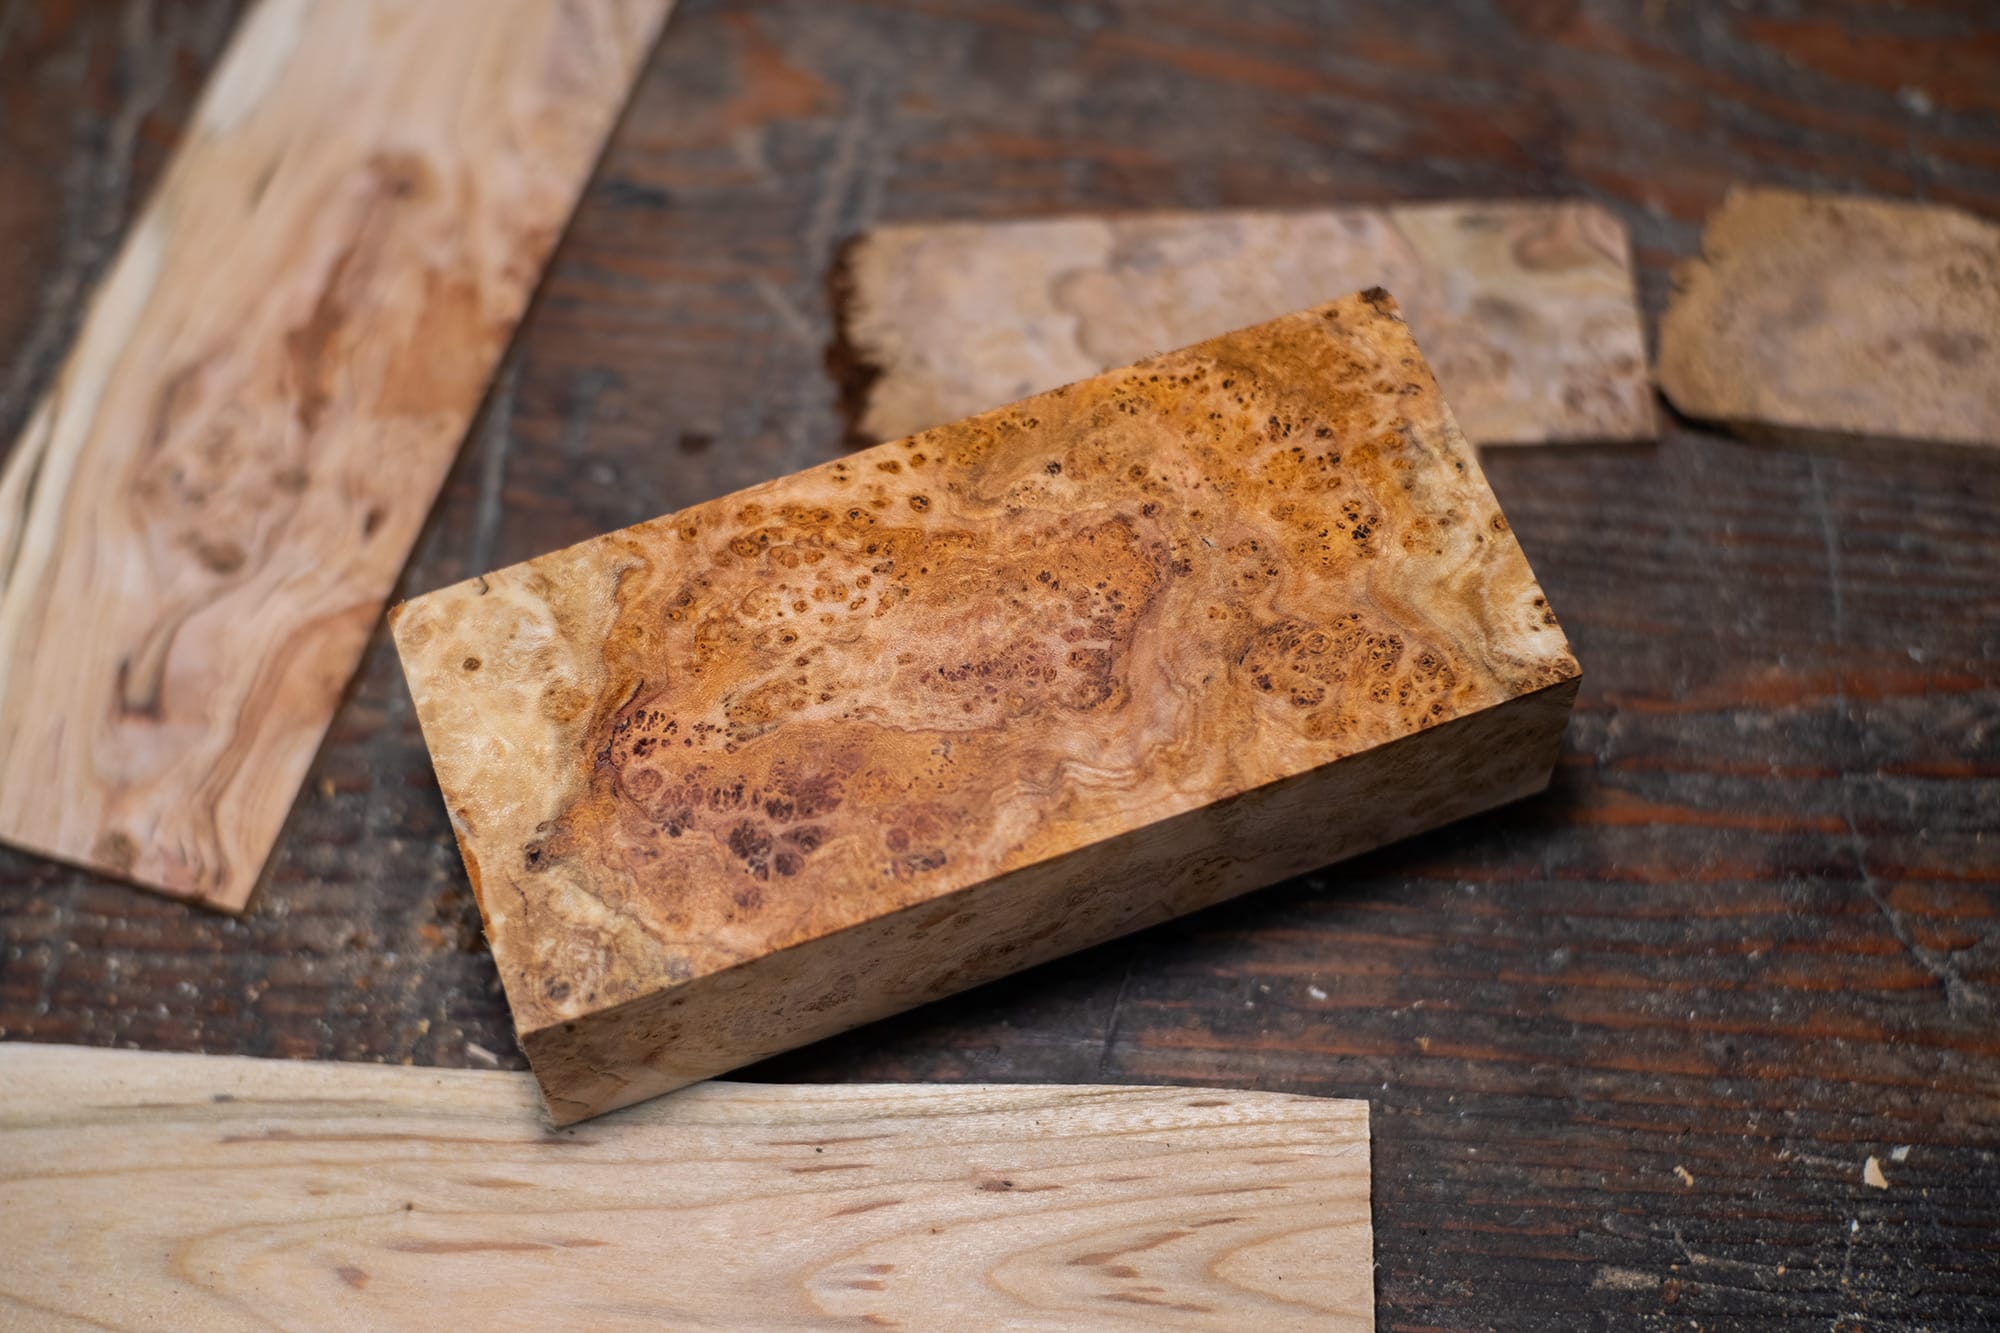
A wetted block to better see the grain, looks amazing.

Aaaaannnd... then I decided to take a risk and I may have ruined the entire batch, hahaha.
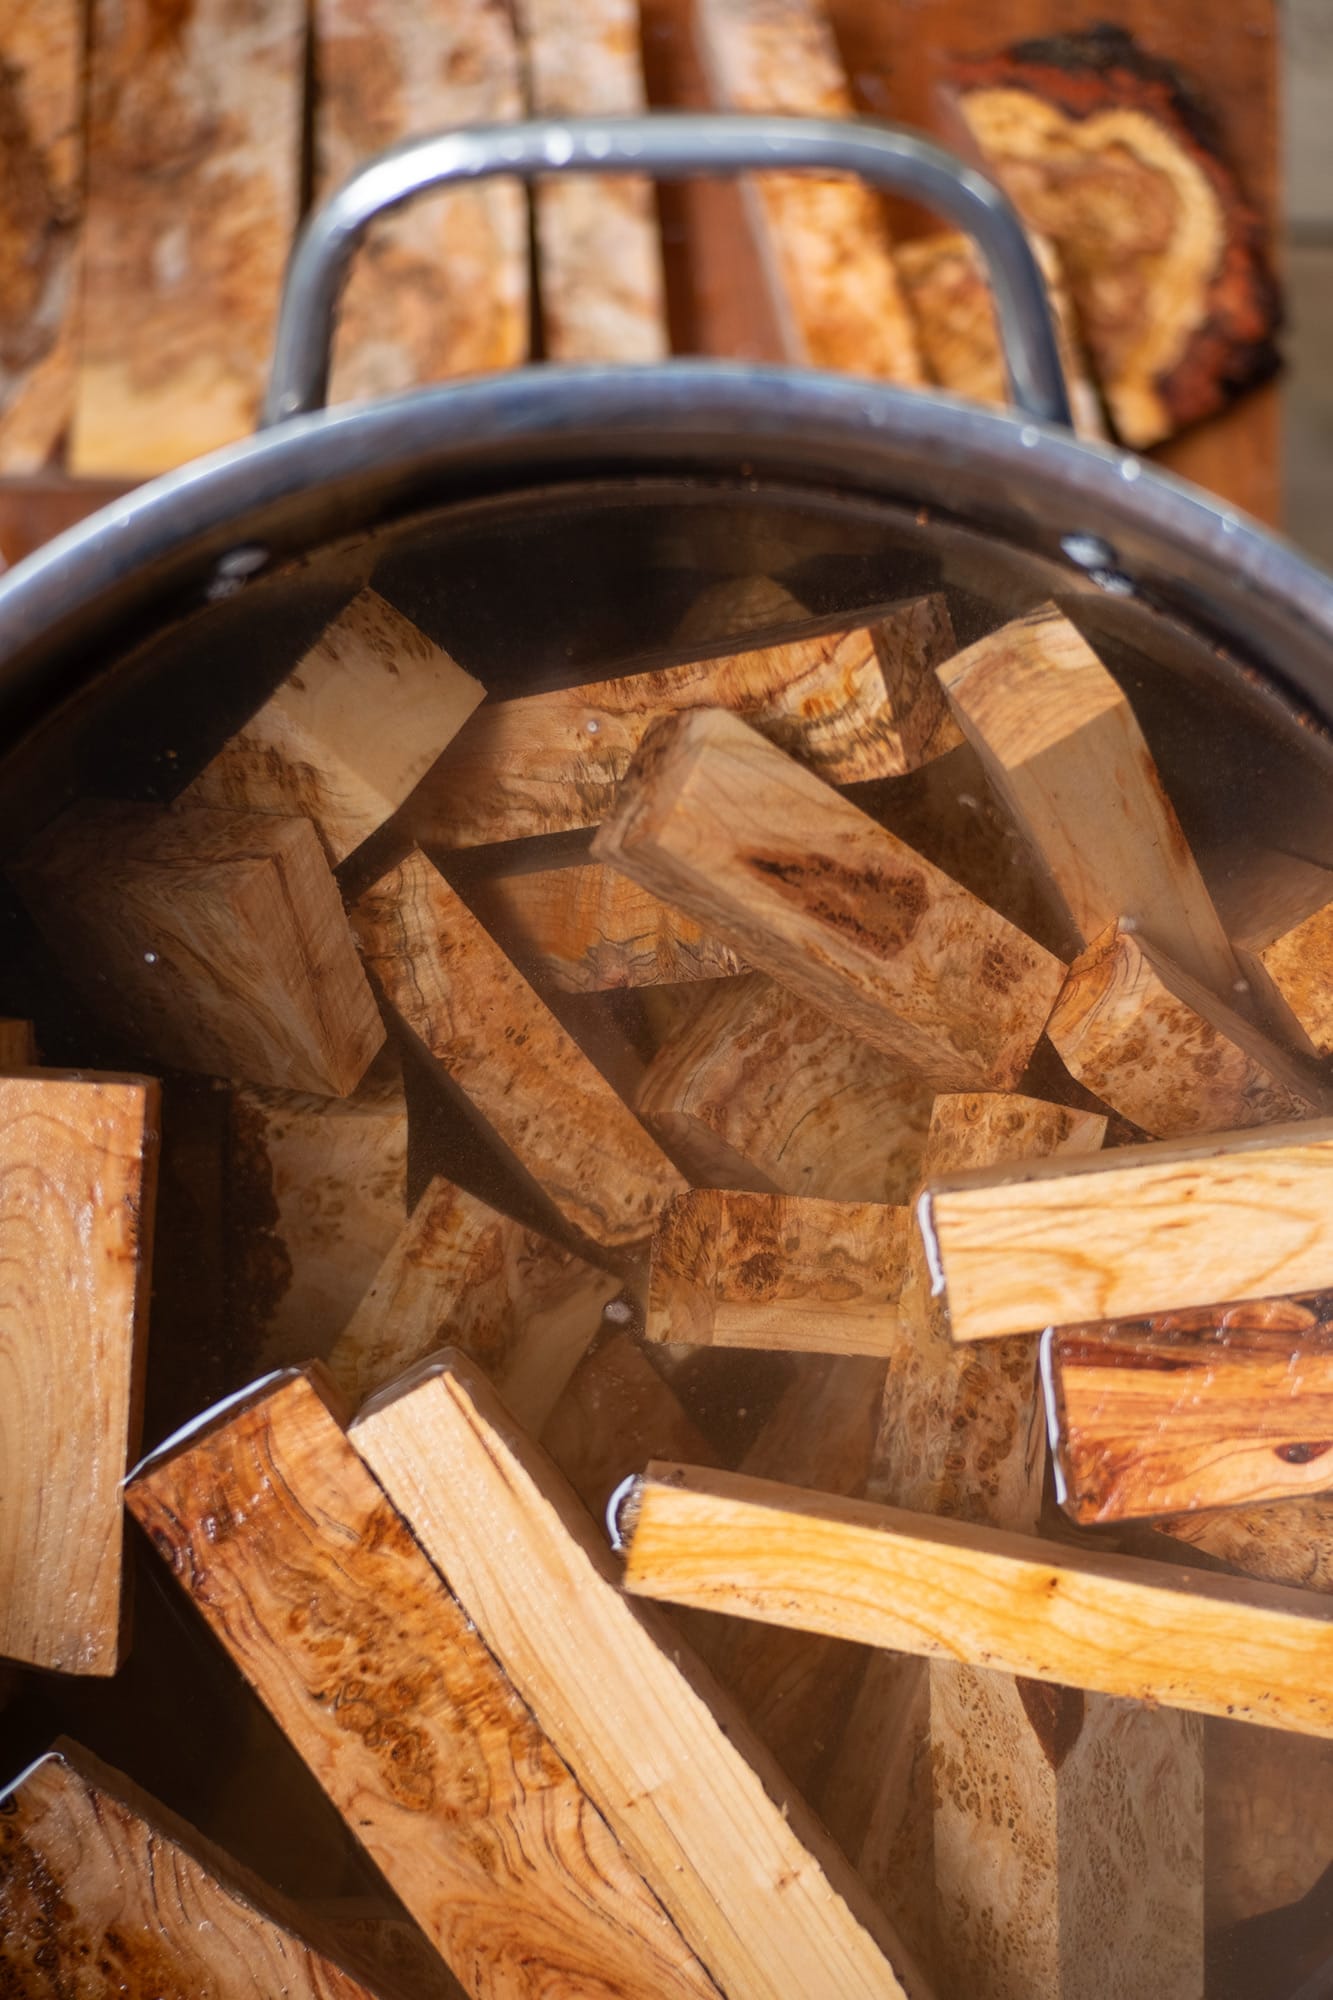
Based on some research that I had done, especially into the world of briar burl harvesting for the purpose of tobacco pipe making, I had wanted to try boiling the wood before drying.
Boiling was supposed to accomplish a few things; create a more neutral smelling/tasting wood, reduce drying cracks/warping, and speed up drying time.
Here are the blocks after boiling. They ended up darker and more uniform in colour. I had read that this phenomenon would only affect the outermost 1/16" or so of wood, but upon cutting a few of these open I can confirm the colour change went all the way through. The greenish tones, gone, yellow tones, gone. Any contrast between the heartwood and sapwood was gone as well.
It seems like the wood acted like a dye for itself, and that all of the colour blended together to create a more monotone reddish brown throughout.
The moisture content also went WAY up. I think because I had cut my burls in winter (when the moisture is low) and left them drying with the bark on for a while... I wasn't accounting for just how little water was still in the wood. I had imagined that the wood was pretty much still green, but... in actuality I think it was a lot closer to being dry than I thought.
So, boiling I think re-introduced a ton of moisture back into the wood, not good.
And now the worst part. I had boxed up these blocks and set them aside to dry as I would normally, and they have since warped and cracked way more than normal.
At the same time I had set aside a bunch of offcuts that were not boiled, and all of that wood seems to be drying much faster, with no cracks and minimal warpage. Not to mention their original colour is intact.
The jury is still out on this, however, It's possible these boiled burls will not be duds. Given enough time I'm sure some of this material will be usable, but I'm pretty gutted at this point. It's a reminder that in uncharted waters, you might want to do a little reconnaissance before sailing off into the unknown.
In a future update I'll take some side by side photos of the boiled vs. non-boiled burls and we'll see how things have progressed.