Okin Craft 03
Cocobolo and jatoba would be the species of choice for these Okins. Both options would be fitted with a naturally moisture resistant African blackwood mouthpiece.
For this design I knew I wanted a warm toned, strong, wood.
Cocobolo would be the more exotic, flashy choice. Jatoba, with it's slightly open grain and soft creamy color, would be the more organic choice.
Our journey starts on the lathe, let's dig in!
Rough blanks are first machined into dowels. Shown here is cocobolo.
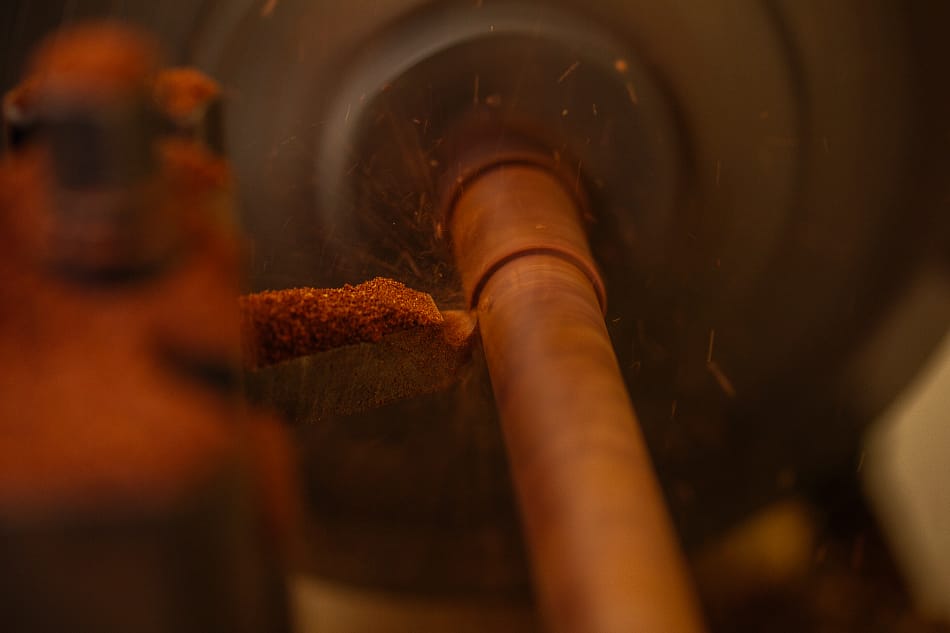
This wood machines beautifully. It's a very oily wood, and the dust smells sweet, like candy or flowers. Caution should be used when working with all woods, but cocobolo can be especially sensitizing to the unprotected woodworker. Fortunately I don't have any negative reactions to this particular wood.
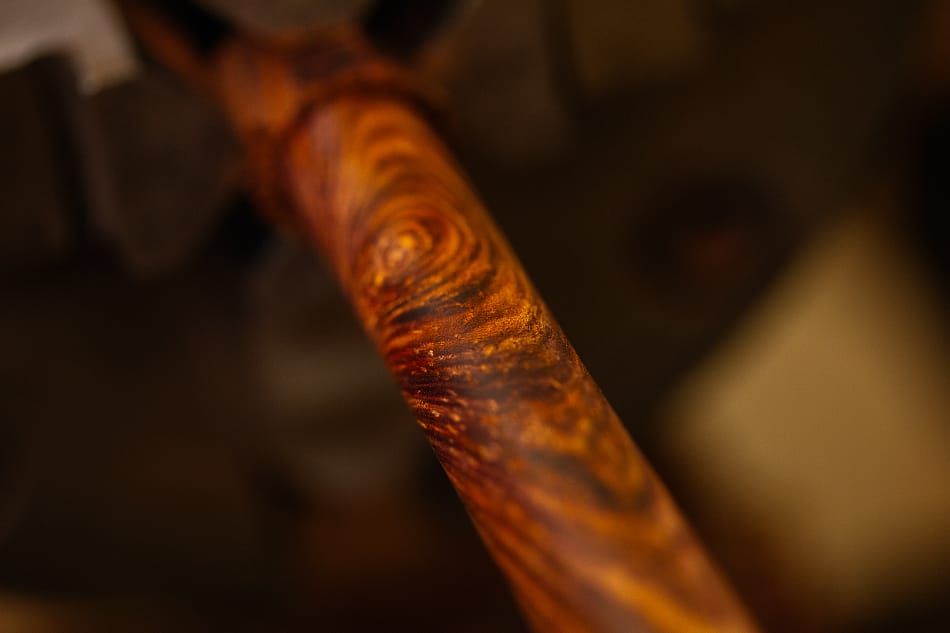
Cocobolo is photochemically sensitive, so these vibrant colours will, over time, morph into rich burgundies and nearly black.
My love for cocobolo started in highschool, back when I was making all sorts of experimental pipes. I have a vivid memory of making a cocobolo sleeve for one of those tiny metal one-hitter pipes that you'd find at every headshop and convenience store back in the 2000's. It was my friends pipe and he clearly used the shit out of it. I remember seeing it after months of heavy use and the cocobolo had turned almost jet black. For whatever reason I was enamored by that patina. It was also around that time when I decided that I wanted my pieces to be used, not shelf dwellers, but everyday drivers.
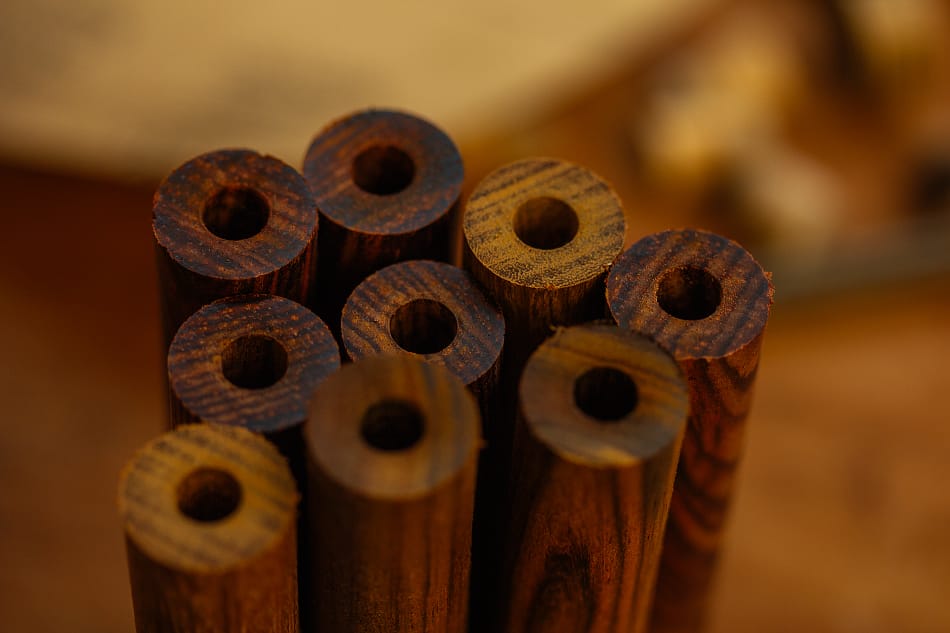
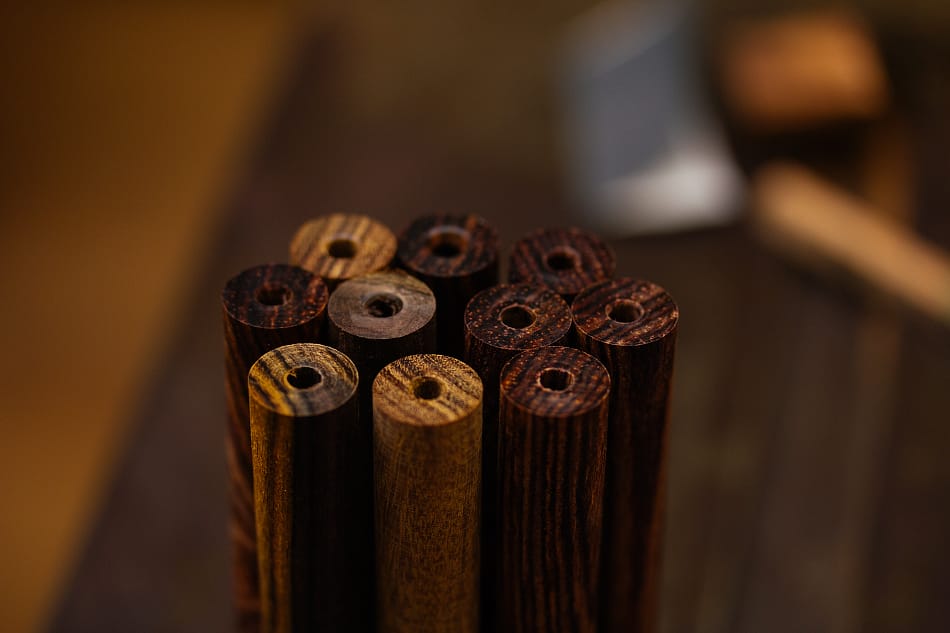
A small batch of cocobolo blanks ready for the next stage.
Being a 'tonewood', cocobolo is often used for woodwind instruments like flutes, oboes, etc.
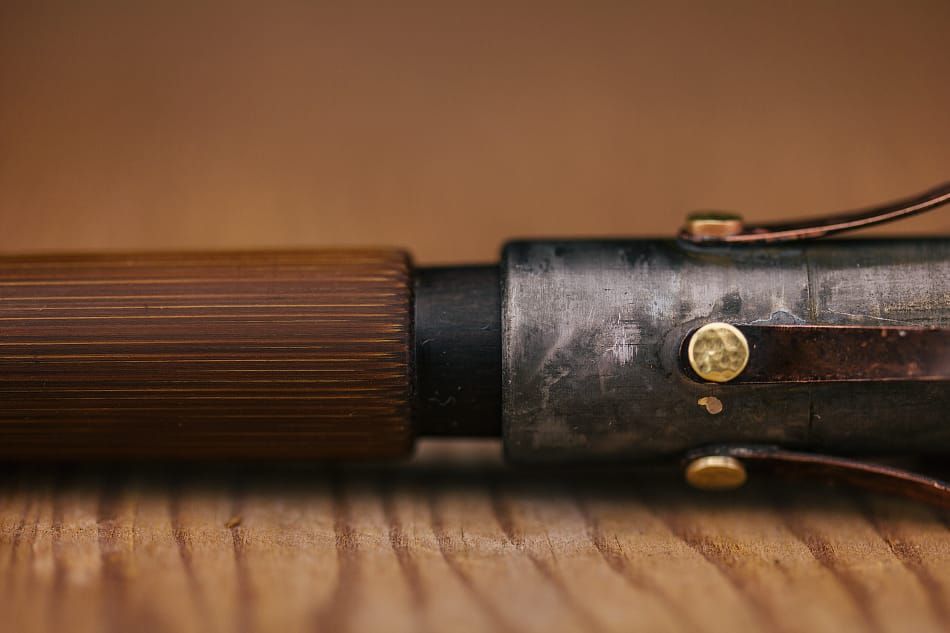
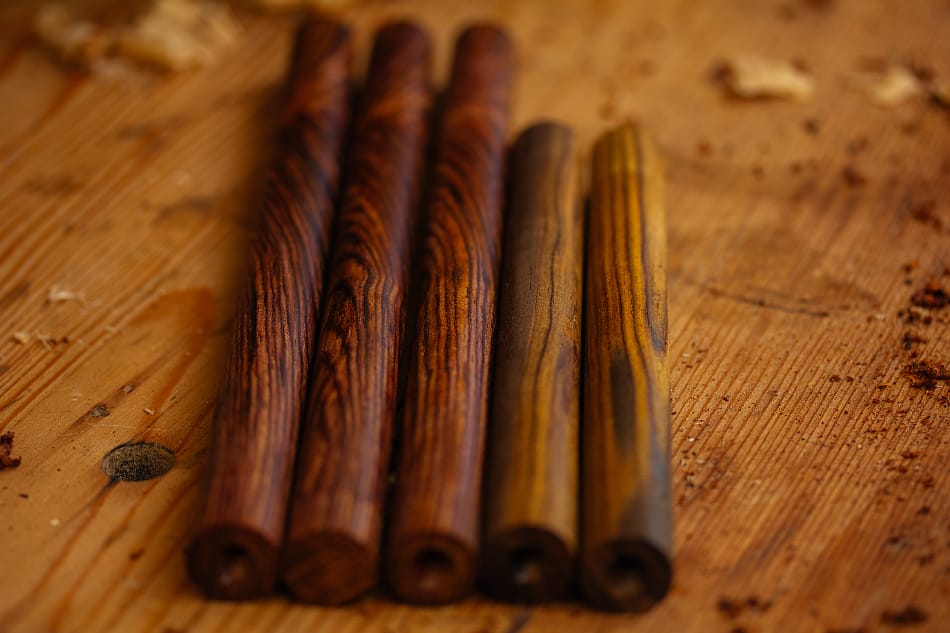
The ends are drilled and faced on the lathe to accept the African blackwood mouthpieces.
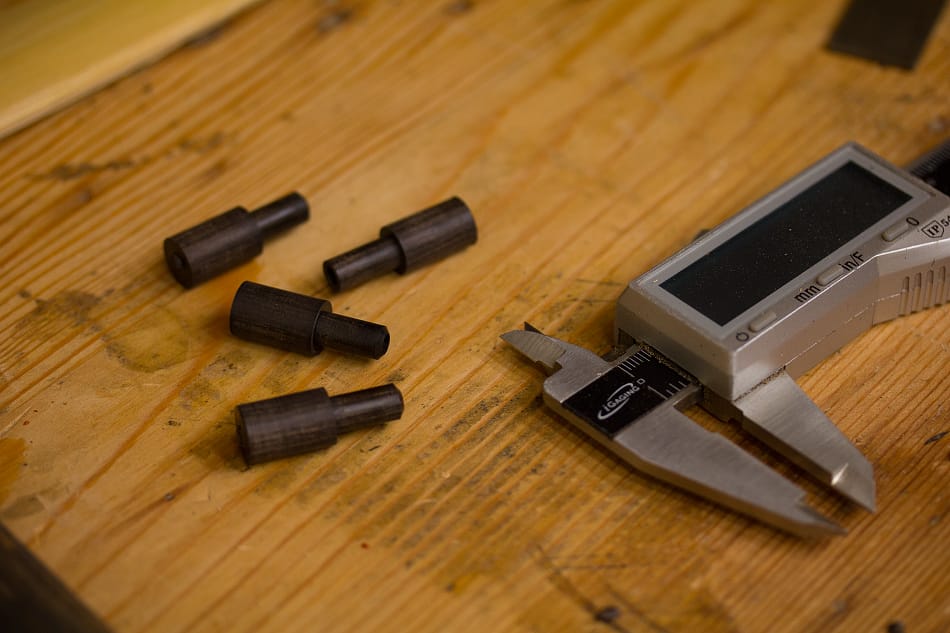
Mouthpieces ready to go.
I used Titebond III for the mortise and tenon joint between the stems and their mouthpieces. This glue is suitable for areas that don't see a lot of heat. It's waterproof, sticks well to oily exotics. I haven't had a glue joint fail yet so it must be good.
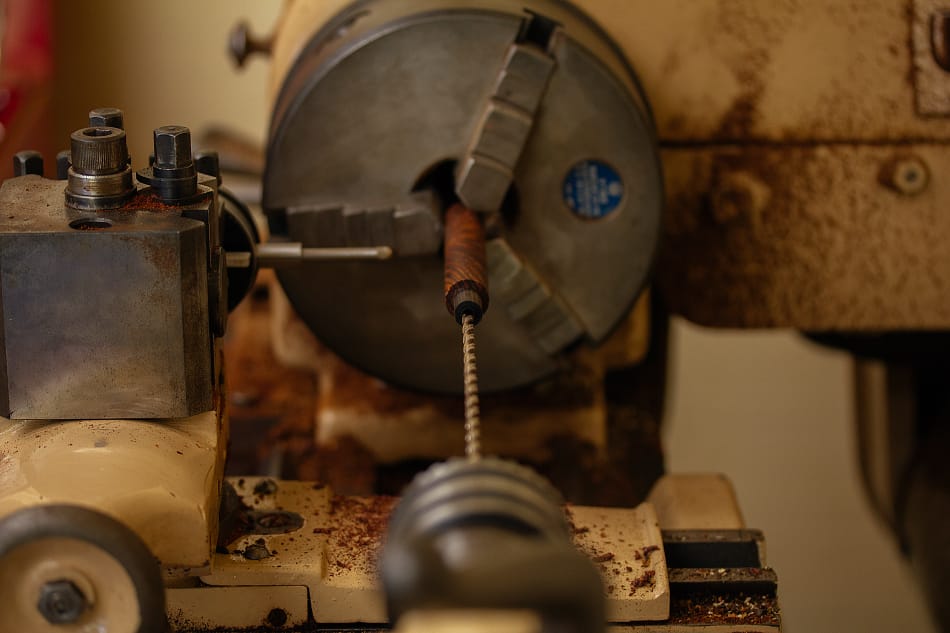
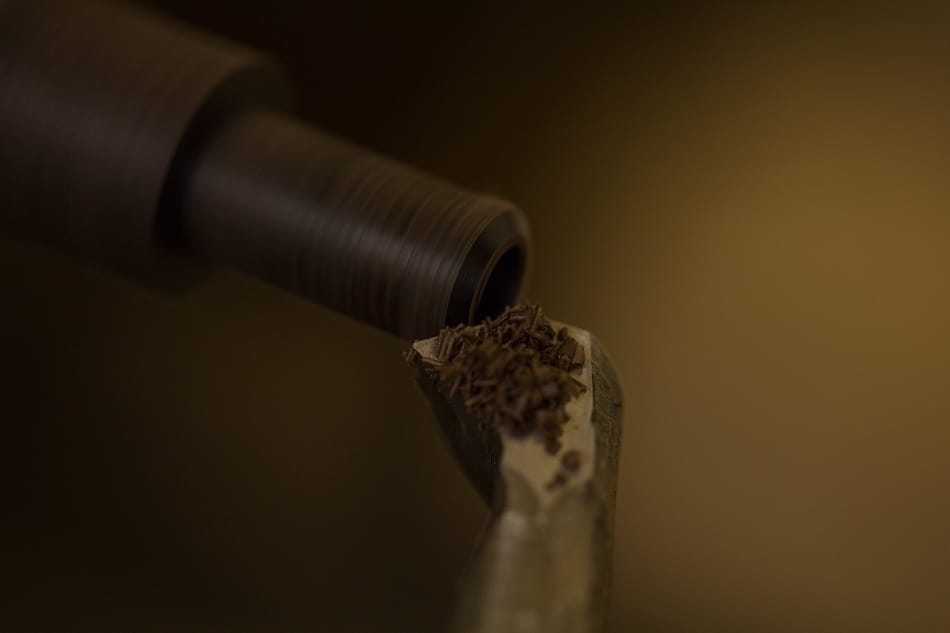
A long drill bit is used to finish the airway. This bit is slightly larger than the original hole that was drilled into the mouthpiece so that any glue squeeze out is removed.
Drilling long holes into wood is always a challenge. The bit will almost always wander, coming out the other end a tiny bit off center. In all my years of trying to find solutions I've just learned to work around this quirk. The dowel blank is oversized so that in the next stage I can mount it 'between centers' and take out any eccentricity between the airway and the outside diameter.
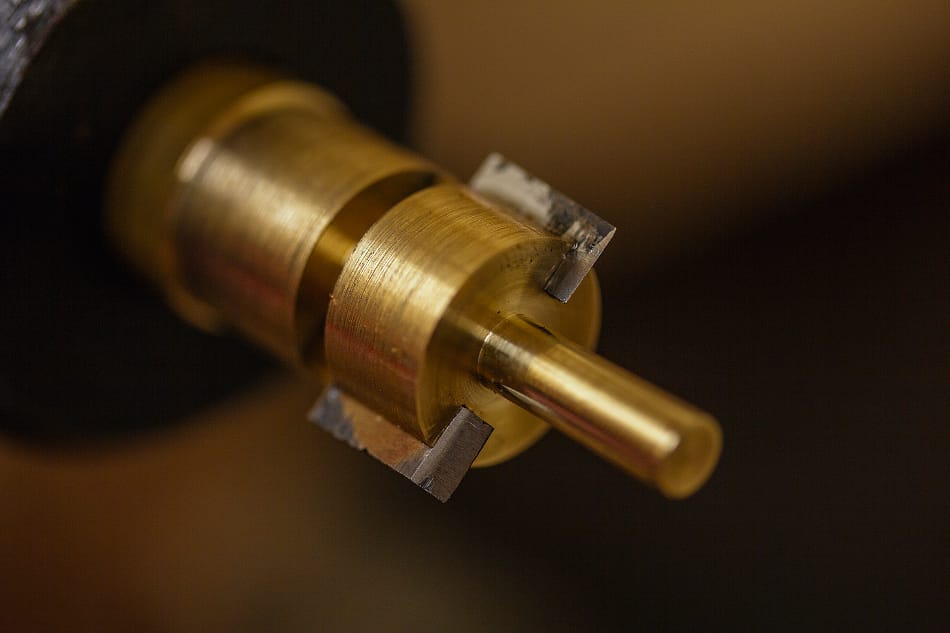
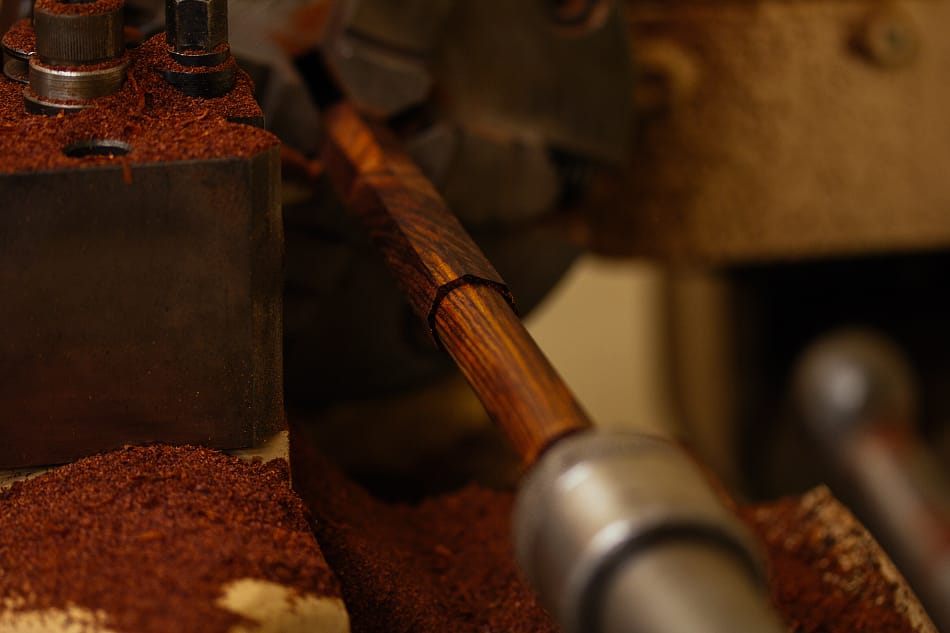
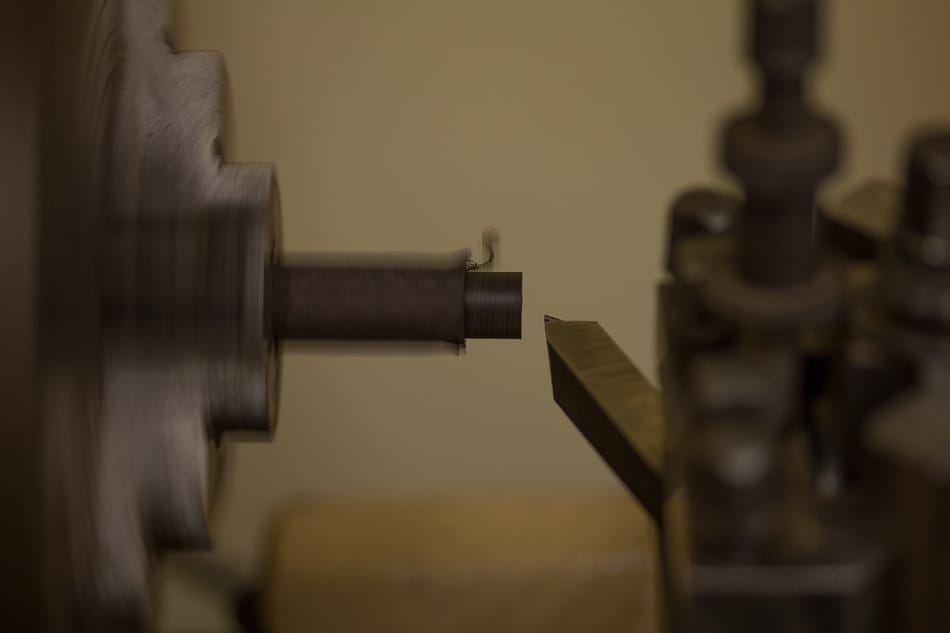
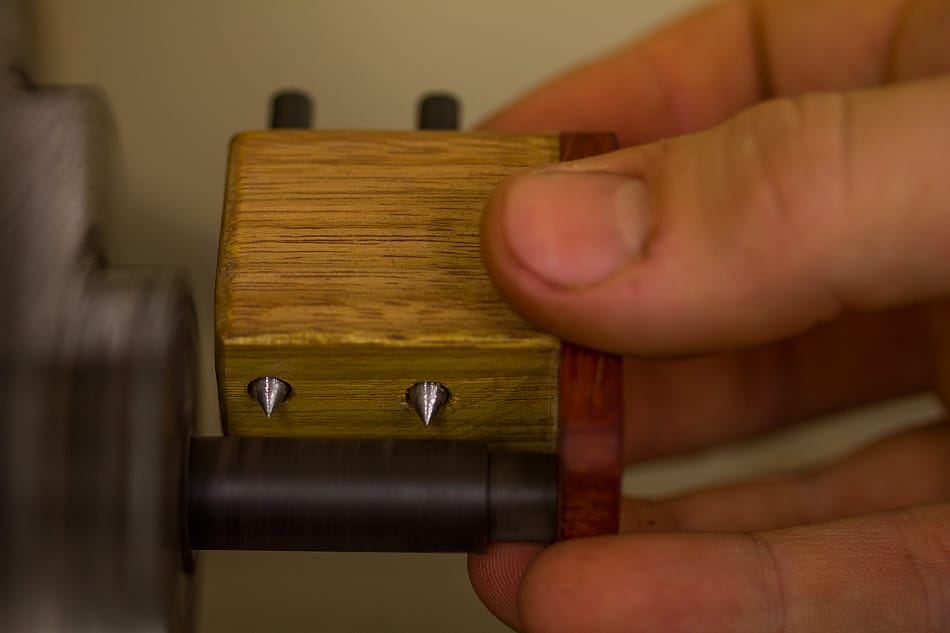
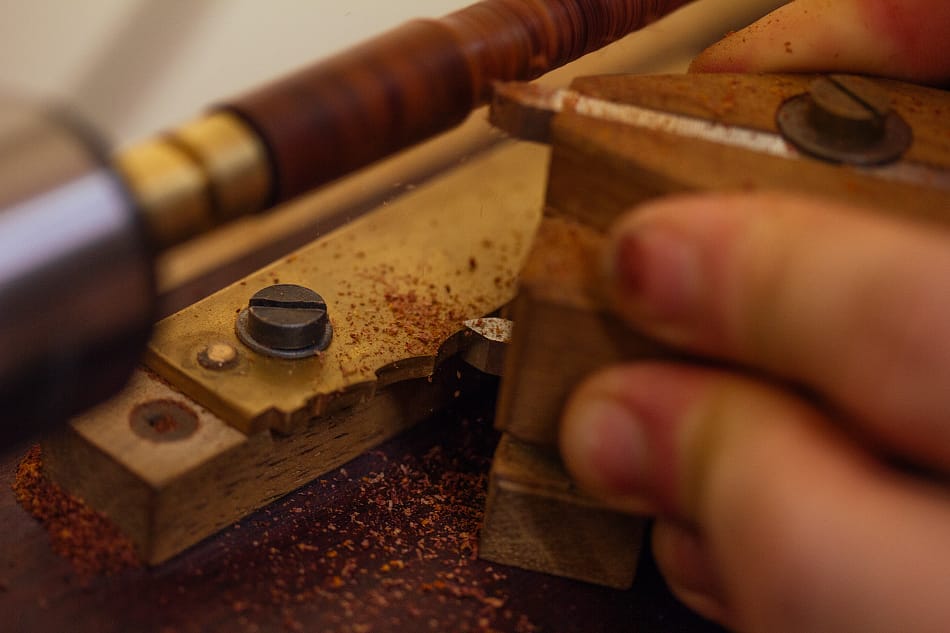
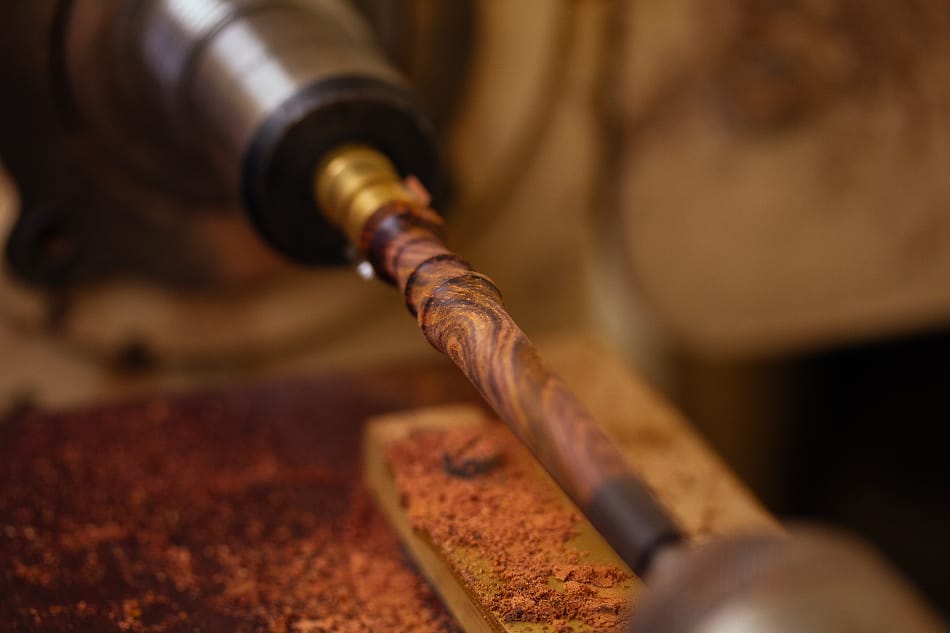
To grip the blank on the lathe, I made this little brass mandrel with two steel blades that bite into the end of the blank.
Here's the mandrel in action. The dowel blank is turned down to final diameter. Any eccentricity that might have been introduced by the drill bit wandering off center in the previous step has now been removed.
The airways are perfectly centered.
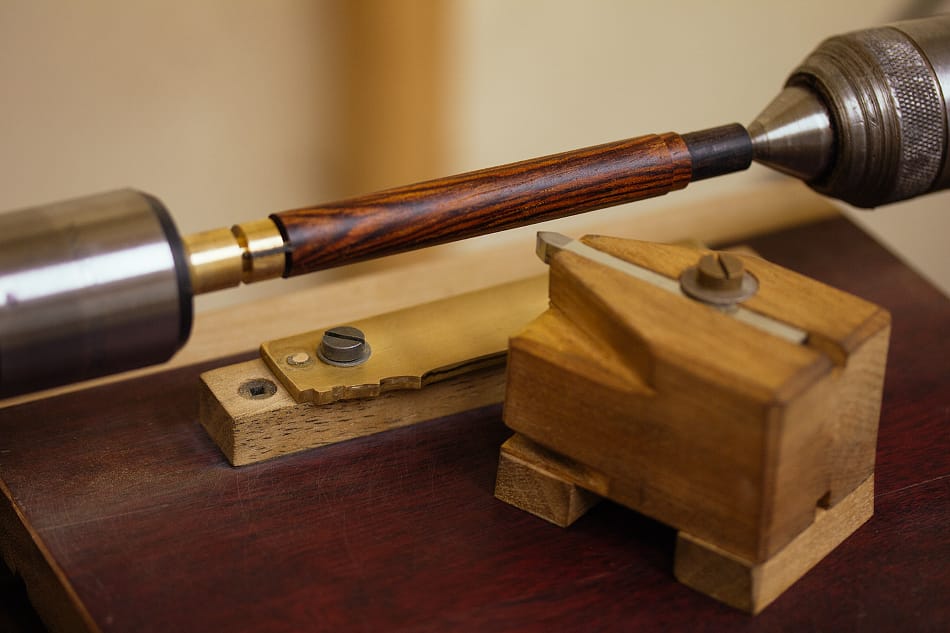
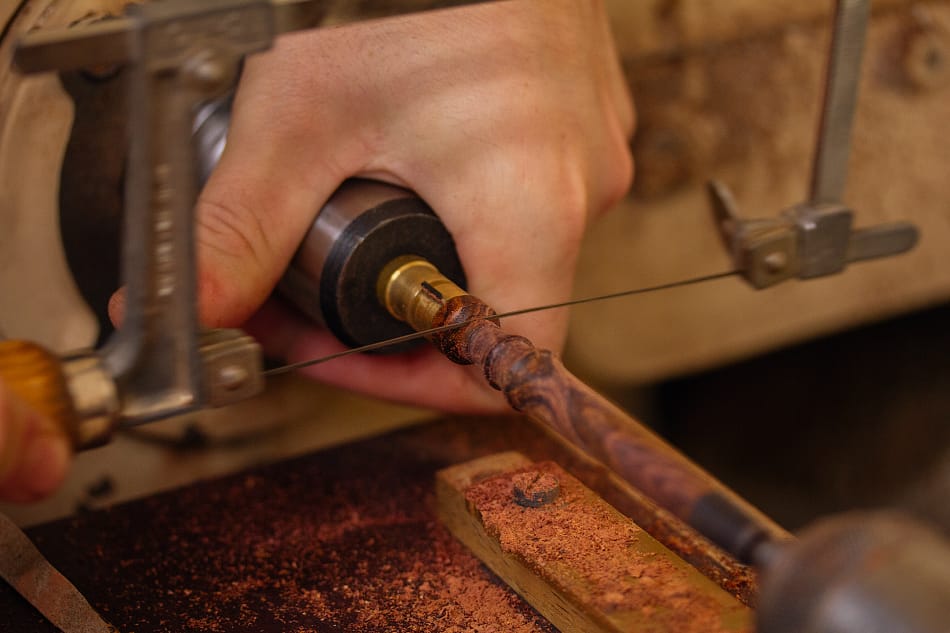
To duplicate the wooden stems, I use a template turning jig that is mounted onto the lathe bed. The jig consists of a handheld tool holder and a brass template. The tool holder also holds a stylus that slides along the brass template. The stylus traces the profile of the template and transfers that shape to the cutter.
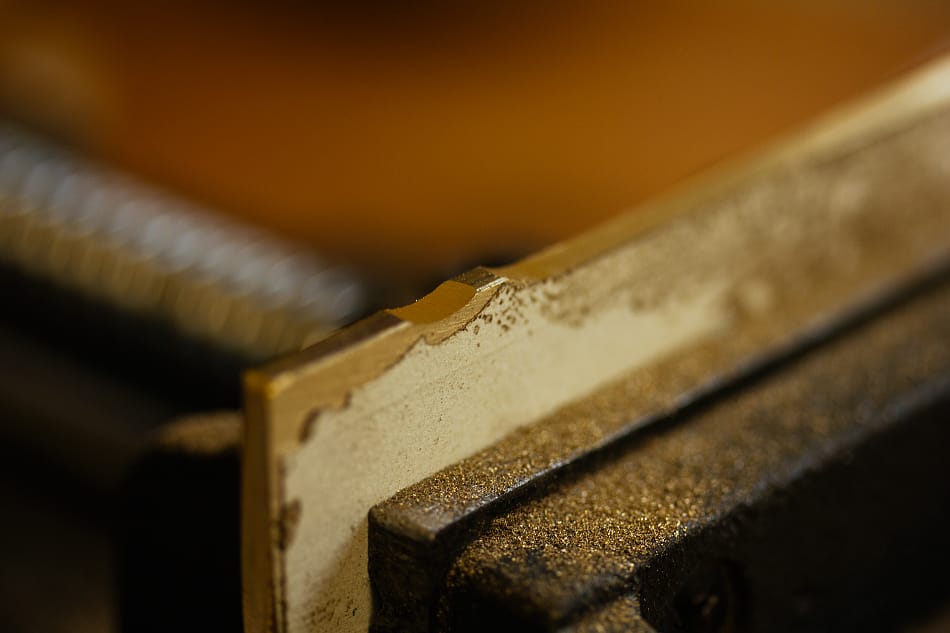
The brass templates can be customized to be pretty much any profile you need to copy.
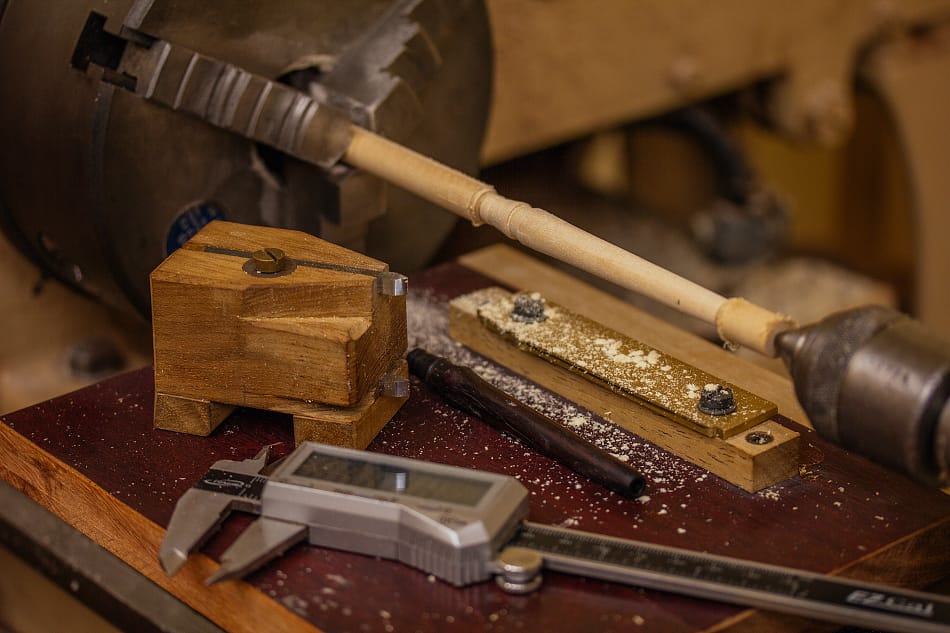
After a few tweaks to the template I arrived at a final shape. This test blank would reveal my final shape, the shape that would be duplicated into every Okin stem from here on.
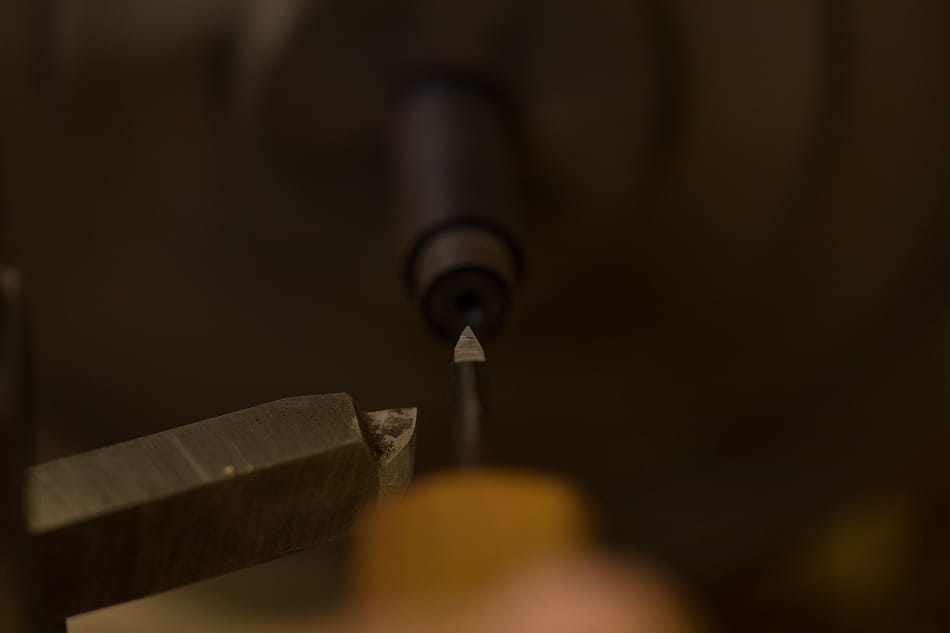
This view of the tool holder shows both the cutter and stylus, which must be exactly the same shape.
A CNC lathe is the modern evolution of this jig.
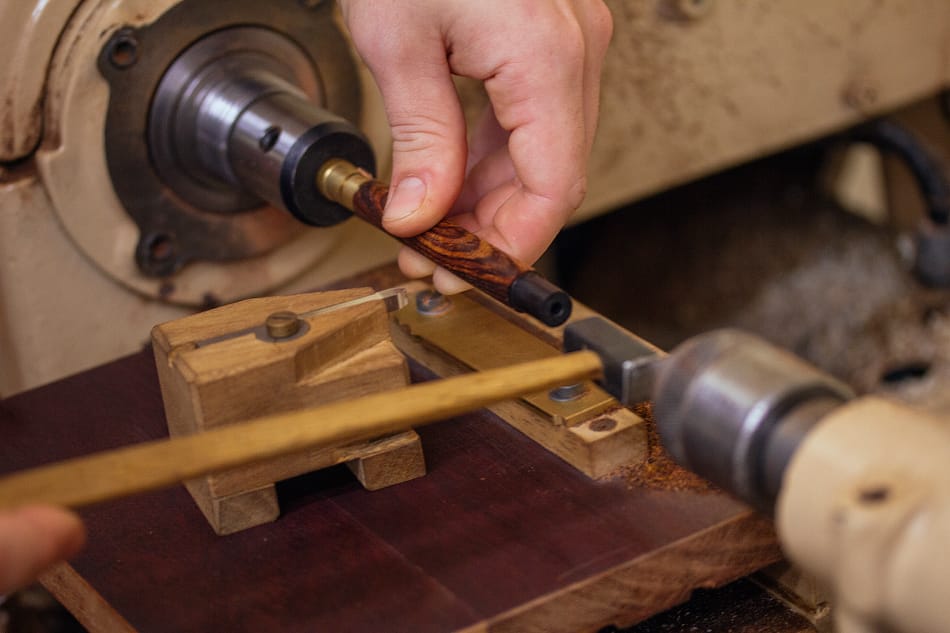
The stems are mounted to the mandrel with a hammer tap.
The stylus and cutter working in unison.
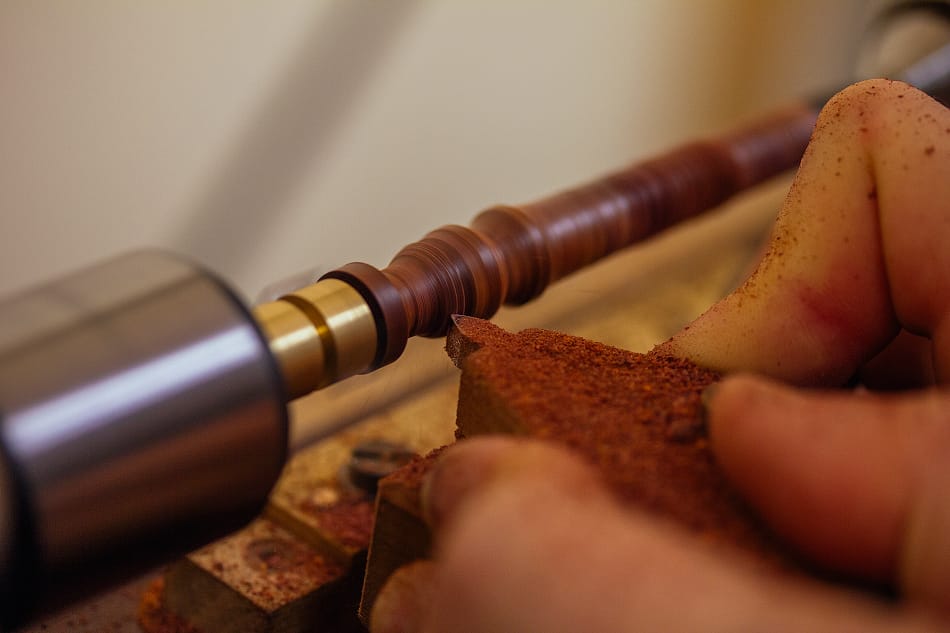
The shape is refined slightly with sandpaper.
The O-ring groove is also sanded, just in case anyone wants to take a peek under there.
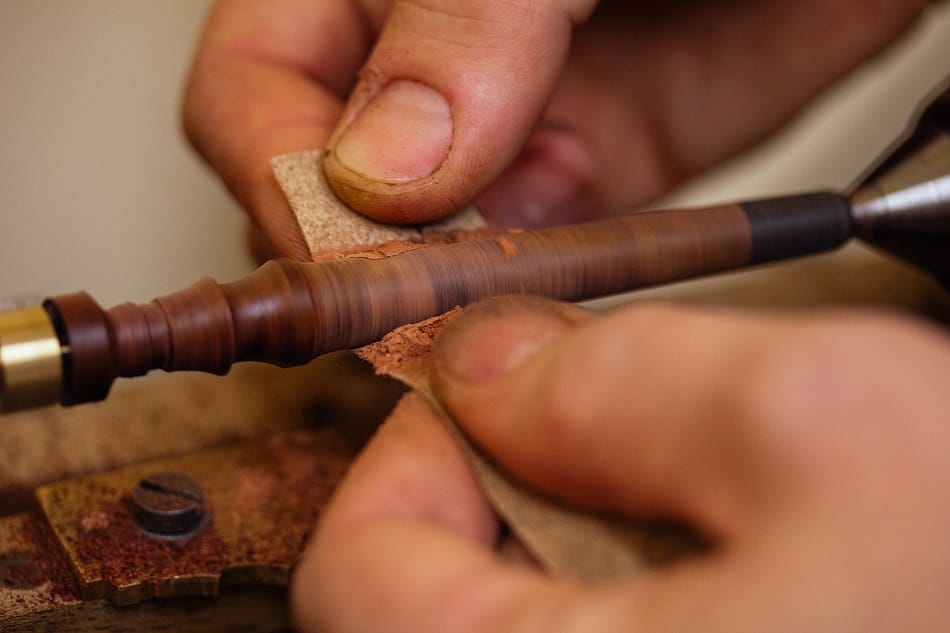
It's always neat to see what patterns have emerged. Just look at that fine ass cocobolo!
The stems were left a little long up till this point. The extra bit is lopped off and the stem is removed from the lathe.

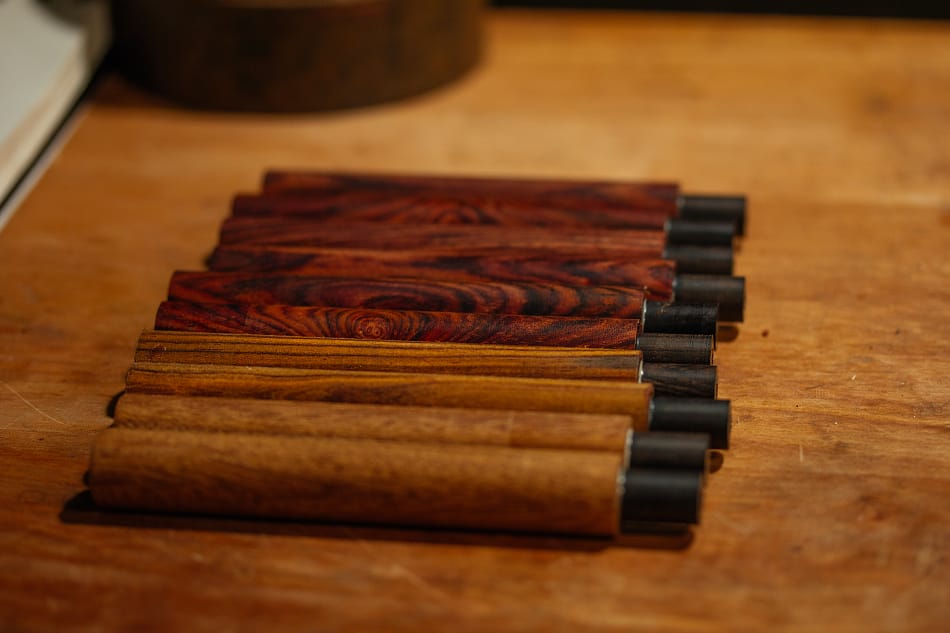
These still need a bit of final machining on the ends, but they're more or less complete at this point.
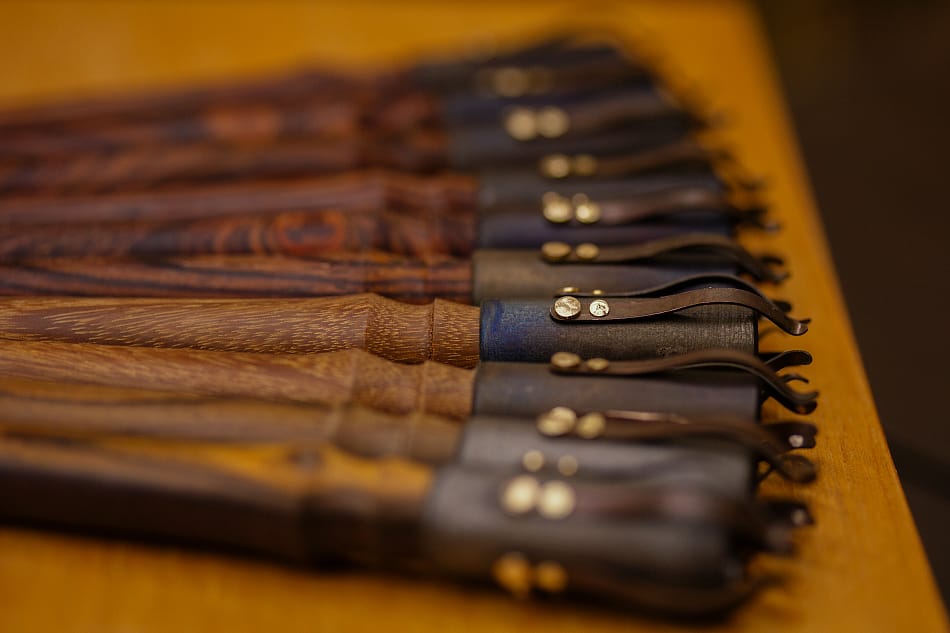
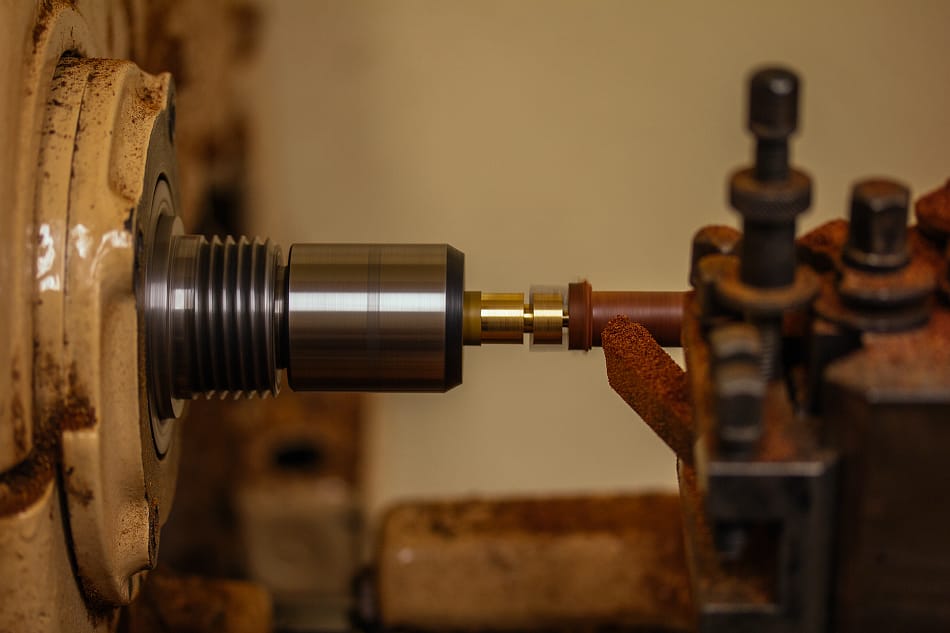
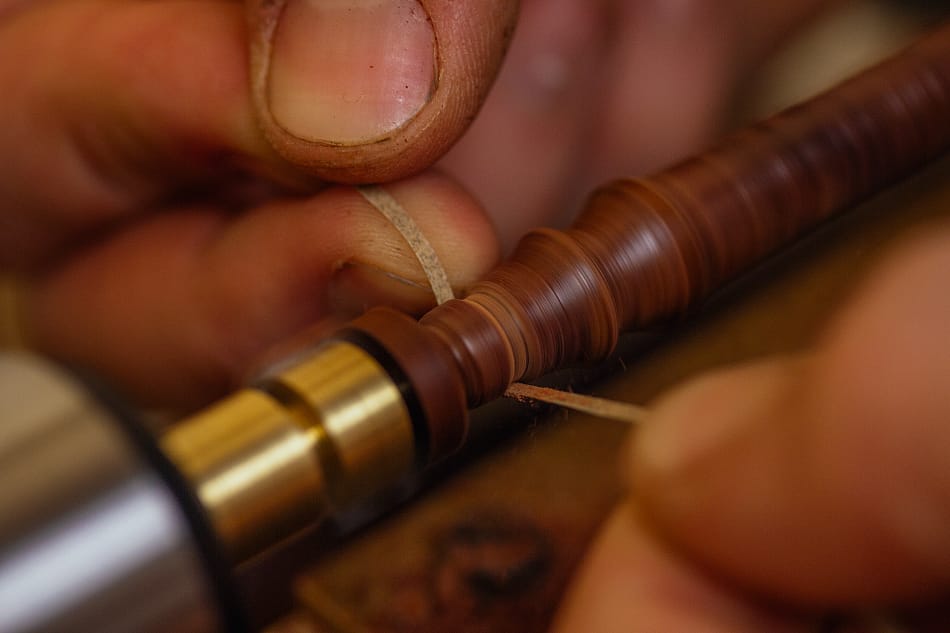
Each stem would be chucked into the Taig lathe and refined with sandpaper until the perfect fit was achieved with the matching steel tips. There is a very slight matching taper in both the steel and wood which seats firmly together.
The stems were sanded to around 800x, and finished with beeswax/mineral oil.
That concludes this installment! Up next we'll be taking a look at the mahogany/kraft boxes, my first foray into paper composites, and the foundation on which the Toads would eventually be built. It's a romp.