Okin Craft 02
The Okin was the first product that I designed for production. Before that, I was making one-off pieces. It was an entirely new experience for me and looking back on these albums it's obvious that I really had no idea what I was doing.
I now know the importance of designing with manufacturing in mind. These days I don't even consider adding a detail to a design if I don't already know exactly how that detail will affect the making of the thing.
In the Okin days, future Dan be damned, I'd design solely based on what I thought would look cool and figure out how to make it later.
I also foolishly insisted on doing everything myself, even if it took way... way longer. I told myself that I would be repaid in time with the skills that I'd hone. Worth it? Maybe!
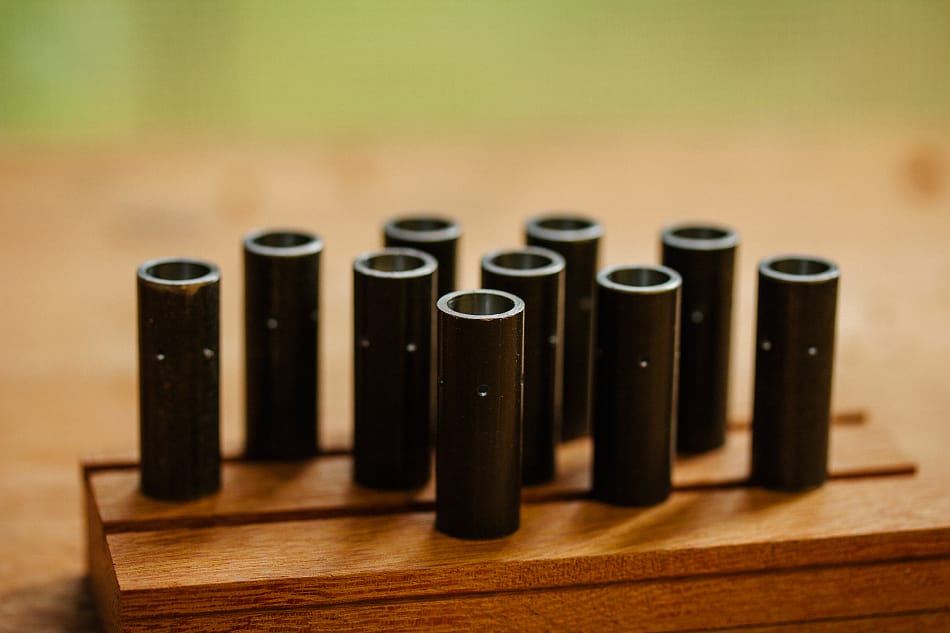
These three prototype herb chambers show off the 10 tiny screw holes that I was now trying to figure out how to machine. Nowadays I see this part and imagine how a CNC lathe could spit out a years supply in a couple hours. Funny enough, even now I'd probably still insist on doing these parts in house, manually, slowly. Some sort of self-flagellation ritual I guess.
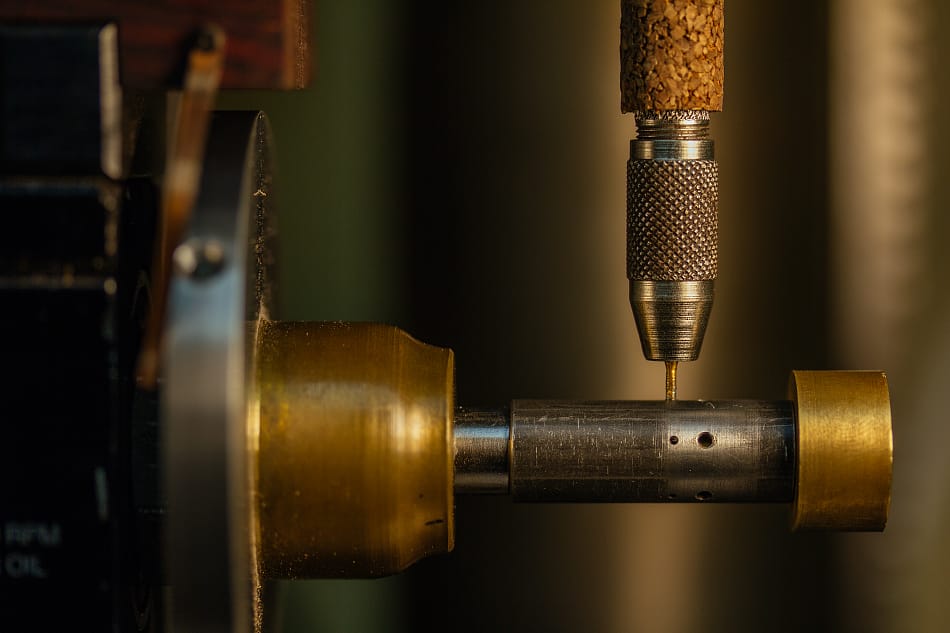
To drill these 10 holes I came up with a jig that would involve my little Taig lathe mounted to the drill press. The steel parts would be held on the lathe and a custom jig would allow for each hole to by quickly drilled.
These are the jig parts I'd be making, and the gallery below is a walk through the making of those parts.
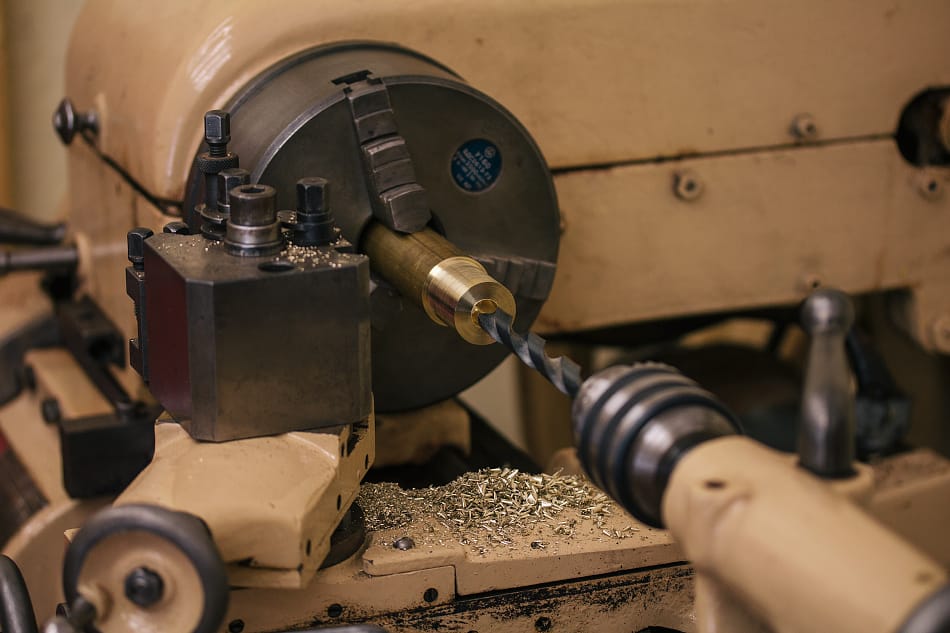
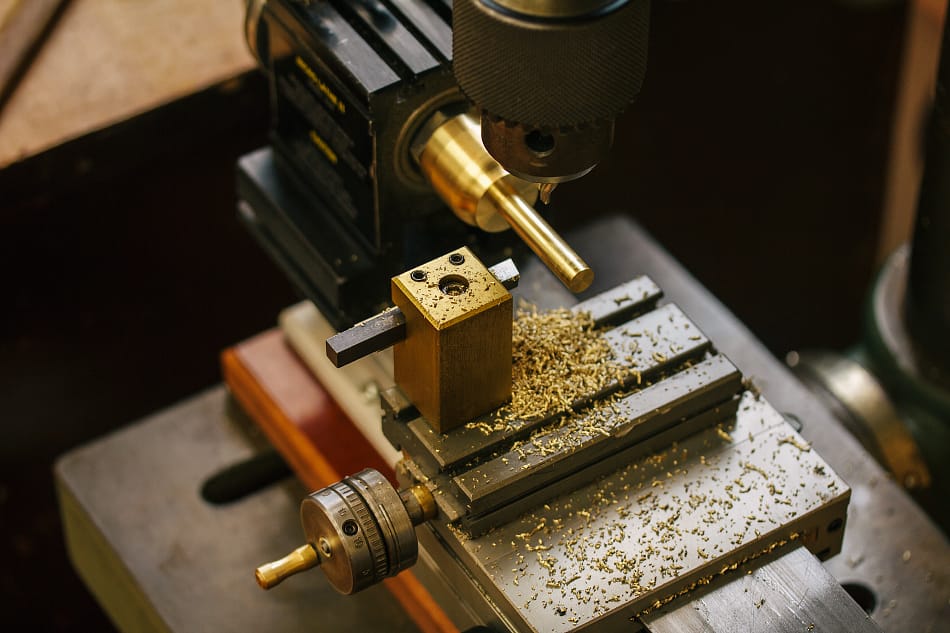
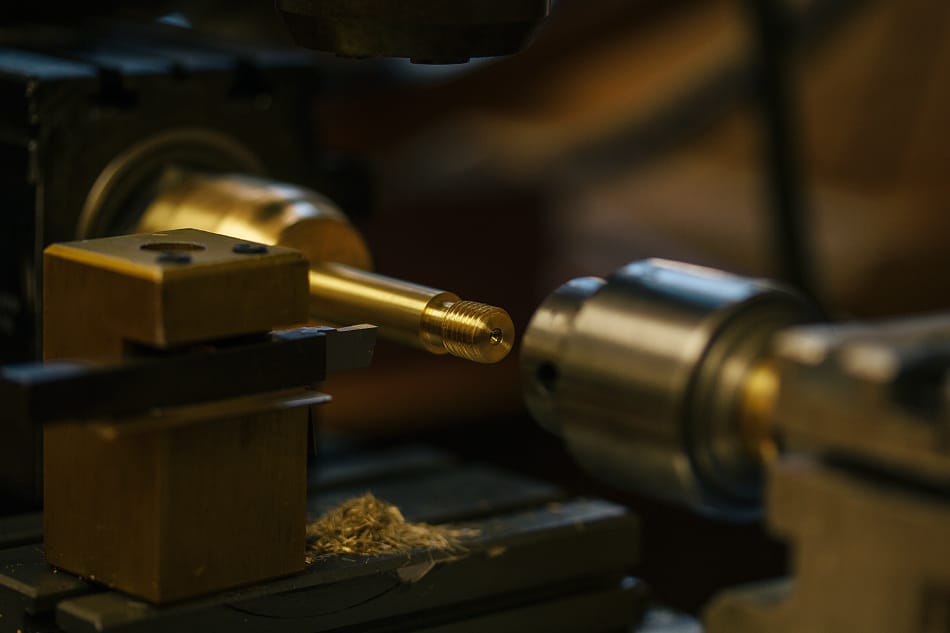
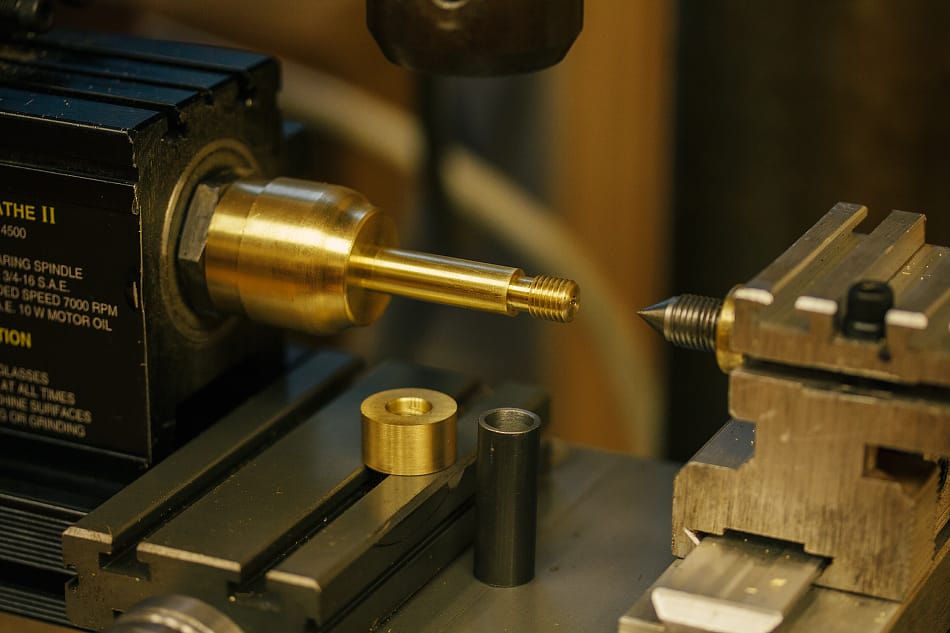
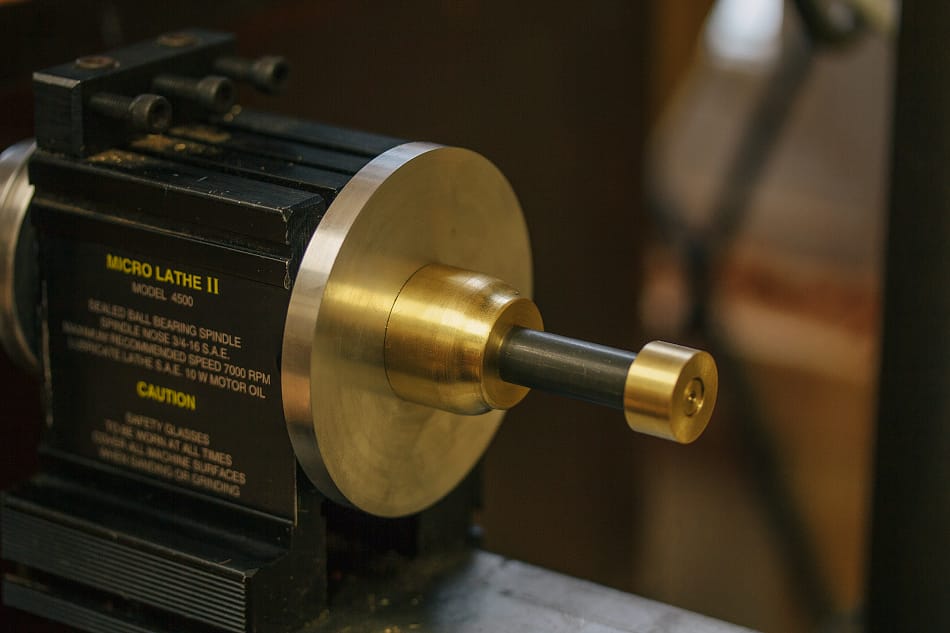
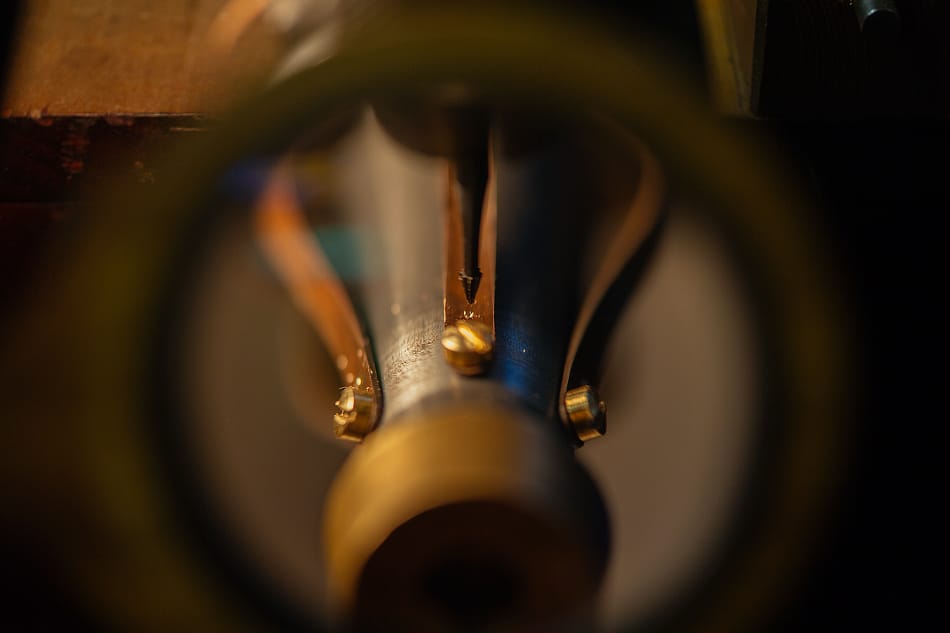
The finished jig featured an aluminum disc with 5 equidistant registration holes. Each position could be locked with a thumbscrew. The integrated brass mandrel held the steel parts while the drill press did its thing.

Each of the steel tubes would come off the lathe with their interior surfaces already polished and cut to a slight taper to accept the wooden stems later on.
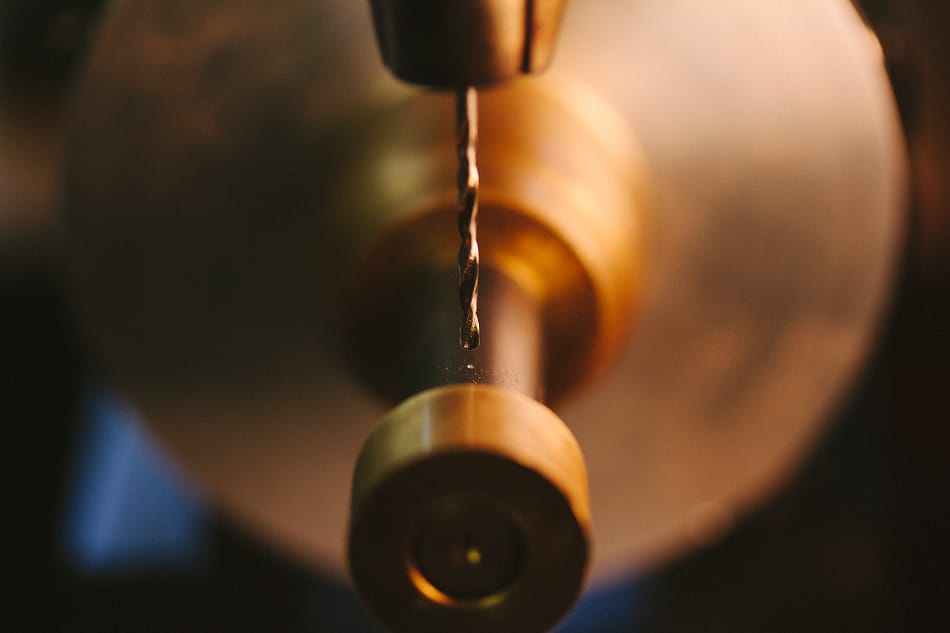
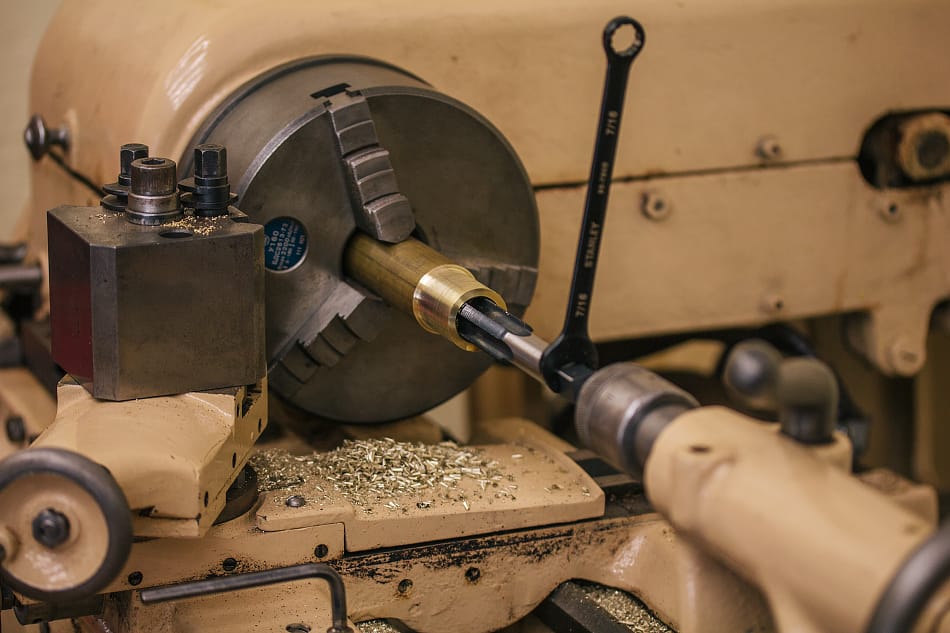
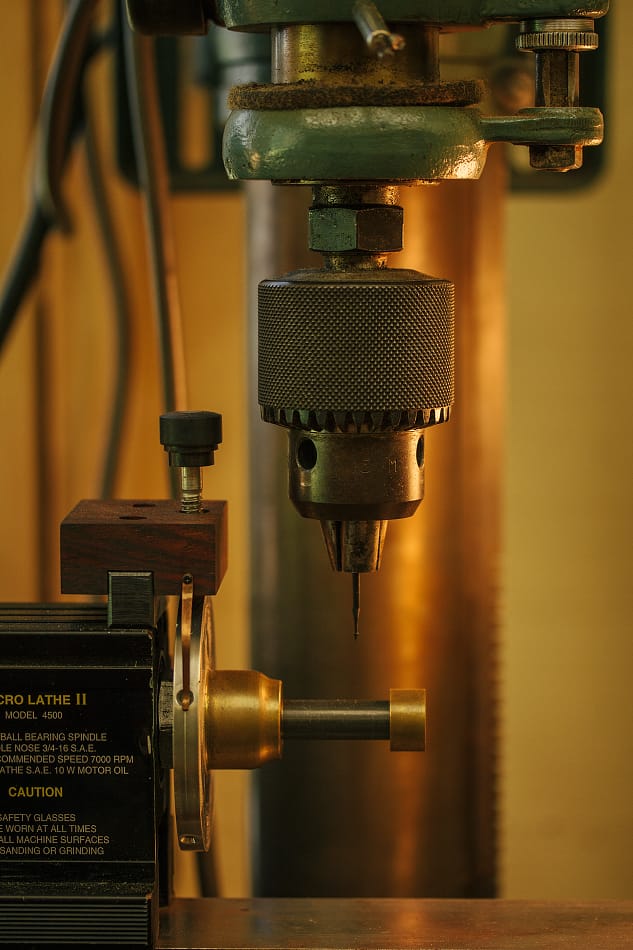
Mounted in the jig, each steel part was drilled.
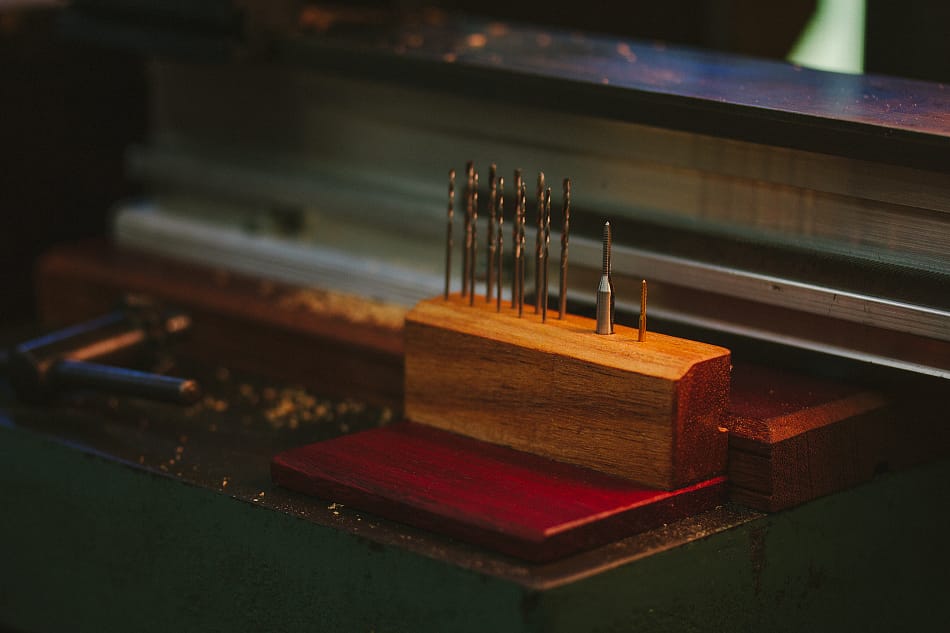
I made this little holder to keep track of my drills and thread taps. The larger hole is tapped to a 1-72 thread, the smaller one is 0-80.
A little oil would keep these tiny taps from breaking.
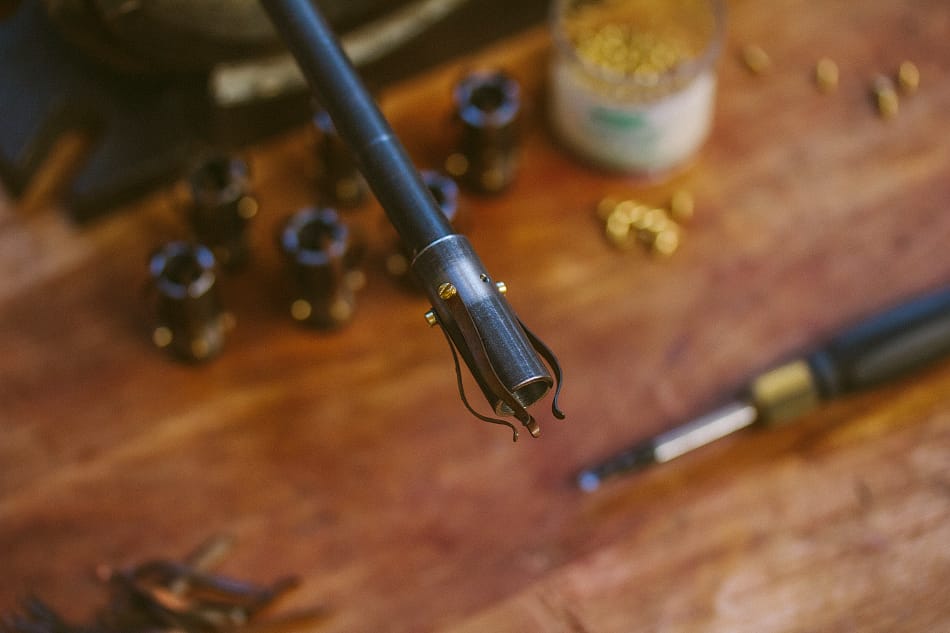
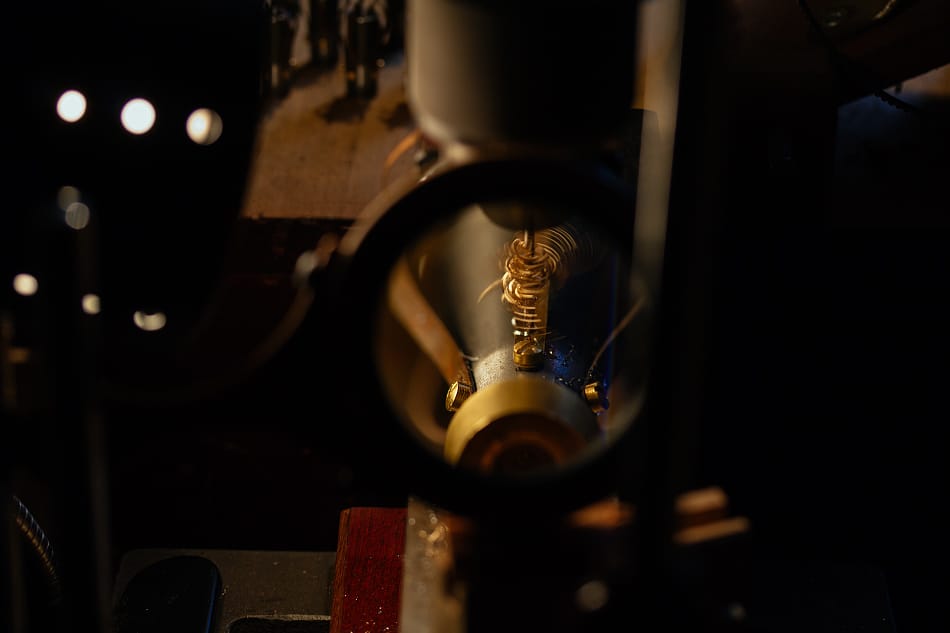
I mounted the phosphor bronze prongs with brass machine screws. The bronze springs were originally made for woodwind instruments. They came flat and required bending into the shape you see here. I had a jig for that, but sadly no photos of it.

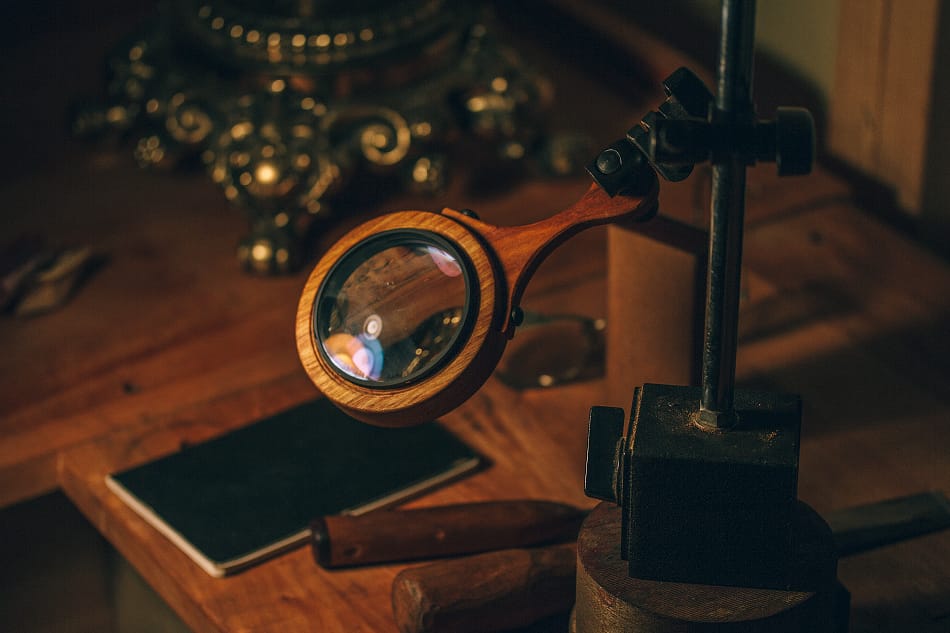
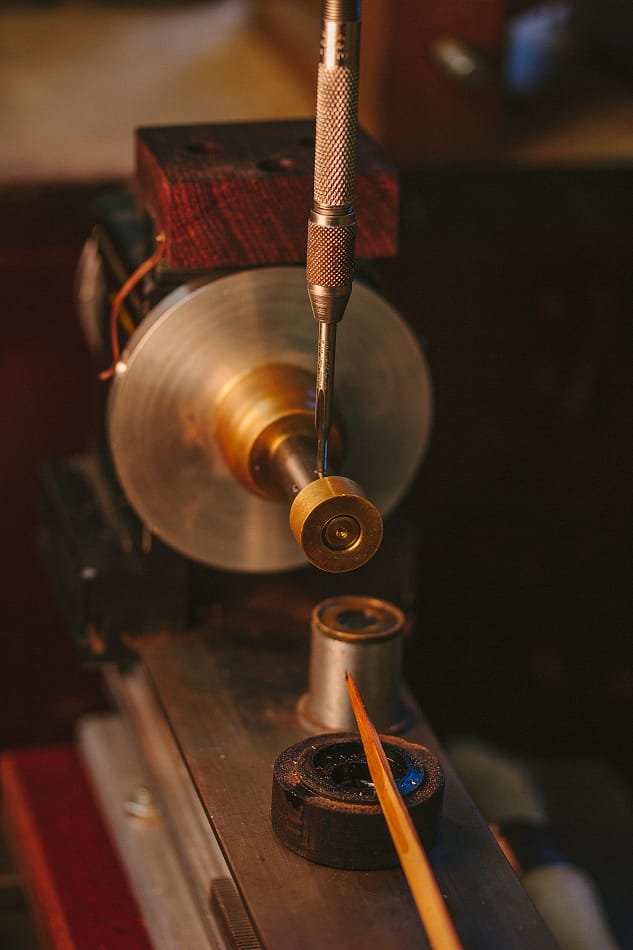
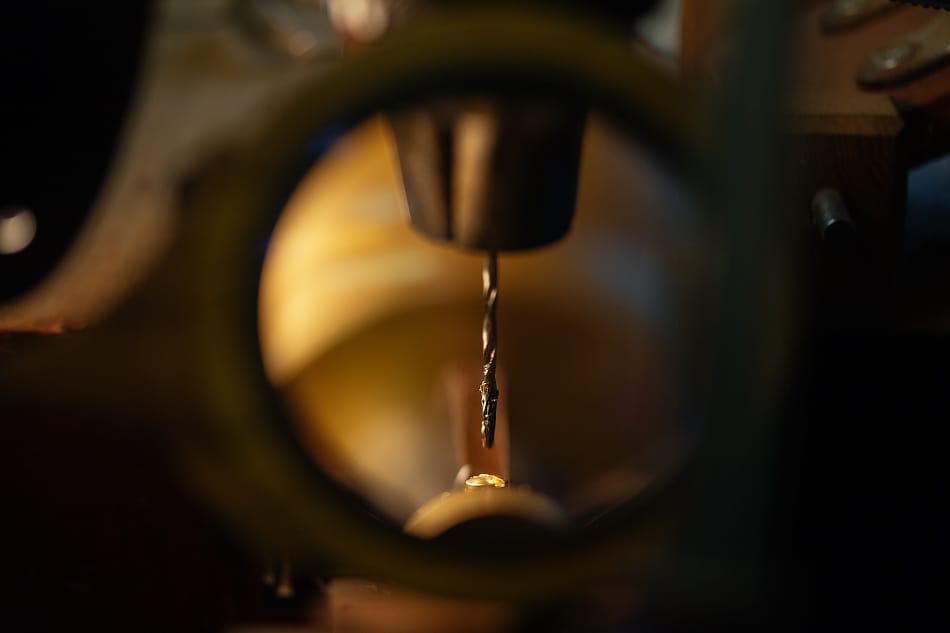
The next step involved drilling and tapping the 0-80 threads, an operation that required the use of a magnifying lens.
The hole locations were first marked with a tiny center drill. This created a starter hole so that the drill bit wouldn't wander as it entered the cut.
The drill press, a Jet - 13R, is well made and surprisingly sensitive. The lever that actuates the quill feels perfectly worn in. The drill bit talked to me in vibrations coming up through the machine. In this way we would drill hole after hole, in perfect harmony.
I remember both the bronze and the steel were tough to drill. Like trying to drive a spoon through old gum and walnuts mixed together.
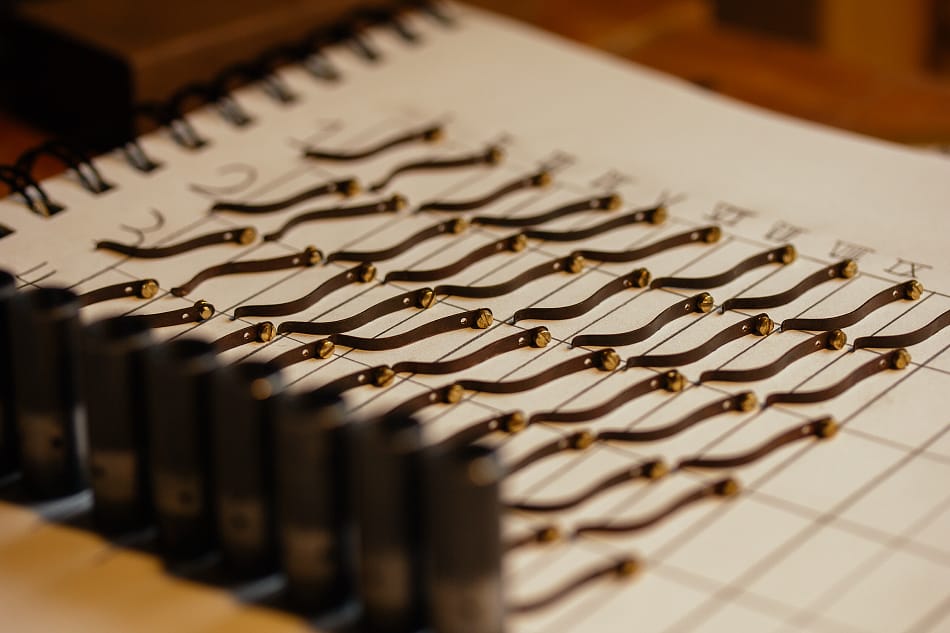
After all the holes were drilled, each bronze spring was removed and kept organized so that I could later place them back in the exact same spots.
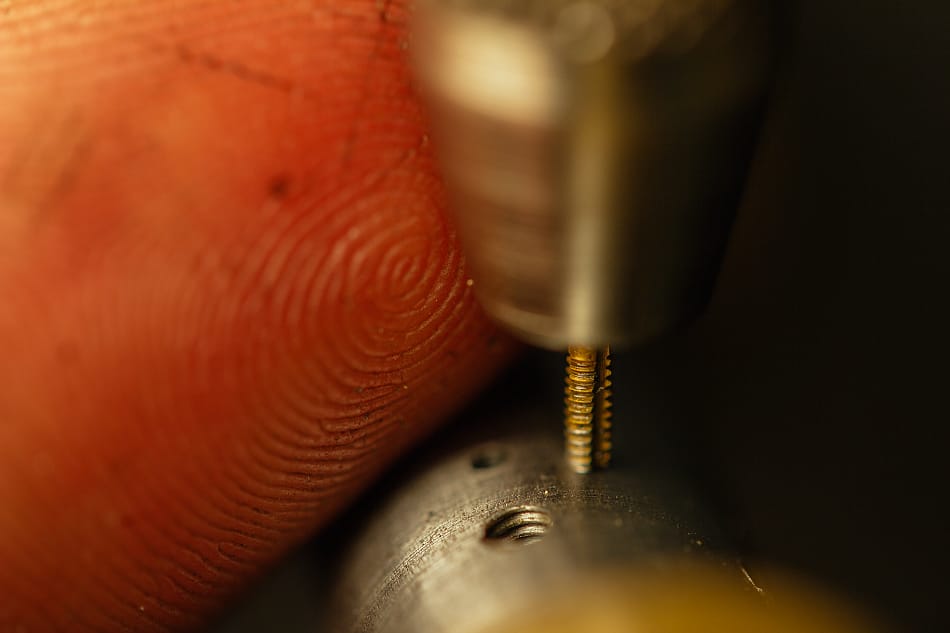
The final 0-80 hole was threaded. Looking at it now, it might have even been as small as a 00-90. Maybe it was....
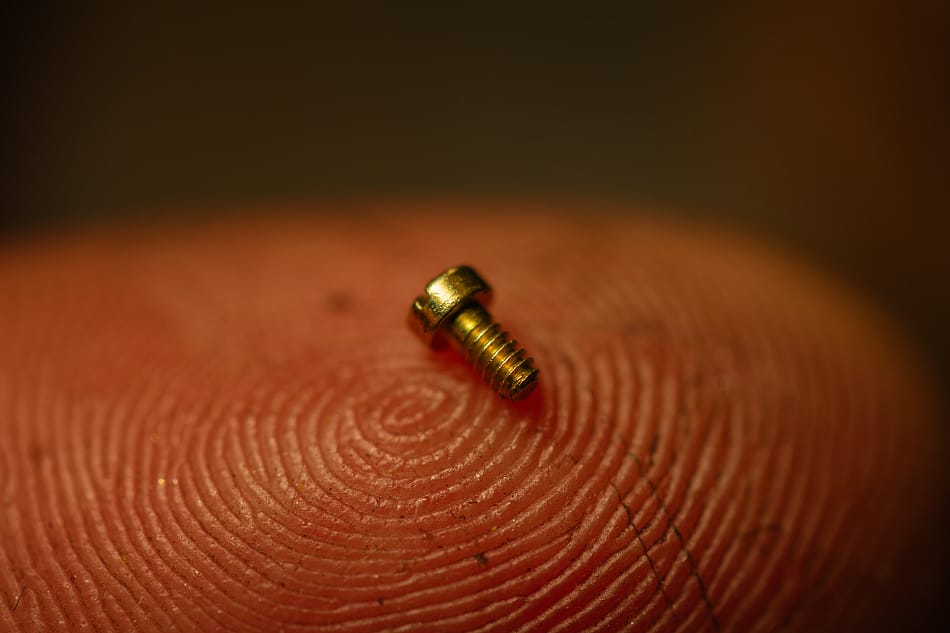
Tiny little screw.
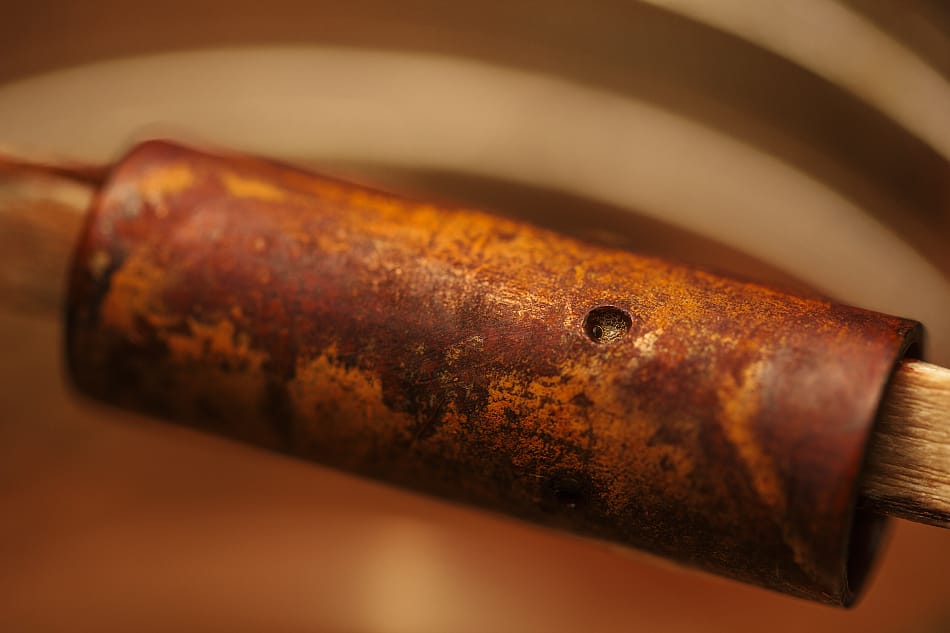
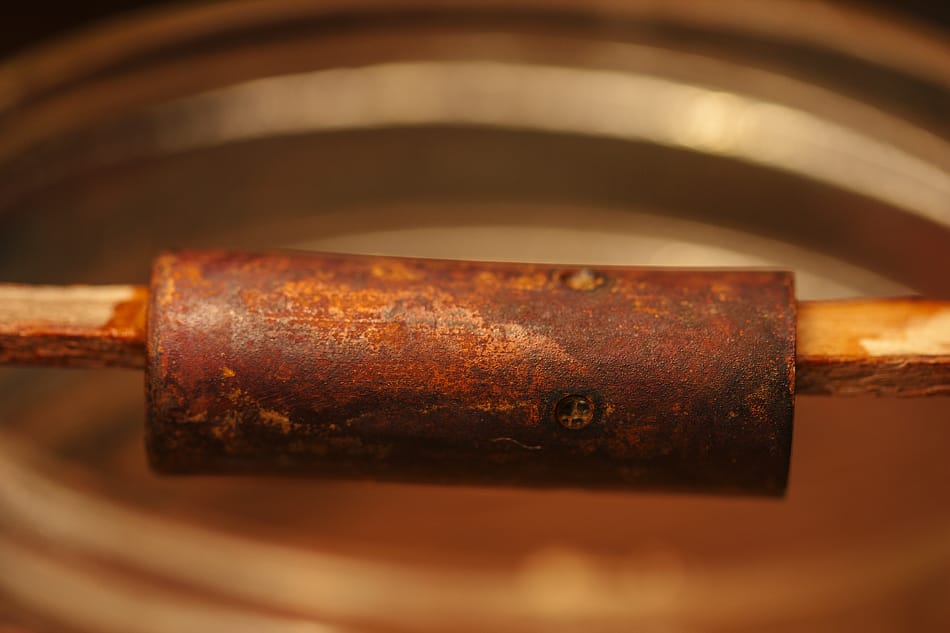
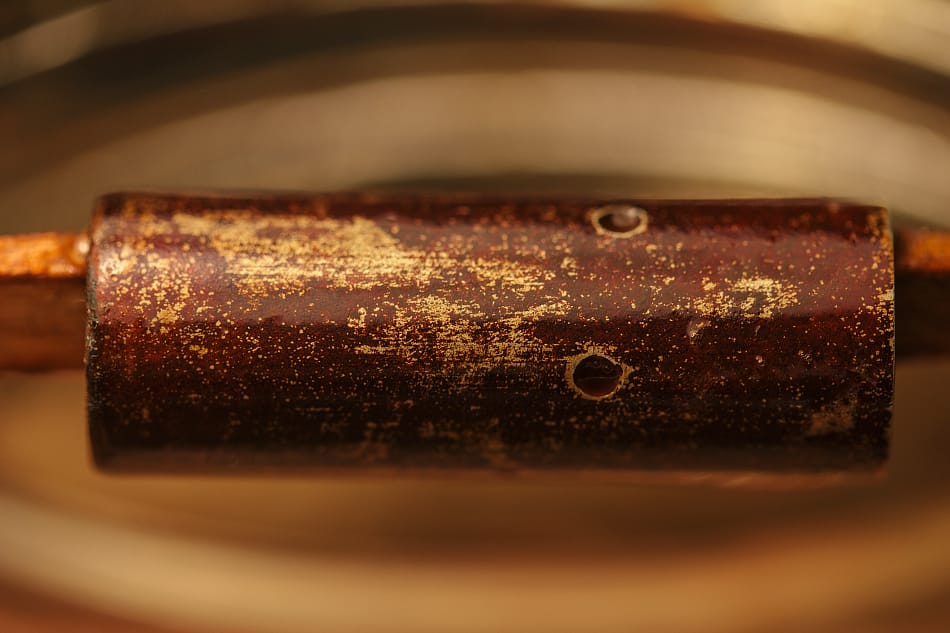

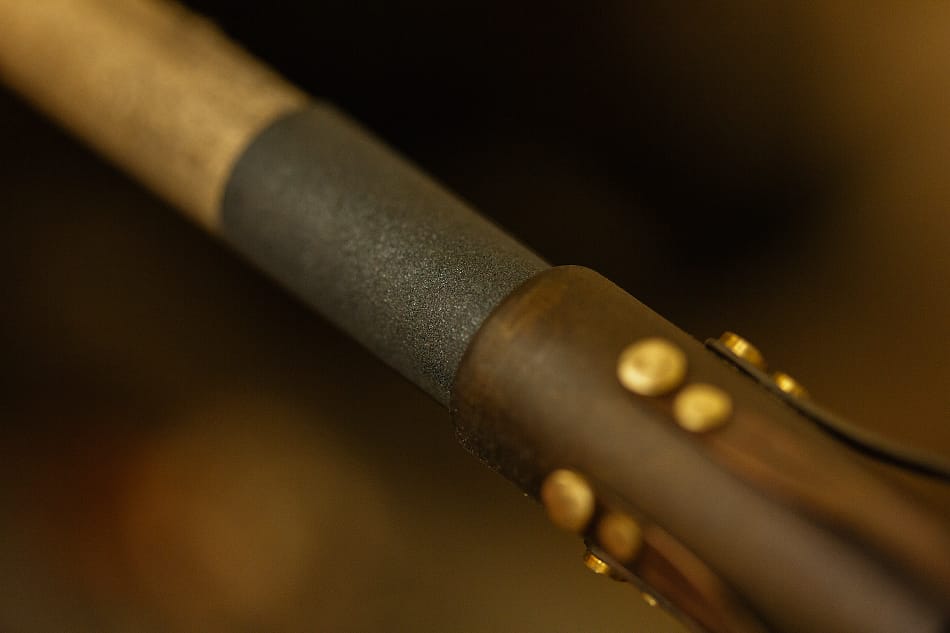
The steel parts are now brought through a multi step process of rusting, sanding, rusting again, sanding again, repeat...etc.. Until the final patina is reached.
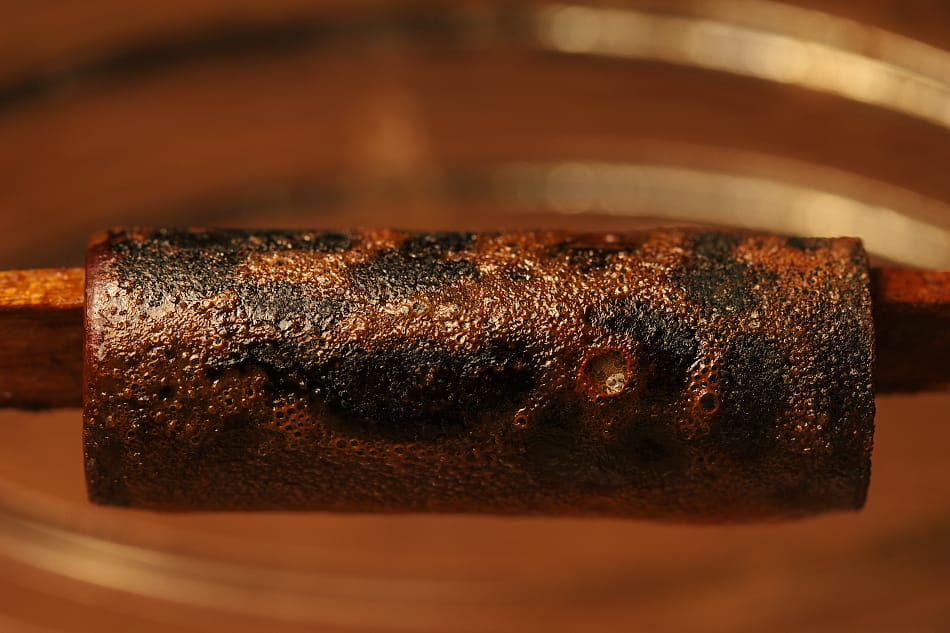
The rust is stripped and neutralized, leaving a textured bare metal surface. A torch is used to add an oxide layer which will help protect the parts from future rusting.
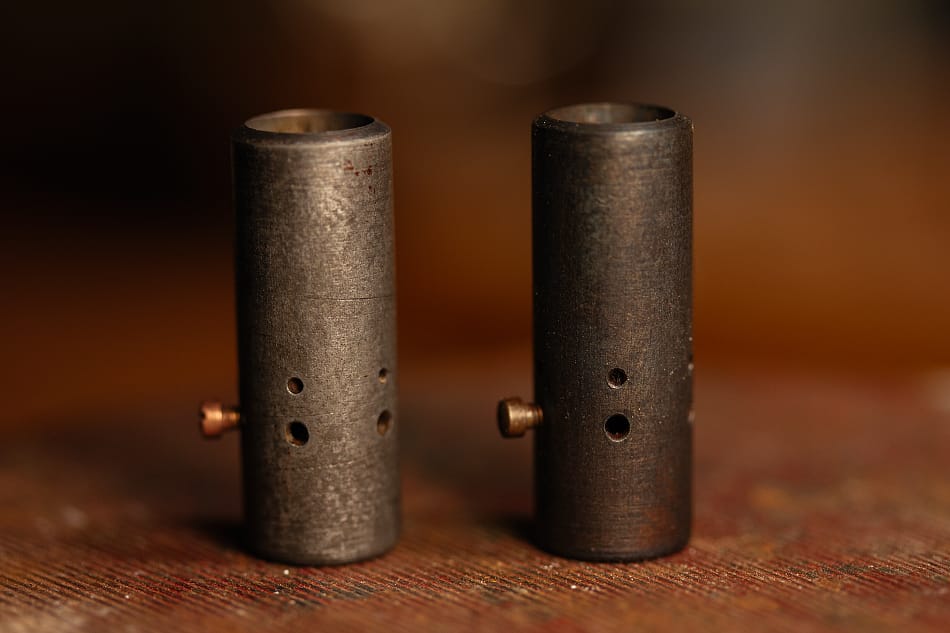
Unoxidized on the left, oxidized and oil dipped on the right.
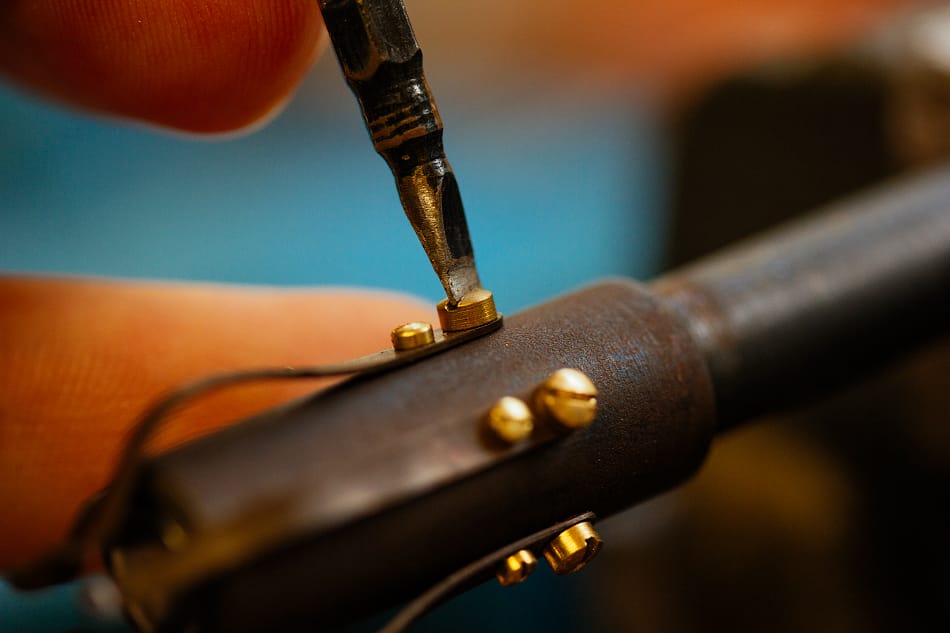
The bronze springs are mounted with brass screws. I sourced these screws from J.I. Morris, makers of precision miniature screws in the U.S.A. for over 100 years. At that time, you could only order over the phone, and by the sounds of it, the old man who always took my order sounded like he might've huffed too much cutting oil smoke over the years. It was a painful experience that was well worth the effort, those screws were absolutely beautiful.
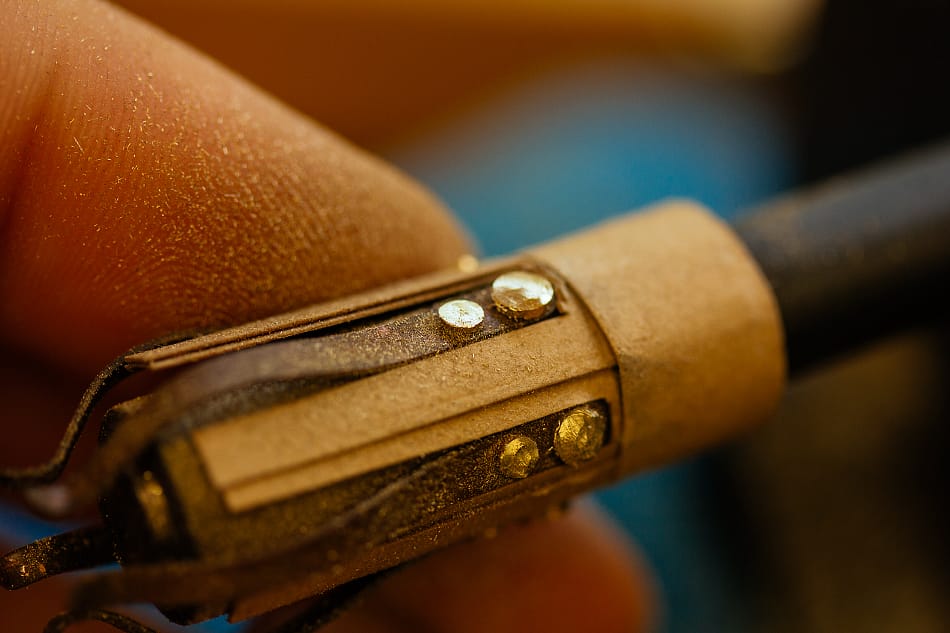
I wanted a more organic look to these guys, so I filed down the screw heads to look like hammered rivets.
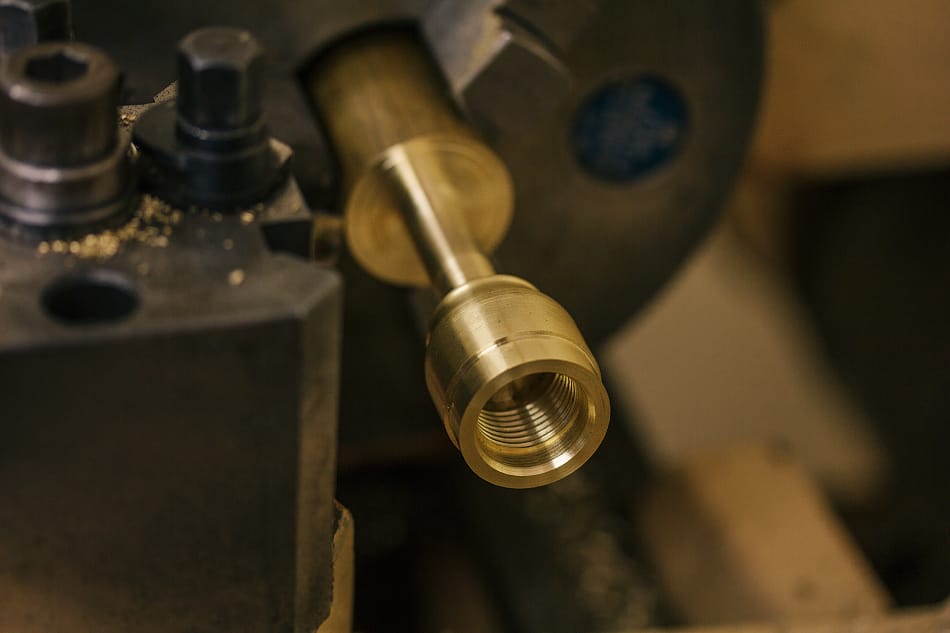
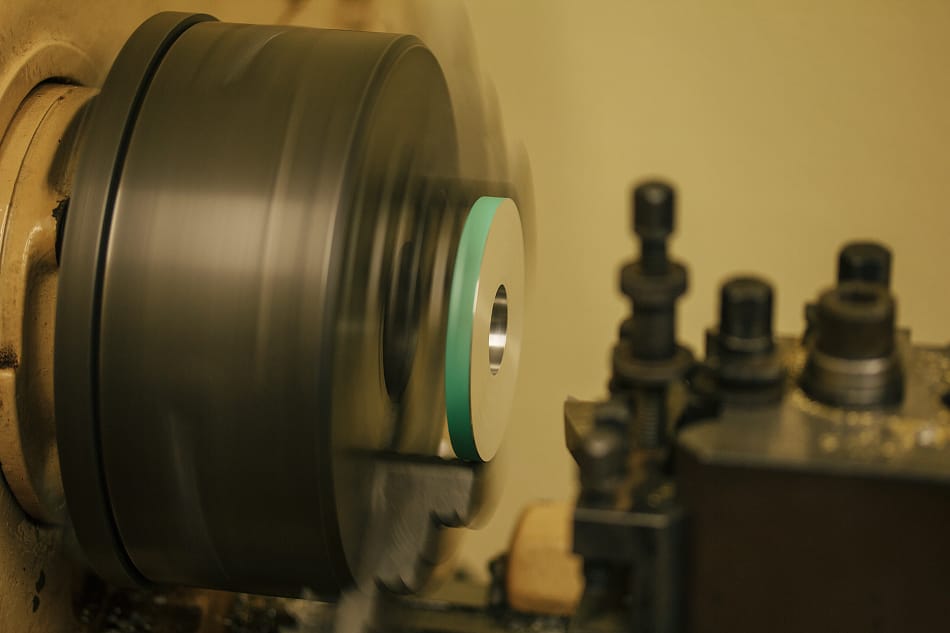
A sandpaper wrapped dowel was used to re-establish the polish on the interior.
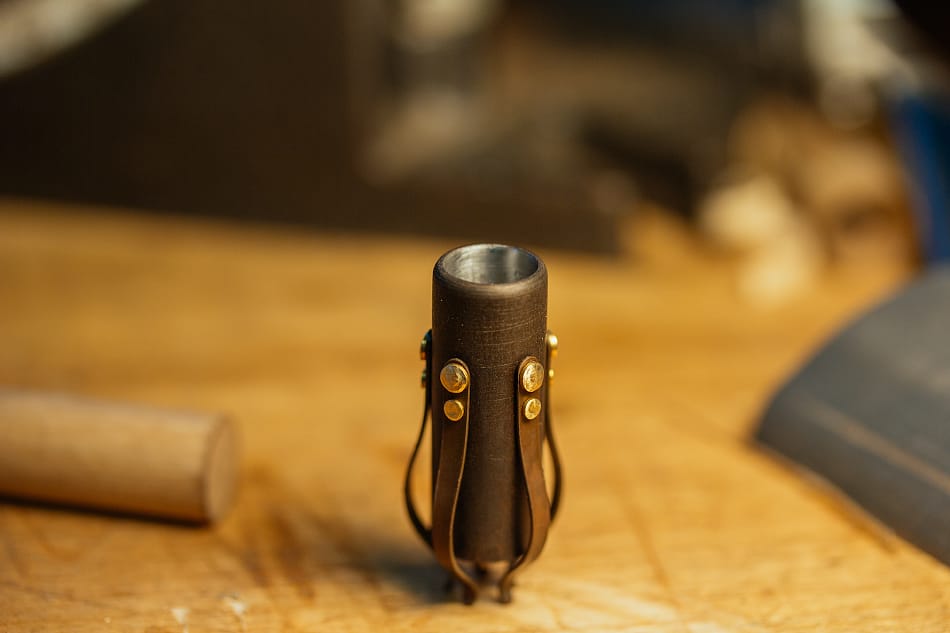
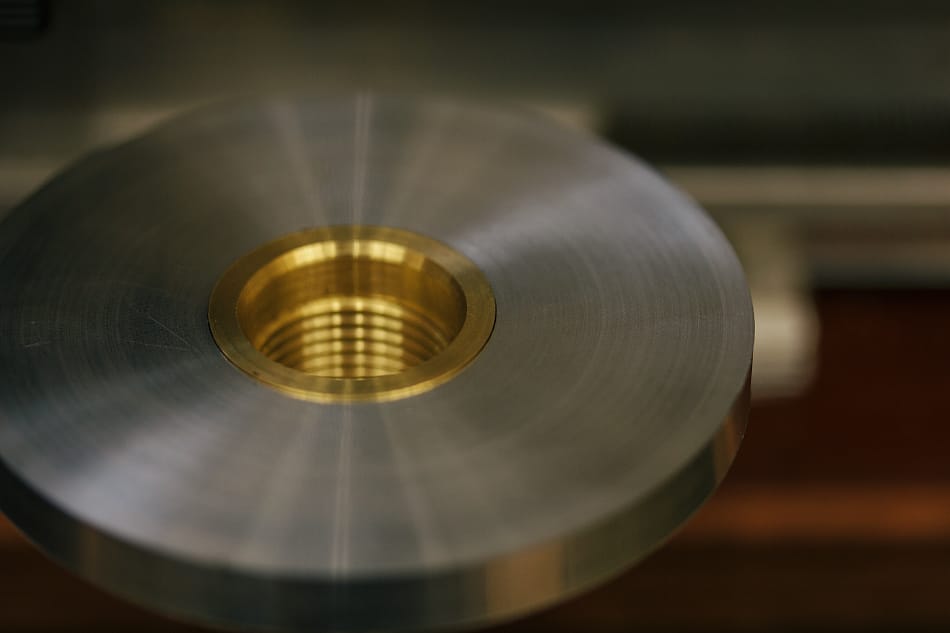
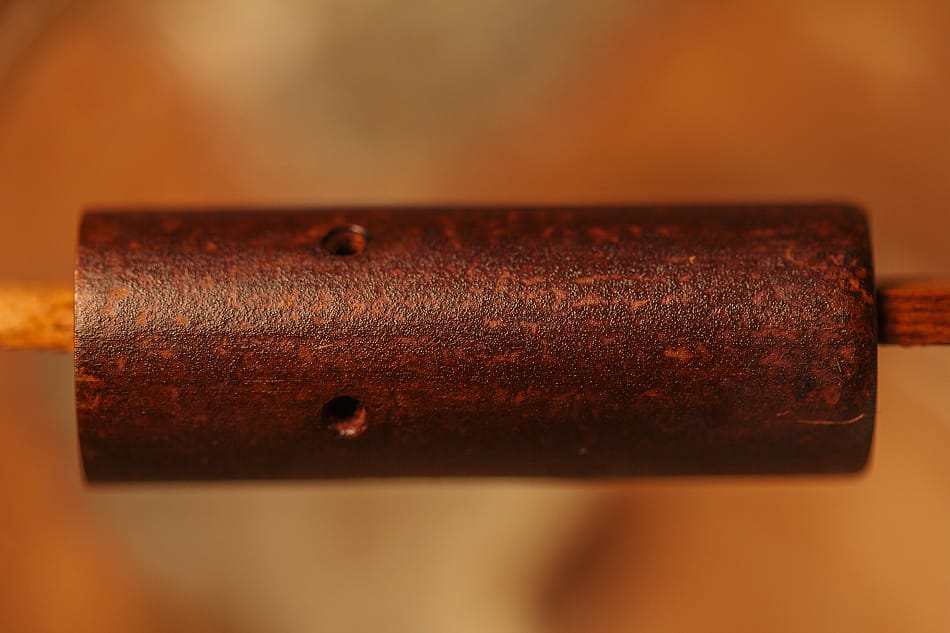
The finished herb chamber.
In the next article, I'm going to make and attach the wooden stems. Stay tuned!