Okin Craft 06
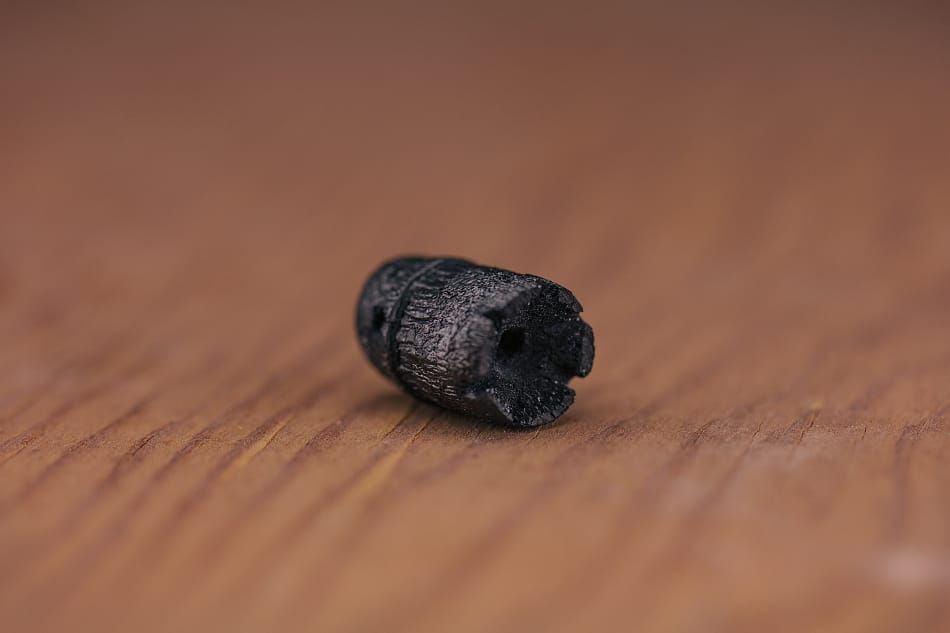
In this final issue of Okin Craft we're taking a deep dive into charcoal.
In a nut shell, charcoal is graded based on it's carbon content. The higher the carbon content, the cleaner and hotter the burn.
To make charcoal, wood is heated inside of an oxygen deprived atmosphere where it undergoes a thermal decomposition process called pyrolysis.
The moisture, cellulose, lignin, hemicellulose, and extractives (resins, oils, minerals) contained in wood are all driven off by the heat or decomposed into fixed carbon. The higher the heat, the higher the carbon percentage of the charcoal.
Standard hardwood BBQ charcoal is pyrolyzed at 400°C to 600°C, resulting in a carbon content of around 75% to 85%. This type of charcoal will burn with a faint wood-smoke odor due to the leftover volatile compounds. In western cooking, these qualities are usually seen as a good thing.
The highest carbon content cooking charcoal comes from Japan. Binchōtan, made from oak, is heated to around 1000°C, yielding a 95%+ carbon content. These charcoals burn extremely hot with almost no smoke or odor. This style was a better fit for traditional Japanese cuisine (yakitori, etc.) and for use in more indoor/open-counter cooking environments.
Inspired by binchōtan, the Okin charcoals are heated to 1000°C, producing a similar high carbon content charcoal that burns with as little odor as possible.
Charcoal is like a ghost of whatever it was made from. Using a softwood will yield a soft charcoal, for example.
In developing the Okin charcoals I went through a bunch of testing, narrowing in on the ideal wood species.
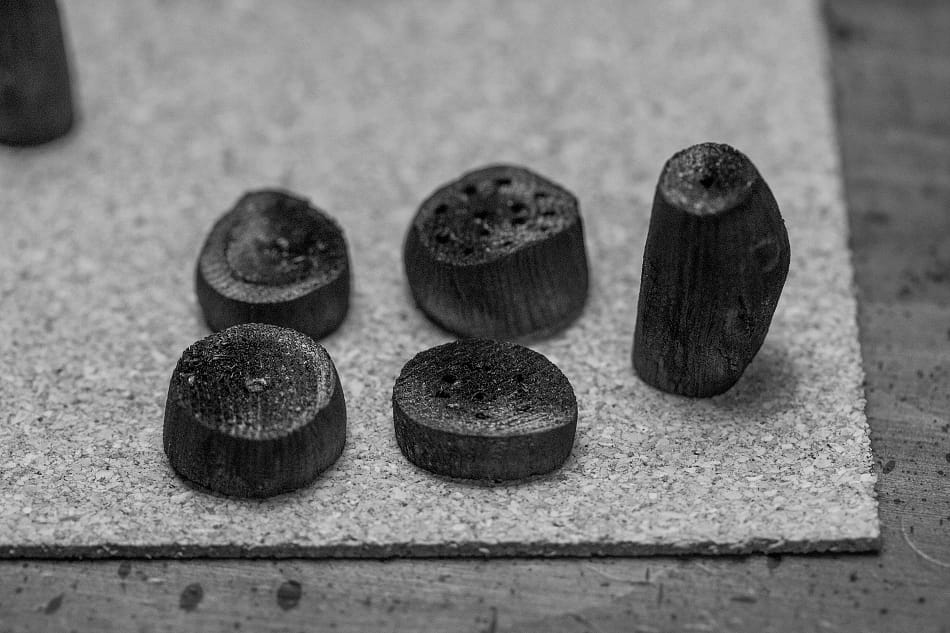
I don't remember which woods these were made from, but they were not good.
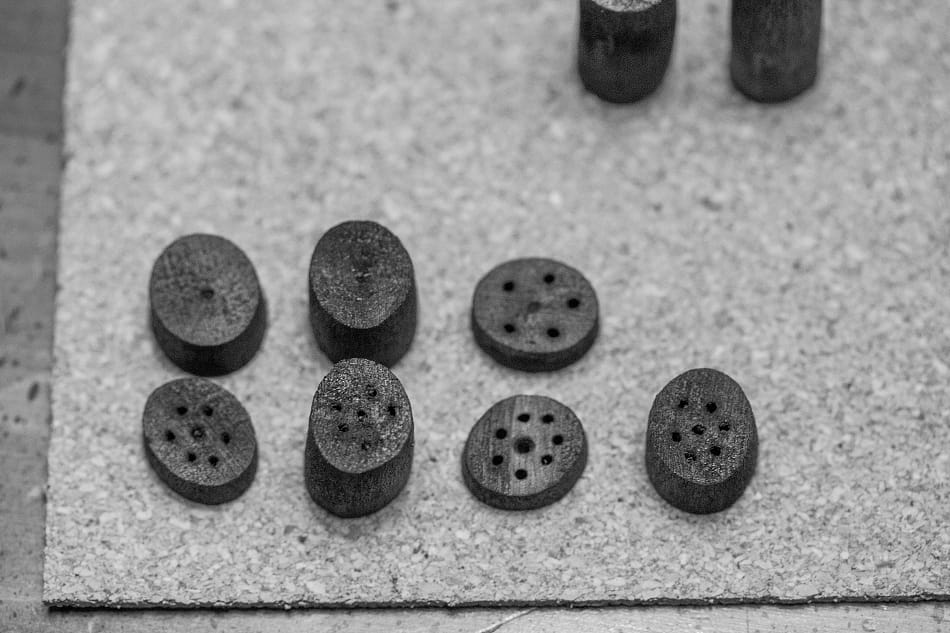
Charcoal made from maple or birch, cut to different sizes. Notice how some round pieces turn oval during the carbonization process, not good.
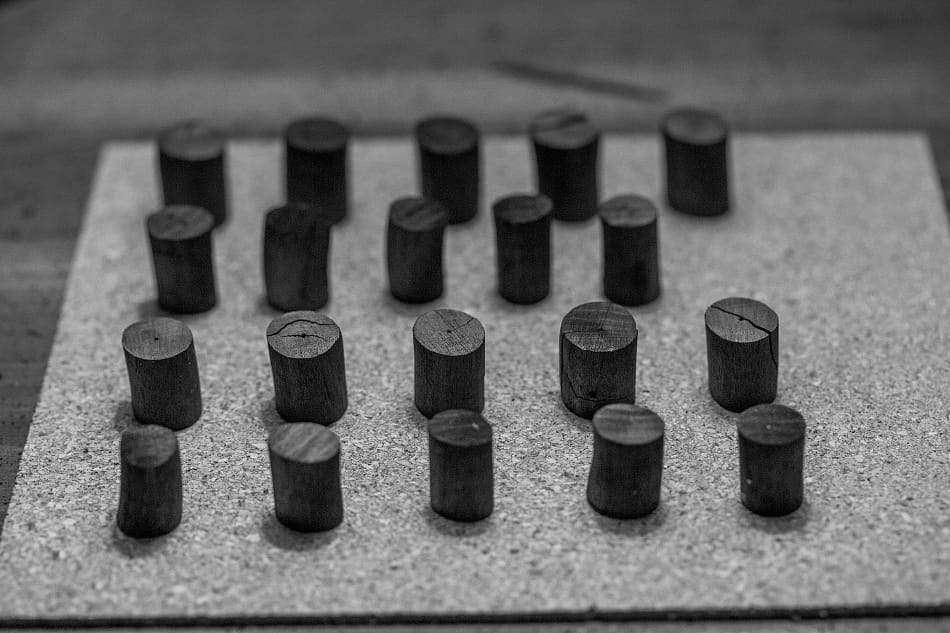
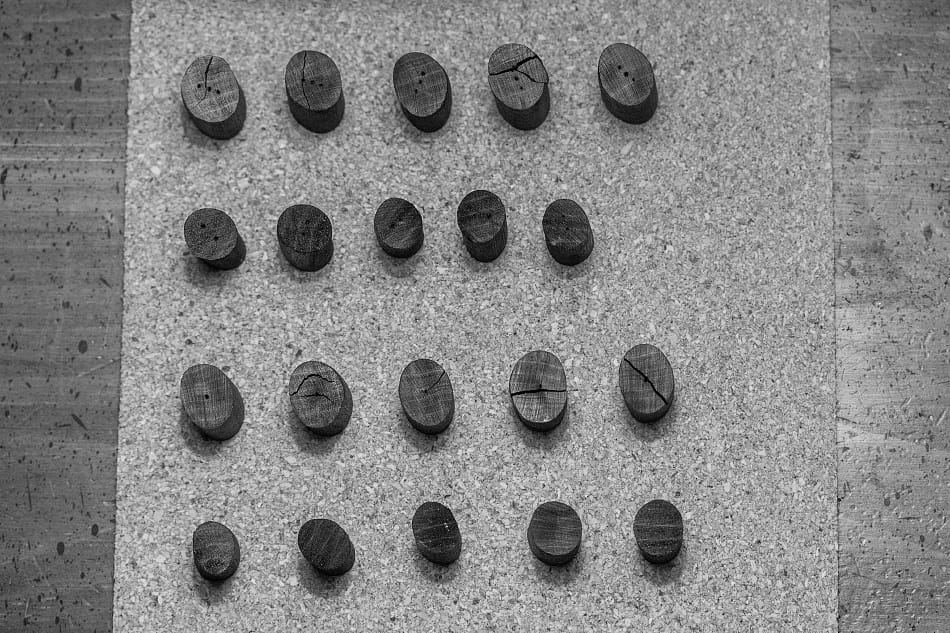
These pieces cracked during the heating process, likely heated too quickly.
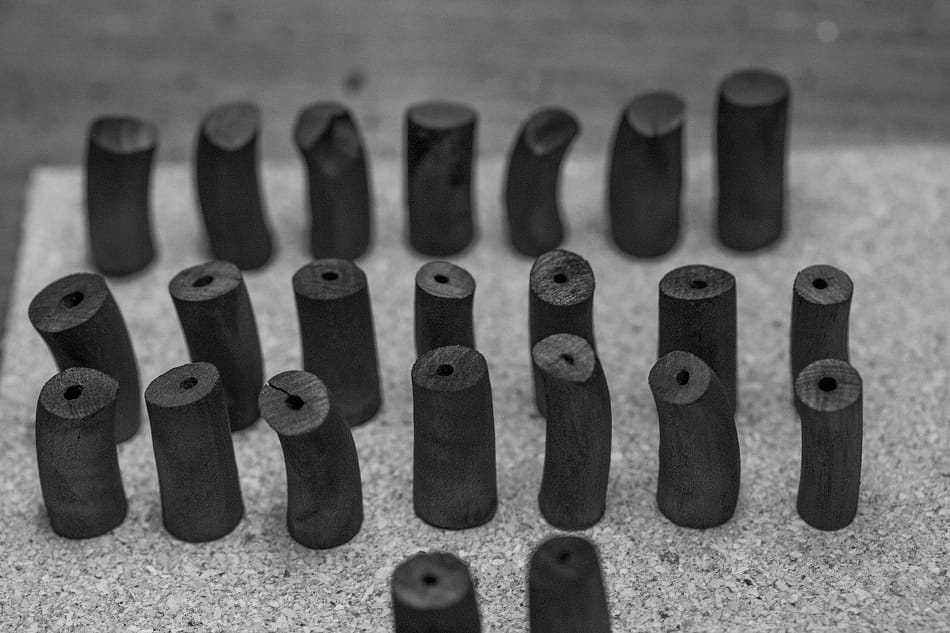
These pieces were too long... at this length they would start to look like macaroni noodles.
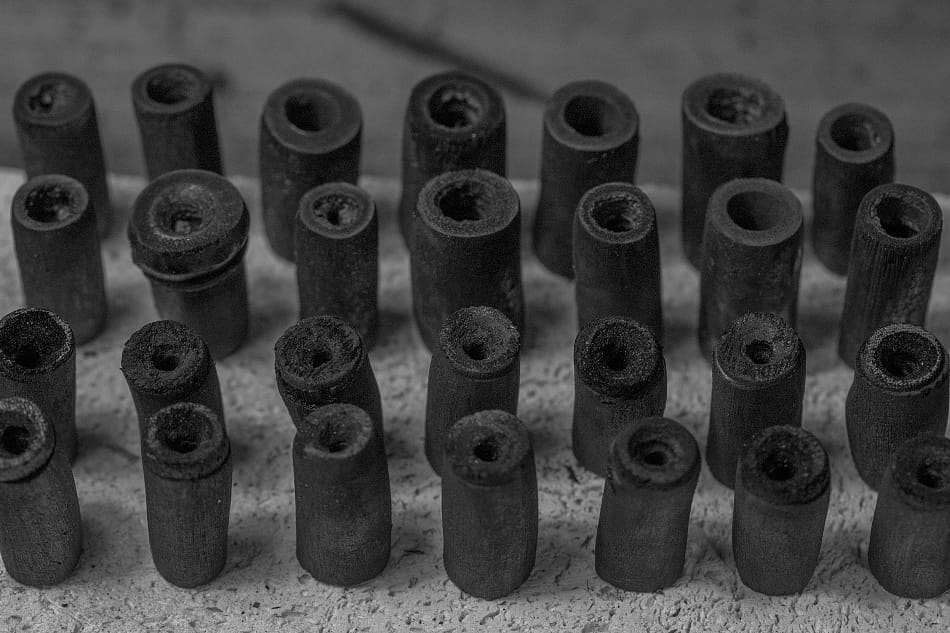
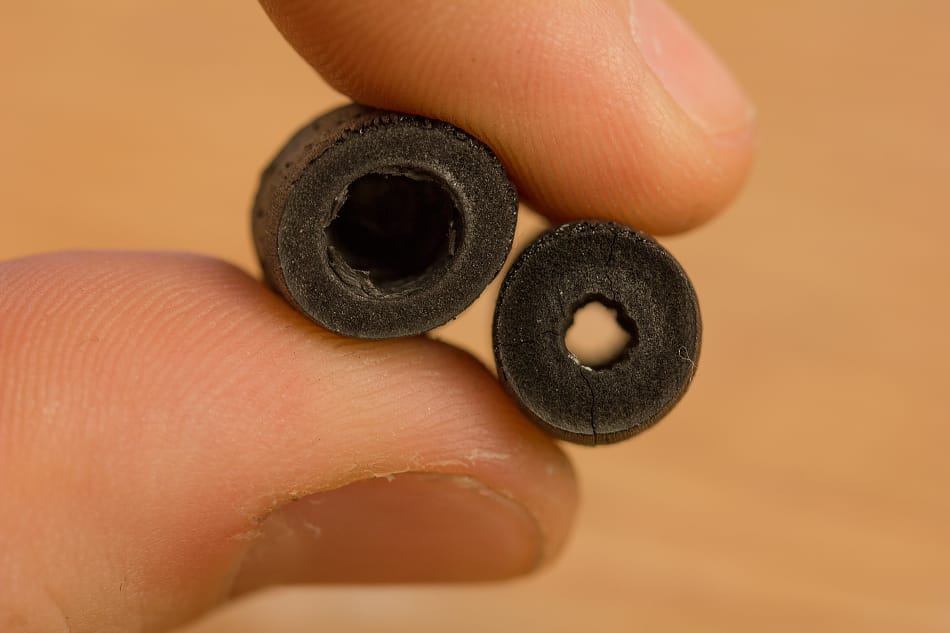
Bamboo seemed appealing because it was relatively uniform in shape, dense, cheap, and already had a central hole. Ultimately, though, I decided against bamboo mainly because it was difficult to source in large quantities at the correct size. I also didn't like the idea of importing a raw material of unknown origin. Bamboo had a higher likelihood of being contaminated during growing, processing, or shipping.
In the end, I went with maple wood. In my testing it just seemed like the best performer in all areas.
If you'd like to make your own Okin charcoal at home, you can use this method here for small batches.
I recommend starting with 5/8" maple dowels and chopping them into 5/8" long lengths with a saw.
If you can't find maple, birch or oak might work. Avoid poplar, walnut, cherry, etc.
If you have organically grown bamboo available to you, it's not a bad substitute for hardwood.
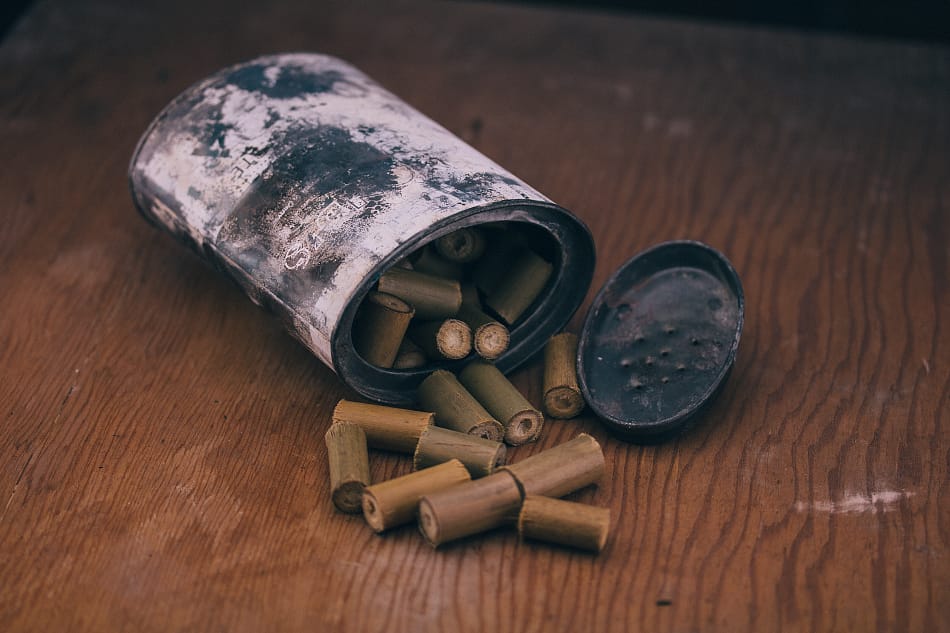
In this example I'm using bamboo.
You'll need a steel (must be steel, aluminum will melt) tin with a tight fitting lit.
Drill a few holes in the lid for smoke/gases to escape.
Fill the tin with your wood pieces. Put the lid on.
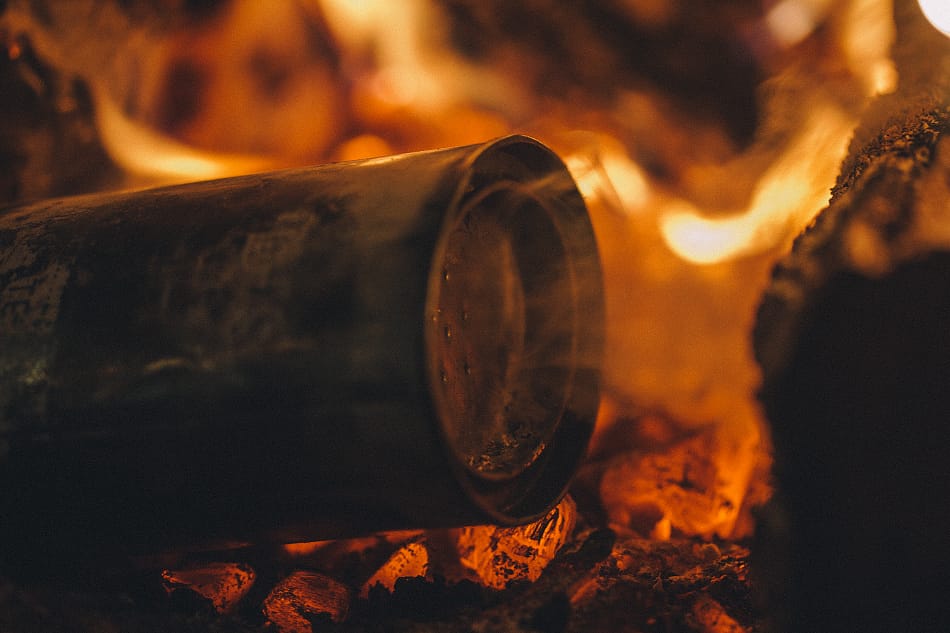
Build a fire, preferably outside.
Place your tin in a cooler part of the fire, maybe on top of a bed of ashes/embers. Continue to rotate the tin every once in a while to heat the tin evenly from all sides. The idea is that you want the moisture to escape the wood evenly and slowly.
If you heat the wood up too quickly you might end up with warped and cracked charcoal.
Steam will start to escape the tin, followed by smoke. Don't let it get too crazy or the top might pop off from the pressure.
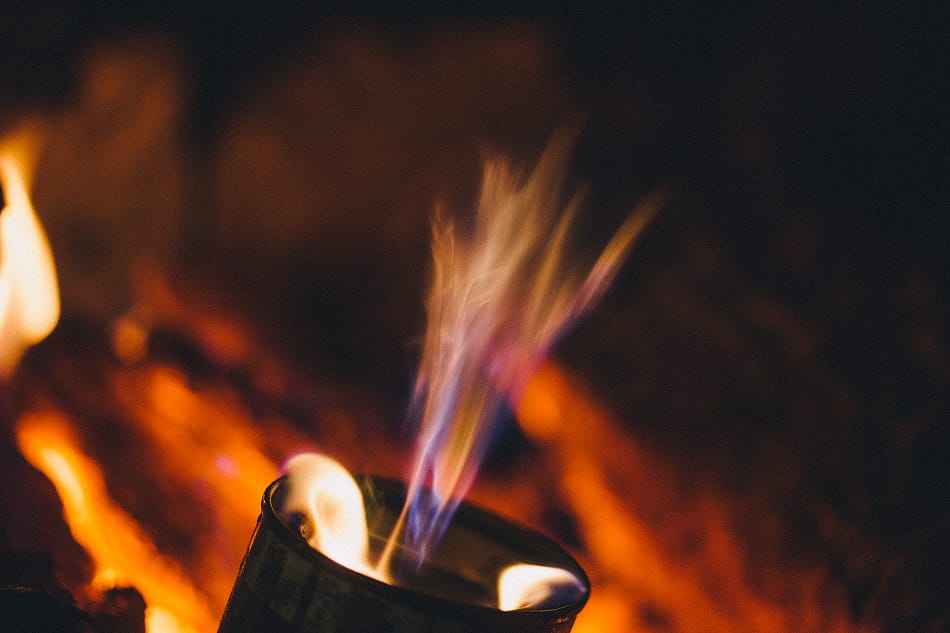
As pyrolysis continues, the smoke being expelled from the tin will start to self ignite. At this point you're producing what's called wood gas. Allow the wood gas to burn, watch as the volatile compounds from the wood are driven off.
If you see an apparition in the flames, discard the charcoal. This can happen if the wood was cut from trees growing near graveyards, burial mounds, ancient ruins, crypts, etc.
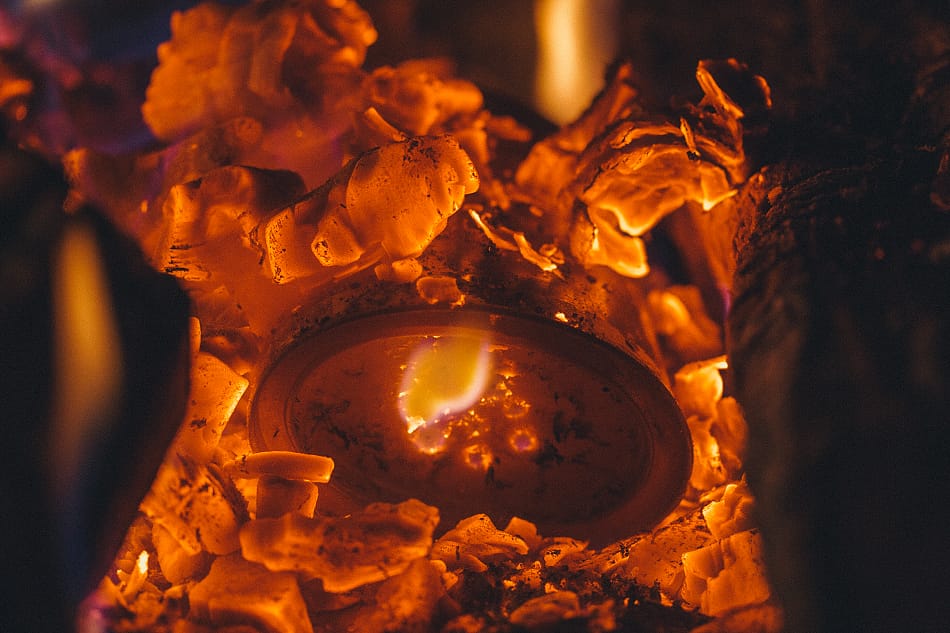
As the flames emerging from the tin start to die down, move the tin to the hottest part of the fire, and bury it in a mound of hot embers. At this point you want to get the tin as hot as possible.
The atmosphere inside of the tin will be oxygen poor, allowing the wood to carbonize but not burn.
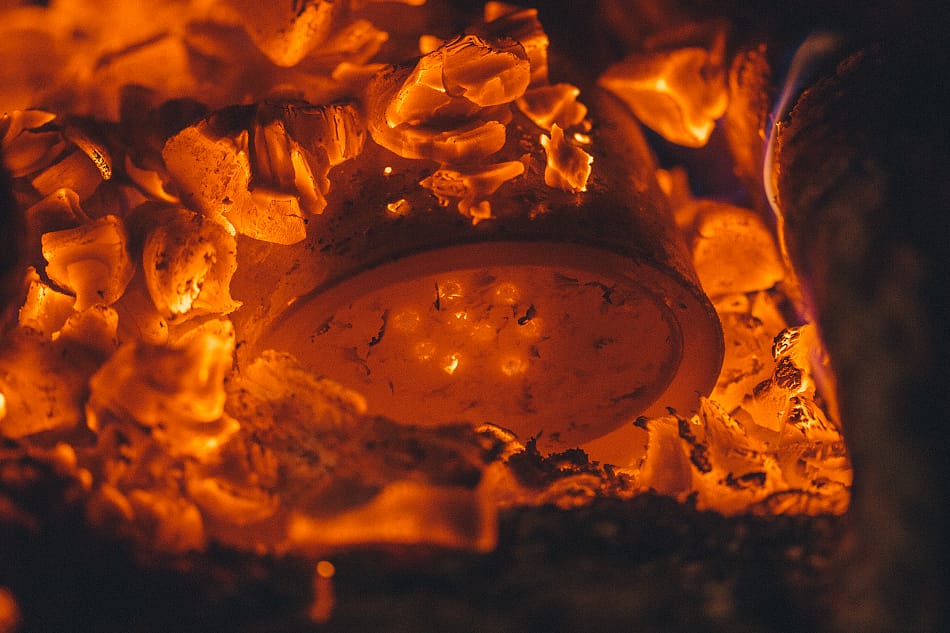
The steel should be glowing red hot.
When no more flames are emerging from the tin, remove it from the fire and cover the air holes with a layer of sand or dirt to keep oxygen from entering the tin.
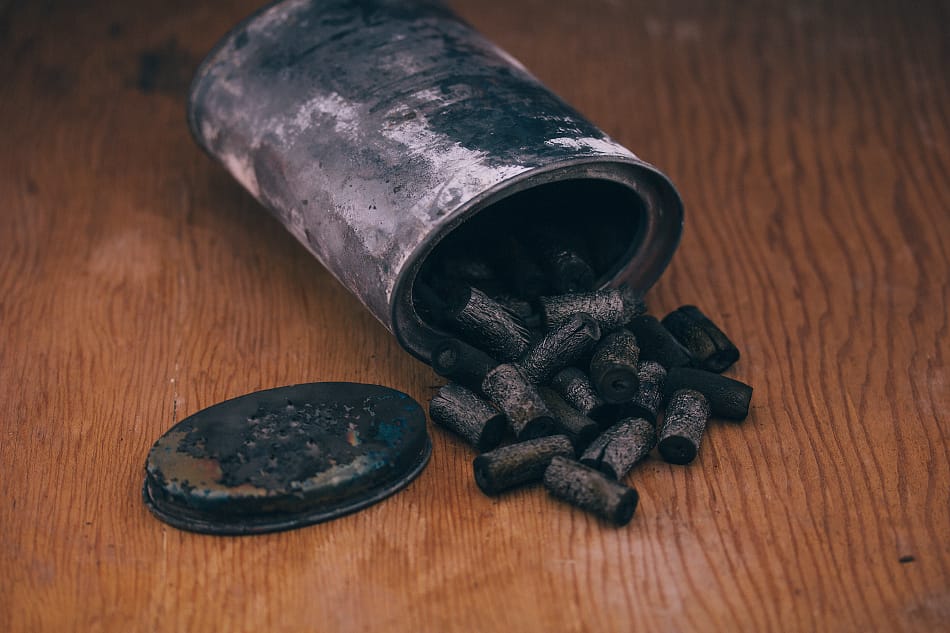
Once cool you can dump out your charcoals.
To test, ignite a test piece and give the glowing ember a sniff test. It should smell completely odorless and produce zero smoke. If there is a bit of a smell... that usually means the temperature wasn't hot enough.
The home brew process isn't an exact science, more of a novelty really... and so while it can definitely produce quality charcoal, just know it's a bit of a crap shoot as well.
As a side quest, create your own miniature hibachi and grill up a couple sardines!
The charcoals that were produced for the Okins were made in a customized electric pottery kiln. The precise heat control yielded consistent results with very little warping or cracking.
The kiln was filled with a large batch of maple wood pieces, sealed, and vented through stainless tubing to the outside.
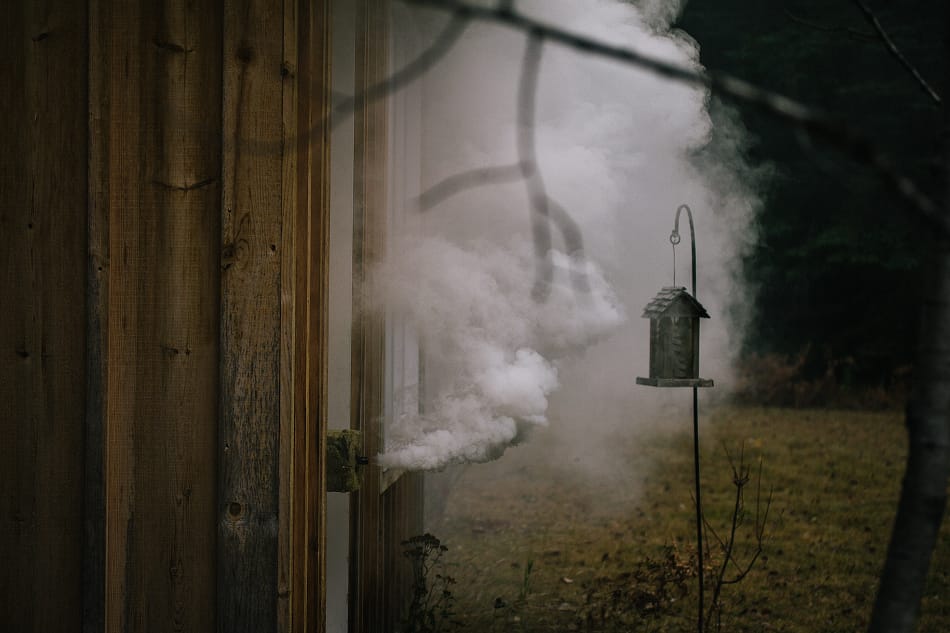
During the initial ramp up, white smoke (mostly steam) billowed out of the vent tube.
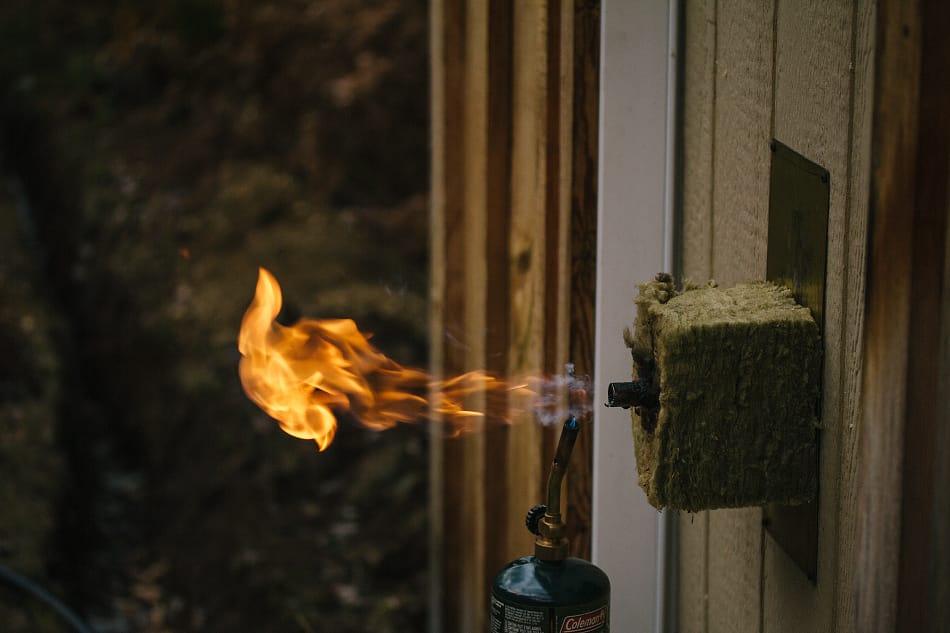
As soon as the smoke mixture was flammable I would ignite the wood gas, which seemed to burn fairly cleanly. You can run an engine on wood gas, pretty neat I think.
The end of the pipe is insulated with rockwool to reduce condensation on the inside. Without the insulation creosote in the form of a sticky black goo would condense on the inner walls of the pipe and clog the outlet.
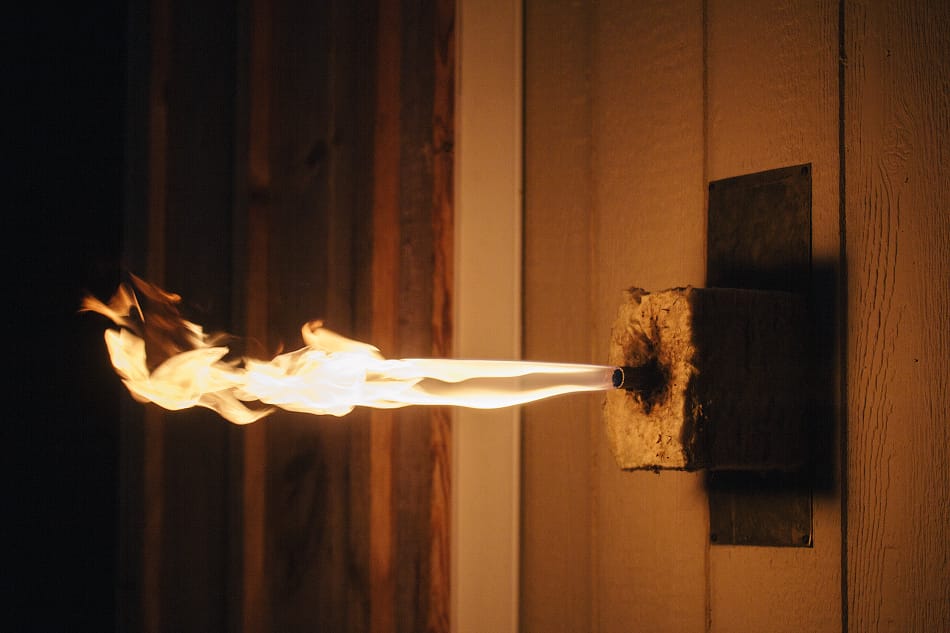
Over time, the jet-like flames would settle down to a quiet soft flame. That's when I knew the process was nearing completion.
When the flame died down to about 2" long, I half inserted a plug into the end of the vent pipe, leaving a little air gap. I watched as the flames emerged from the gap around the plug, until finally the flame disappeared. The plug was then pushed all the way into the pipe, sealing it up.
The kiln was allowed to reach the set temperature of about 1000°C before it automatically shut itself off.
Everything was left to cool overnight.
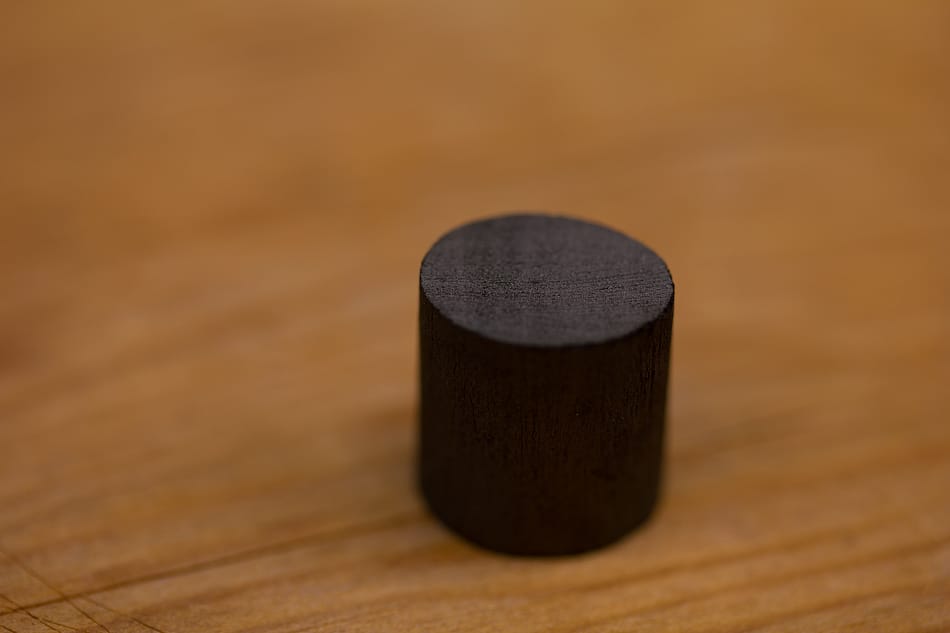
The charcoals that emerged were near replicas of the wood pieces that were originally tossed into the kiln, just a little smaller... and made up of mostly carbon.
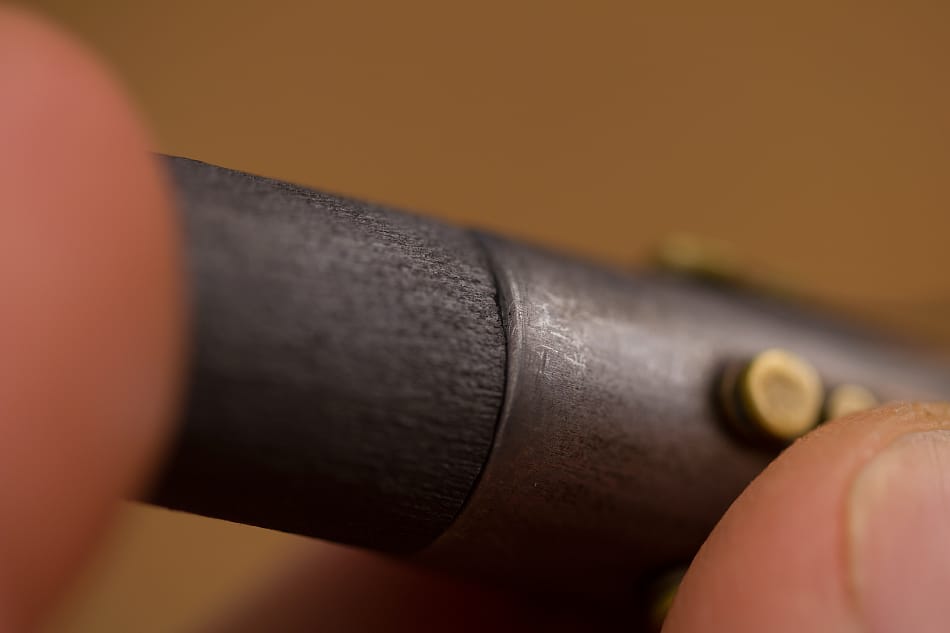
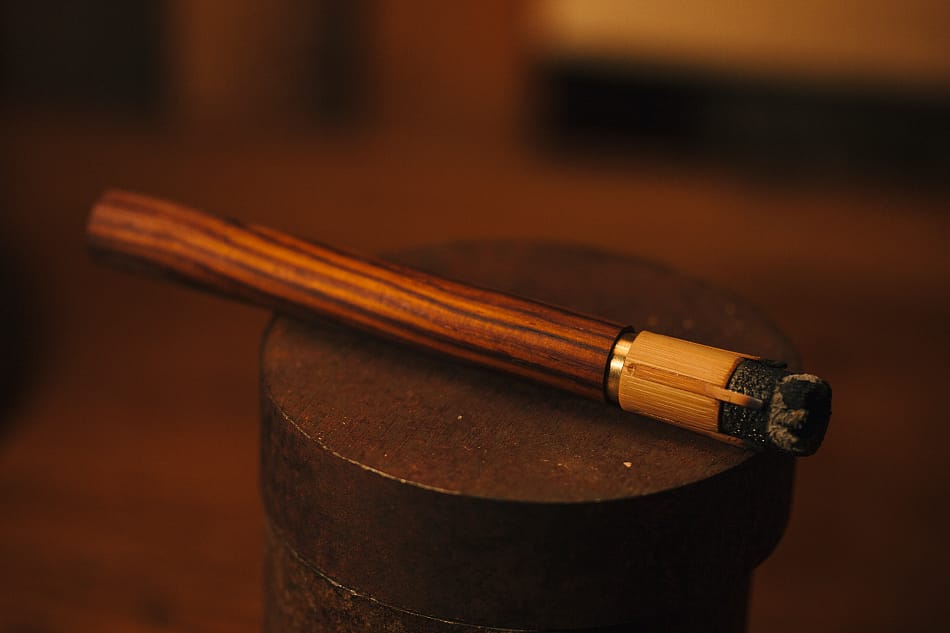
The fit between the charcoal and the Okin tips were quite nice.
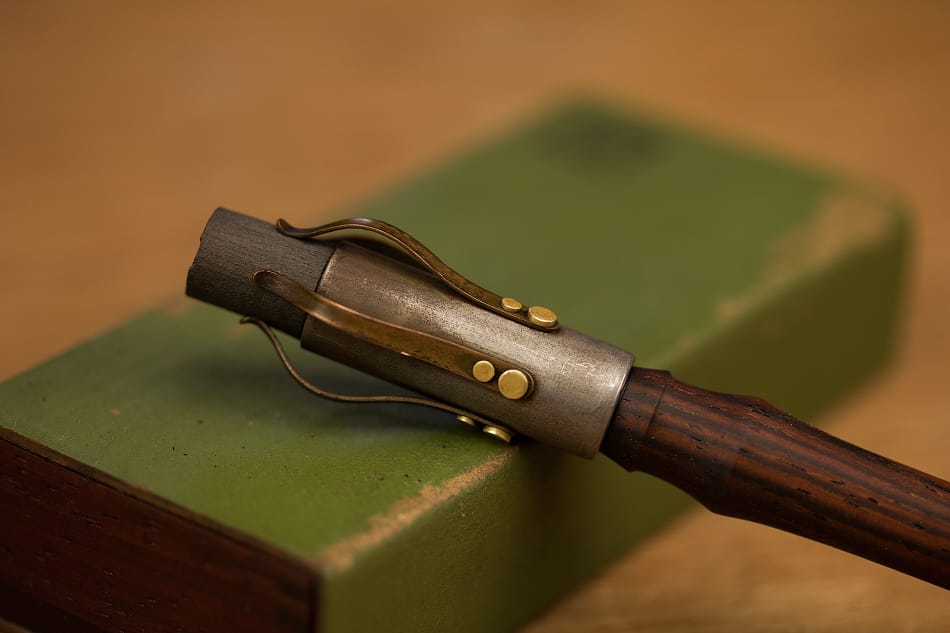
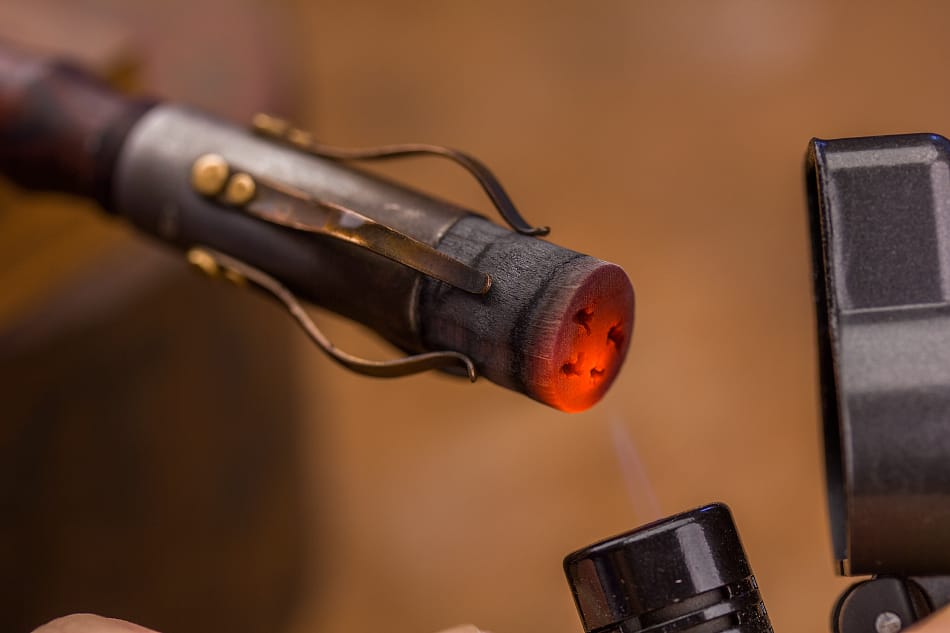
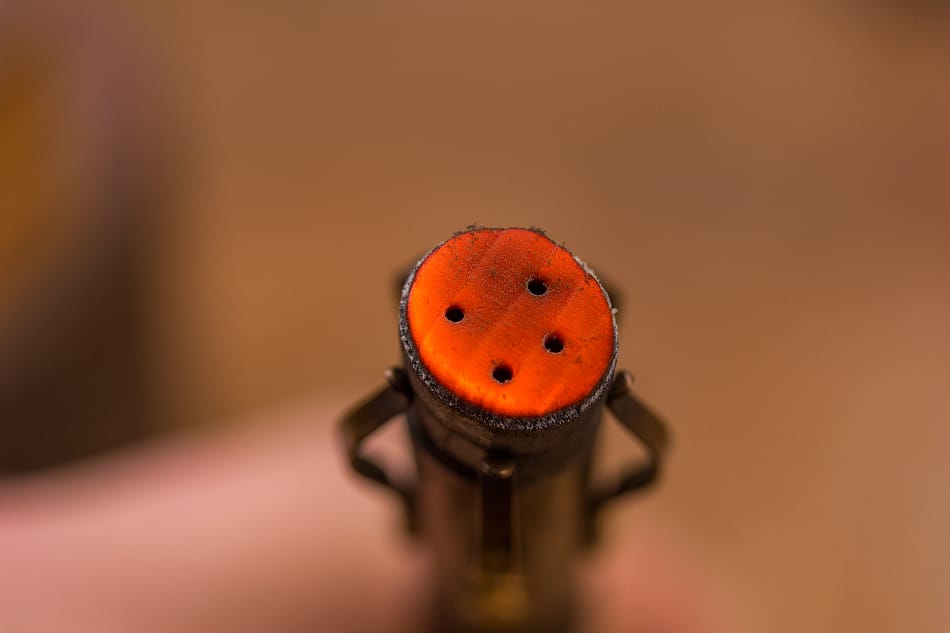
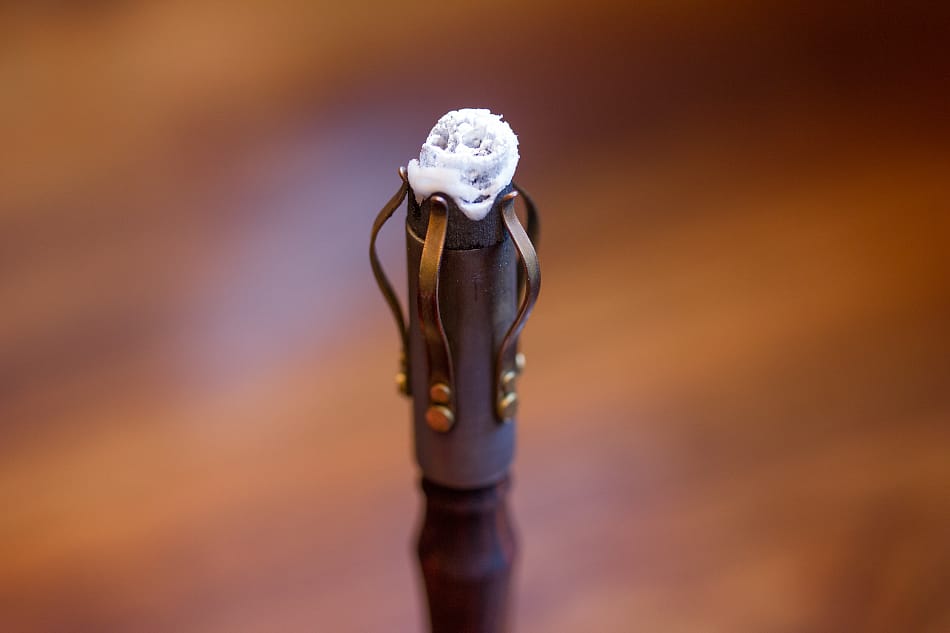
In use, these charcoals produce a perfectly white ash.
And that's it, that's the whole journey.
The Okin marks a transitional period for me, between the combustion fueled pipes that started my crafting career and the battery powered vaporizers that I make now. The Okin had a little bit of both going on.
The concept of a charcoal powered vaporizer still gleams bright in my mind... the ritualistic use and aesthetics of it all... it's just so cool. Every once in a while I'm hit with a desire to go back and recreate the Okin... with a few improvements. Maybe one day...
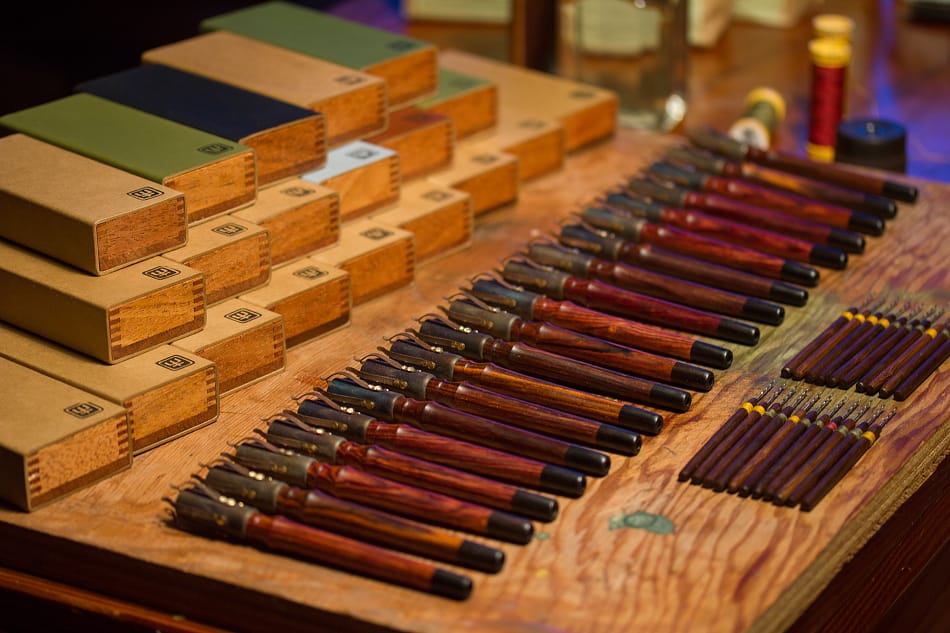
Big batch of Okins going out the door.
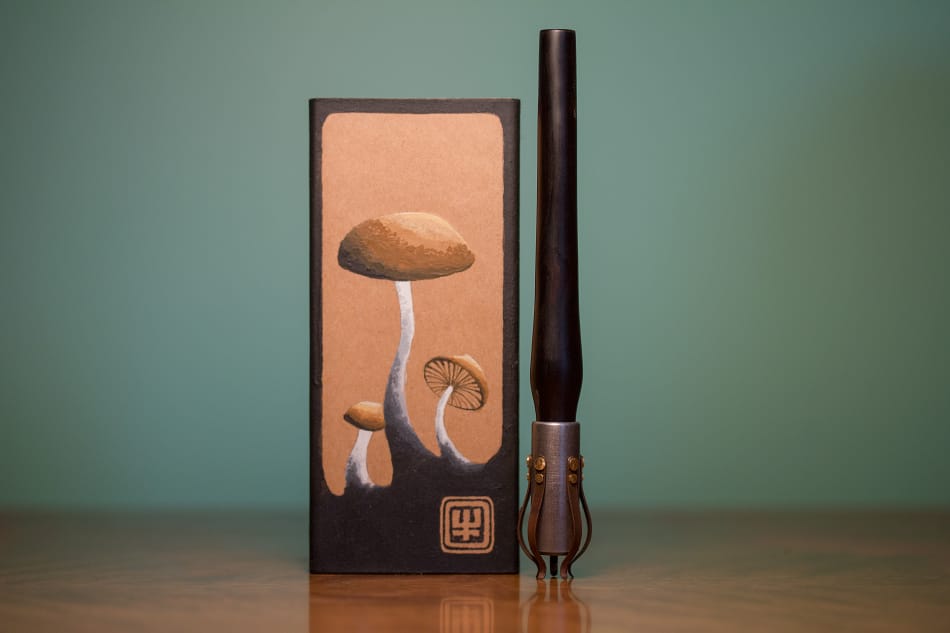
Custom mushroom painted box with African blackwood Okin.
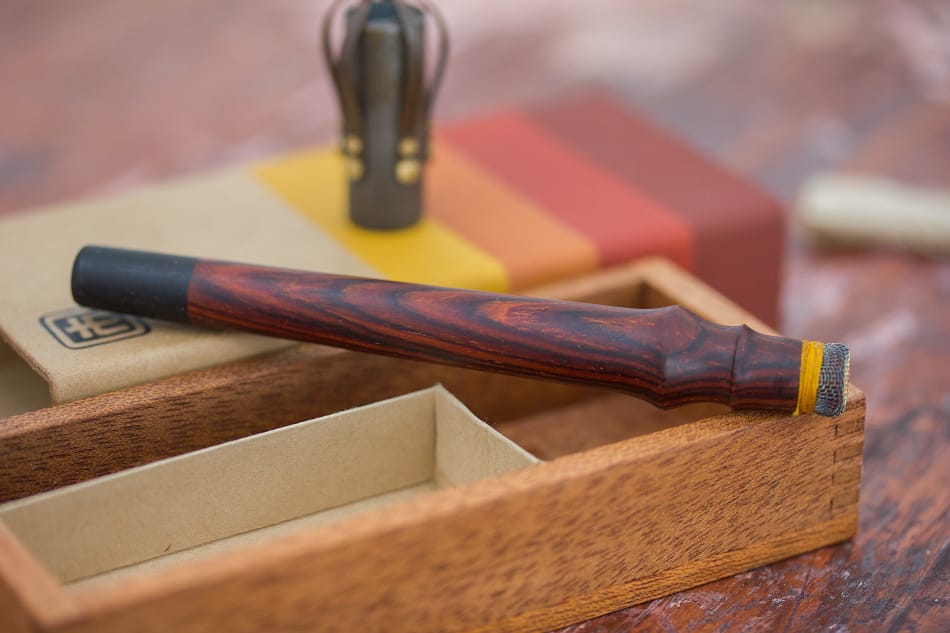
Retro painted box with cocobolo Okin.
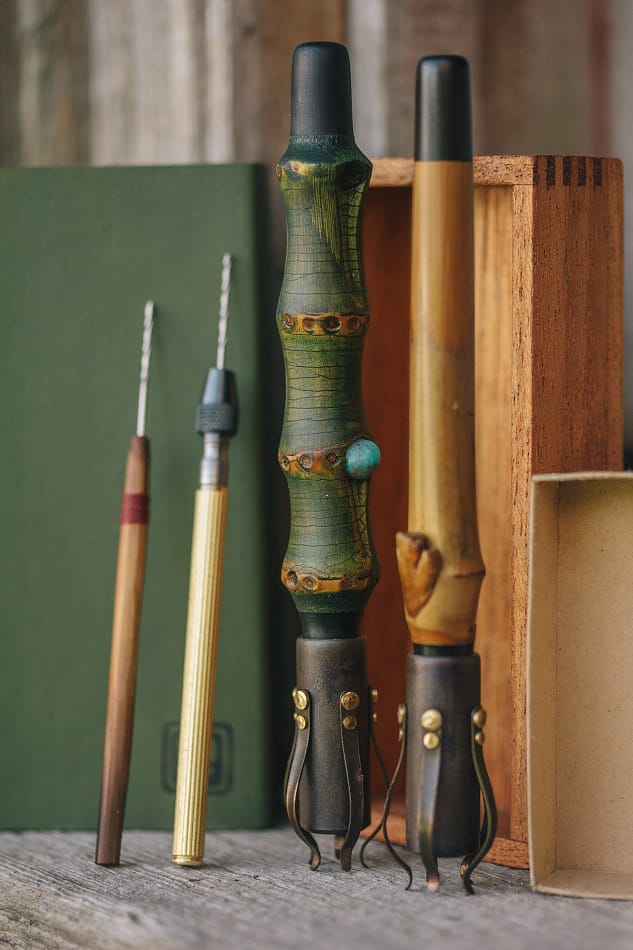
Two custom bamboo stemmed Okins.
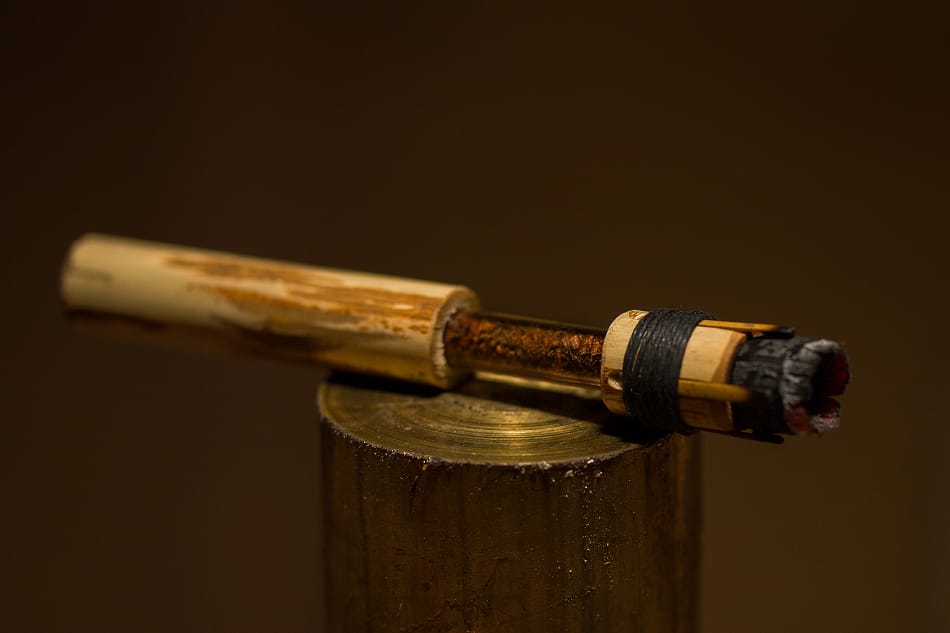
Very early prototype.
Another early prototype.

Enjoying the fruits.