Toad Craft 05
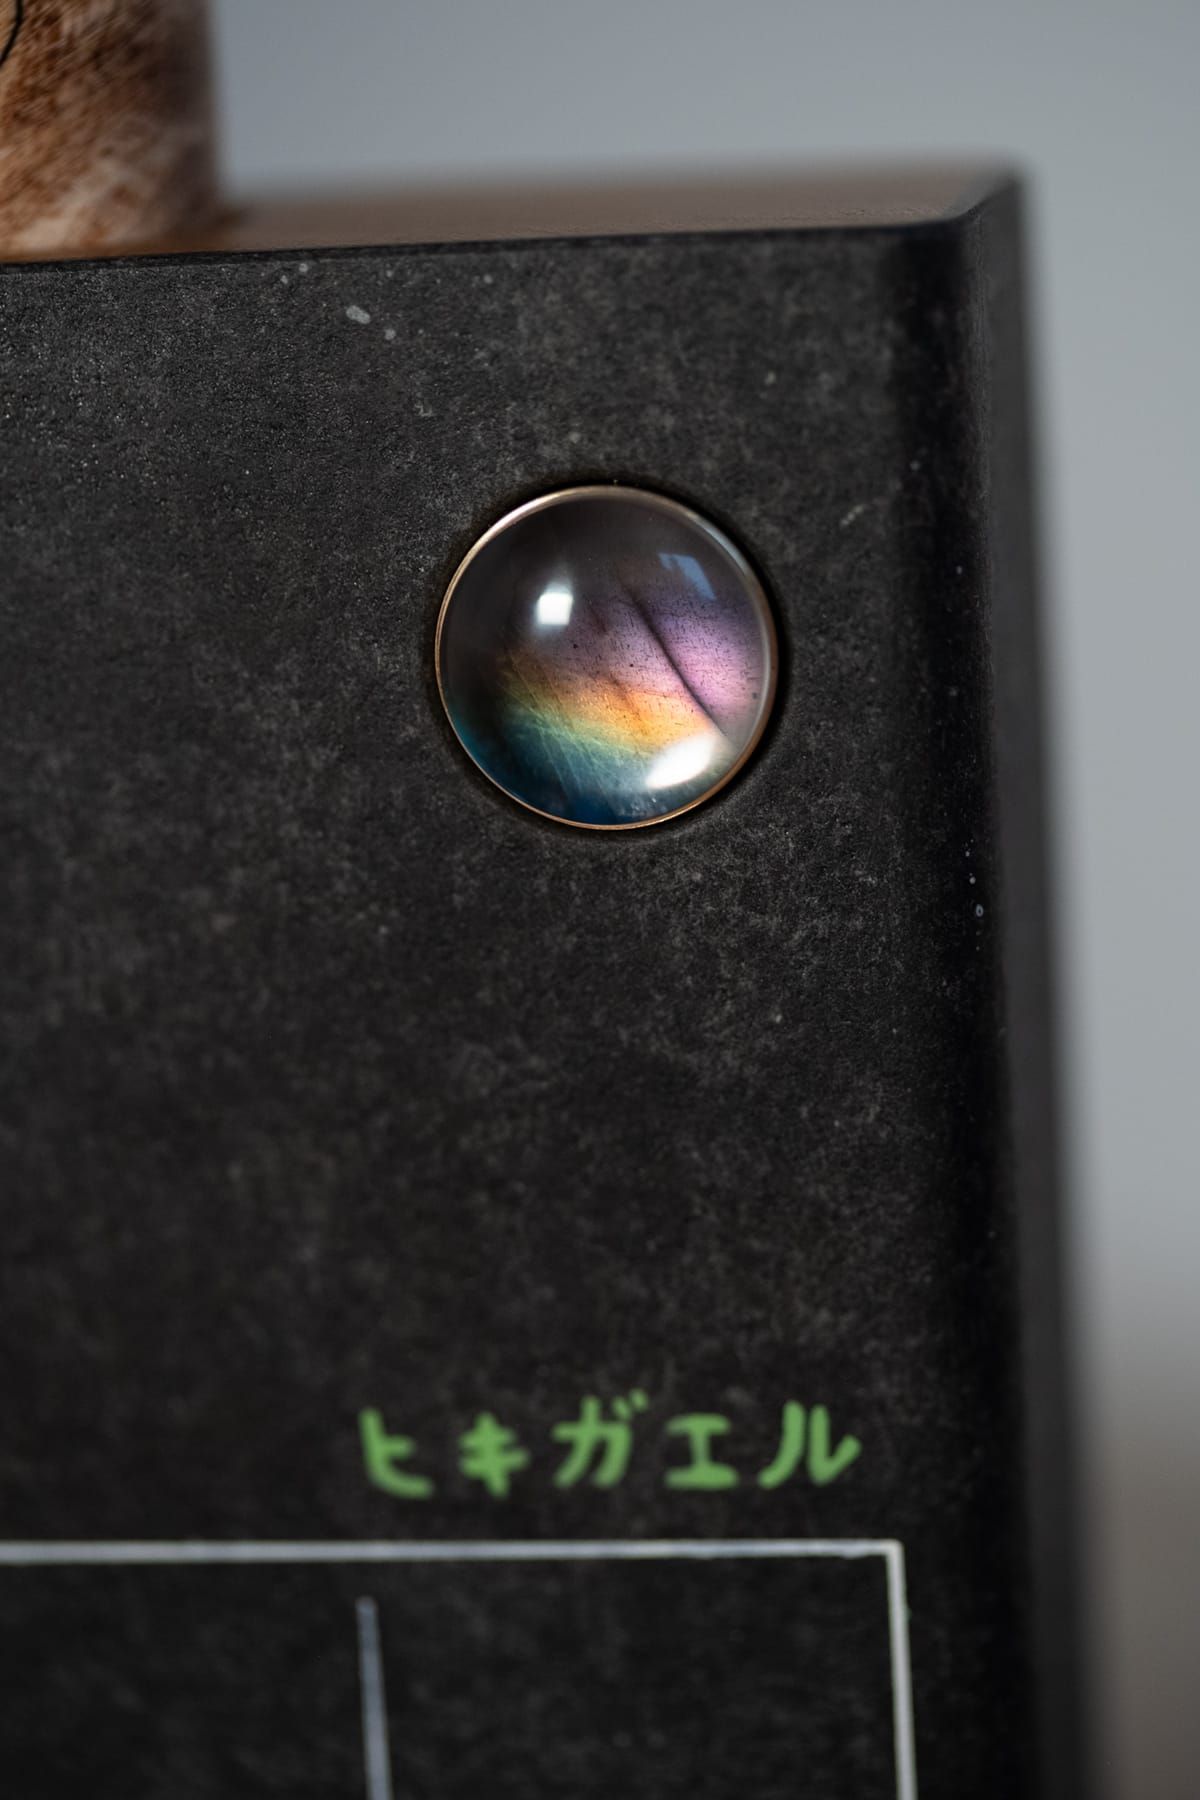
In the last update I showed the making of the brass heater module connector rings, and how they were connected to copper lead wires.
Those lead wires will connect to a brass plate that sits behind the button, carrying electricity from the button down to the heater module.
In this update, we'll see how that brass plate is made.
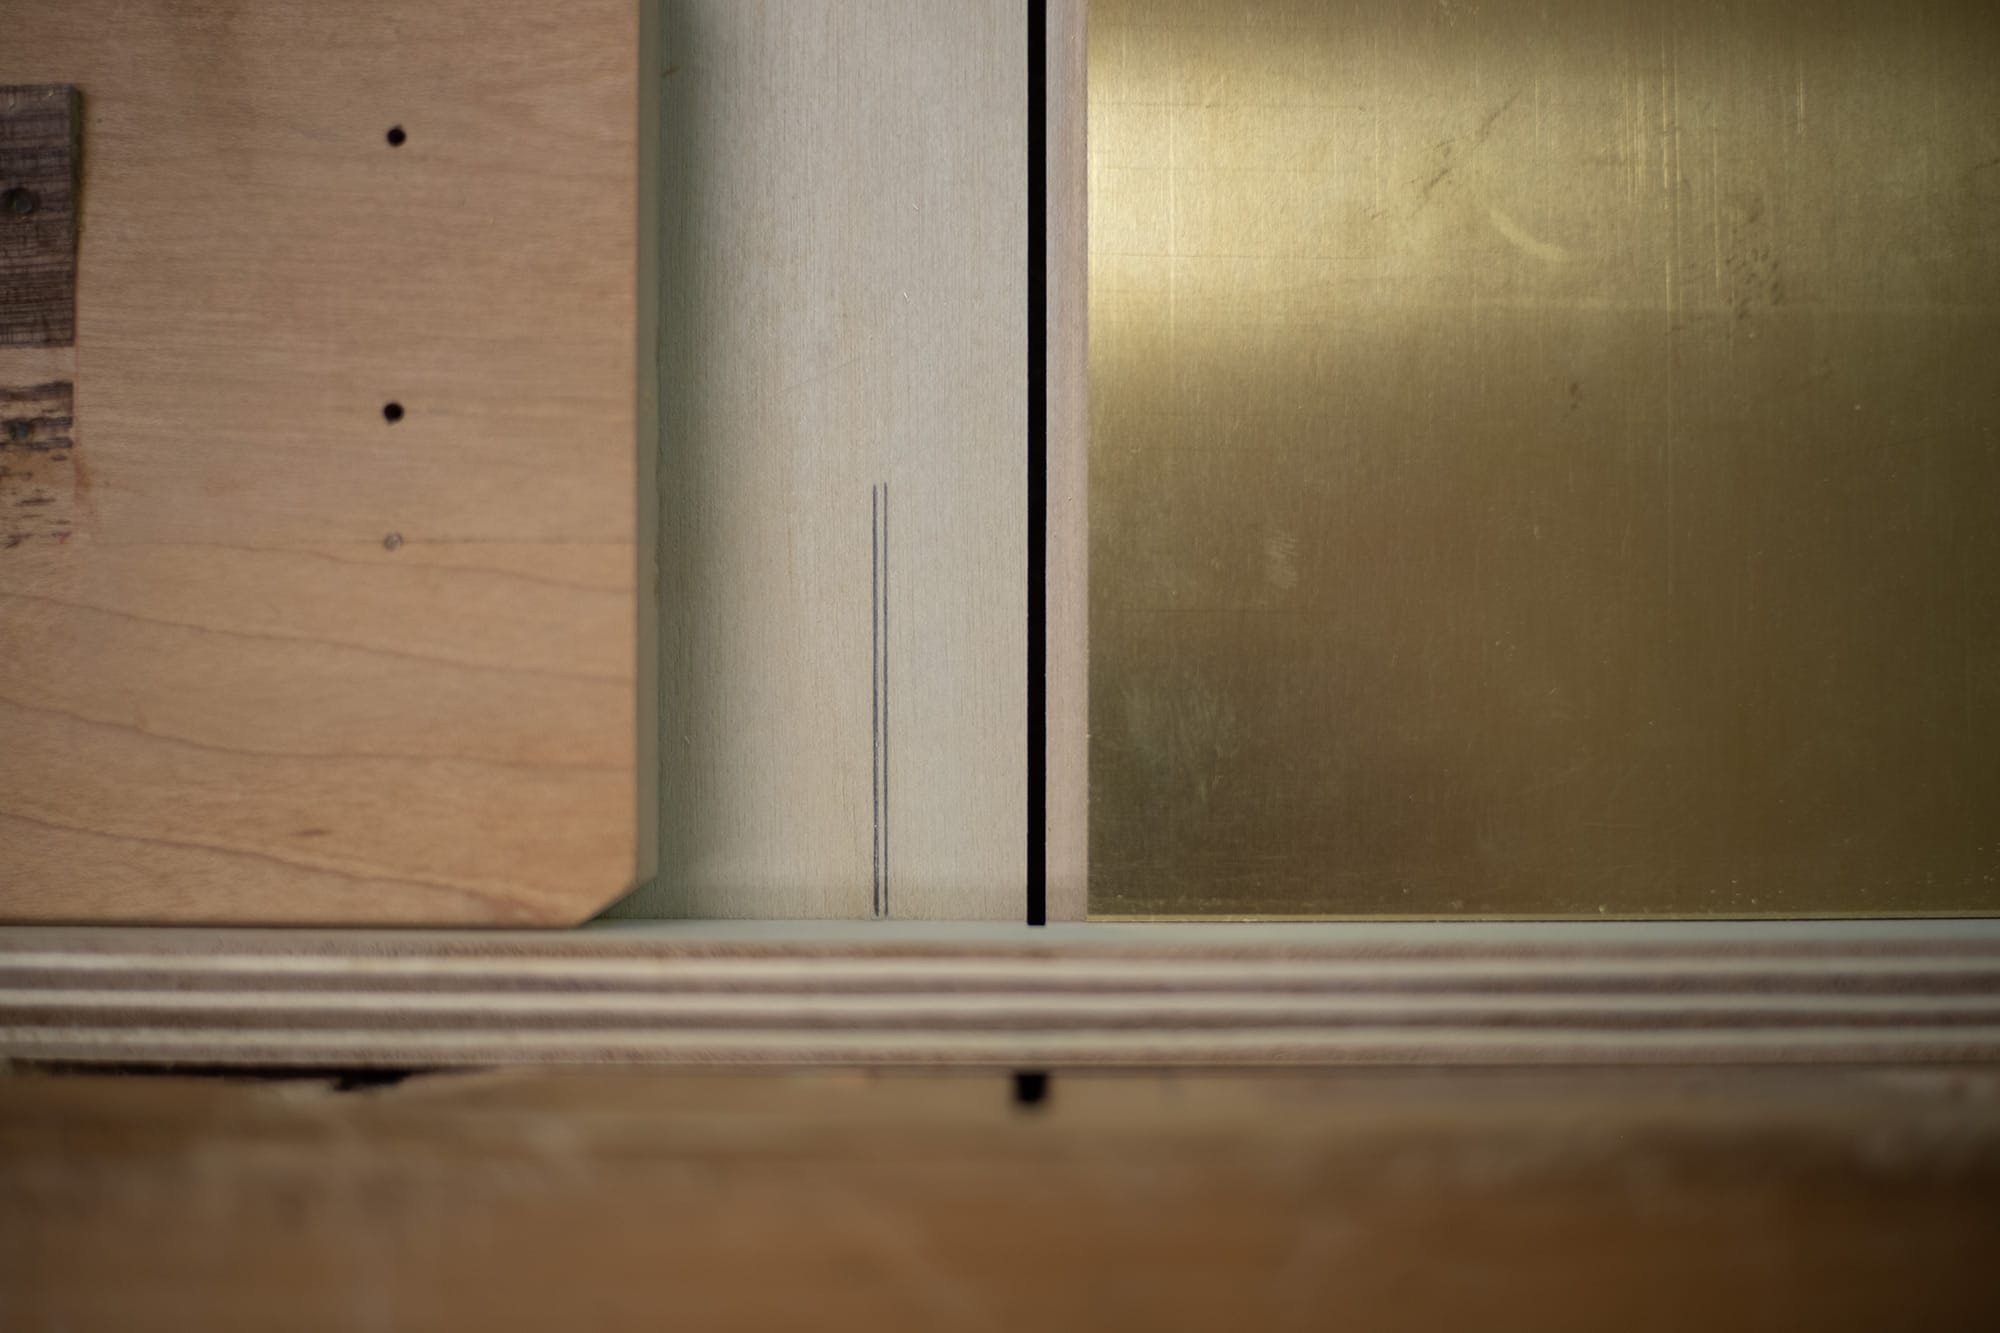
I start with a large sheet of brass plate and cut it down into strips using the same table saw that I use for all of my woodworking. Normally, I don't see this method being used... so I think it's worth going over my methods for doing this somewhat safely.
In order to cut brass sheet on a table saw, I start with a carbide tooth thin kerf table saw blade. There are metal specific blades designed for use on a table saw, but I've always just used blades designed for wood and they've worked fine so far.
The most important thing is to support the cut with a fresh piece of plywood attached to the cross cut sled. This plywood has a fresh kerf cut into it to act as a zero clearance insert.
The blade will want to pull the brass sheet downwards. If the kerf that is cut into the supporting material is wider than the blade... it'll allow the brass sheet to be pulled down into that tiny space. The brass will get pinched between the kerf and blade and all hell will break loose. Likely the table saw will violently jam. A zero clearance insert supporting the brass along the entire cut solves this issue.
I also use a pencil mark to line up each cut instead of a hard stop.
With thin sheets of brass, it's better not to use a stop. If the brass sheet shifts at all while making a cut, it could get trapped by the stop and pushed back into the blade... and that's bad.
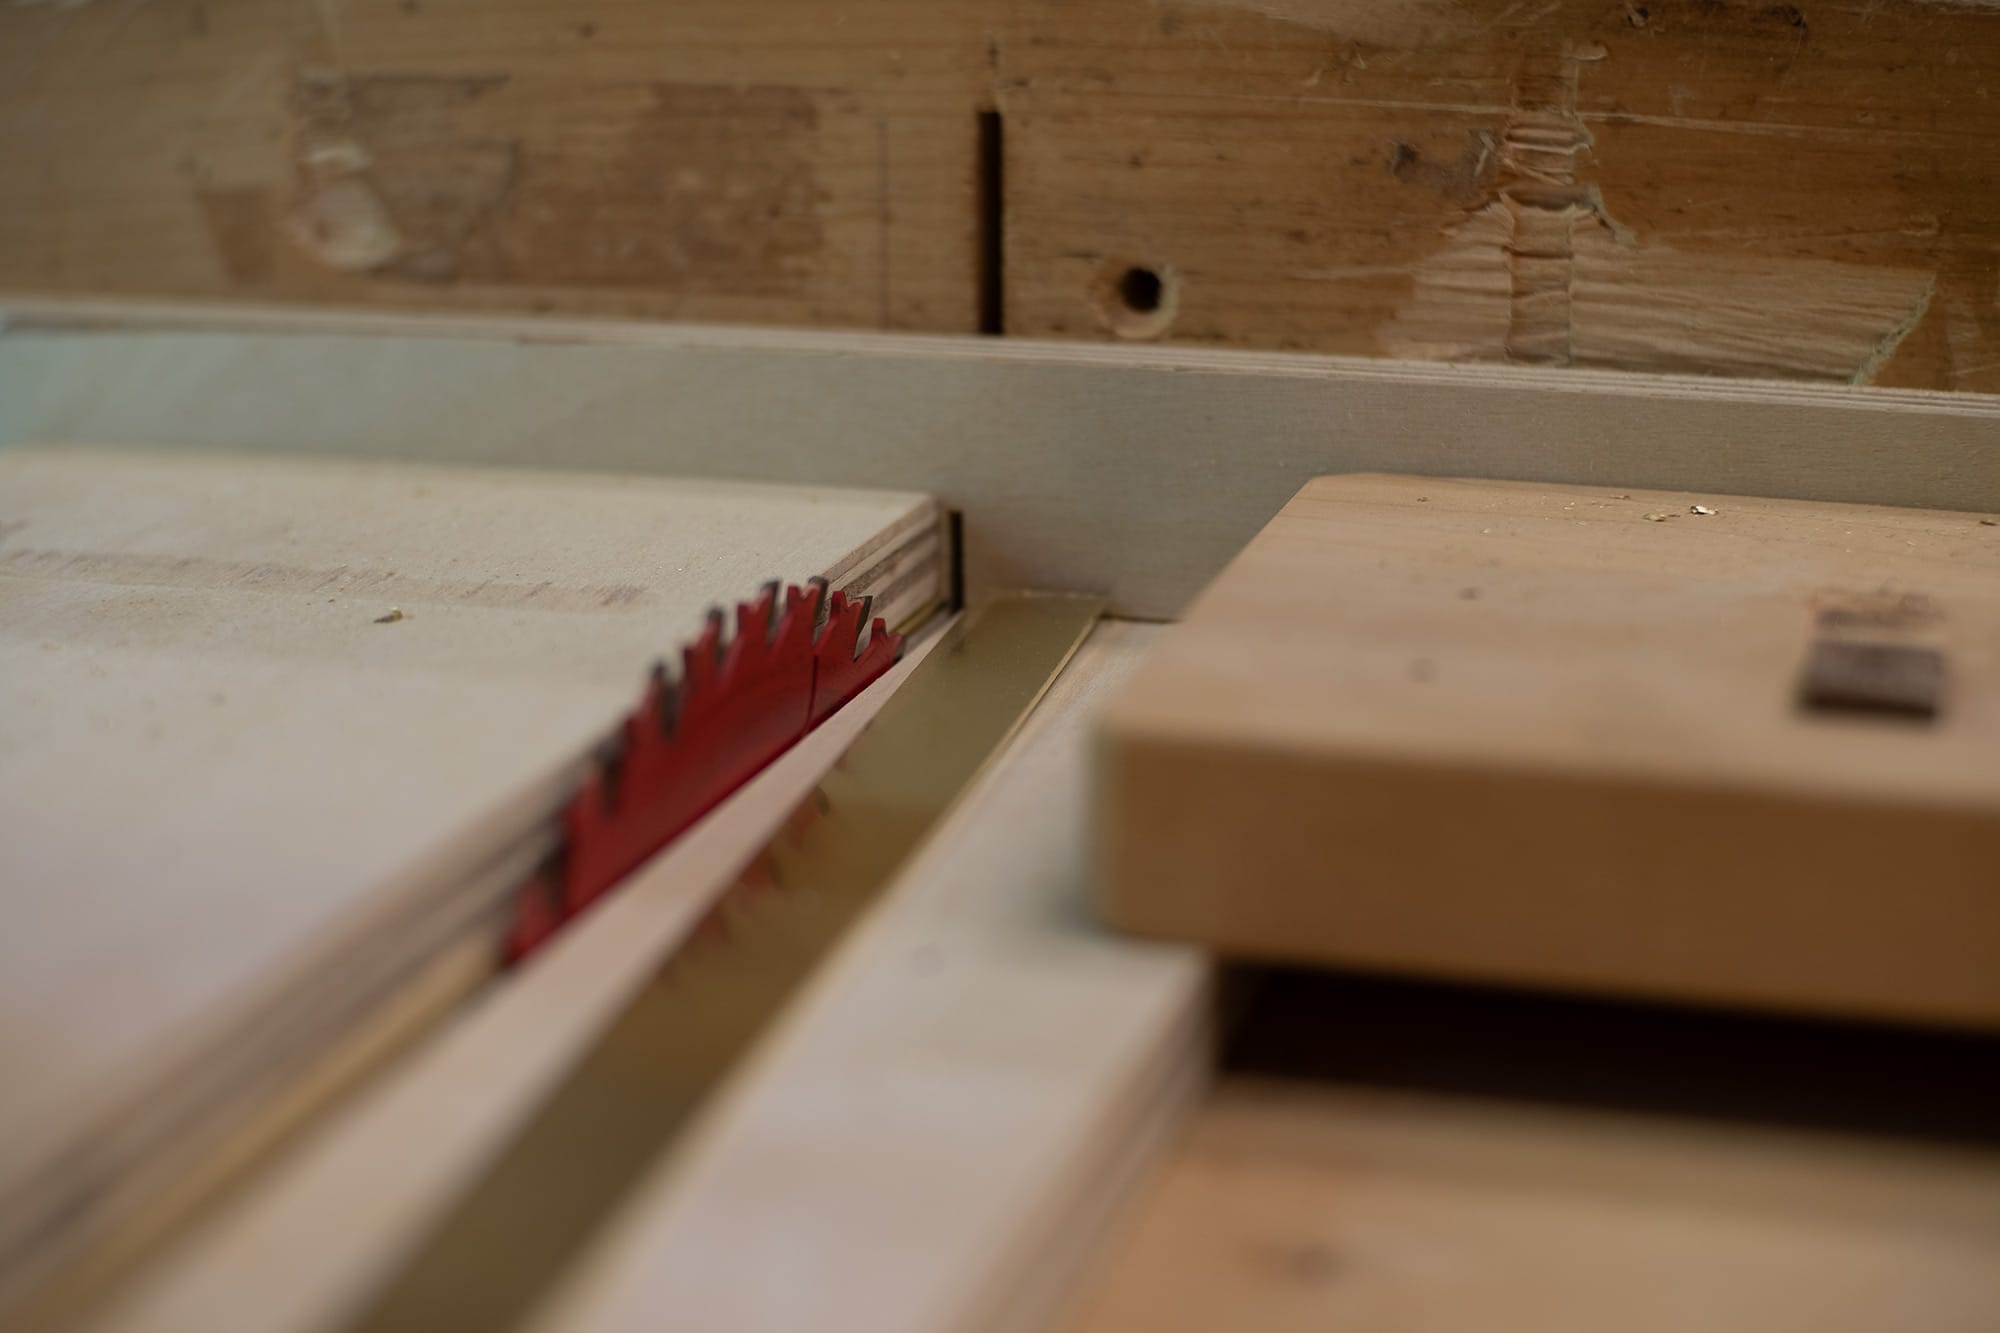
I use a piece of wood to hold down each strip of brass while making my cuts. I also support the top of the brass sheet with another sheet of plywood.
Essentially, everything should be supported and held down securely.
Obviously, I also wear a full face mask while doing this.
If all precautions are taken, it's amazing how well a table saw can cut this brass sheet!
Another option would be to use a metal brake to shear the brass. But... that method introduces a tiny deformation along the entire edge that would need to be cleaned up later on the milling machine. It's a good alternative method, but for a shop like mine a dedicated metal brake is not worth the space it would take up.
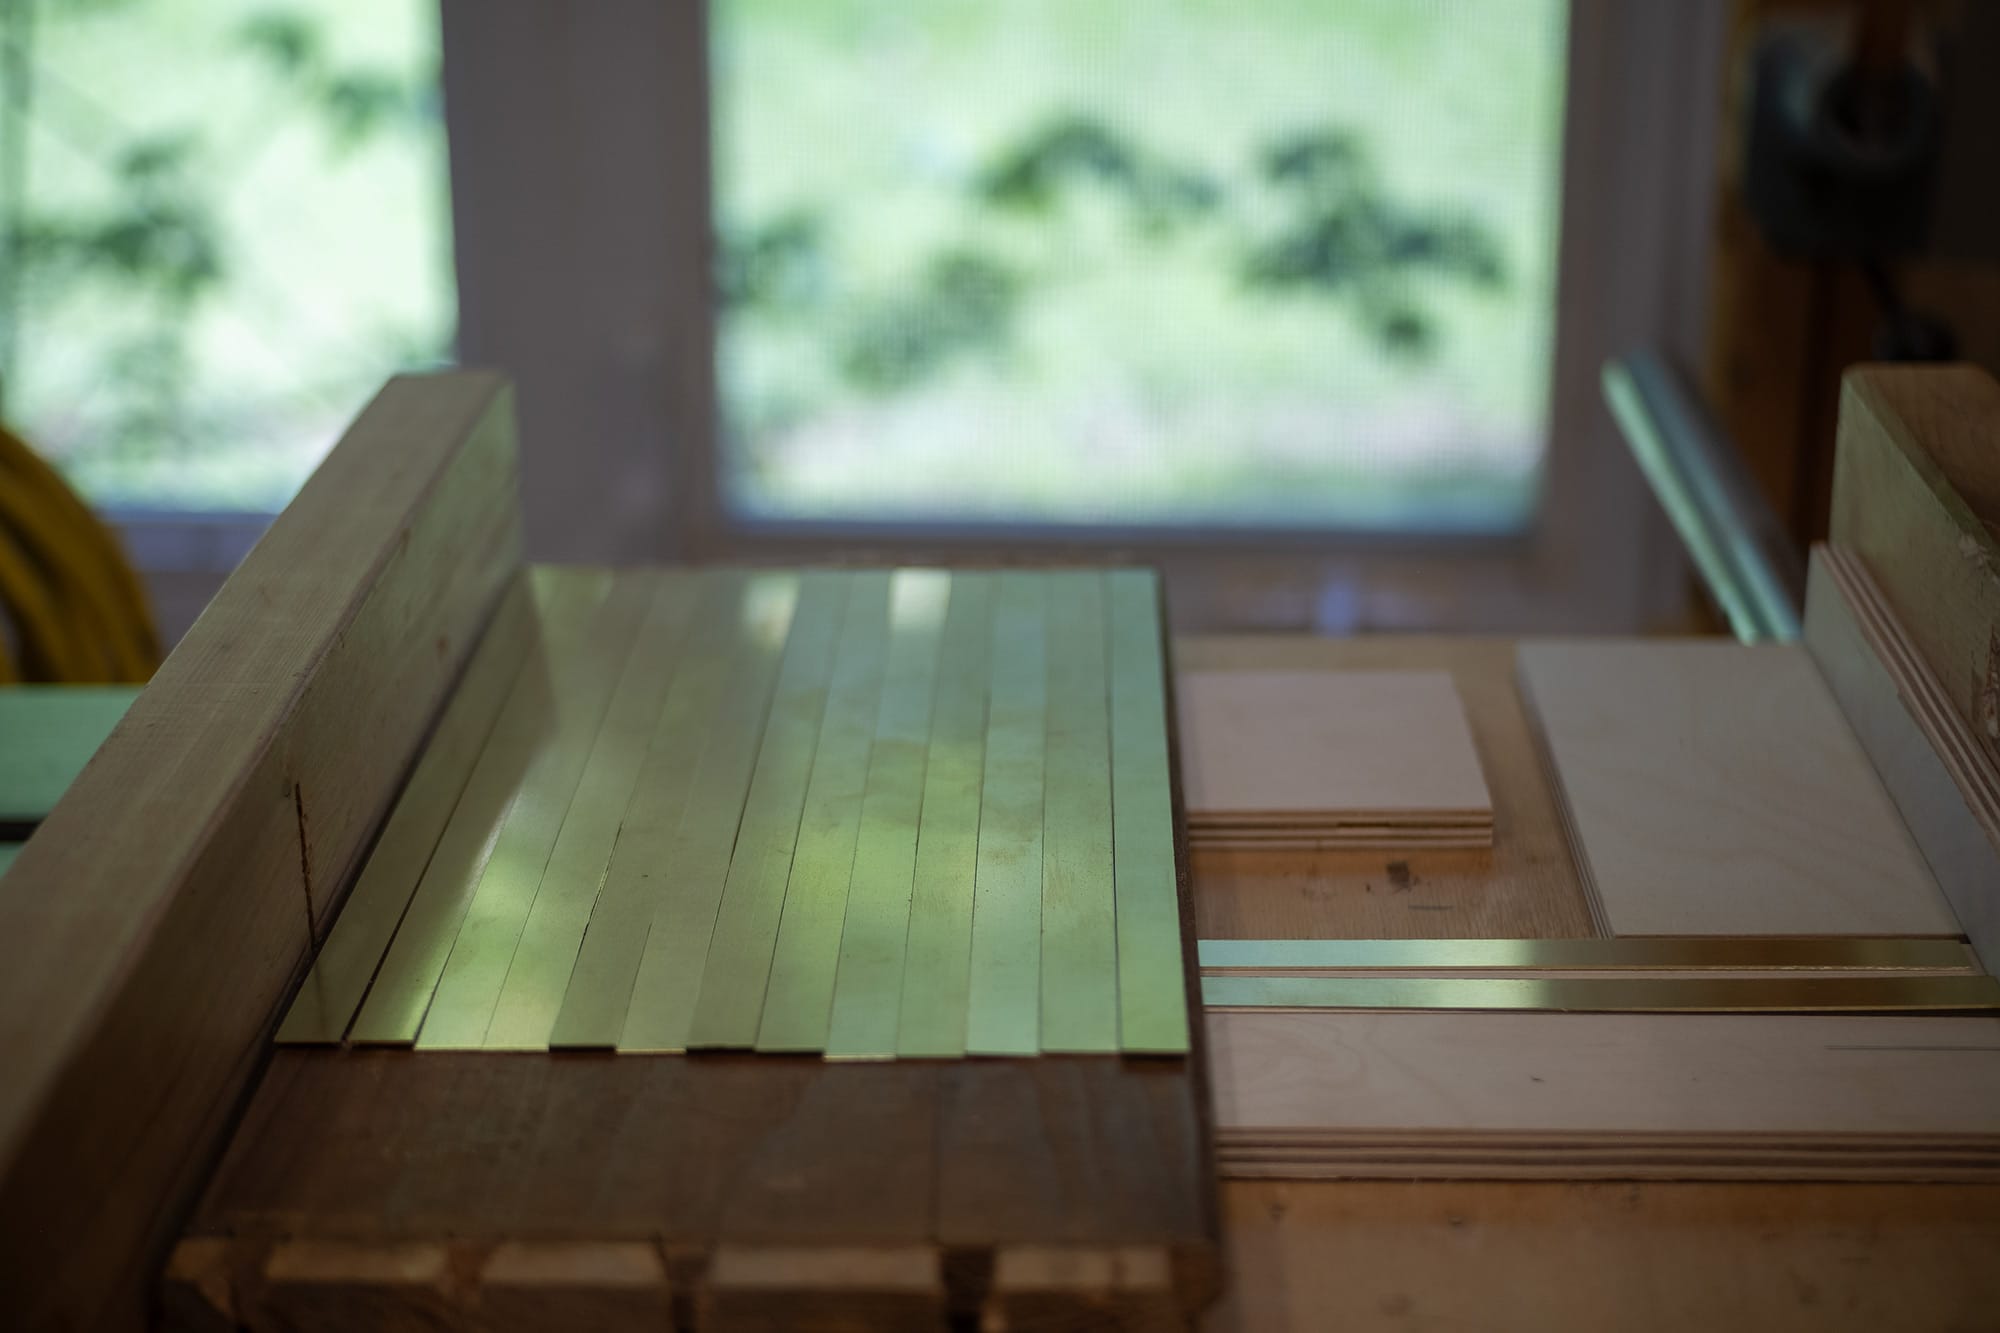
A bunch of strips cut out.
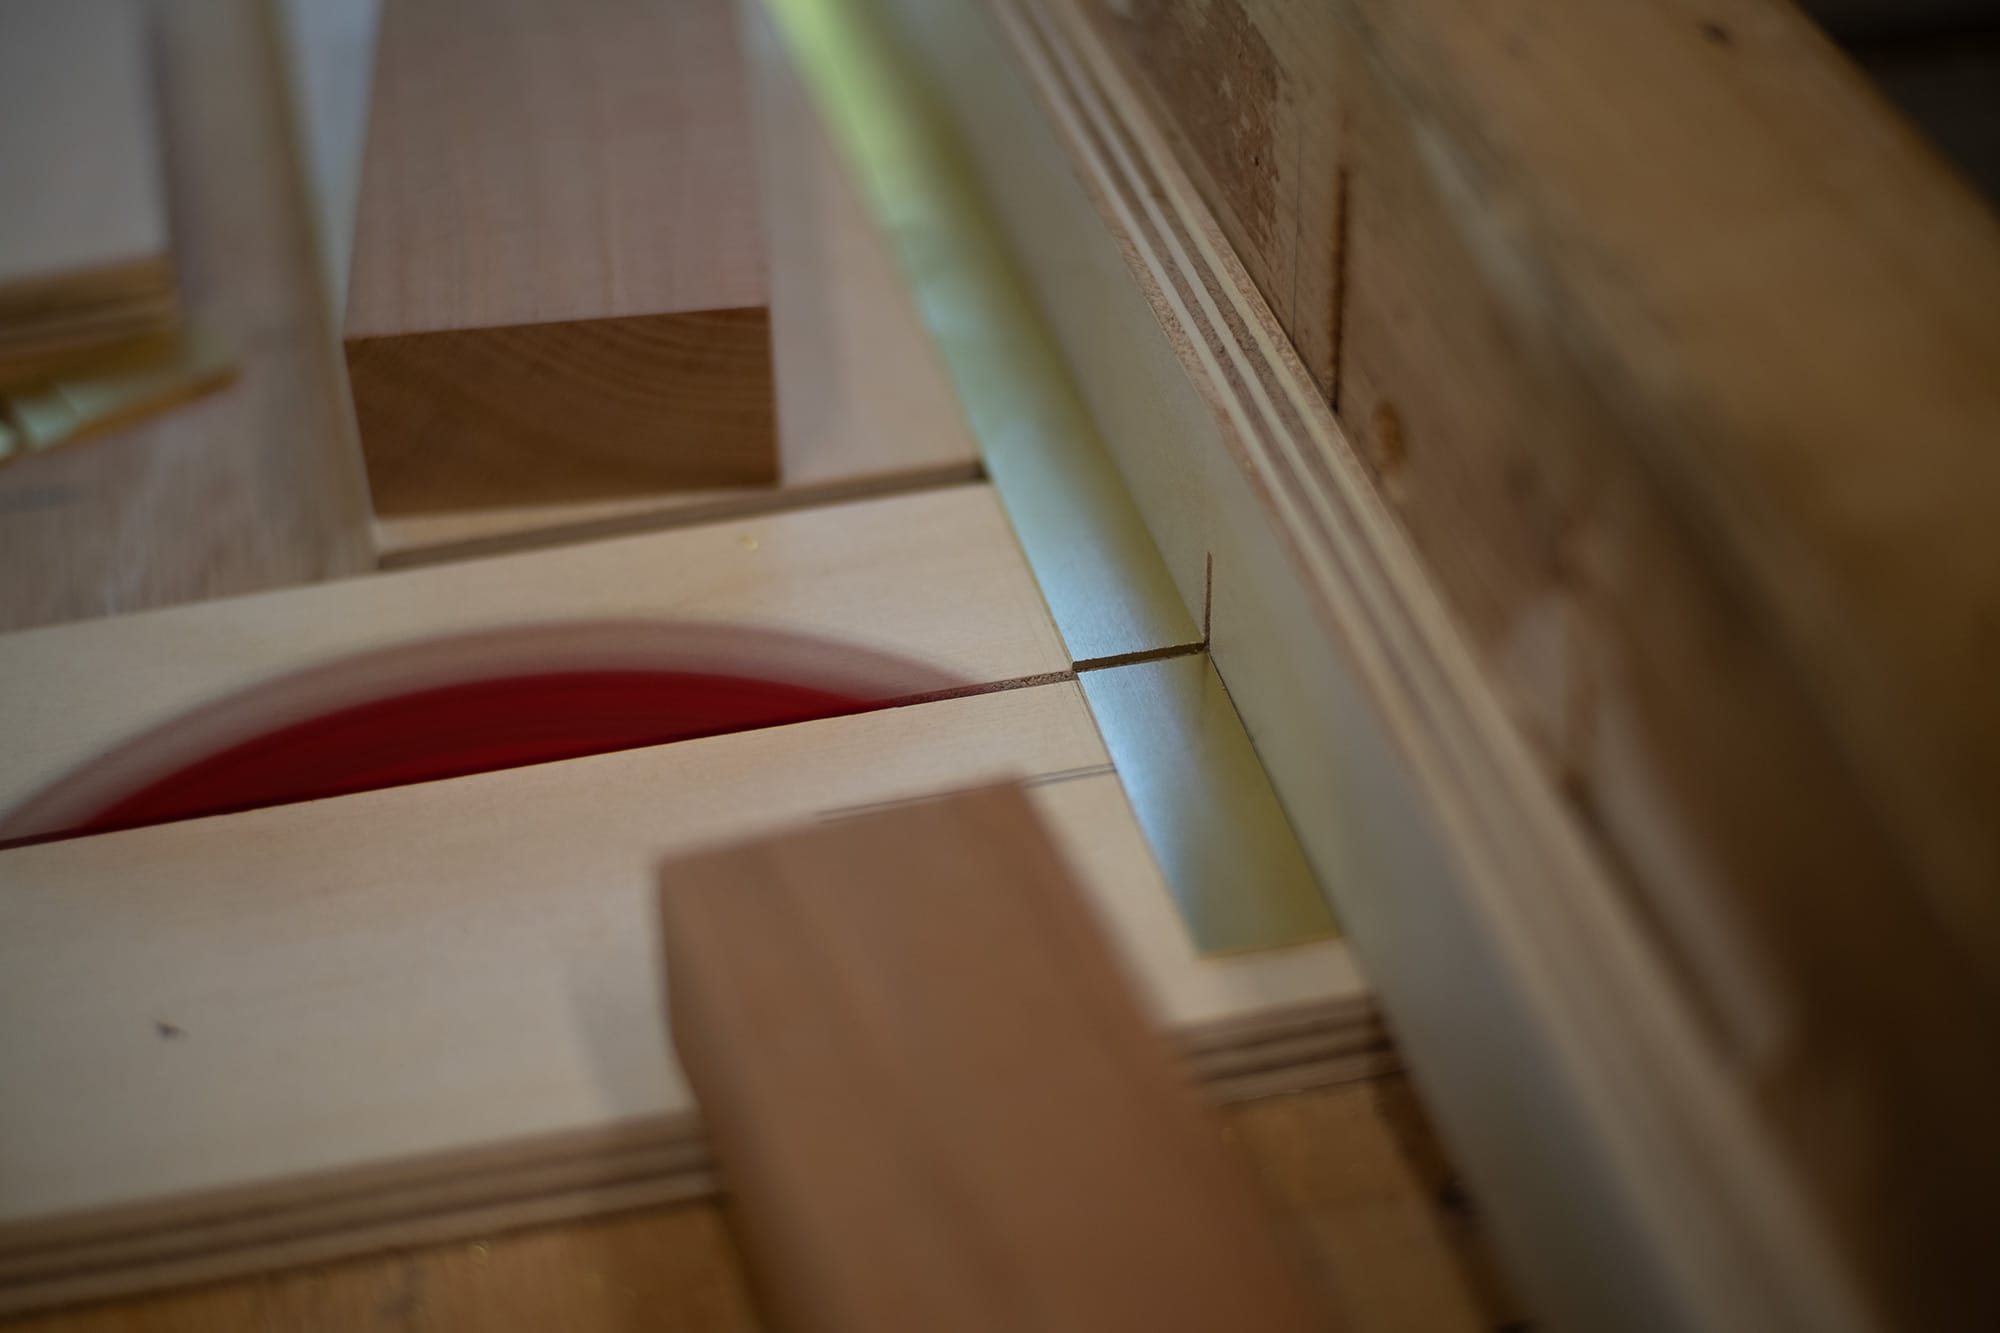
Each strip is cut up into small rectangles. I use two blocks of wood to hold the brass down firmly while making the cuts. The smaller the brass gets, the more important it is to keep it from shifting while making a cut.
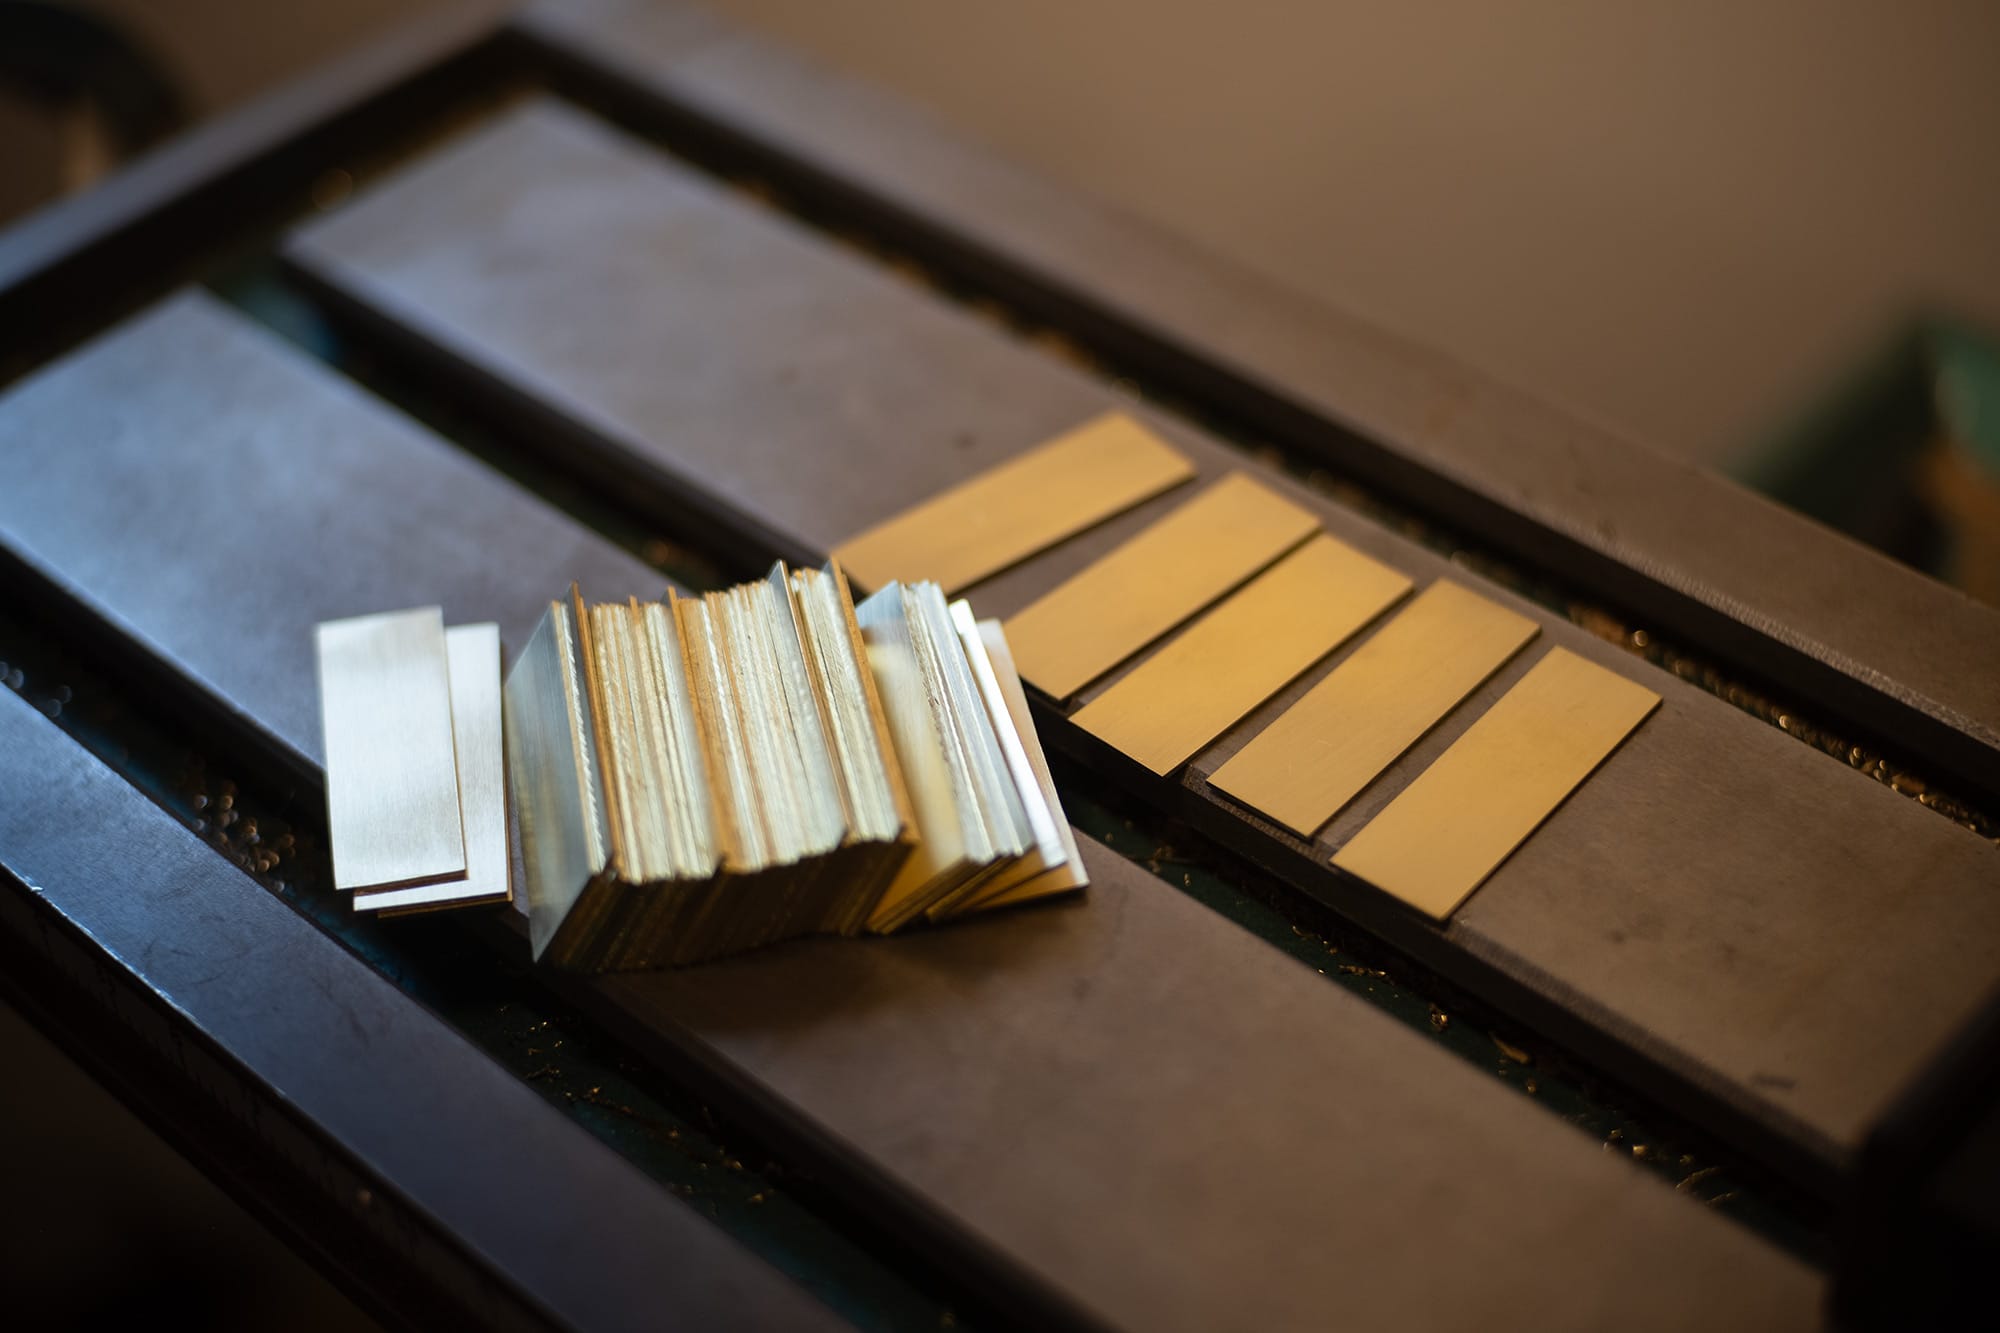
These roughly cut strips are almost ready to be mounted into the milling machine for finishing.
Before they're sandwiched together I lightly sand away the small burrs left by the table saw blade. The burrs would otherwise cause issues when I try to clamp these tightly together in the next steps.
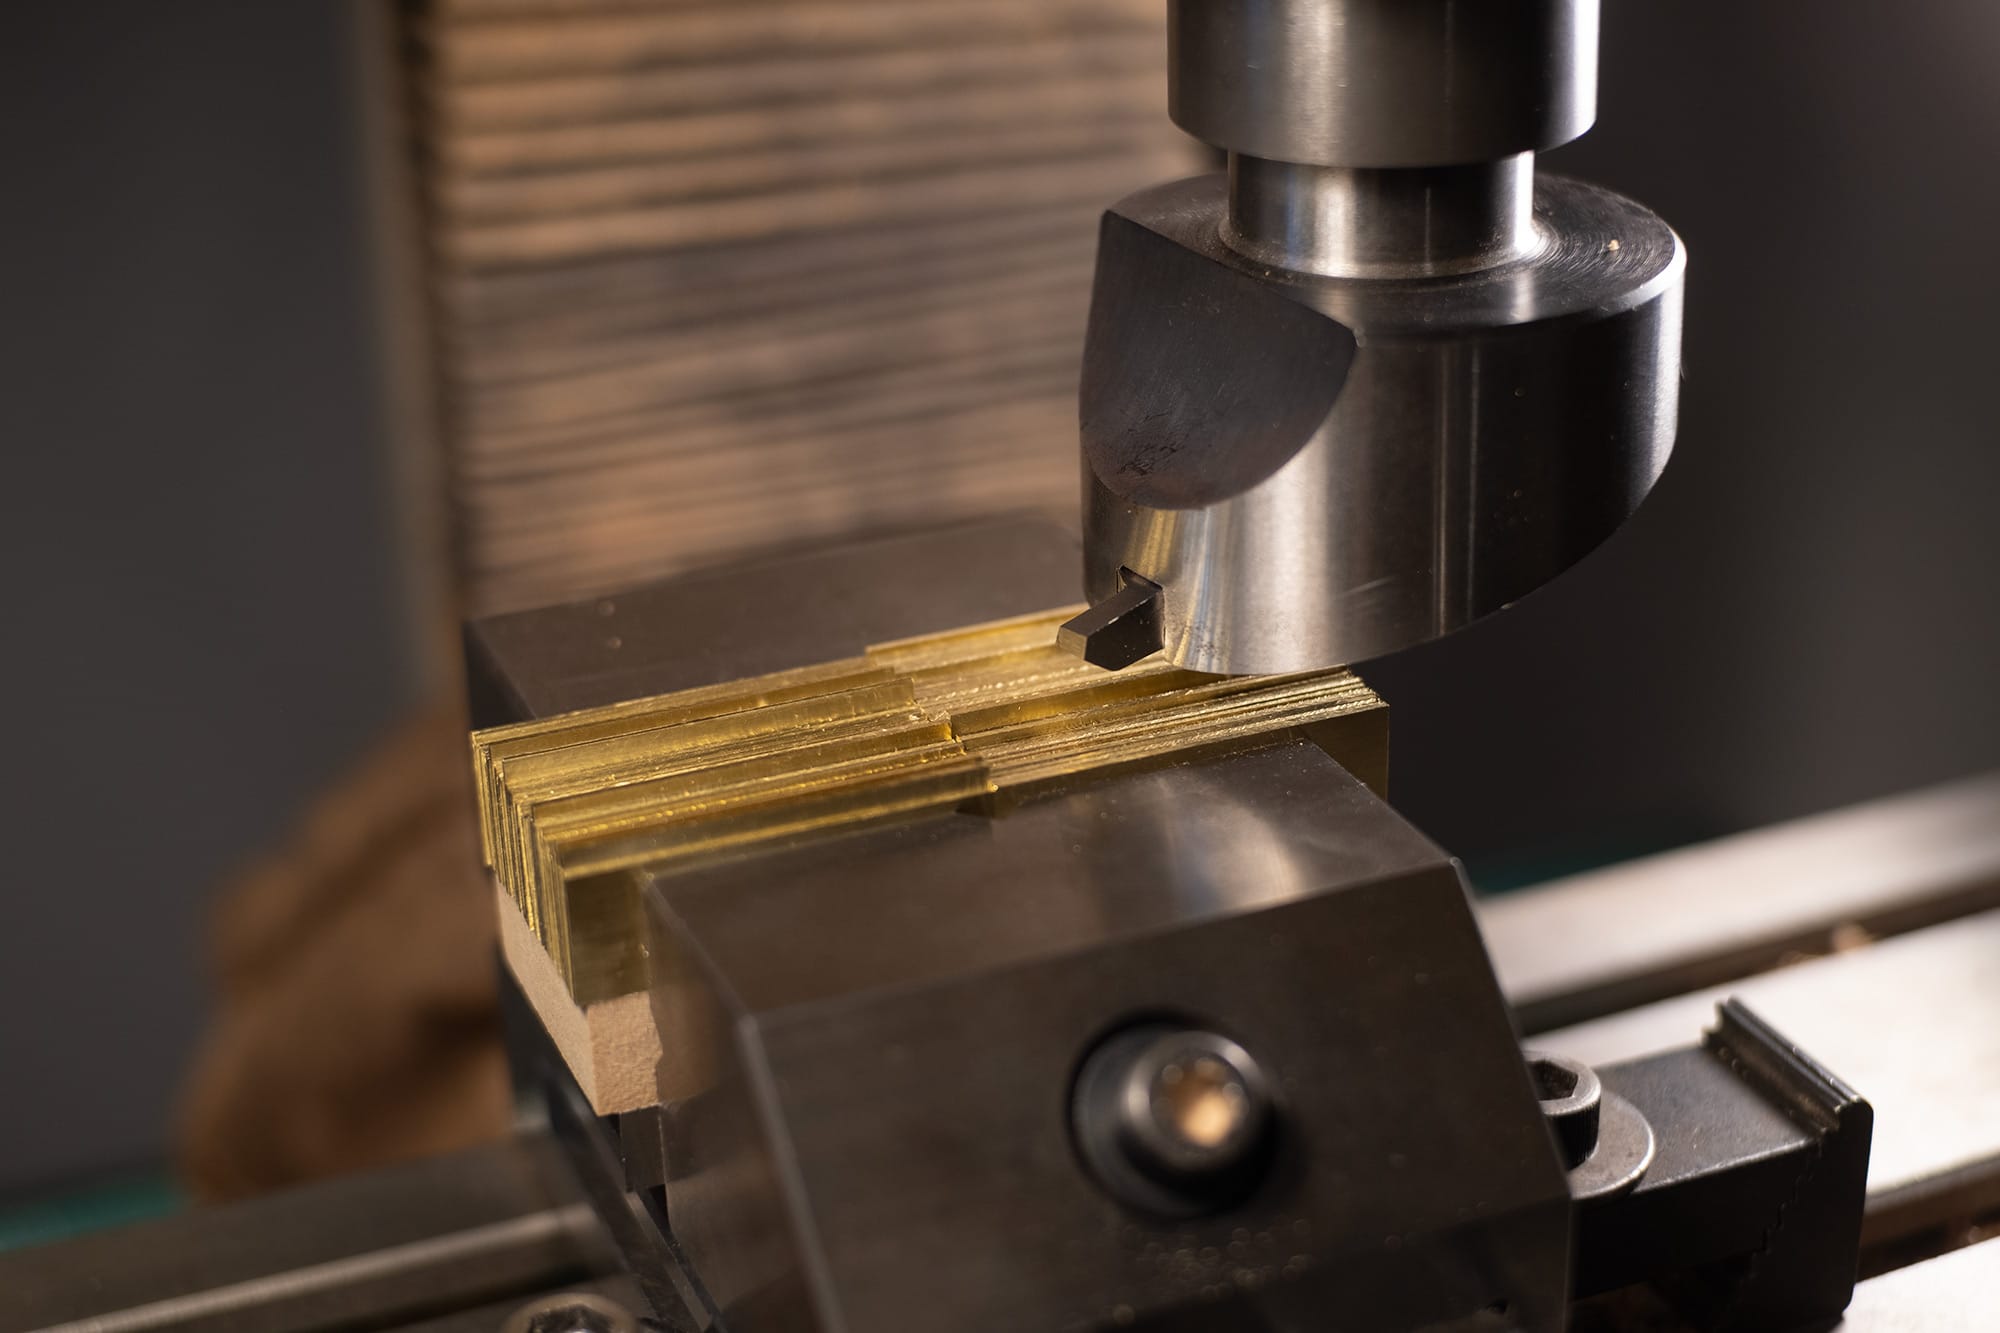
With the burrs removed I clamp them in the mill. These are resting on a perfectly flat piece of mdf. You can clearly see how each brass plate is slightly different in width.
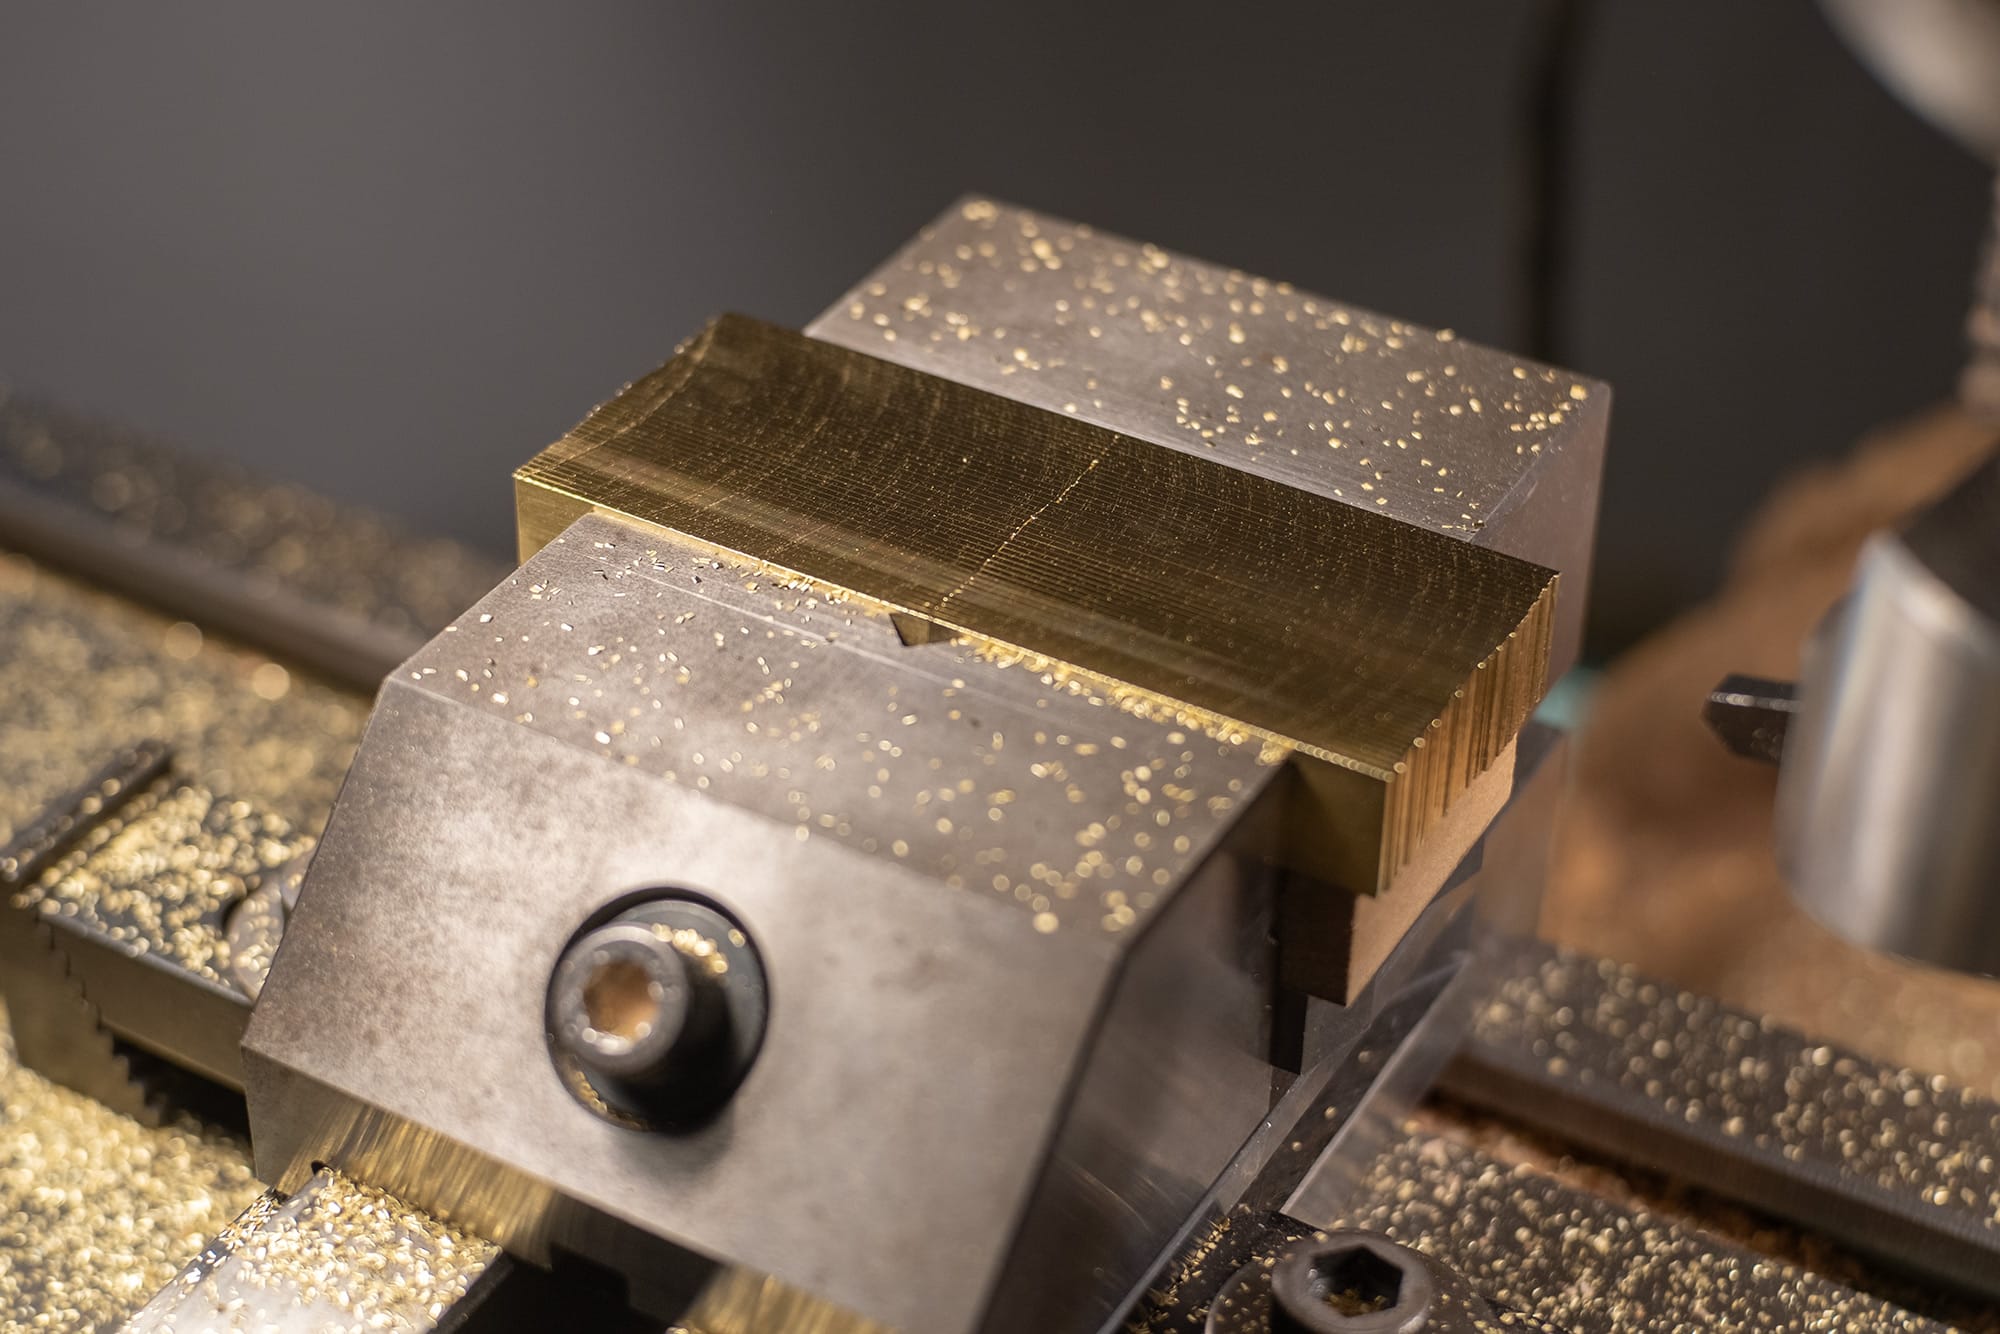
I use a fly cutter to machine the top face.
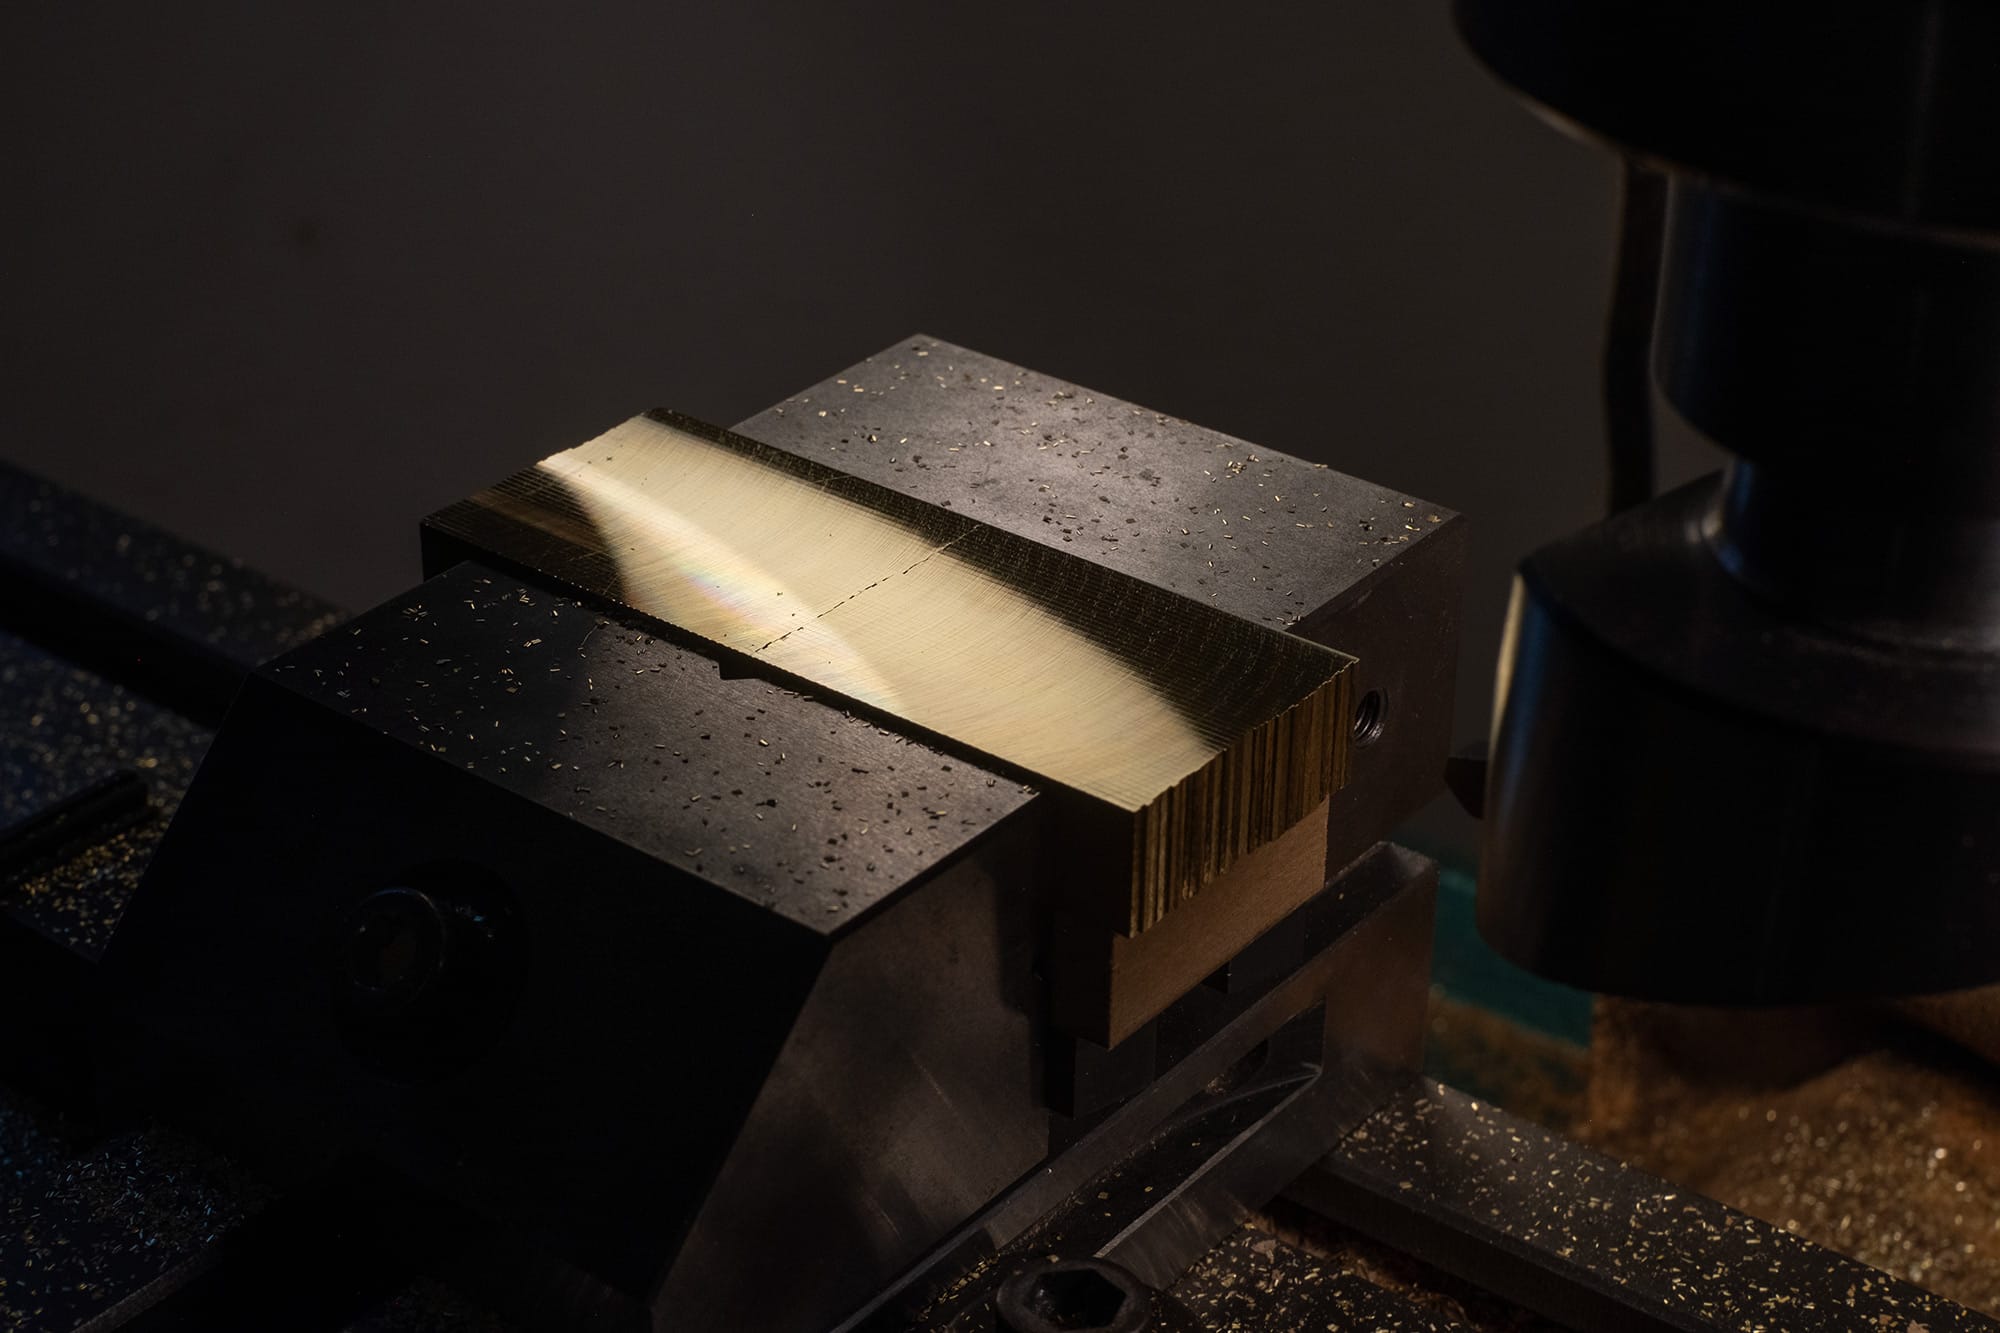
The entire batch is flipped upside down so that I can machine the other face. Checking the width of each plate as I go, I creep up on the final dimension.
After one final light pass these plates should all be exactly the same width.
This method is the absolute best for making small parts. Anytime I can sandwich multiple parts together I do it!
These little production puzzles really get me going... and much of the Toad was designed from the ground up to take advantage of this exact style of shortcut.
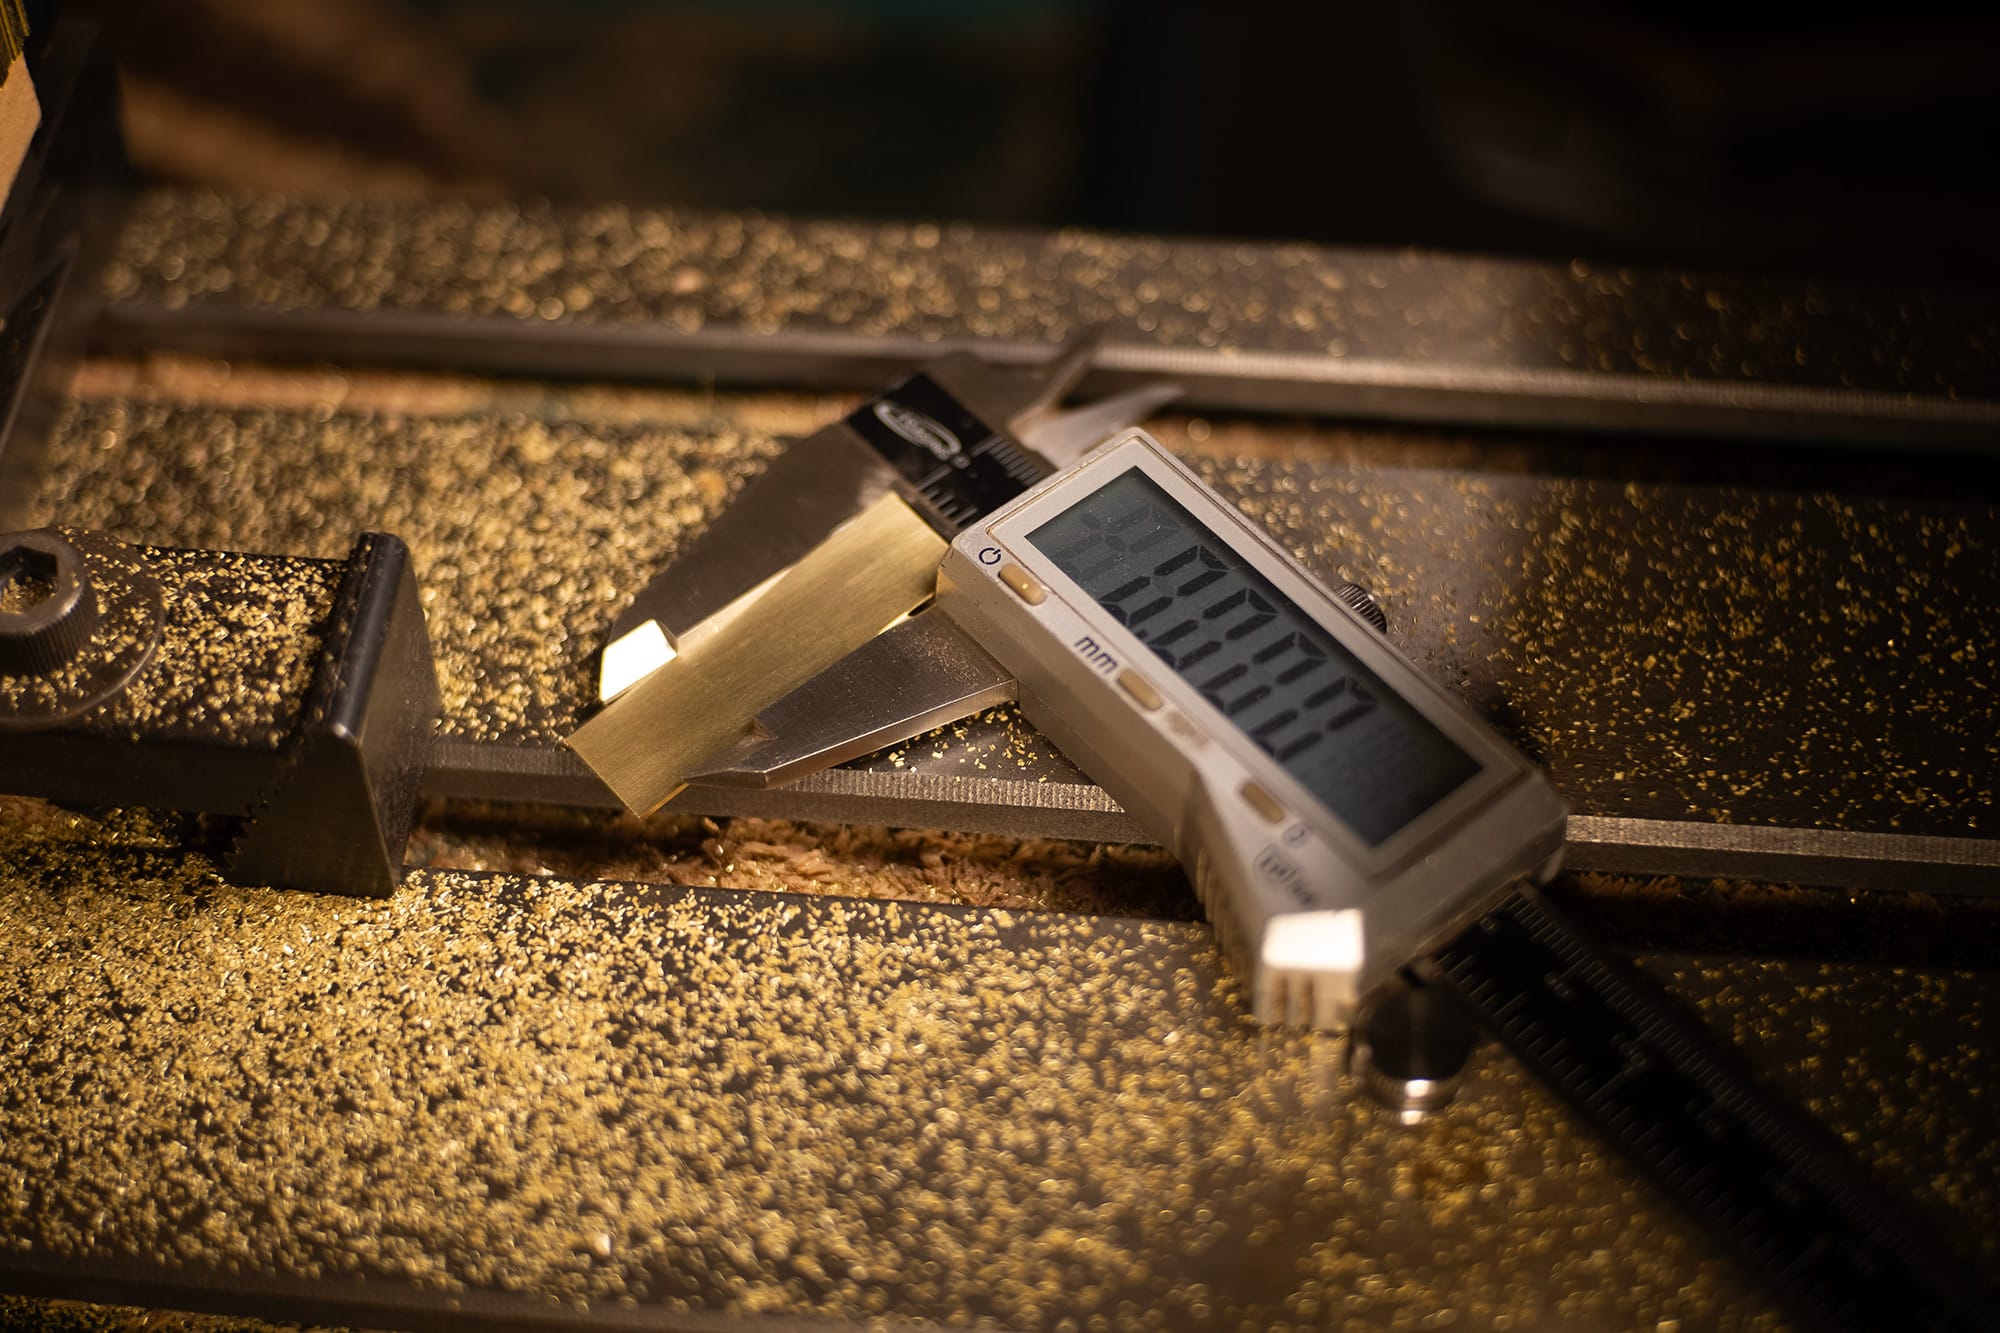
Perfect.
The width of this plate is what's going to make assembly a joy later on, so getting it as close to perfect is important.
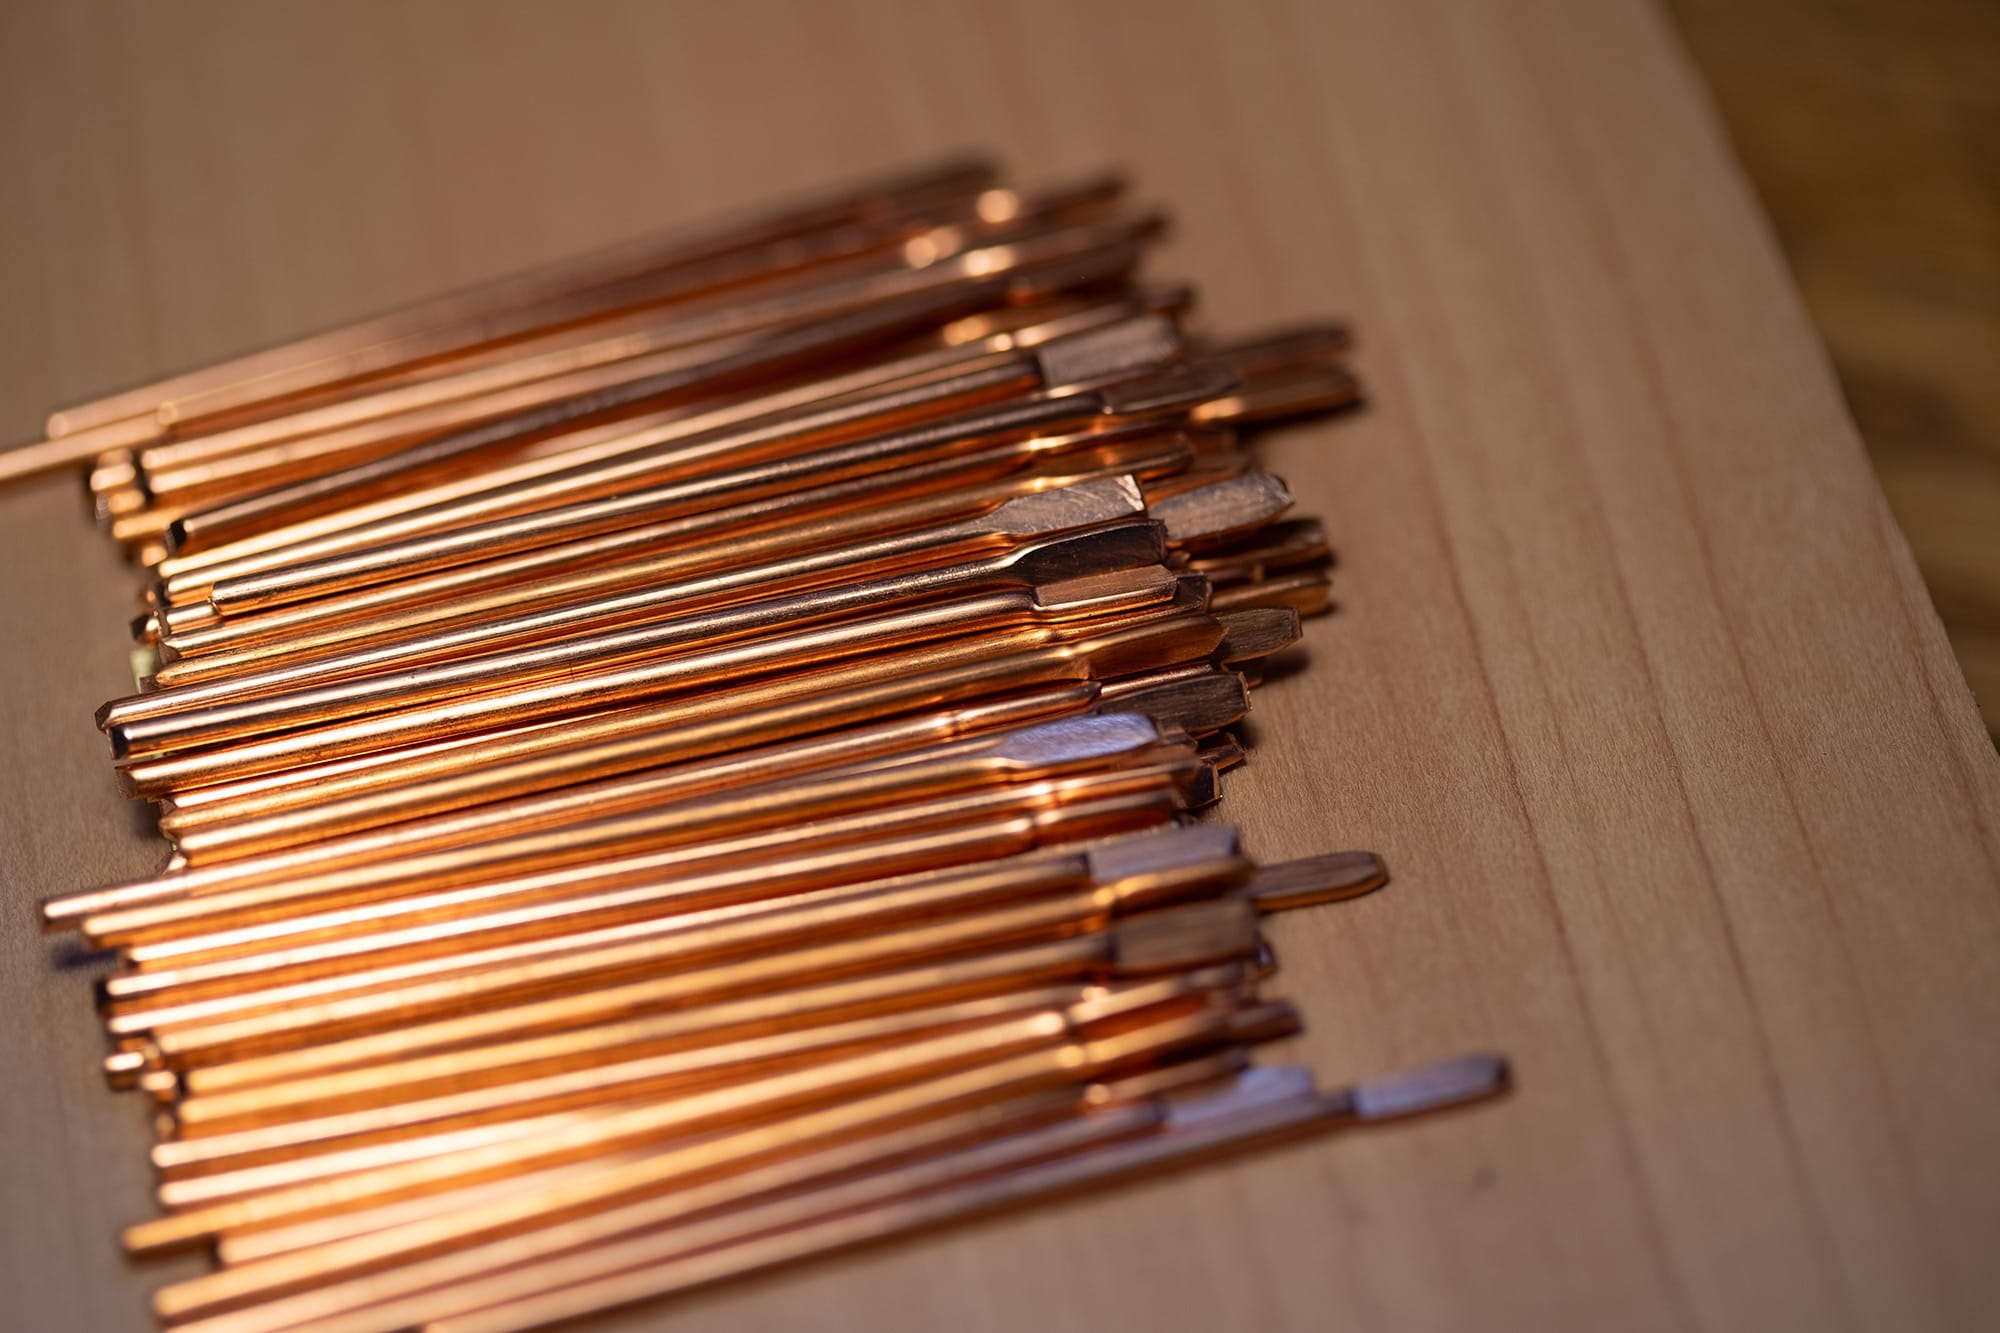
The brass plates will be soldered to a copper lead, with a little flat tongue on the end acting as the soldering surface.
The tongue is created in a press jig mounted in a vice.
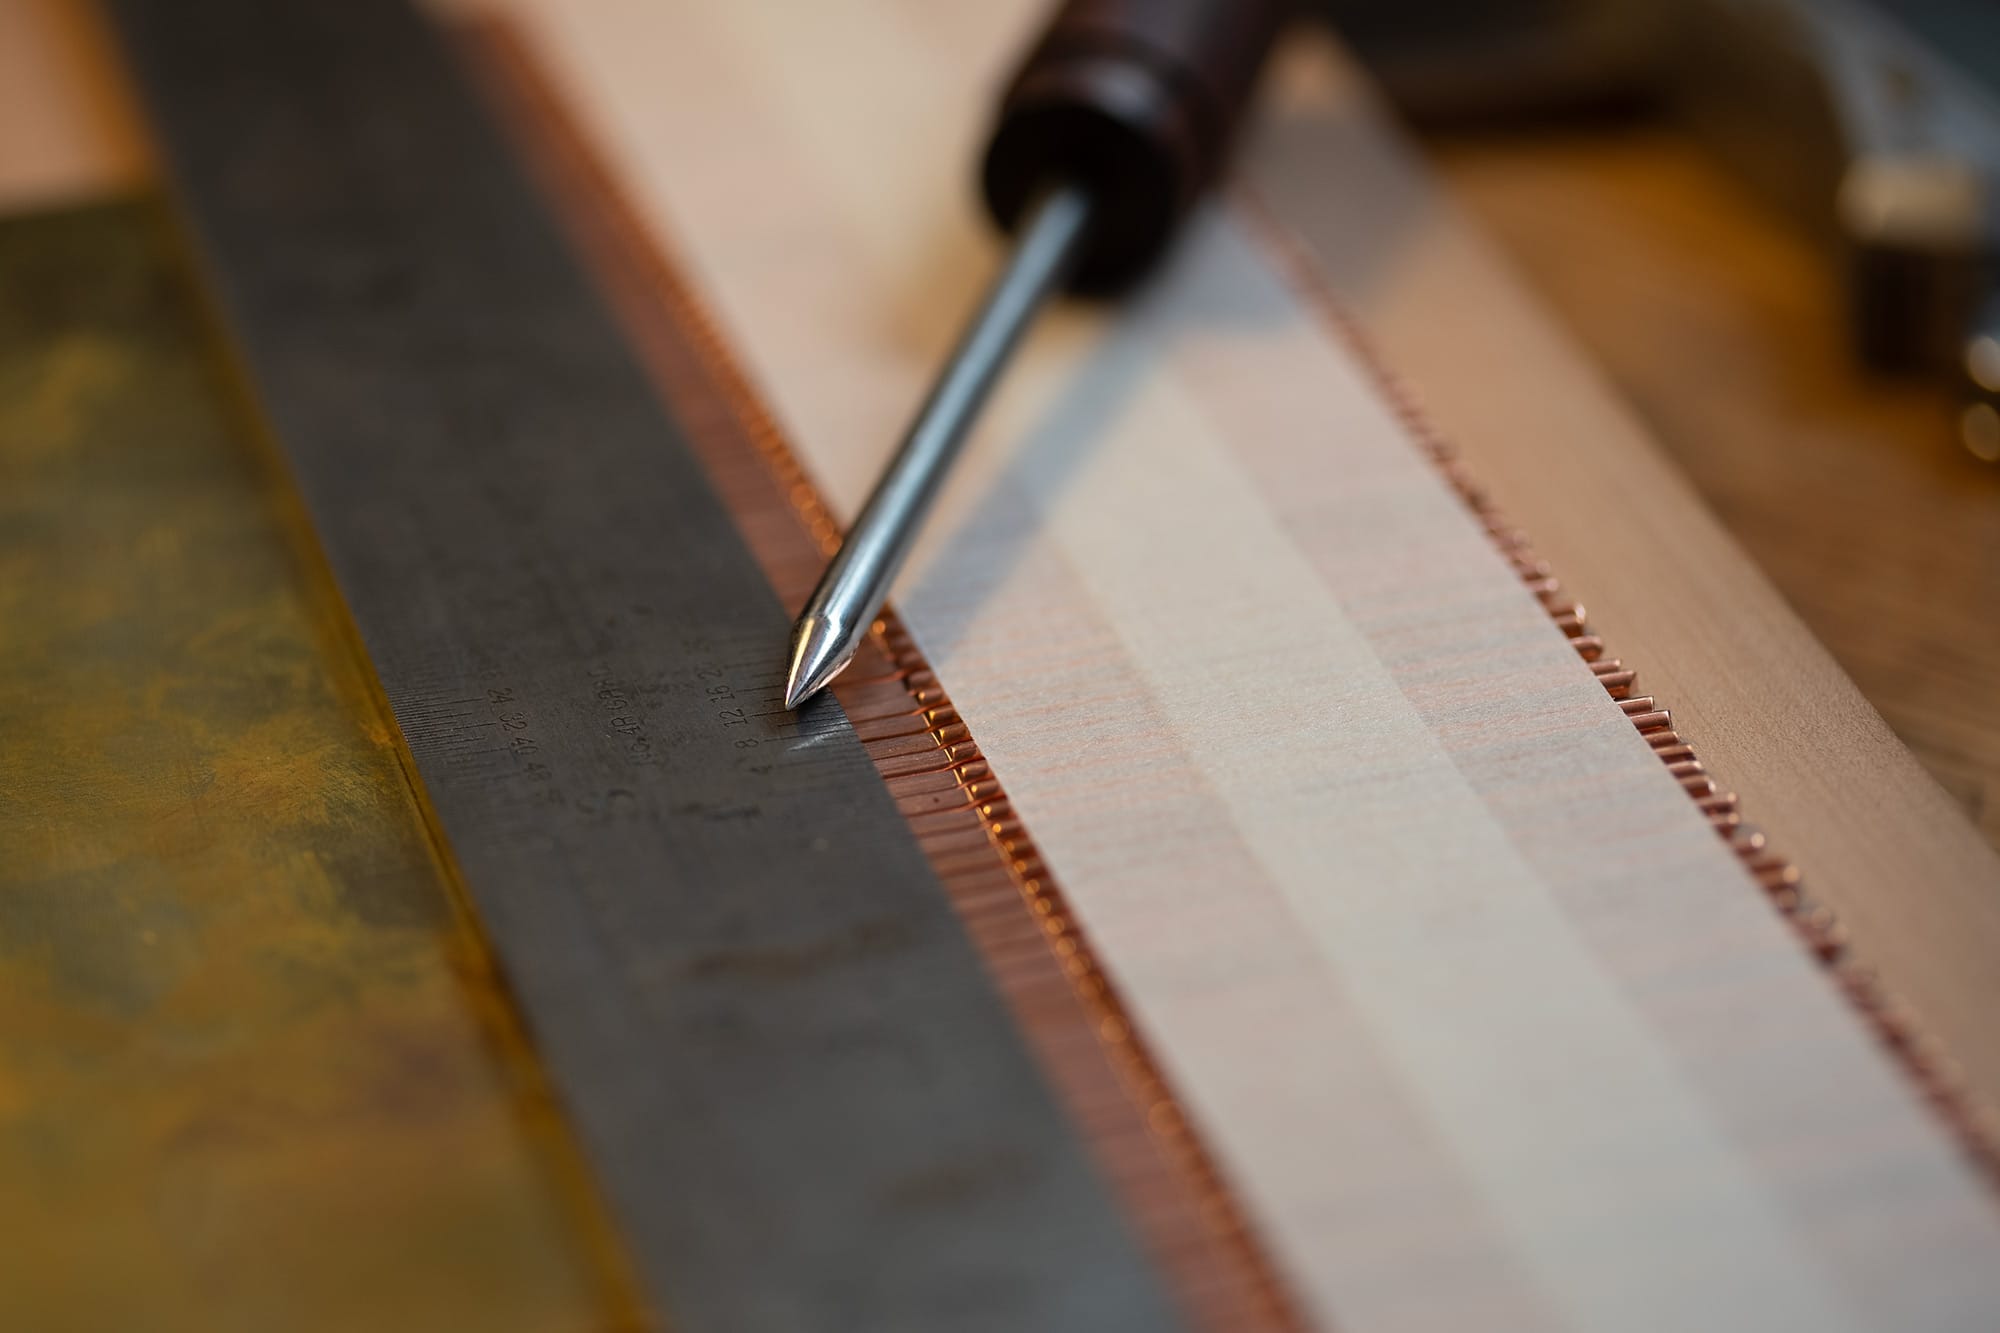
They're all taped together and a line is scored.
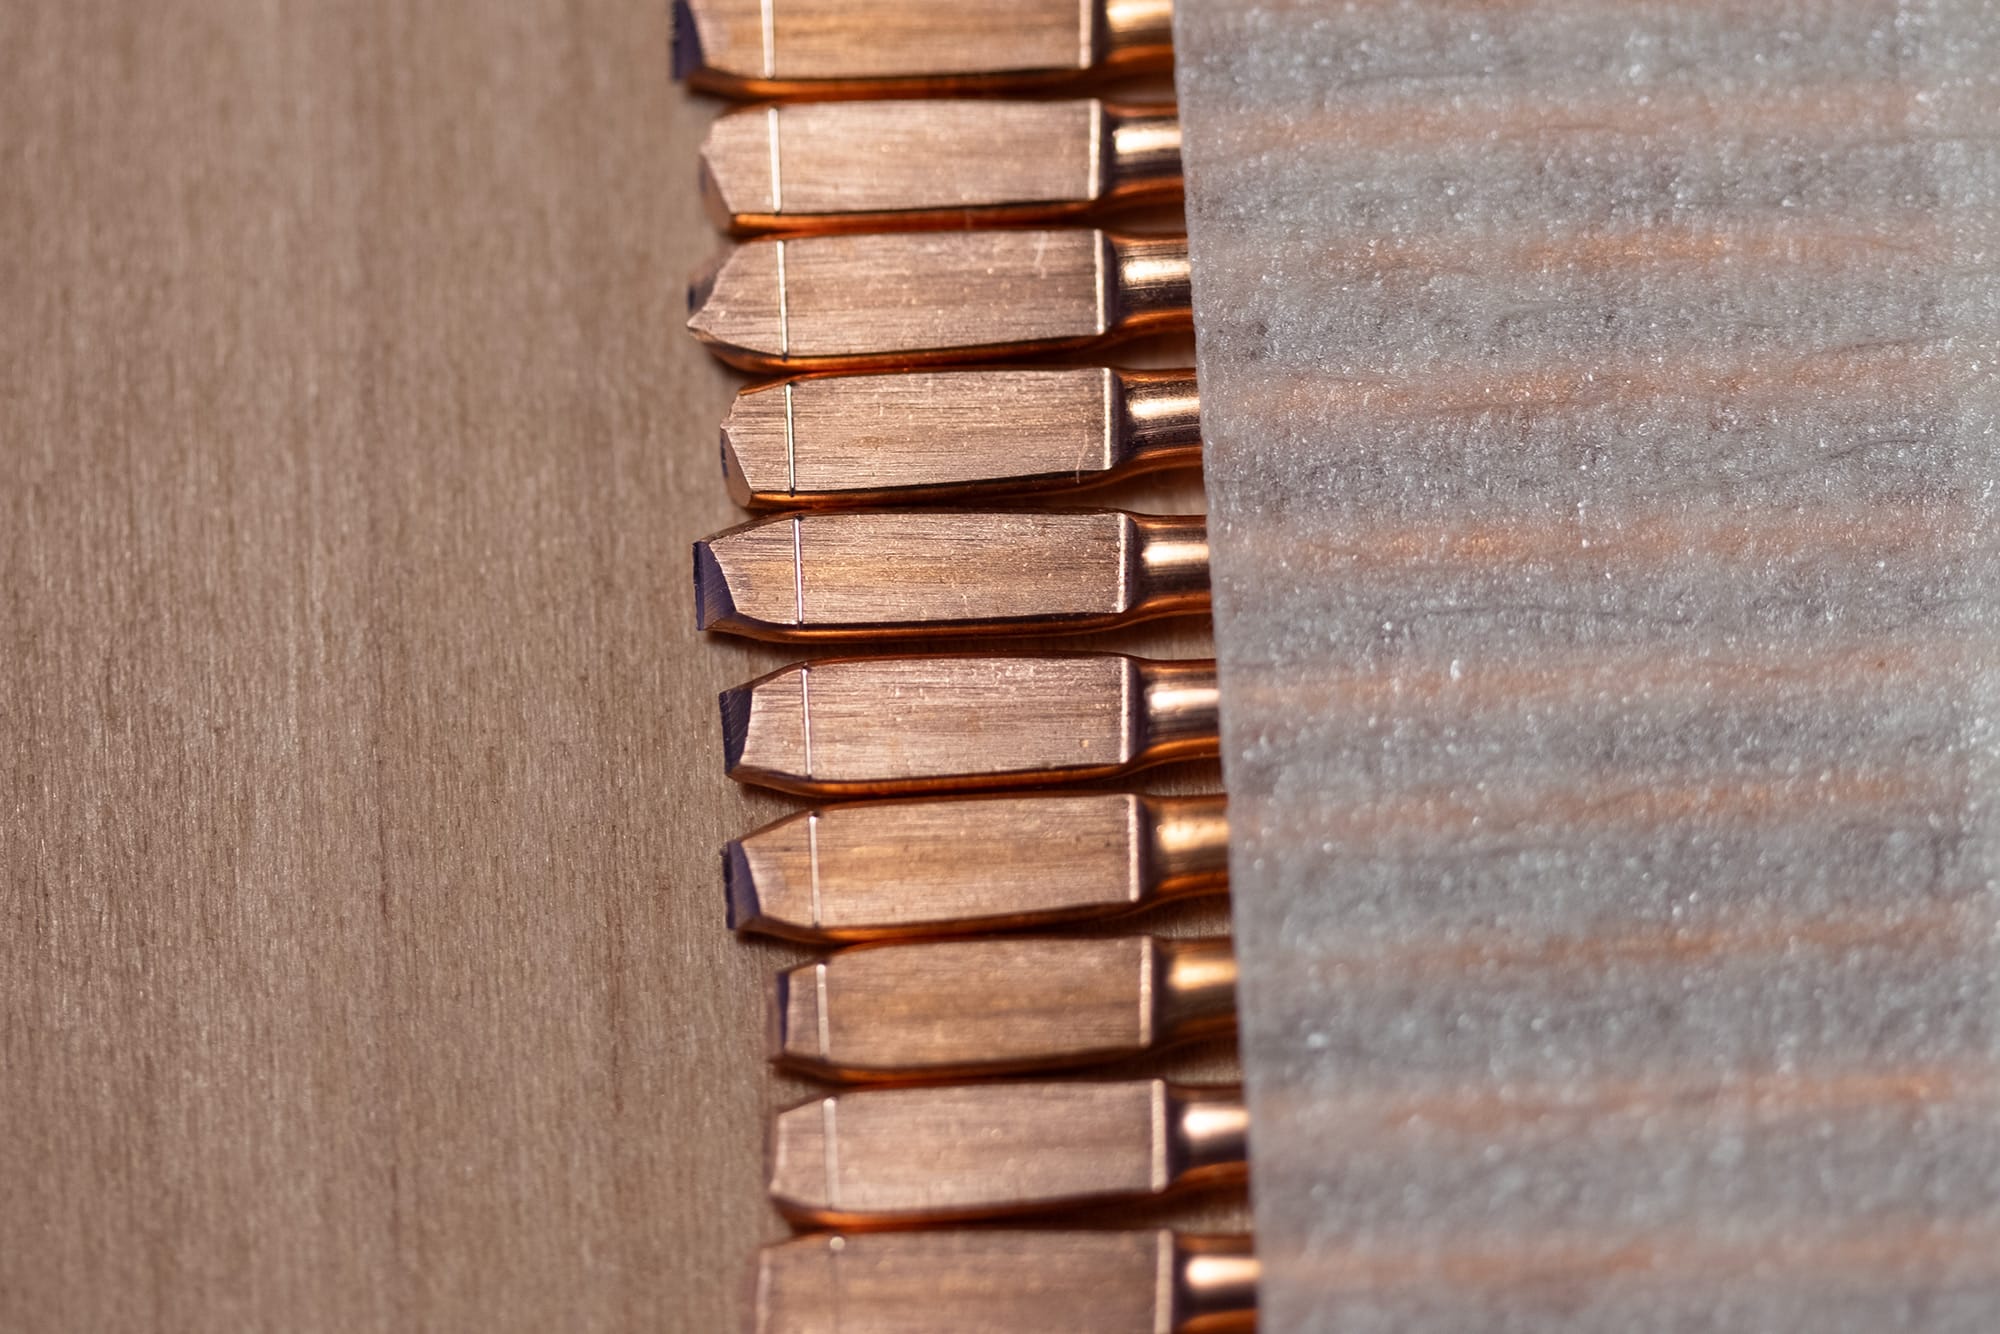
I use a flush cutter to snip the excess off each copper lead, using the score line as my cutting guide.
Next, I'll be prepping the brass plates for soldering.
These will eventually be one half of the electrical connection inside of the button.
To ensure the best electrical performance the brass must be polished. A polished contact surface will oxidize less over time and so should create a more reliable connection with less maintenance.
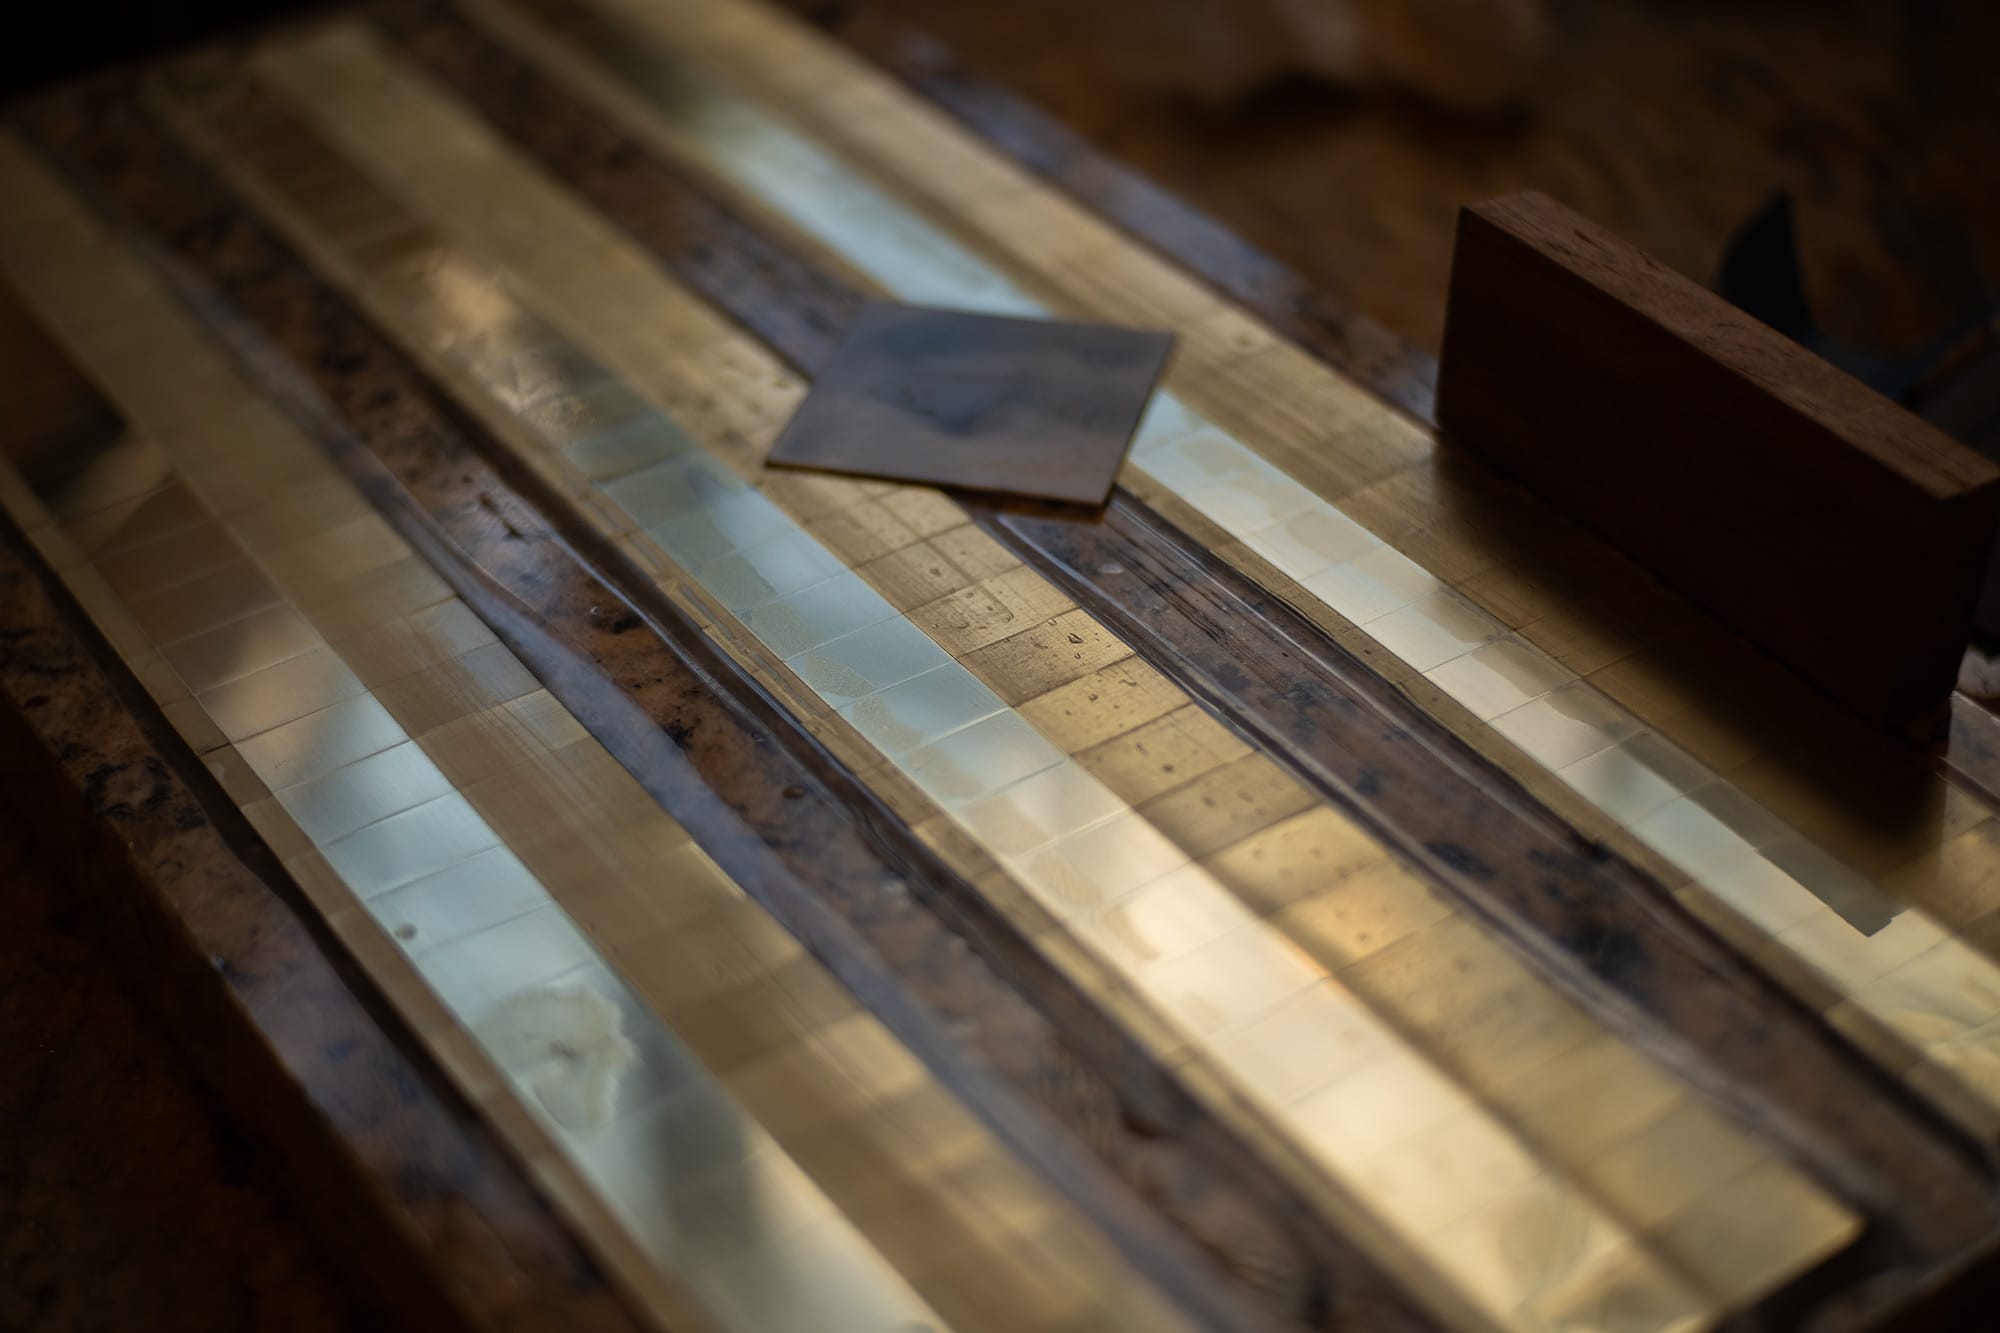
The entire plate can't be polished, only the contact surface. The rest of the plate is roughed up with sandpaper for a better glue bond later on.
They're taped onto a granite surface plate using waterproof clear tape and then polished using progressively finer sandpaper mounted to a sanding block.
The final stage is a very fine polishing pad.
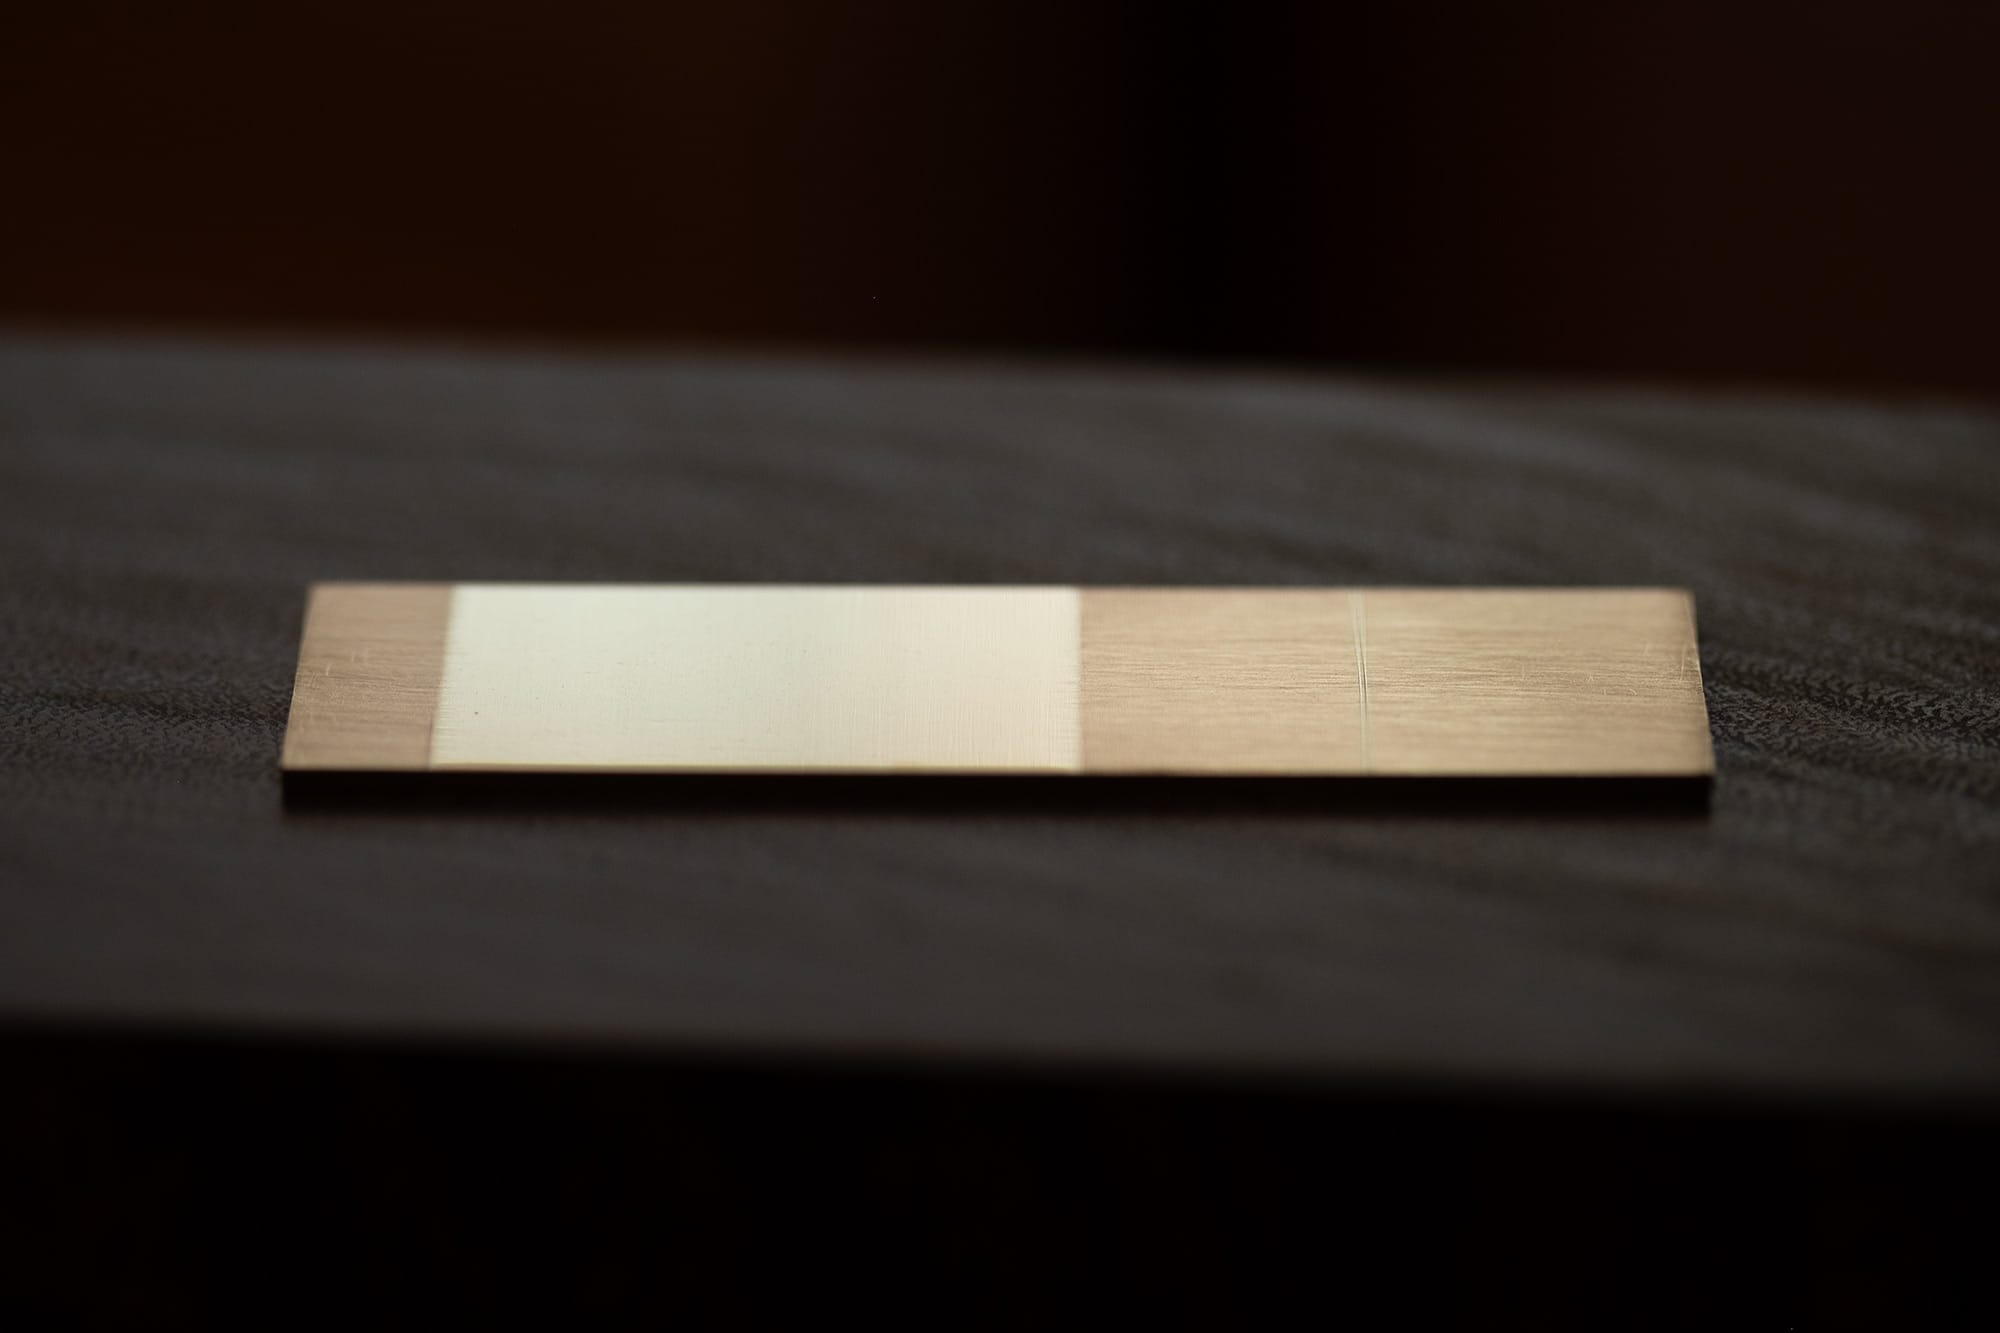
The plates are removed from the granite and cleaned in an ultrasonic cleaner to remove any residue.
A score line is marked on the plate to denote the location of the copper lead.
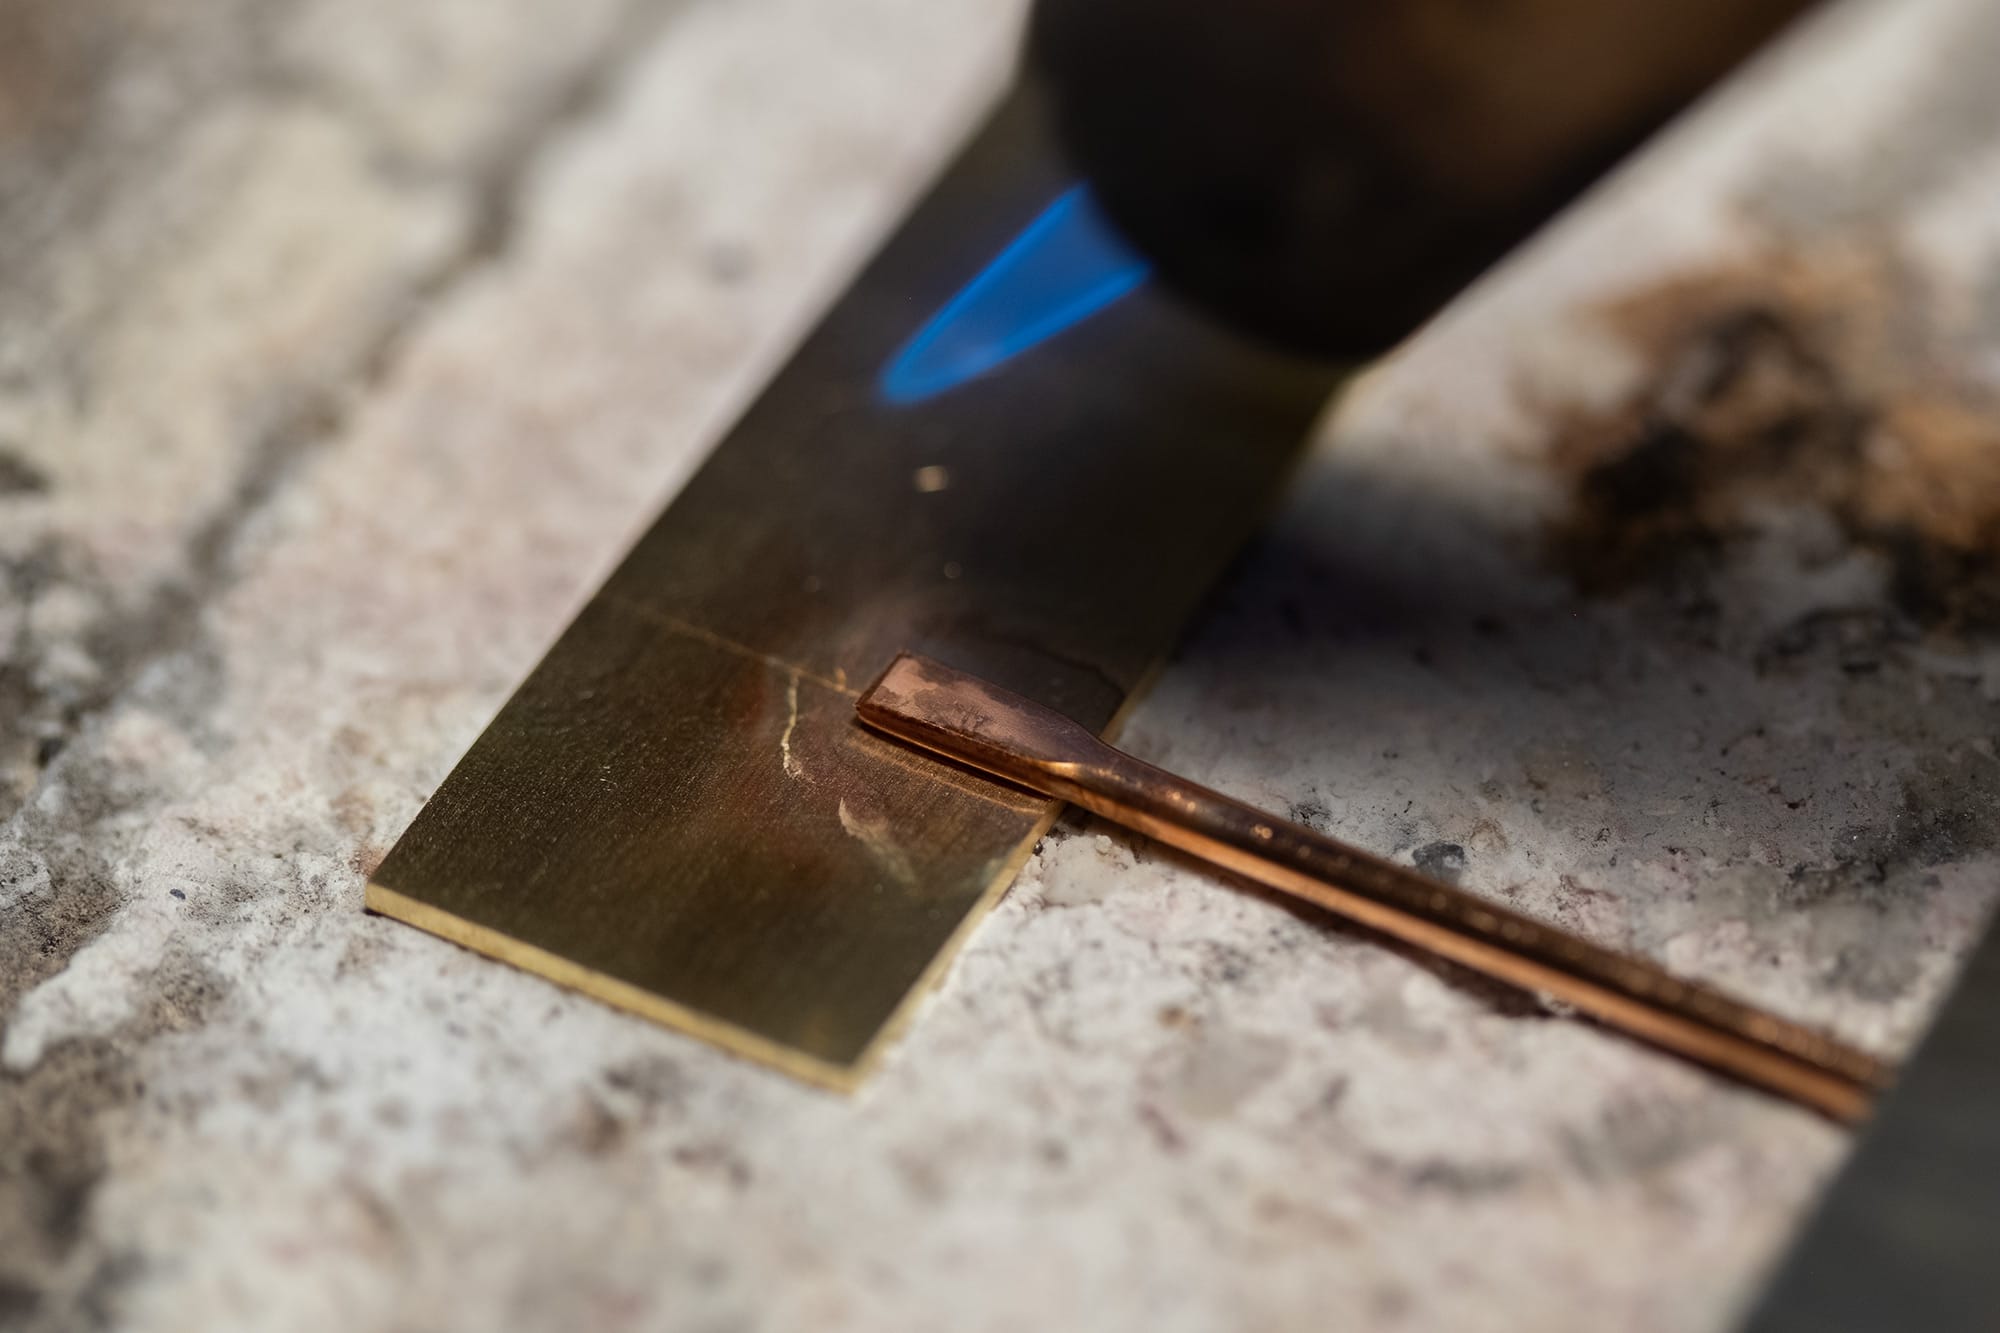
A fluxed copper lead is held firmly in place against the plate, right on that score line, and heat is applied.
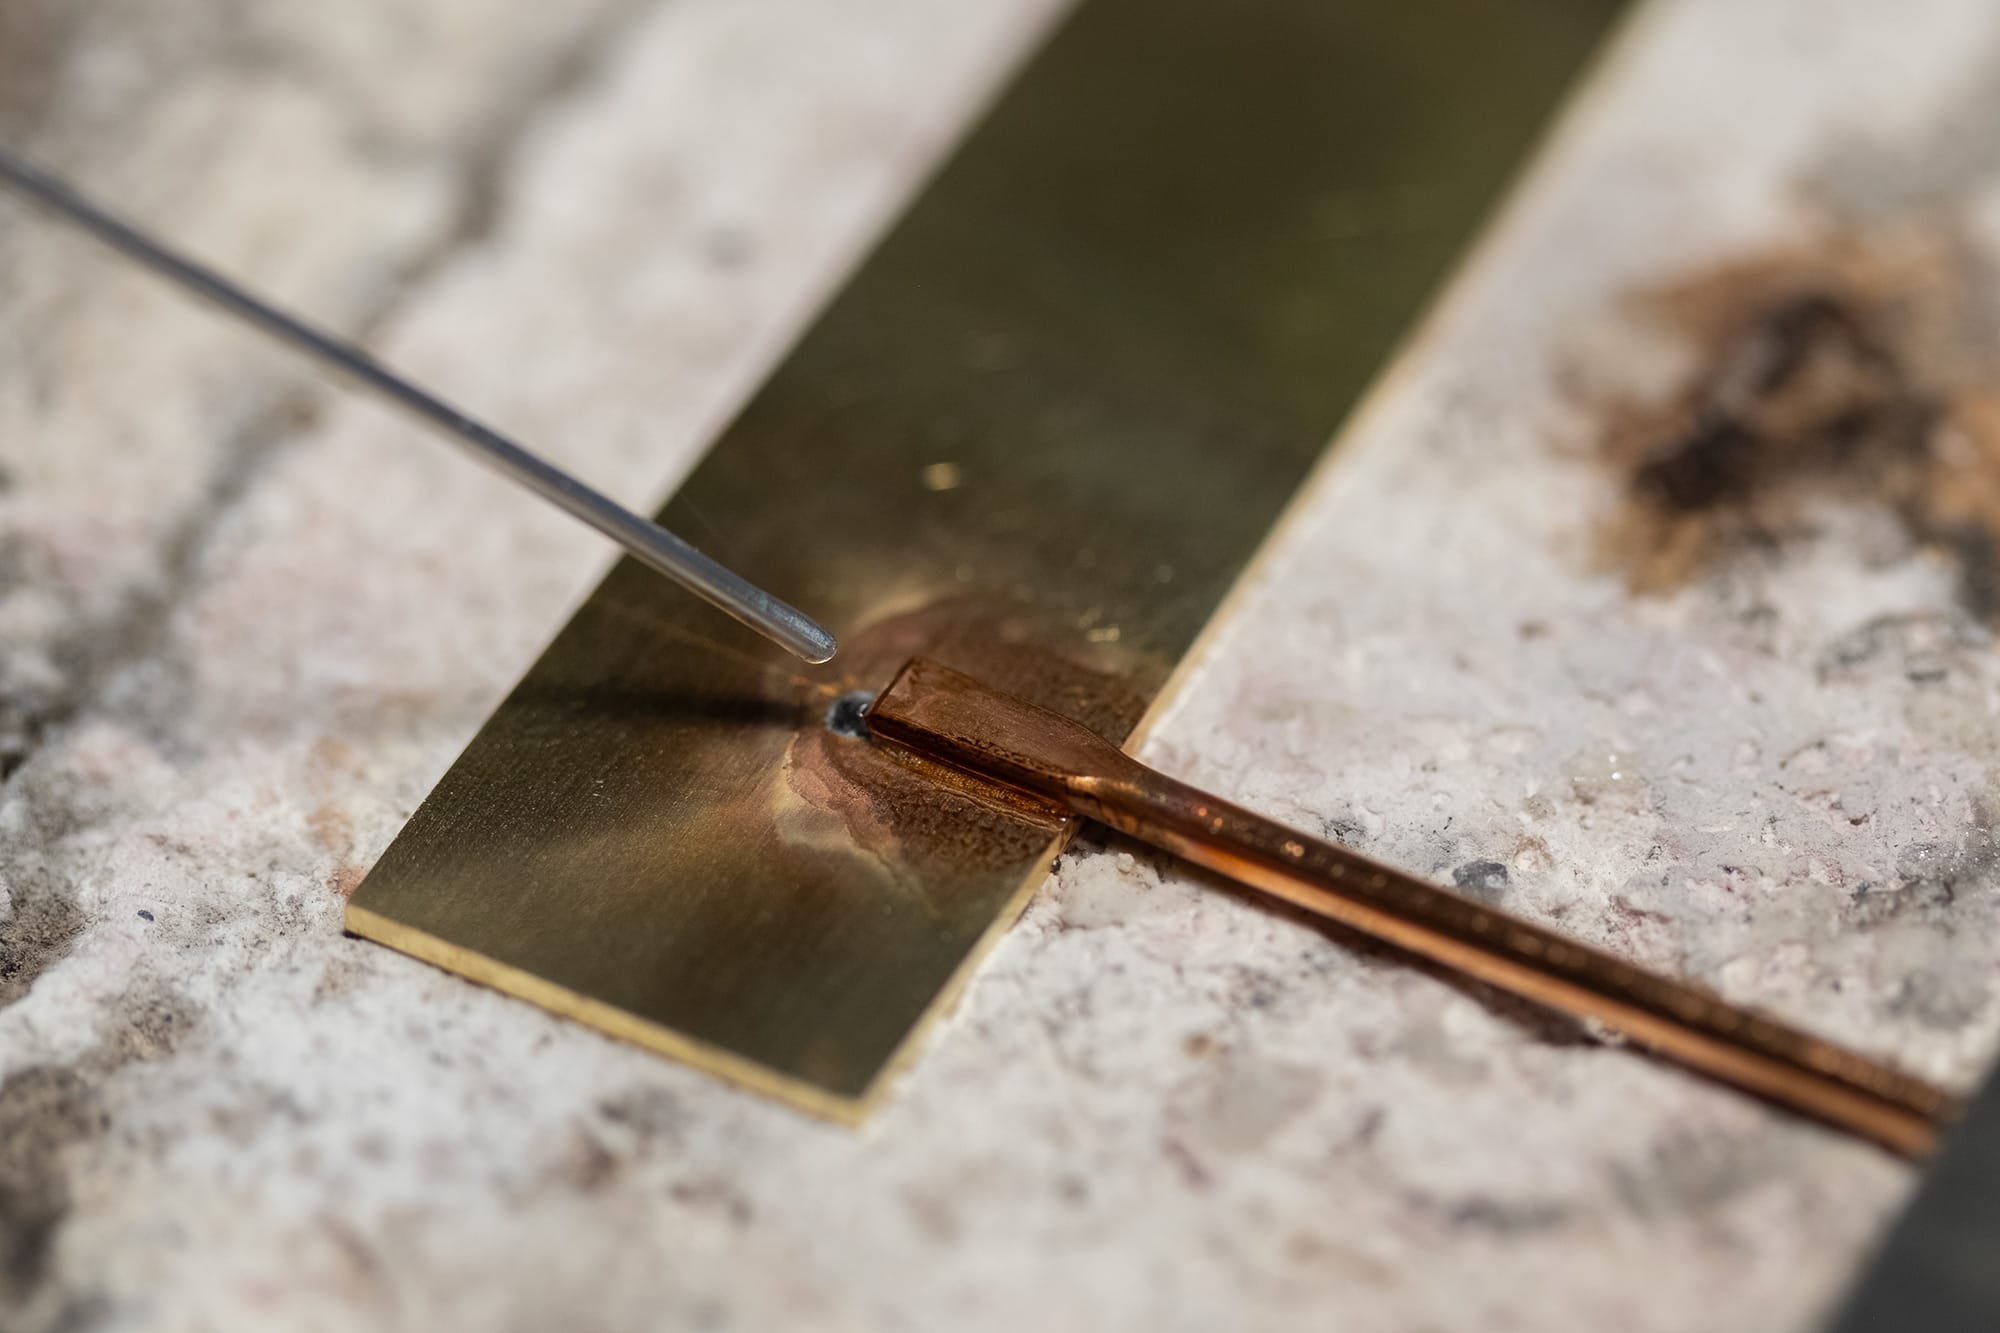
When the flux starts to bubble in a way that feels about right... I go in with a tiny bit of solder. This is lead free 3% silver solder.
I use just enough solder to do the job, any excess would interfere with the fitment between these parts and the wooden bodies.
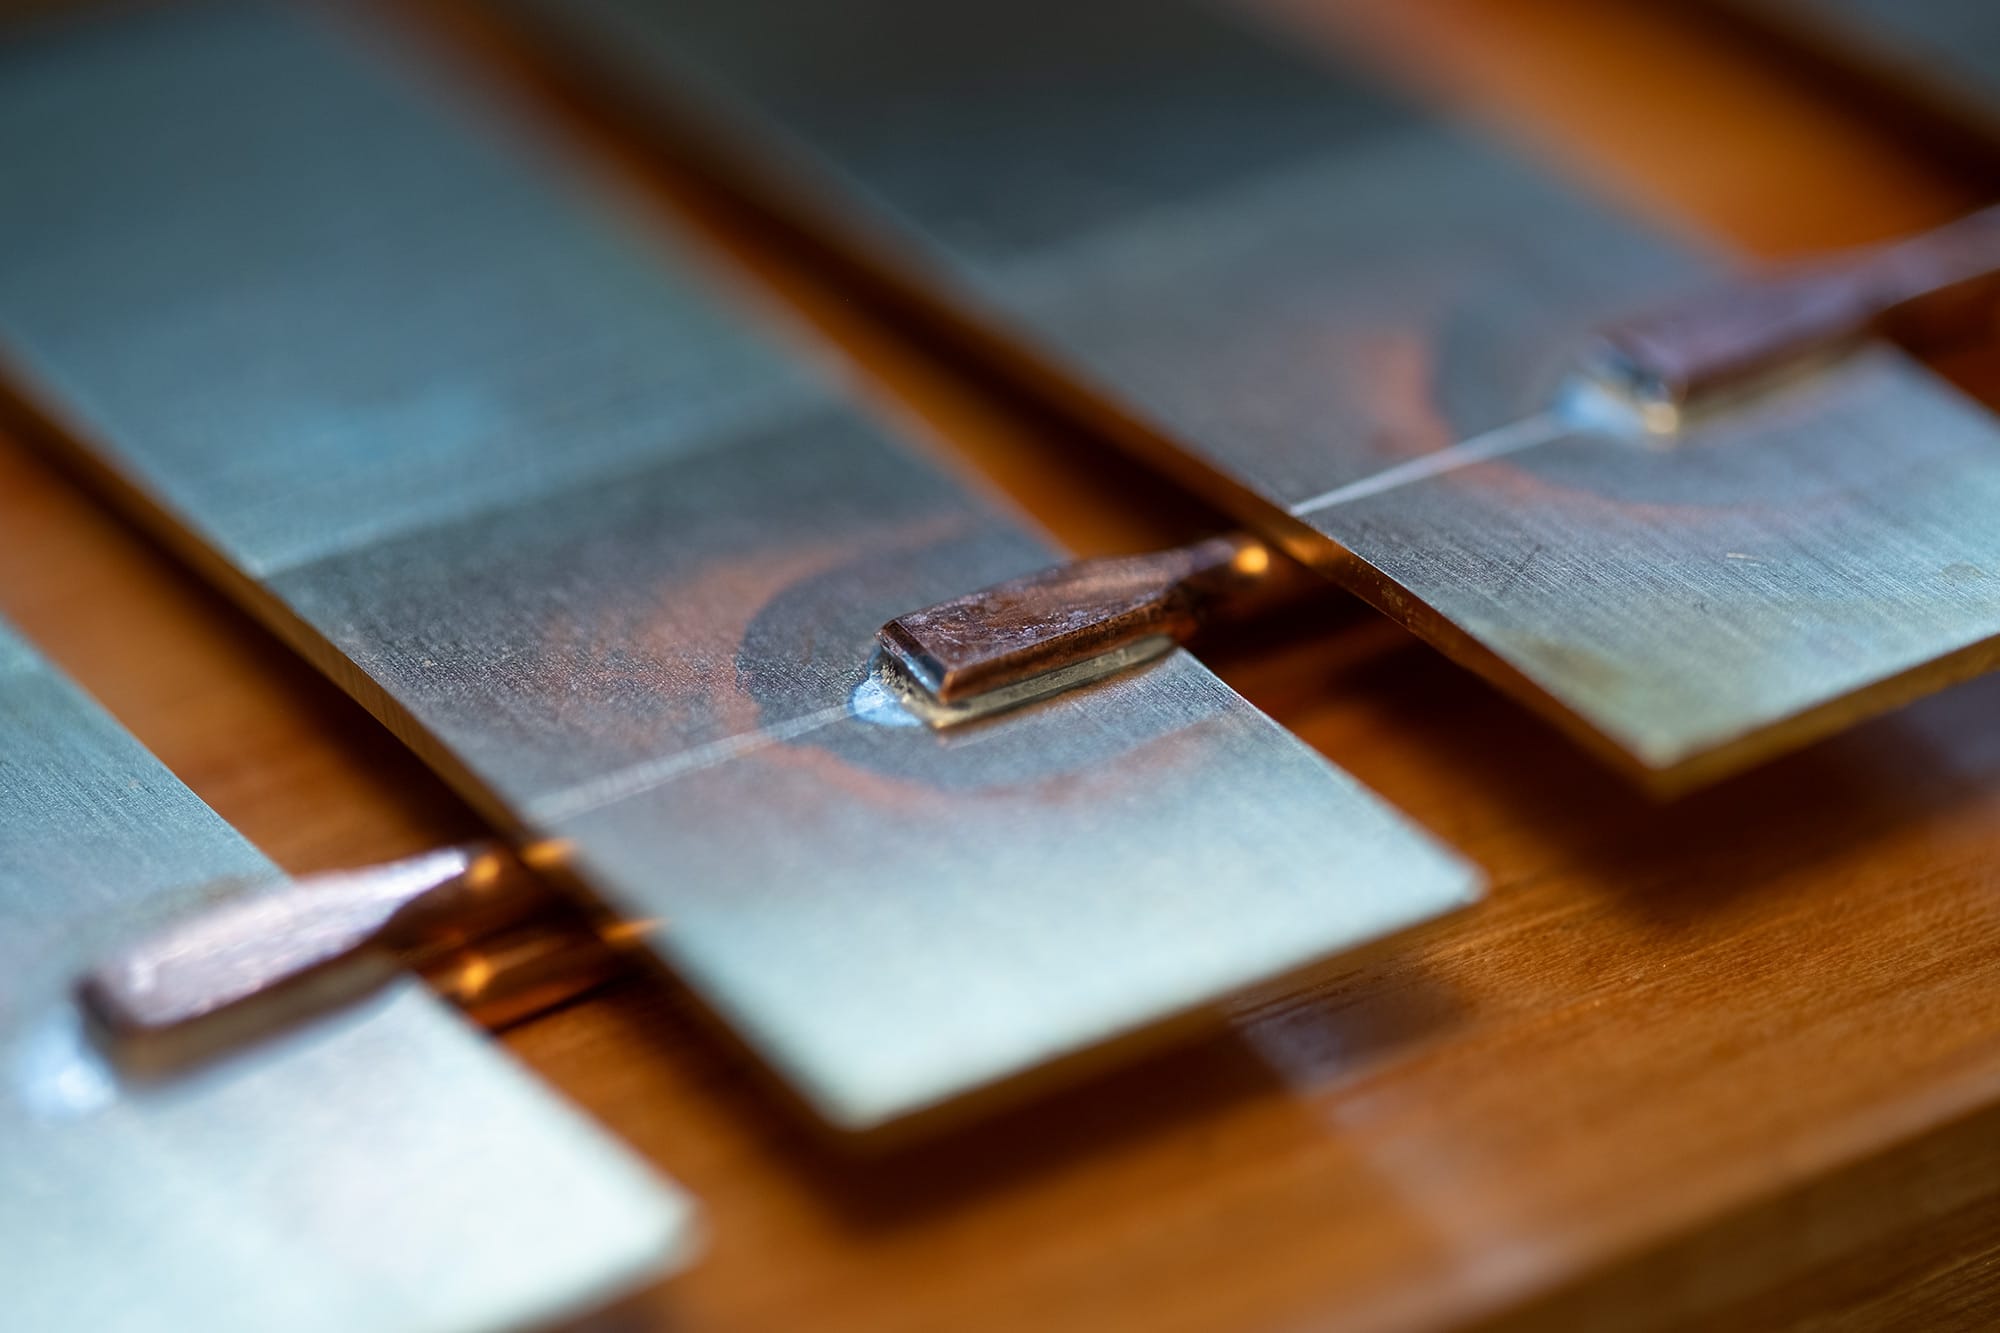
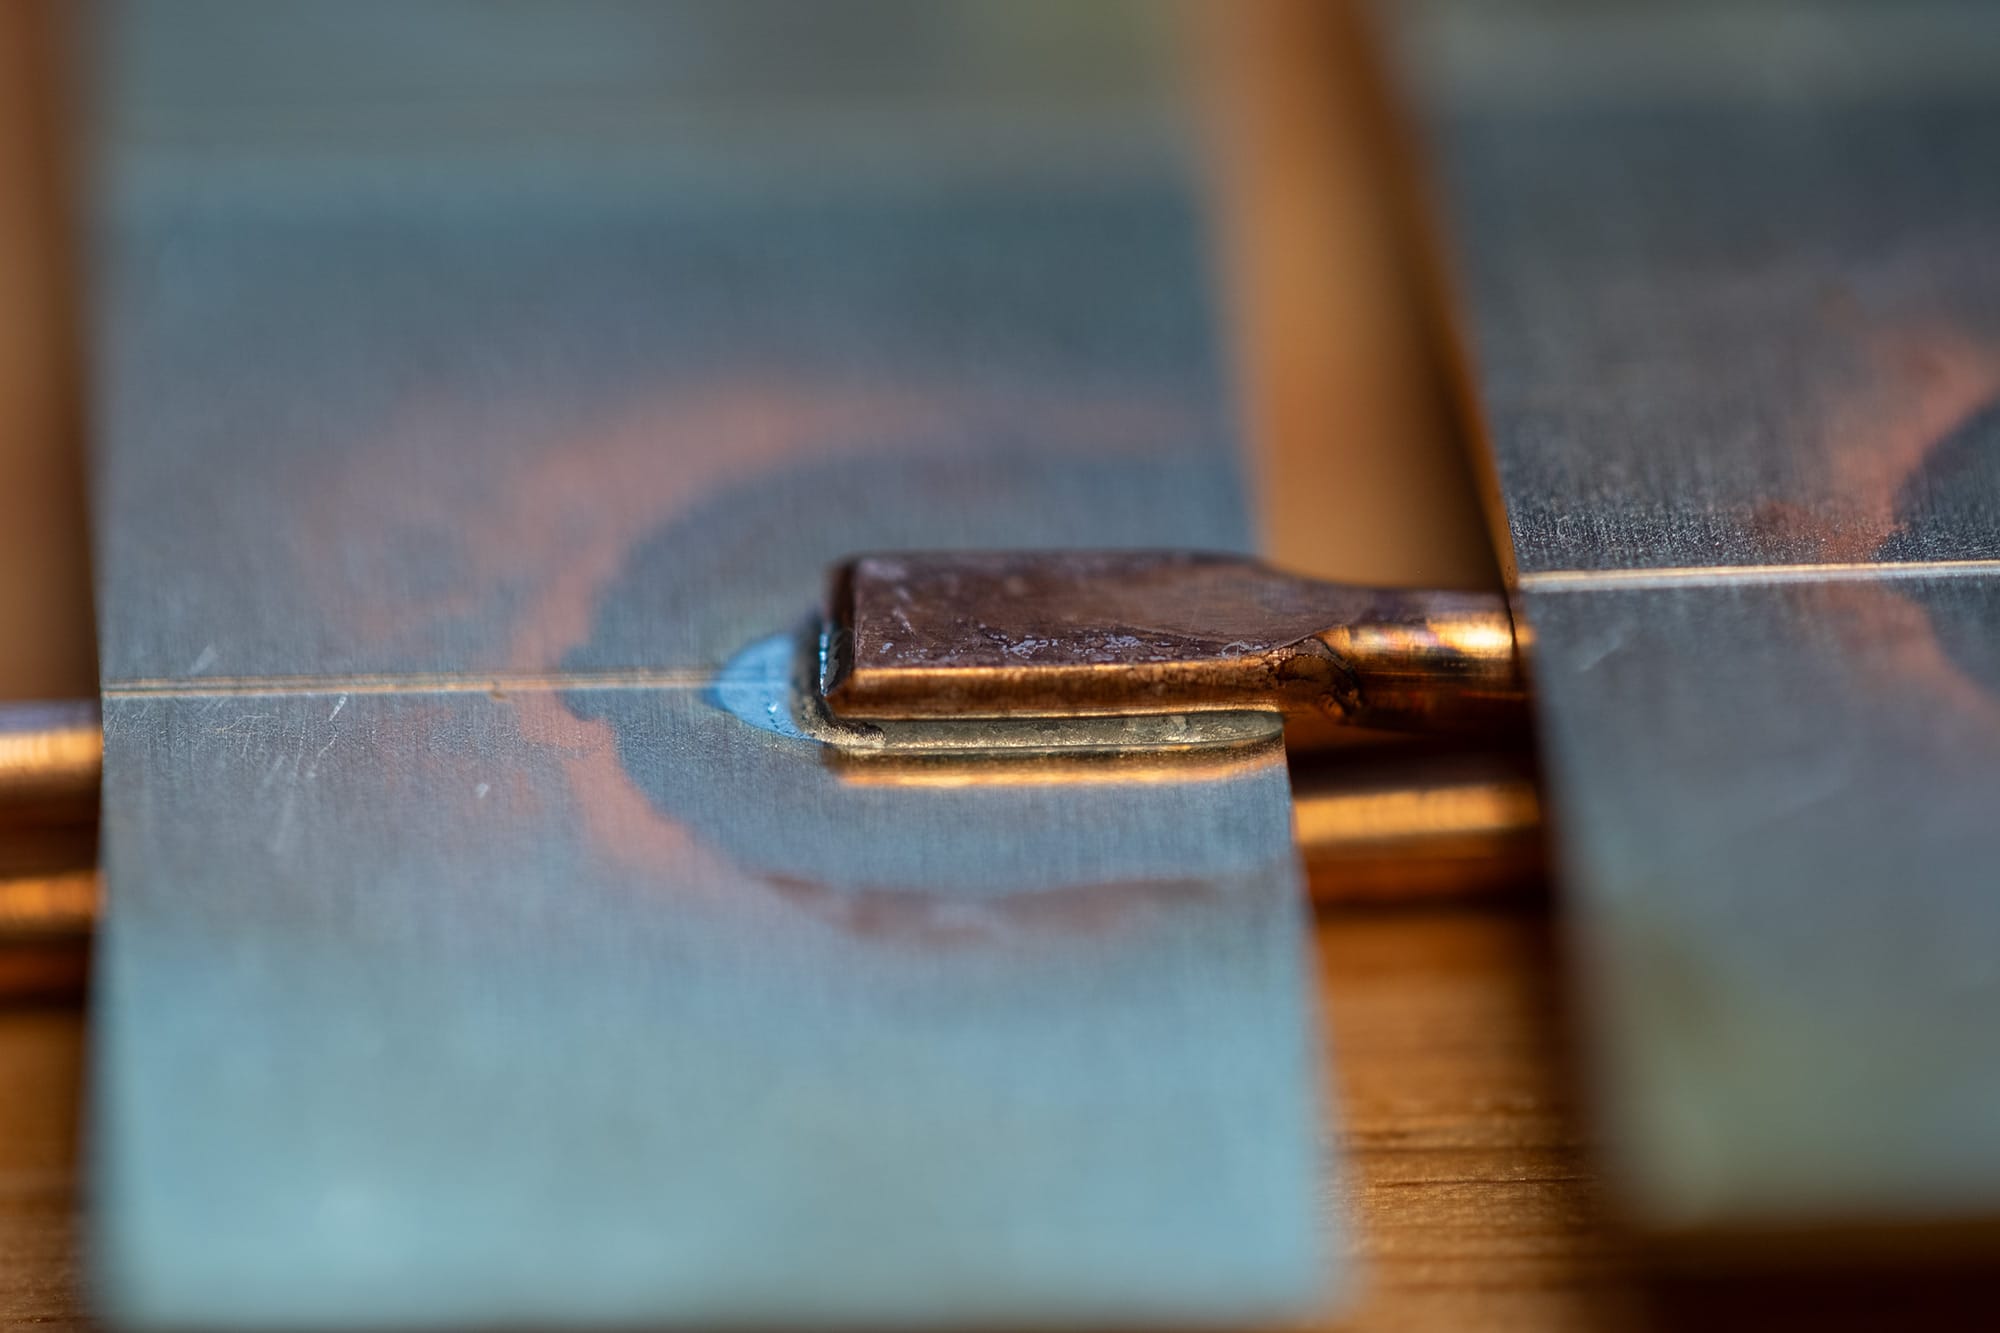
These solder joints give me a lot of joy, haha.
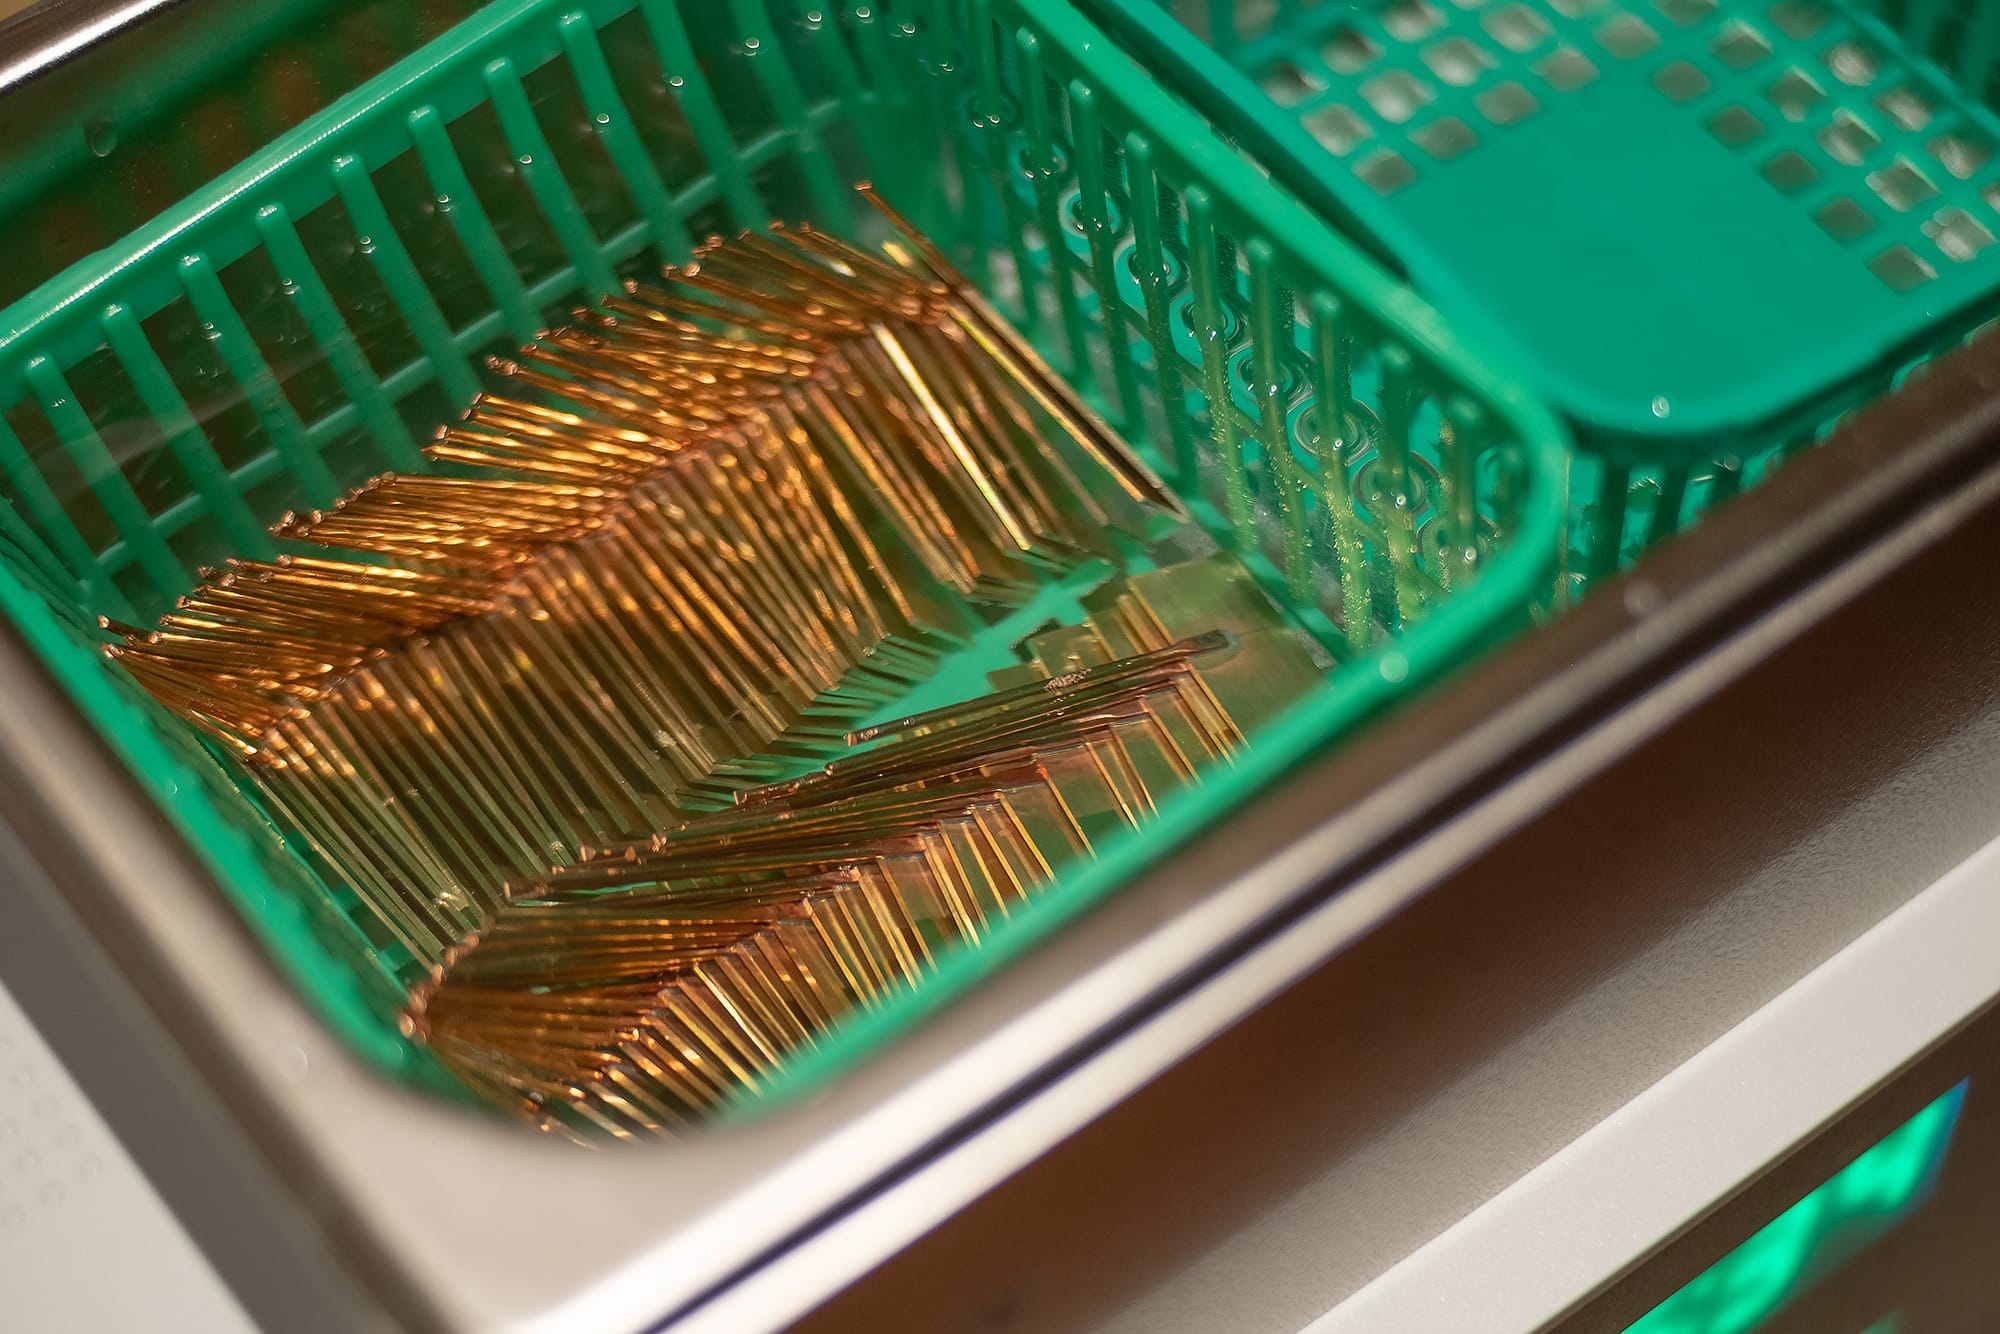
They're loaded up into the ultrasonic cleaner again to remove any flux residue.
They come out sparkling!
In the last update, I was lamenting how my burl boiling experiments had backfired. Well, I'm very pleased to say that, in fact, no... no they had not backfired! Upon further drying, and after cutting into all the blocks... I can say that I'm pleasantly surprised about the results.
It seems like everything is totally fine after all, and the boiling did indeed help quite a lot with drying time. I have a beautiful batch of stem blanks seasoning on the shelf, and it's looking like they will be ready to use very soon.
I'll be getting some photos of those to post in a future update.
I have quite a backlog of Toad craft photos that I need to upload, so you can expect a flurry of updates over the next week so that I can get caught up.
See you in the next one!