Toad Craft 06
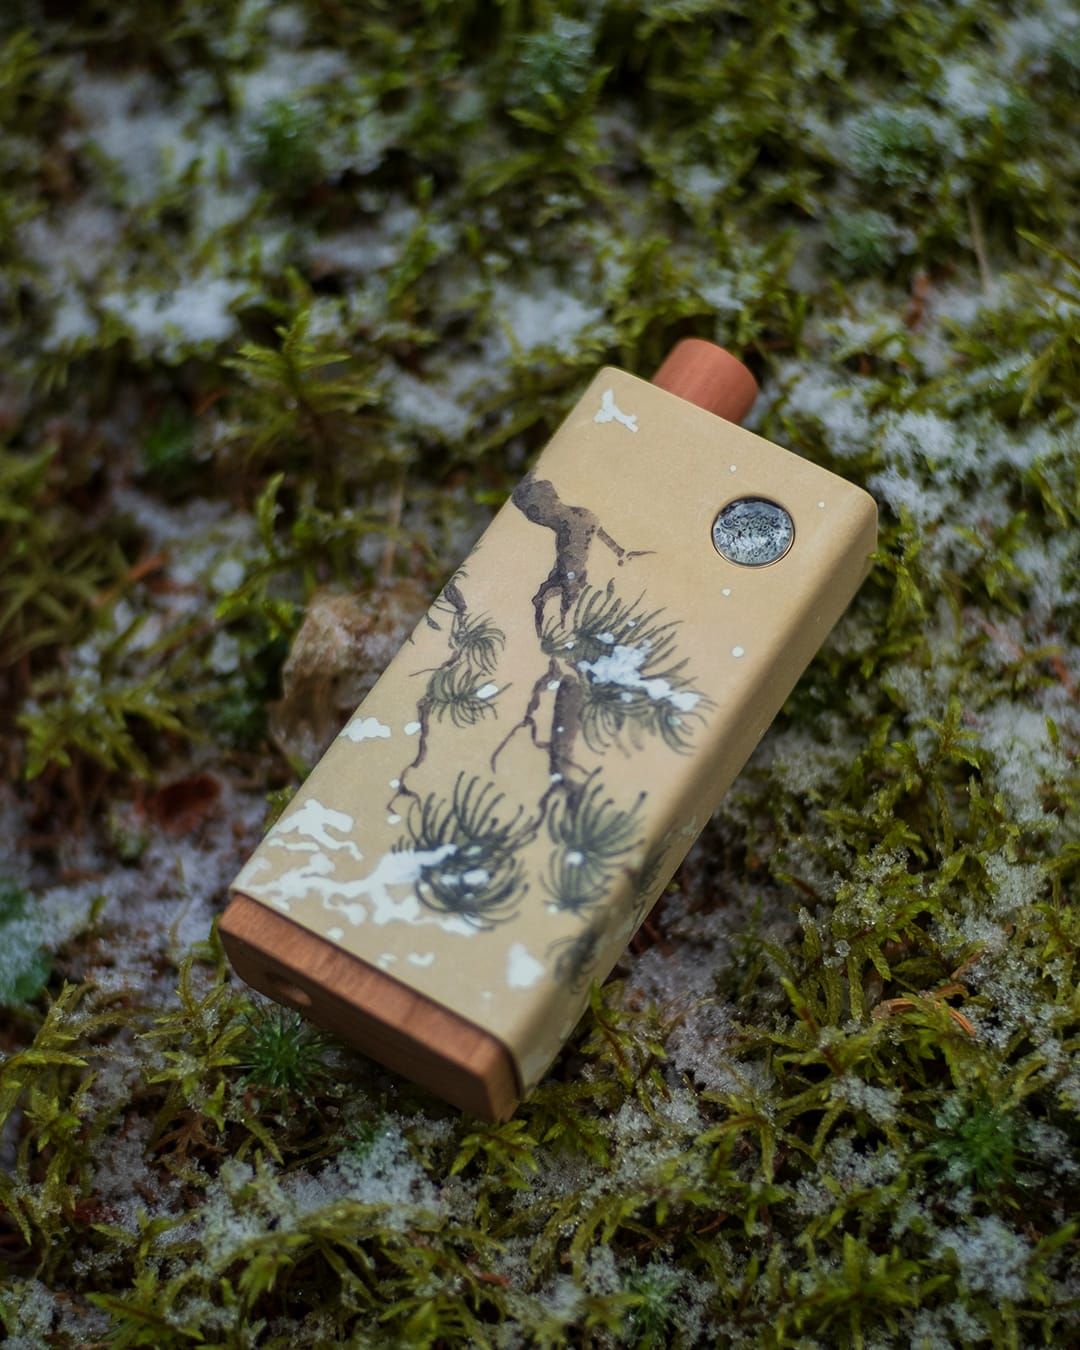
For this update I'll be showing how the button sleeve is made and attached to the cherry wood Toad bodies.
Each Toad is fitted with a brass button that slides in and out of a Delrin sleeve.
I chose Delrin for this application for a number of important reasons; it's non-conductive, dimensionally stable, strong, easy to machine, non-conductive, and in combination with brass it's low wearing. Other plastics offered similar characteristics, but Delrin seemed to have the perfect balance of them all.
I try to avoid the use of plastics wherever possible, but there are some areas where they're unique properties make them indispensable.
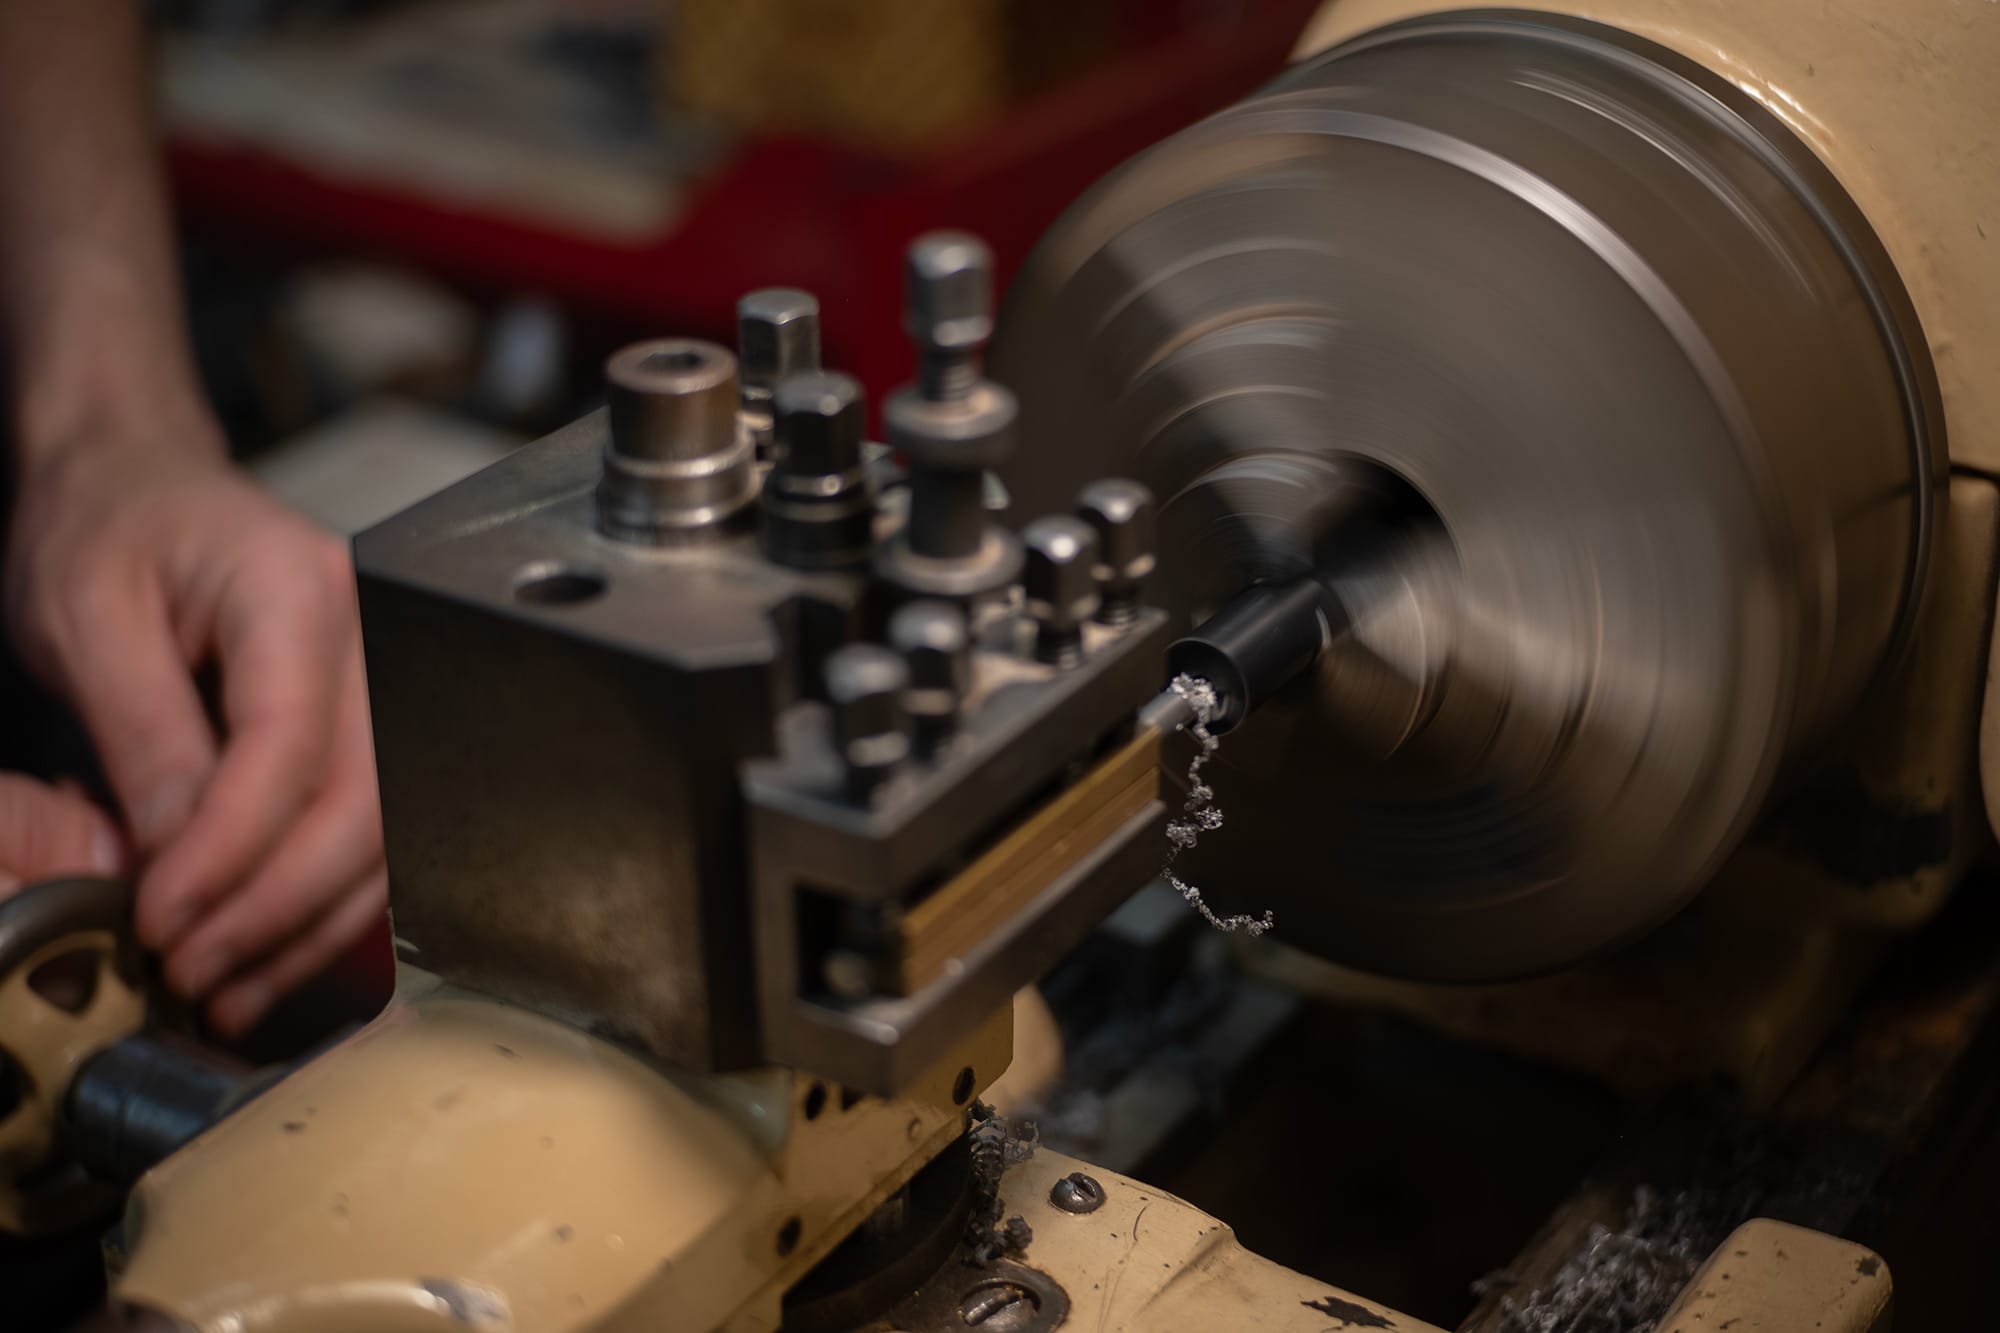
I start with a solid tube of black Delrin on the lathe. The inside diameter is bored first using a boring bar.
I'm aiming for a smooth surface finish, the smoother it is... the better the button will feel.
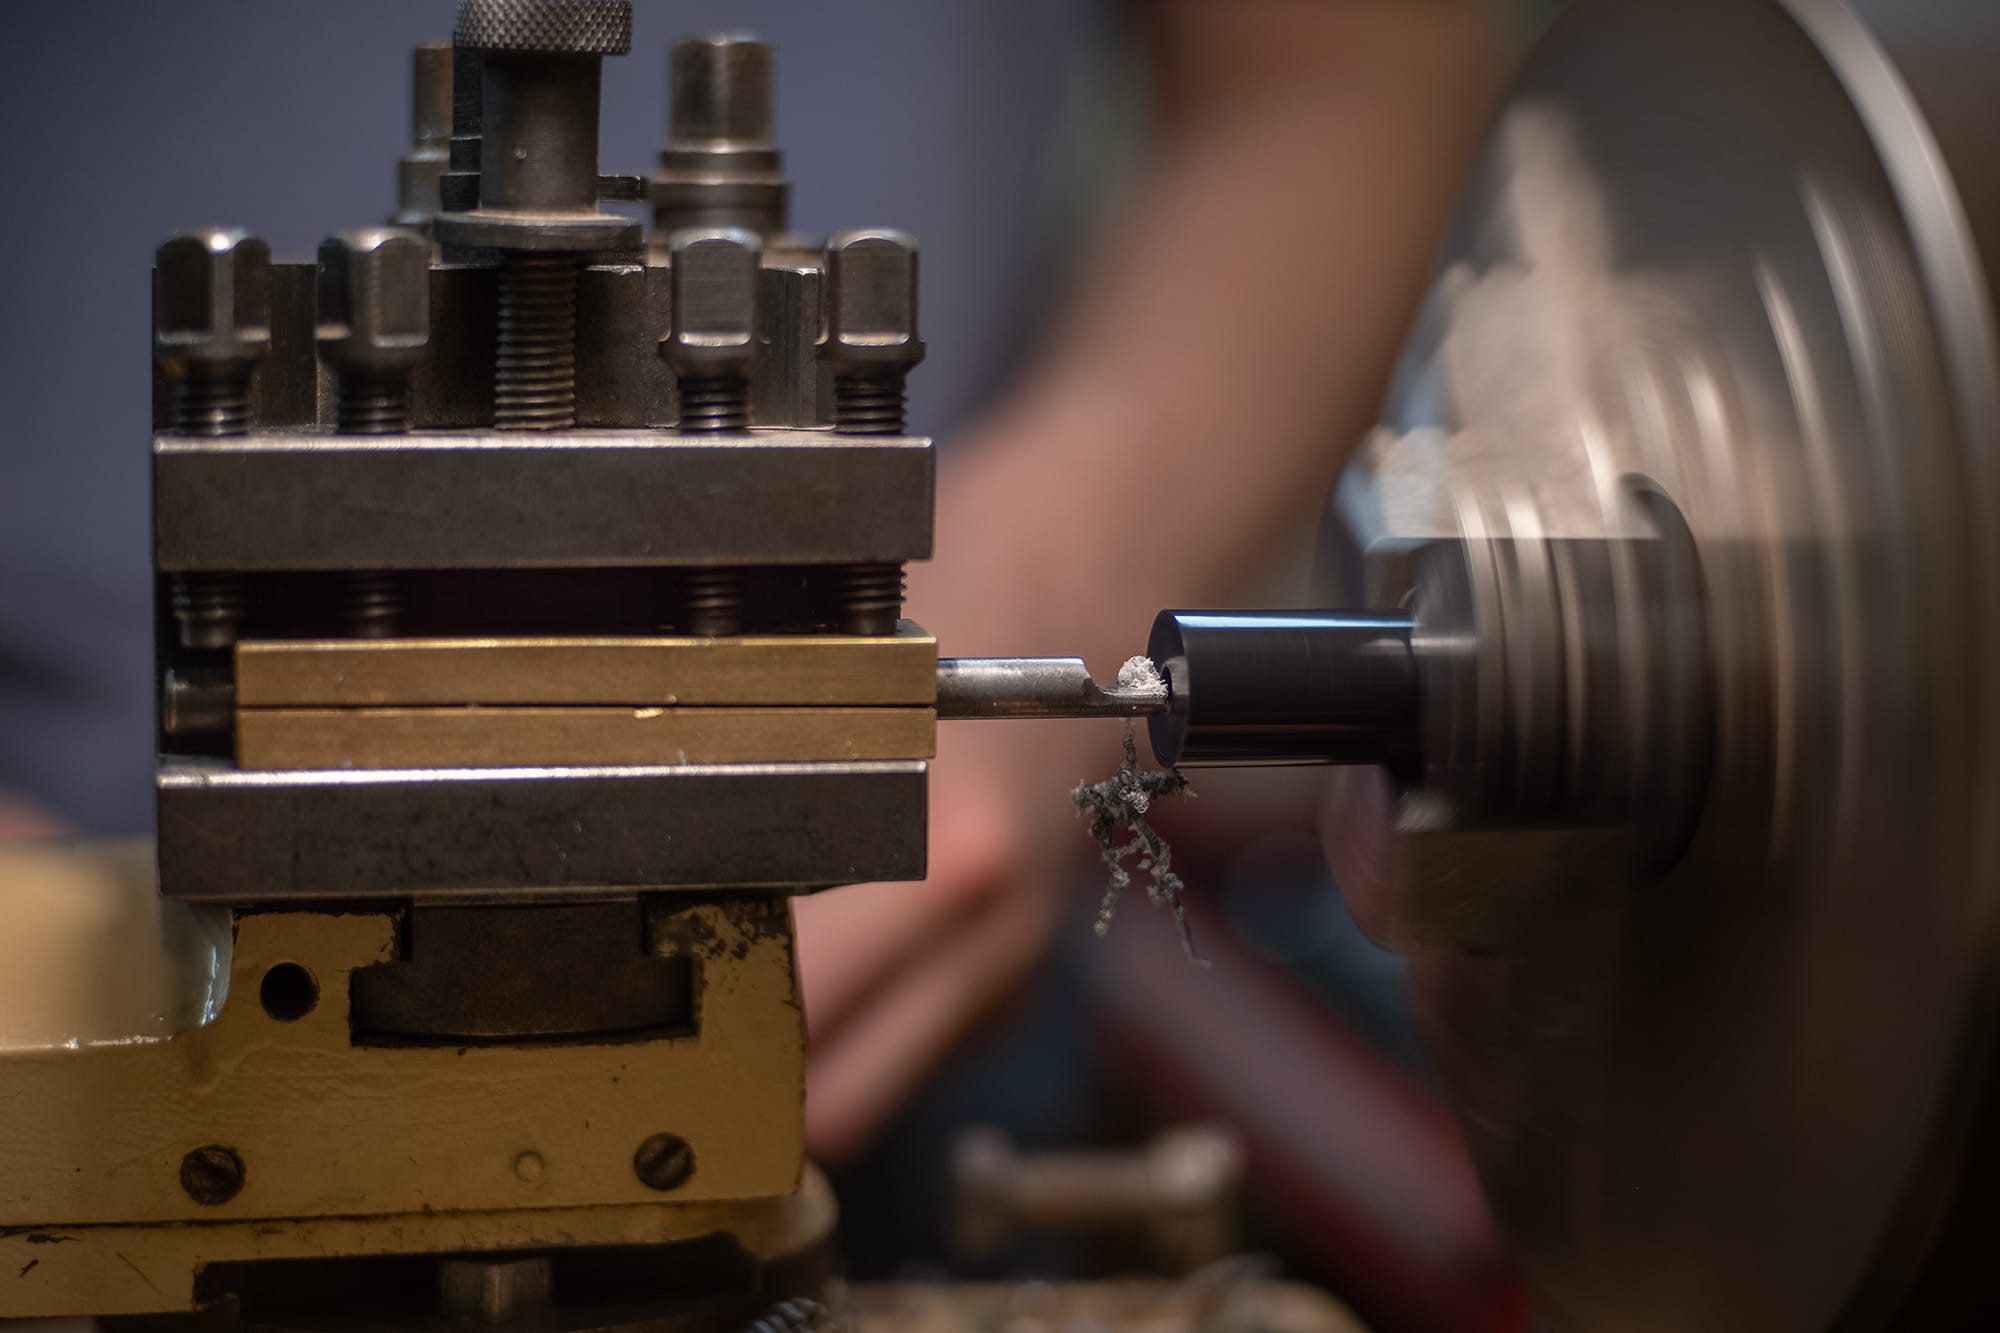
Weirdly, the hardest part of this job is removing the long string of Delrin that emerges from the cut before it gets stuck inside the bore and starts causing havoc.
This sleeve needs to be cut all in one pass without stopping the cutting tool. Delrin cuts a little bit like a wet noodle compared to metal or wood... the pressure of the cut needs to remain constant... or weird things happen.
So, if I stop the tool to clear out the long strings of chips, I can't go back for a second cut without potentially mucking up the part.
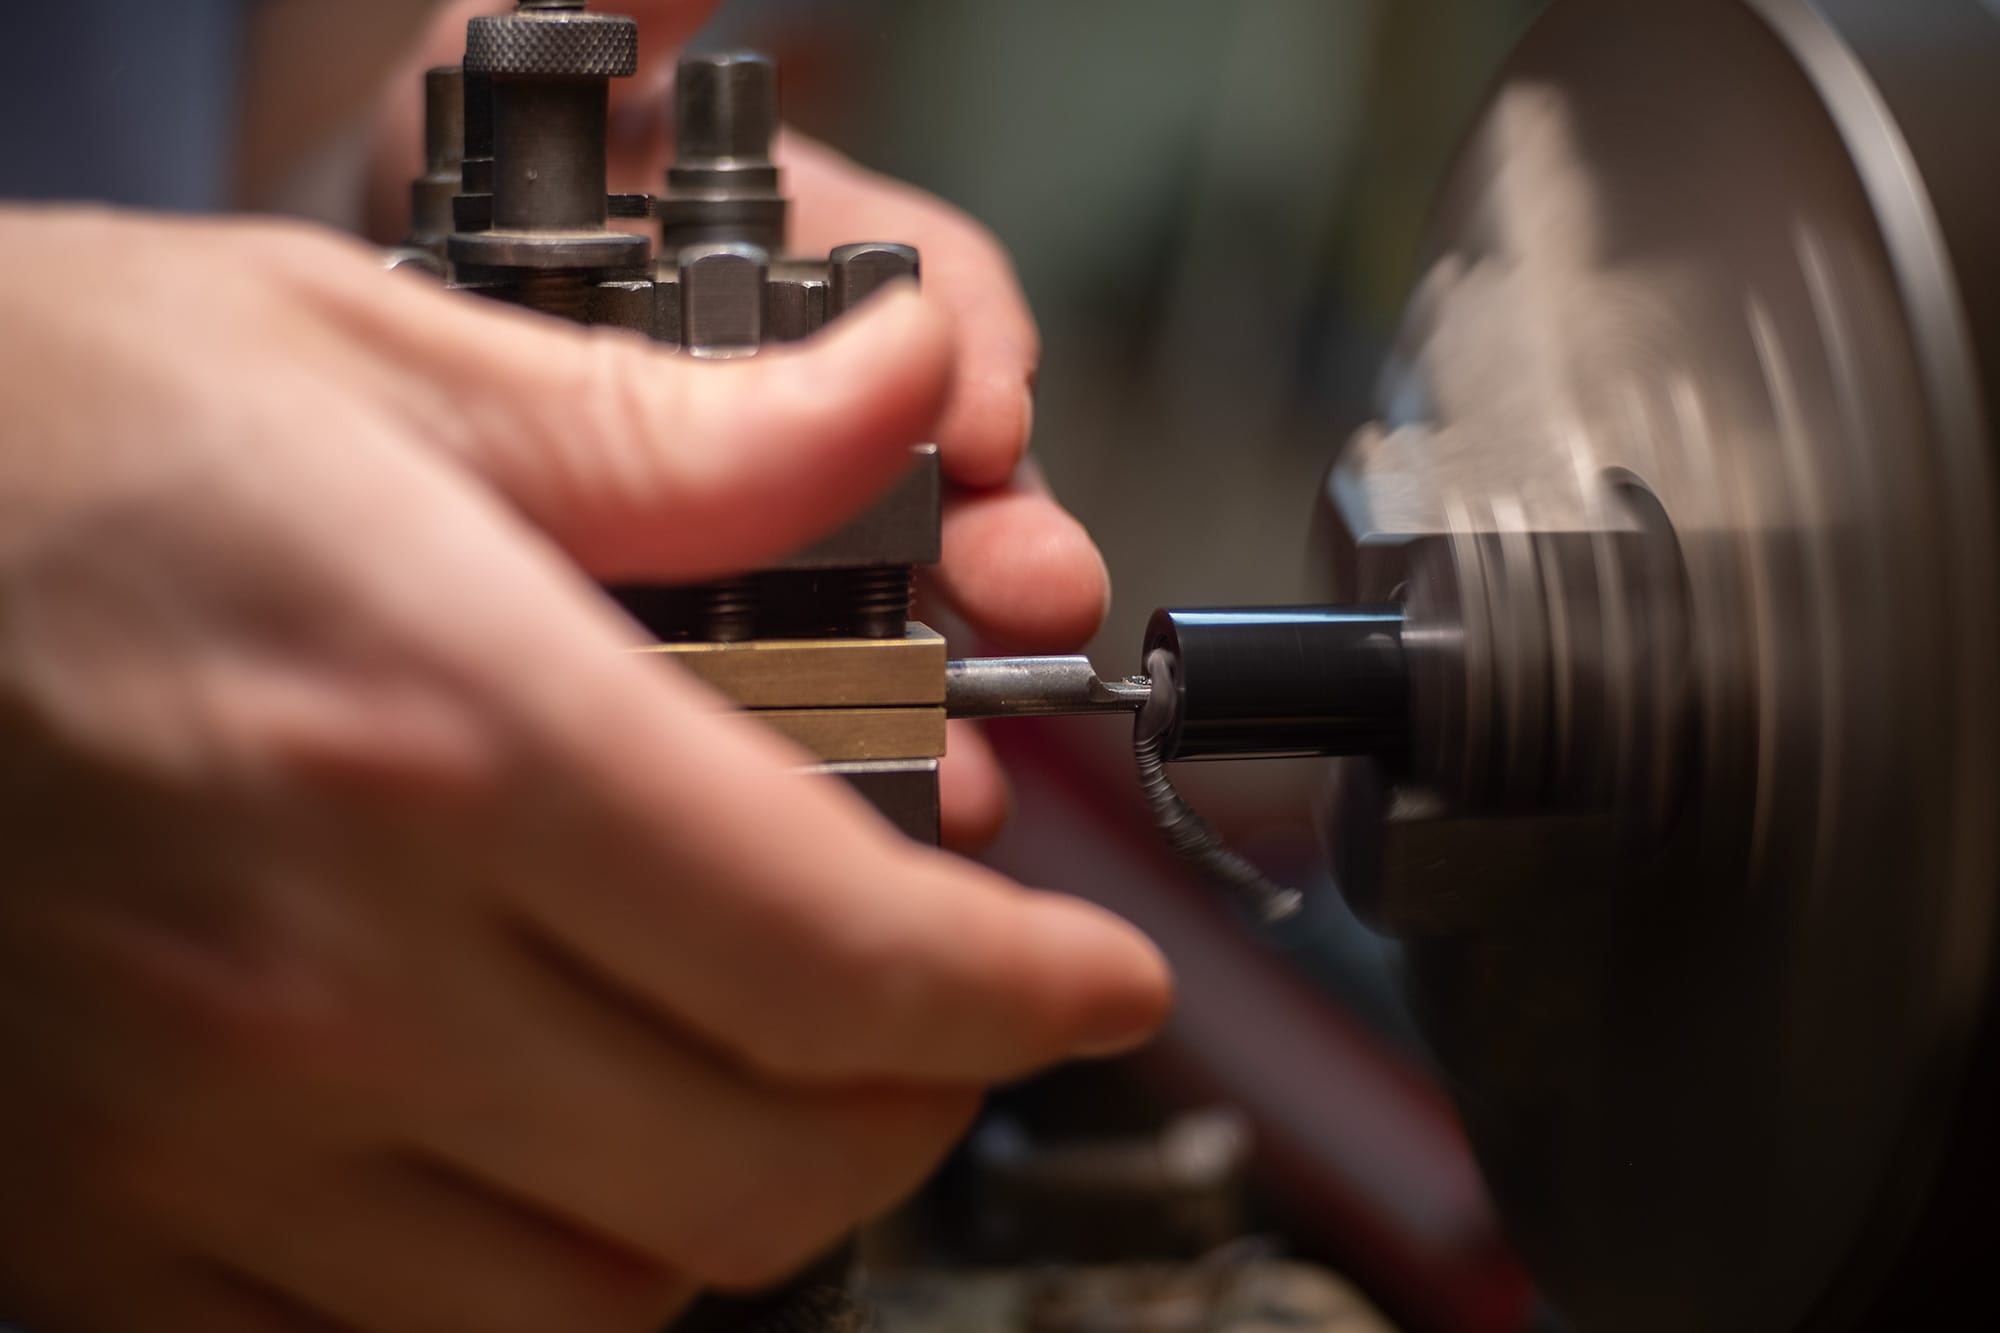
My strategy is to catch the continuous 'chip' at the start of the cut.
It usually only emerges from the hole once, if I miss it... it gets sucked back into the bore and starts to bunch up inside. Once that happens it will wrap around the tool and start pushing sideways on the inner walls... causing friction/heat, deflection, and a ruined part. I always have a large handful of rejects when I make these.
I'm sure that I could rig up some sort of air blower thing... or use a tool geometry that breaks the chips instead of creating long strings like this tool does... but this is working alright for now.
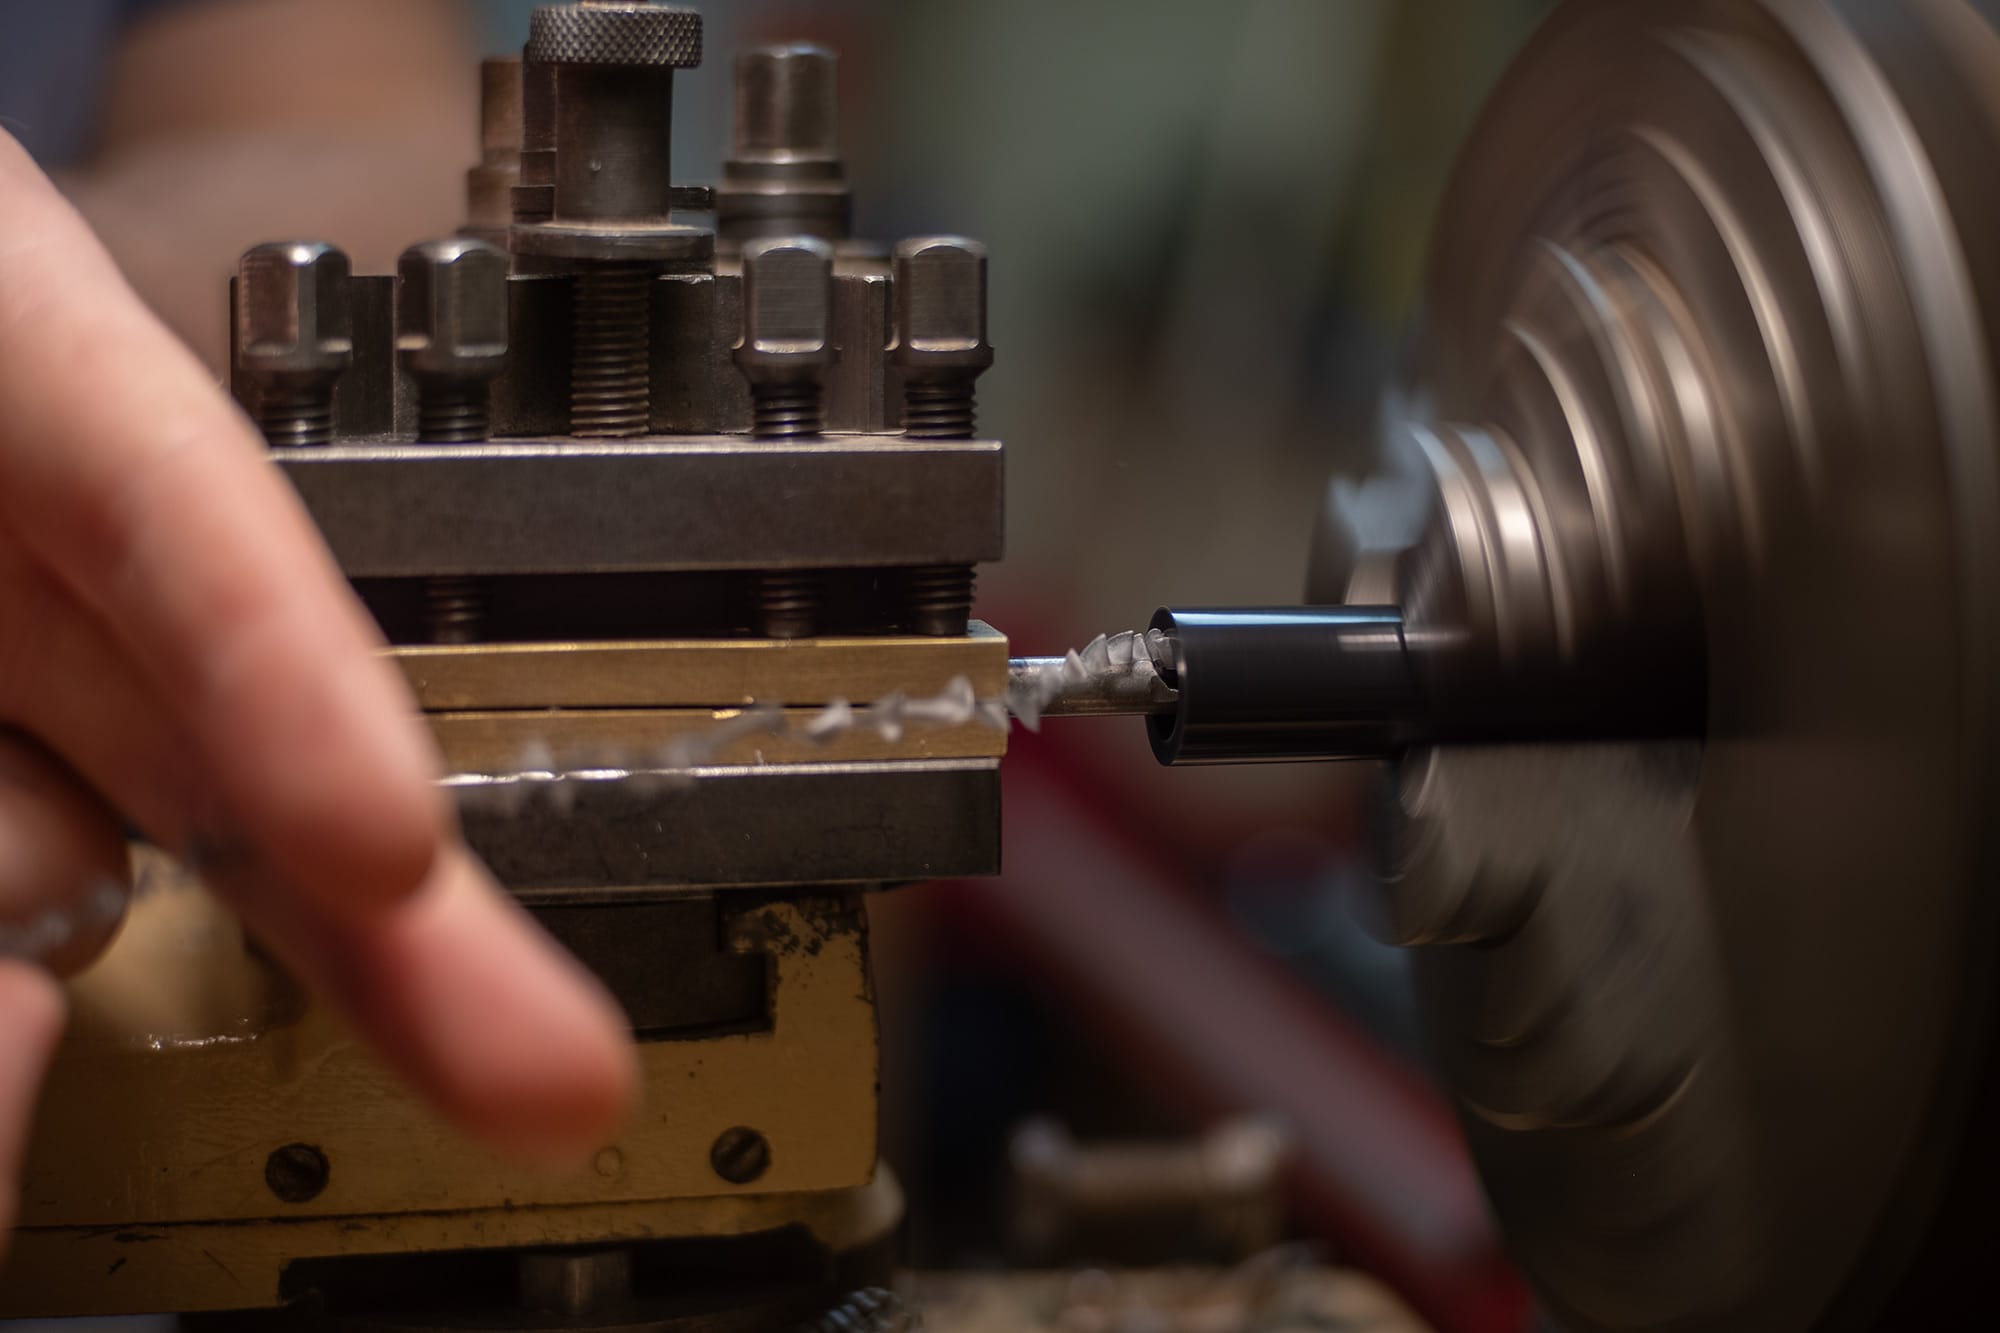
I pull the string of Delrin out as the cut is made. I play a little game to see how far I can walk away with my continuous tether in hand.
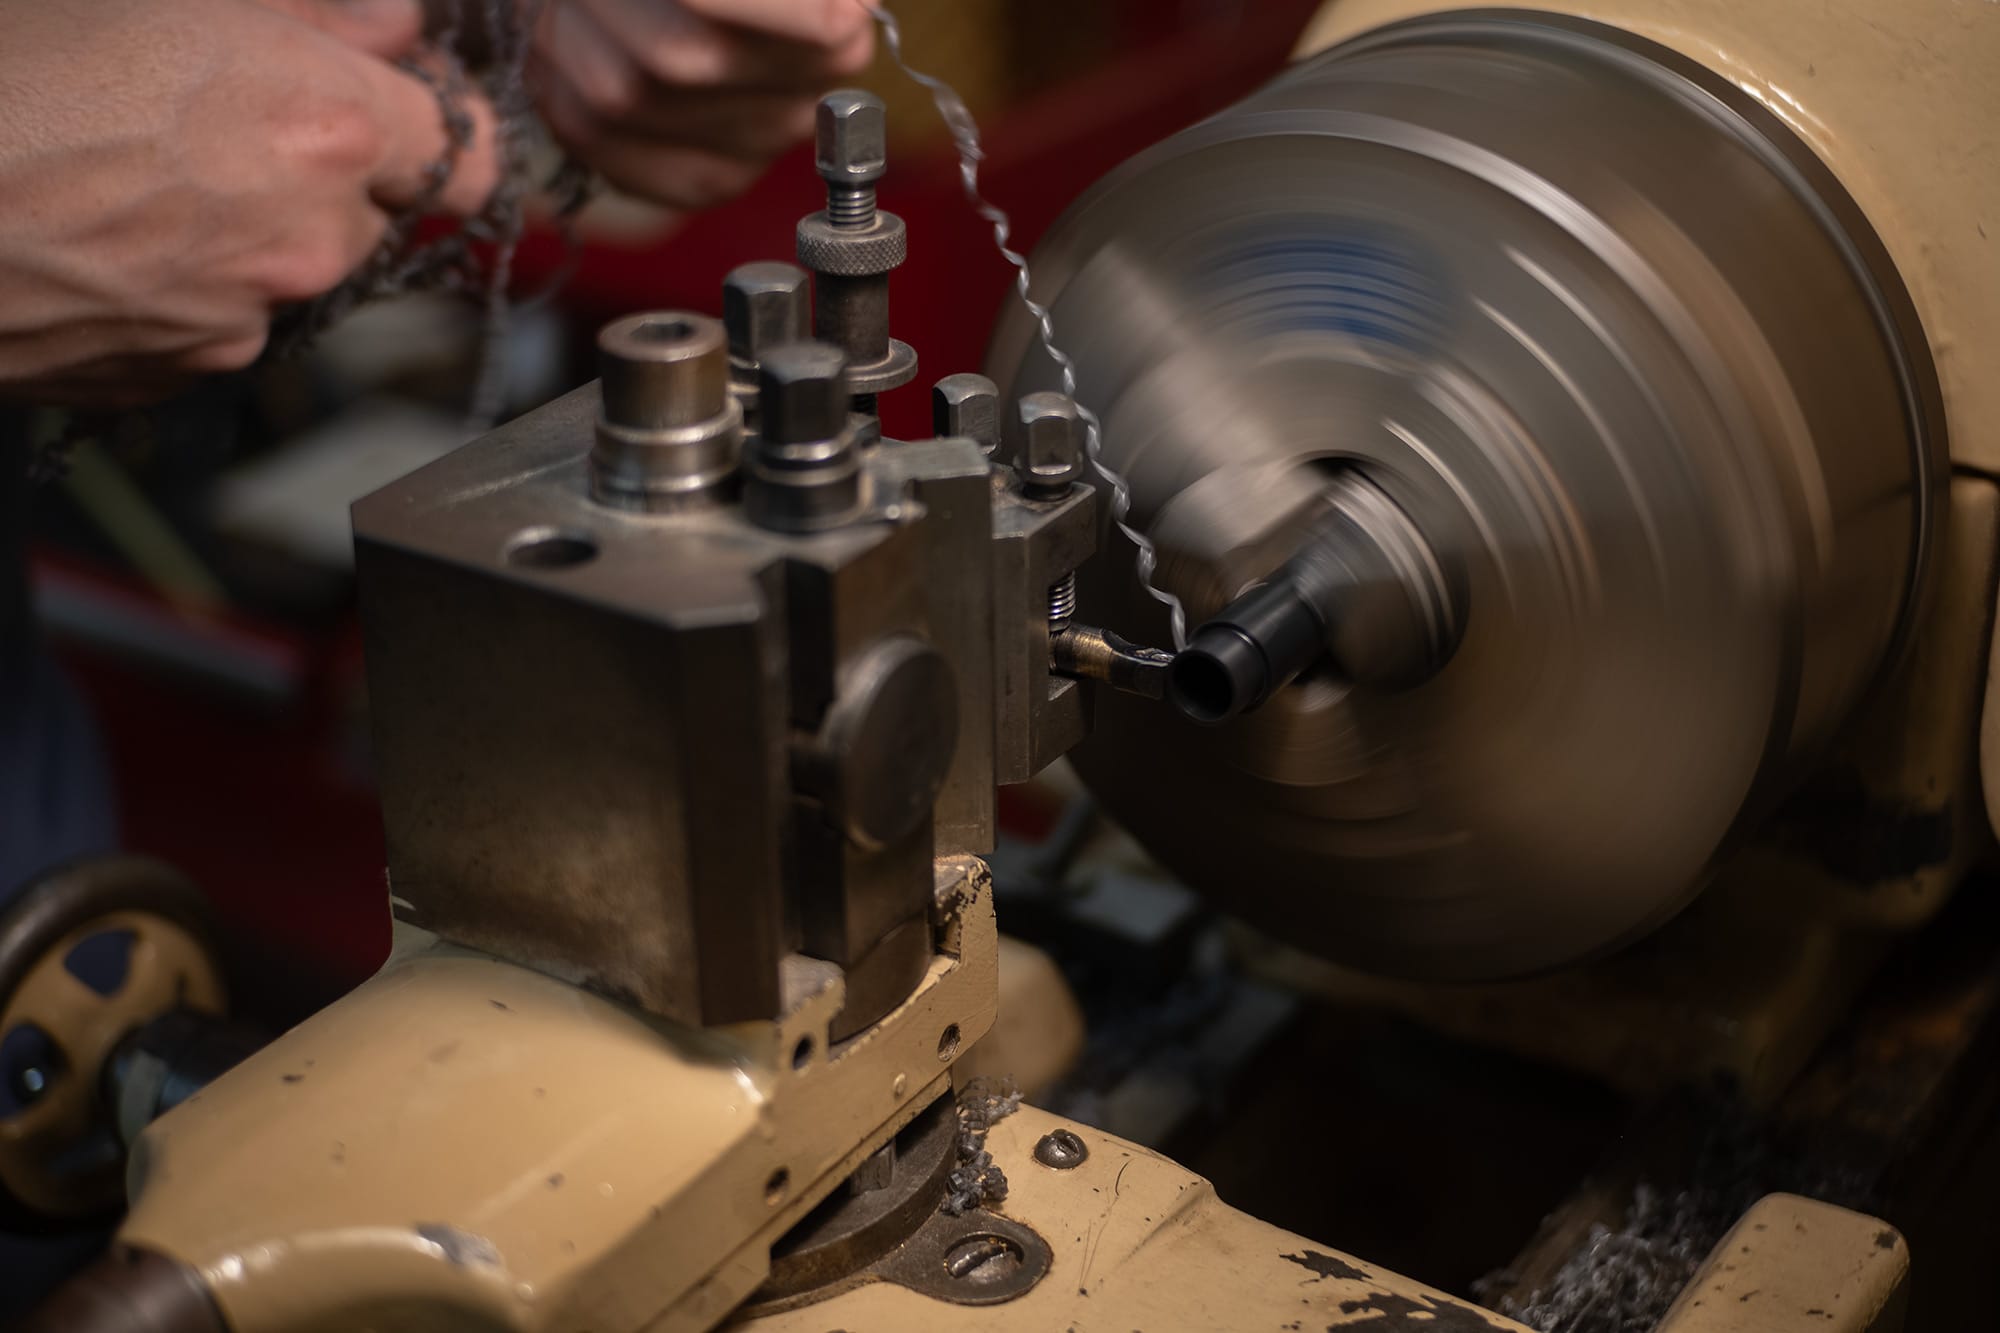
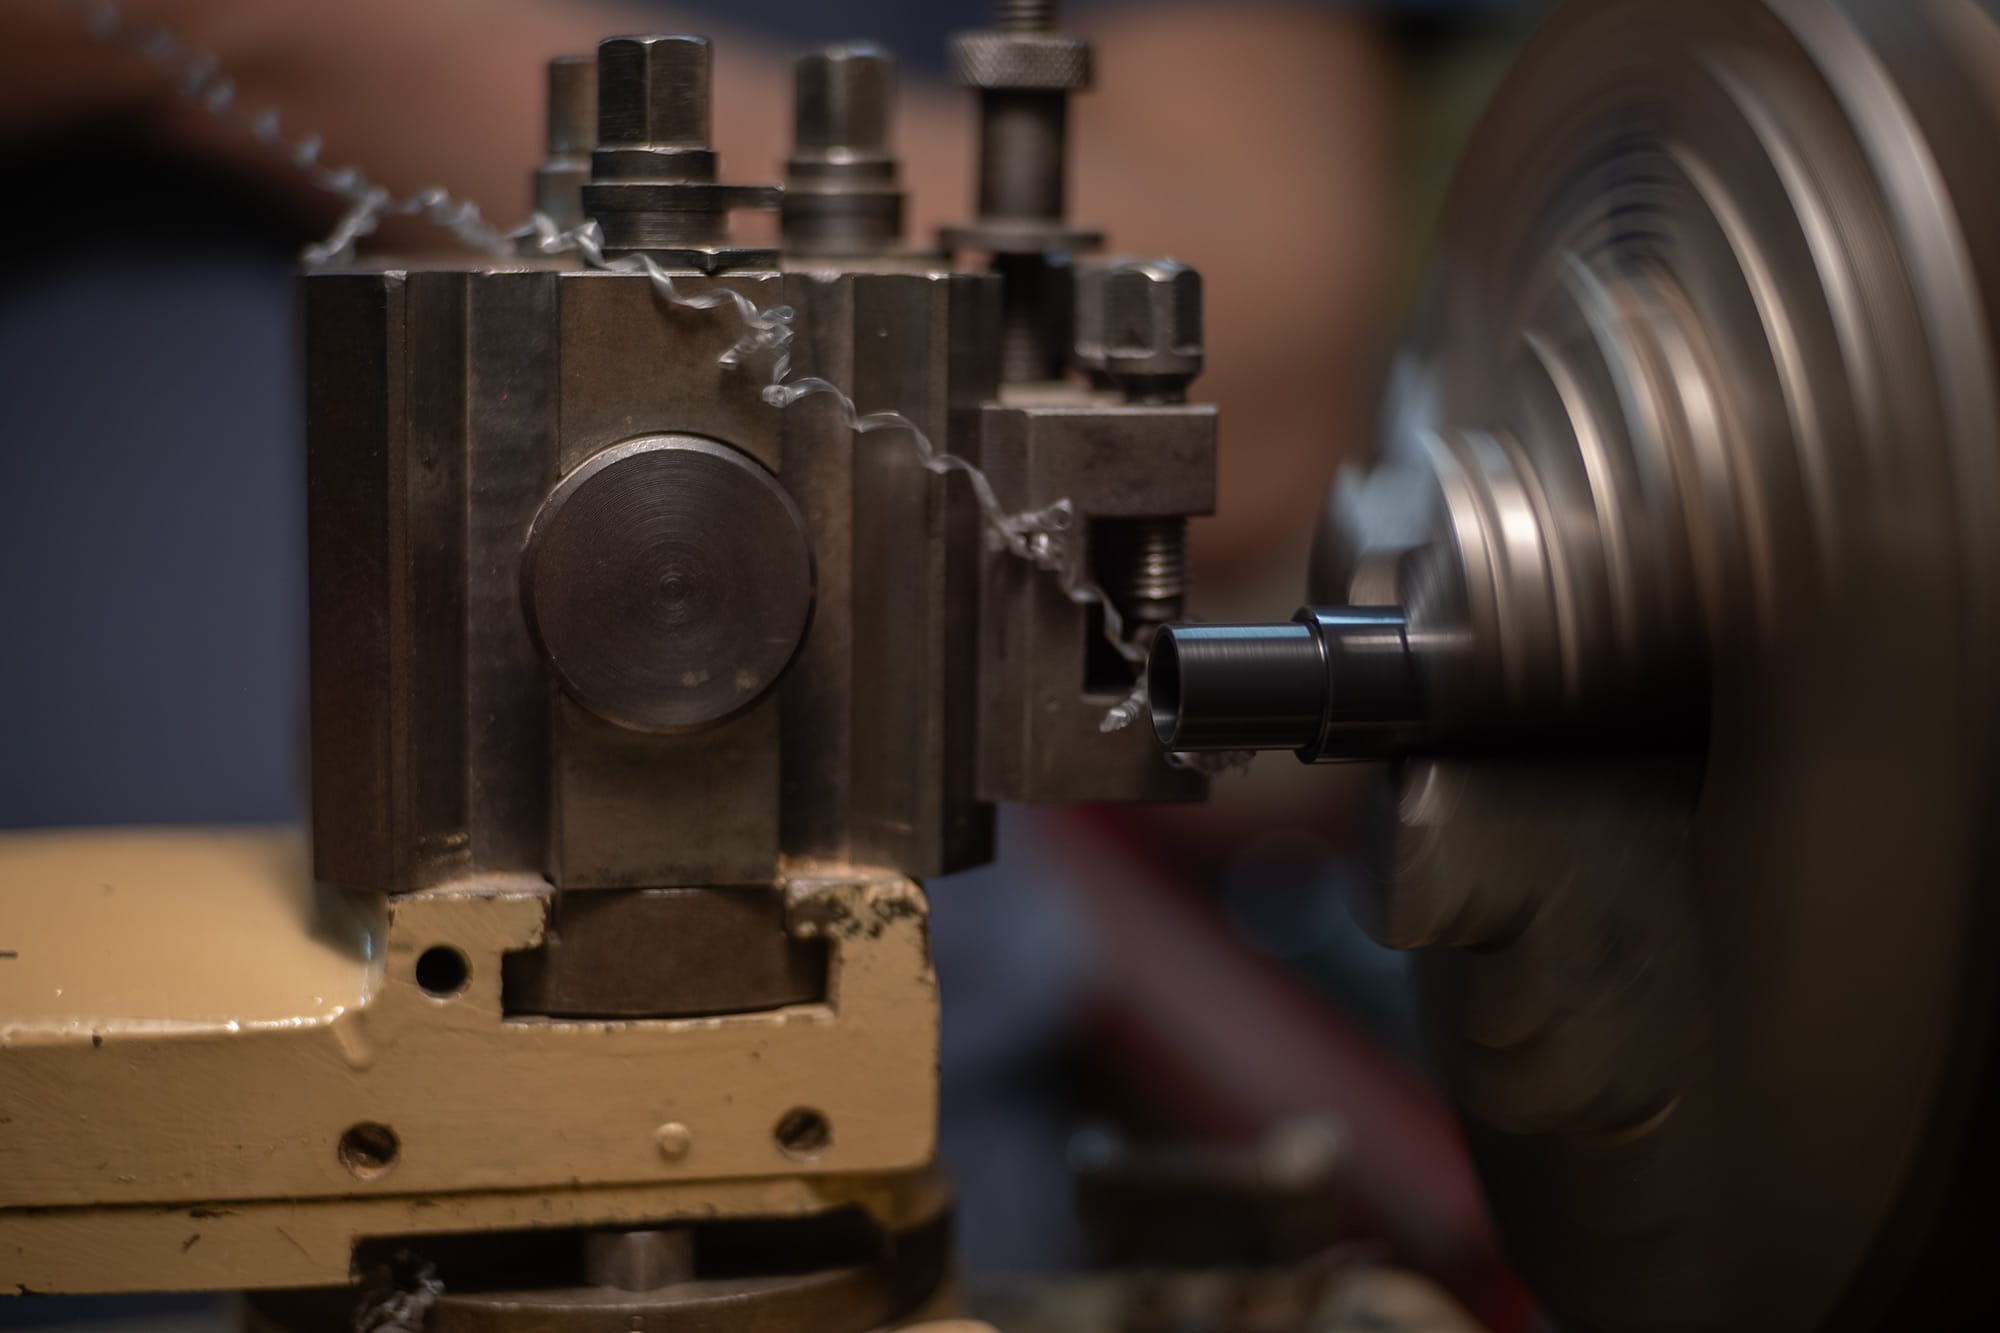
With the inner diameter finished, I turn the outside.
This dimension isn't as critical, so I don't need to worry too much about keeping the chip out of the way. I find myself wanting to pull these strings anyways... I guess it's a bit addictive!
It comes away lookin' like a telephone cord... with a satisfying amount of spring to it. Maybe I can hook the end up to a paper cup and communicate with my parts as they're being cut. Hey, are you alright down there? cool enough? are you experiencing dizzyness?
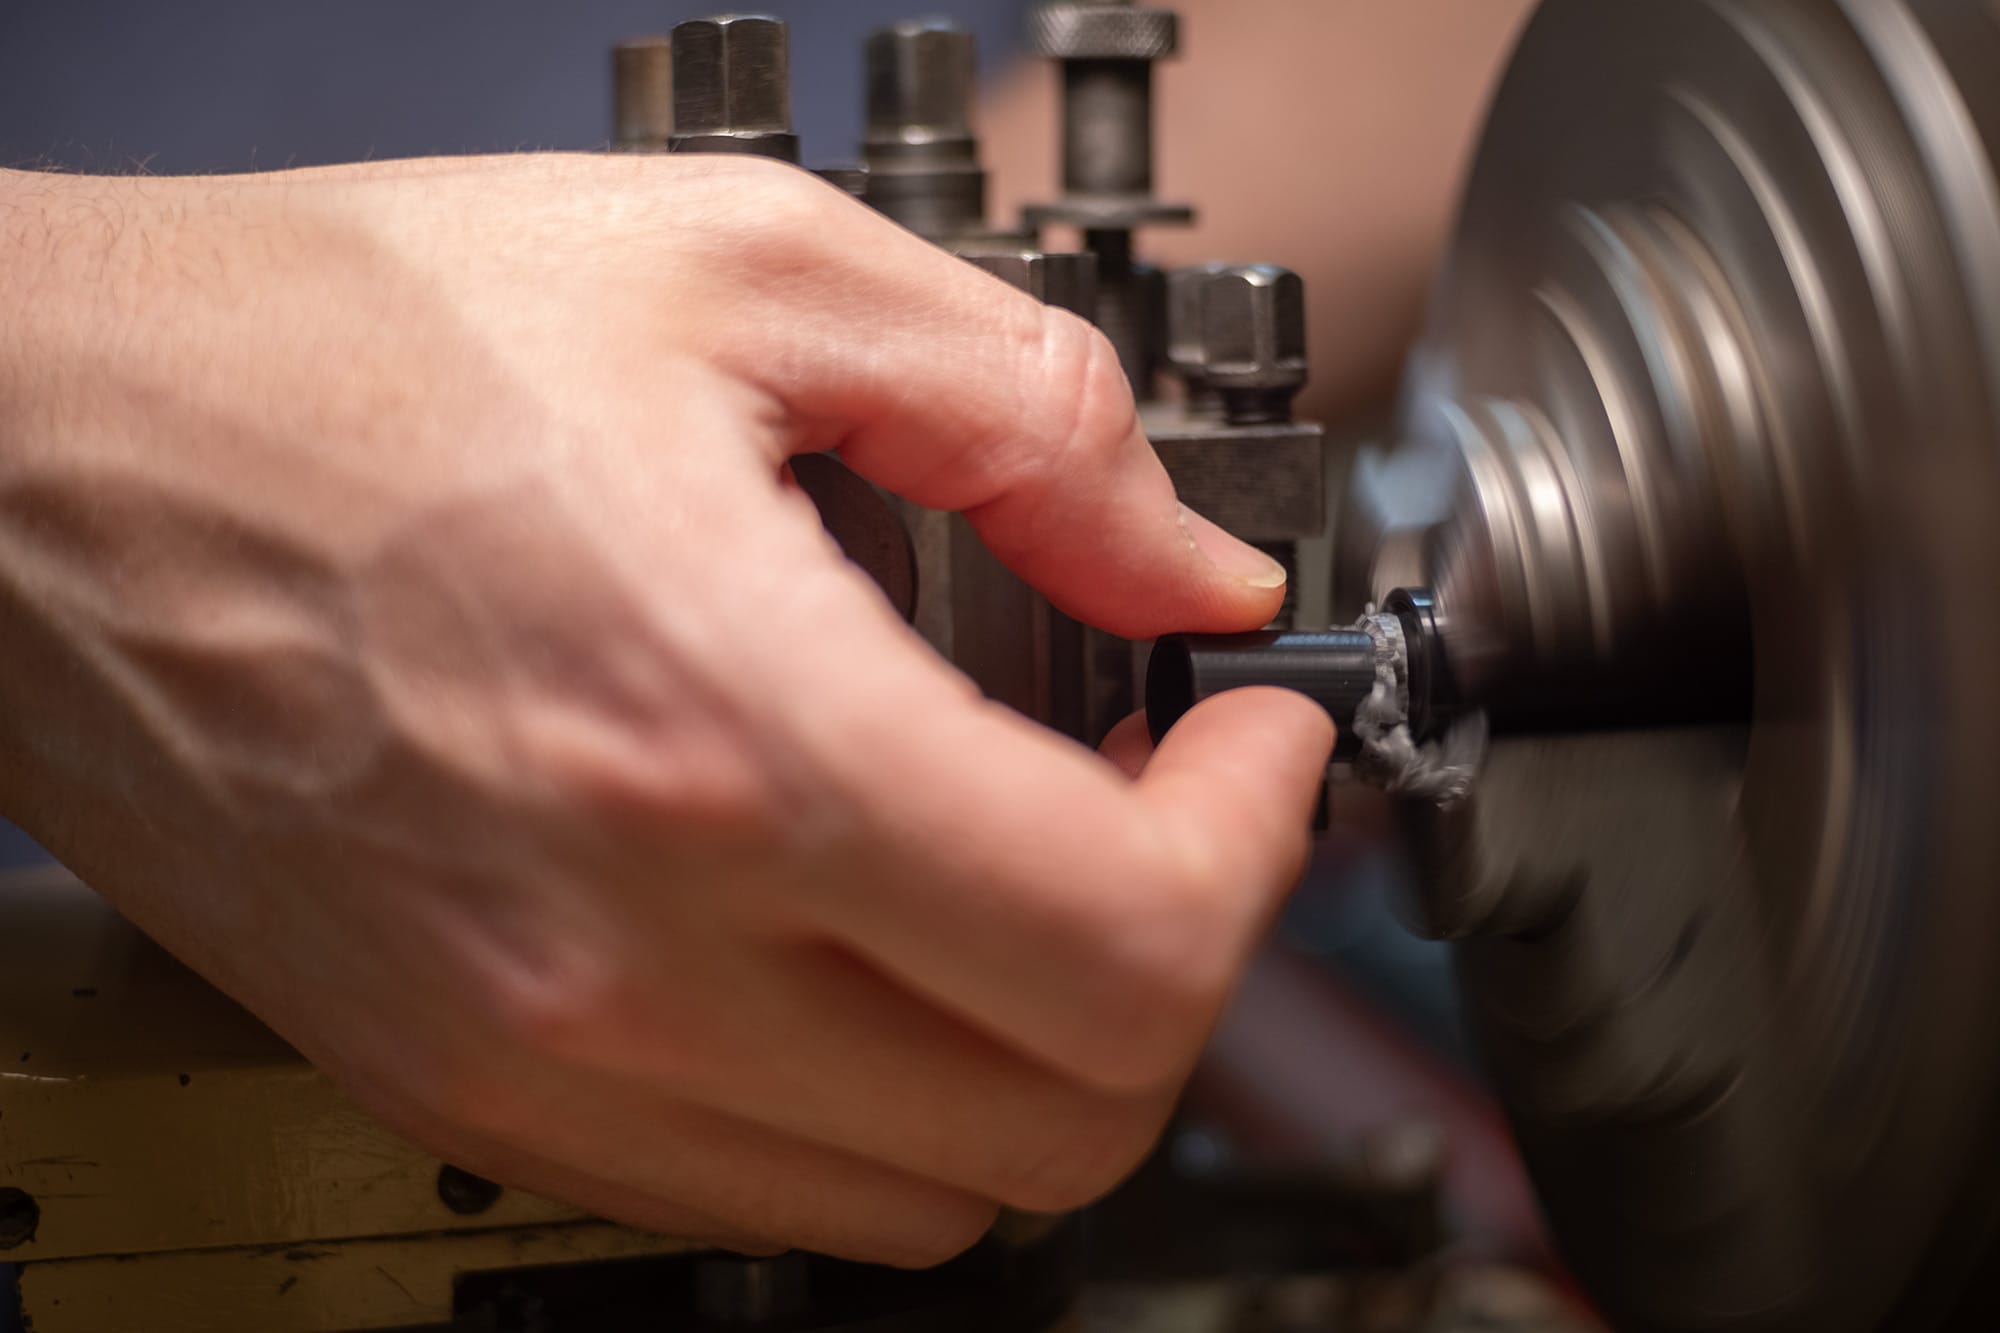
A parting tool is used to slice the part from the lathe.
I now have a tube of Delrin, ready for the next step on the milling machine.
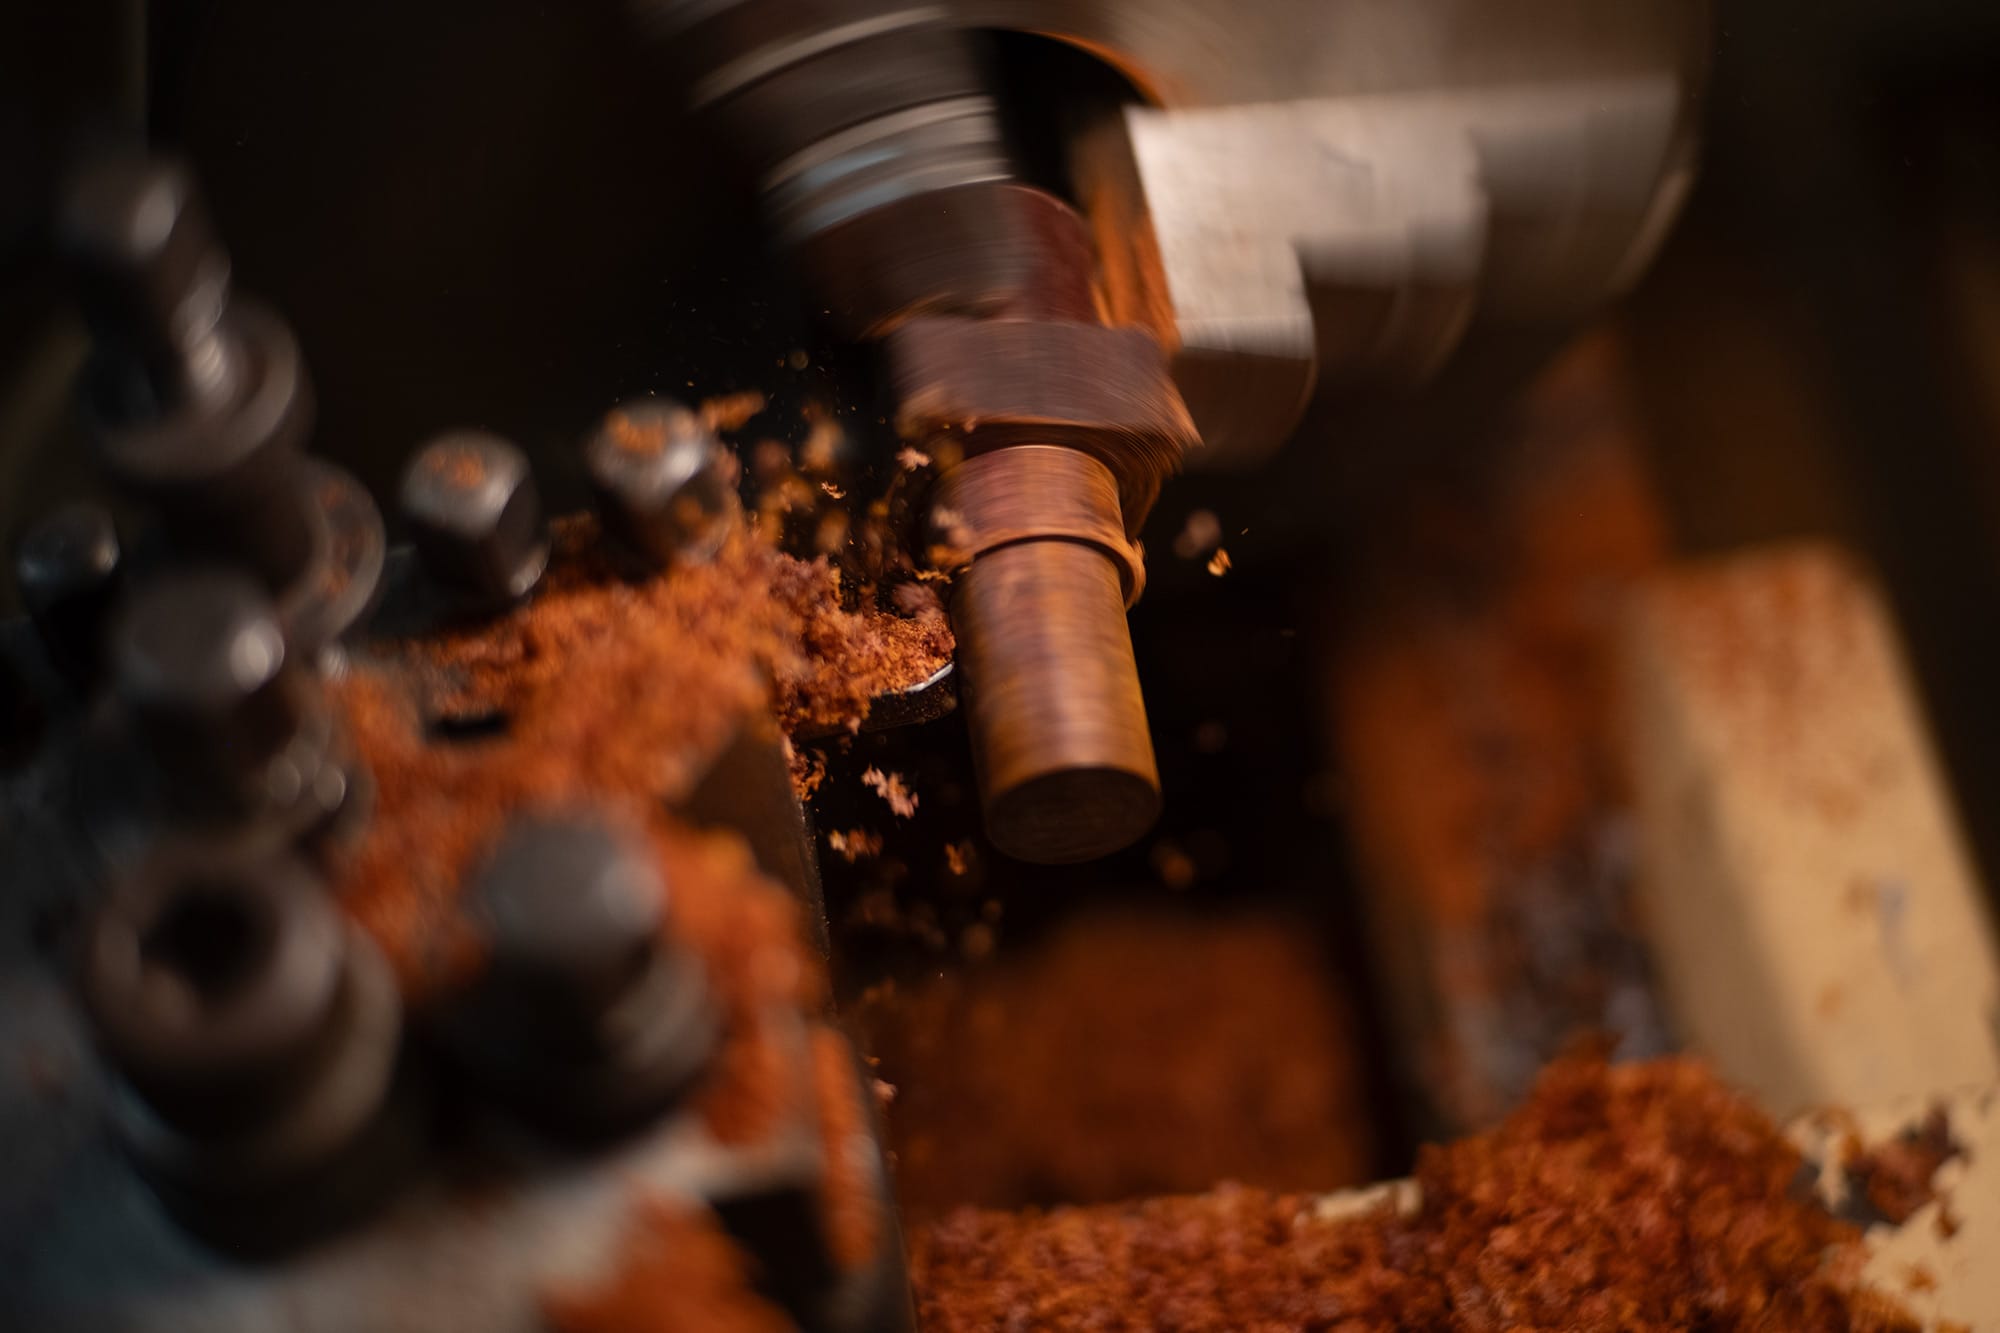
A little detour to make a mandrel out of cocobolo. This mandrel will hold the Delrin sleeves on the mill. The last time I made this mandrel was a couple years ago, it's now retired. The last one was made from hard maple and I think this cocobolo one will be a slight upgrade in rigidity.
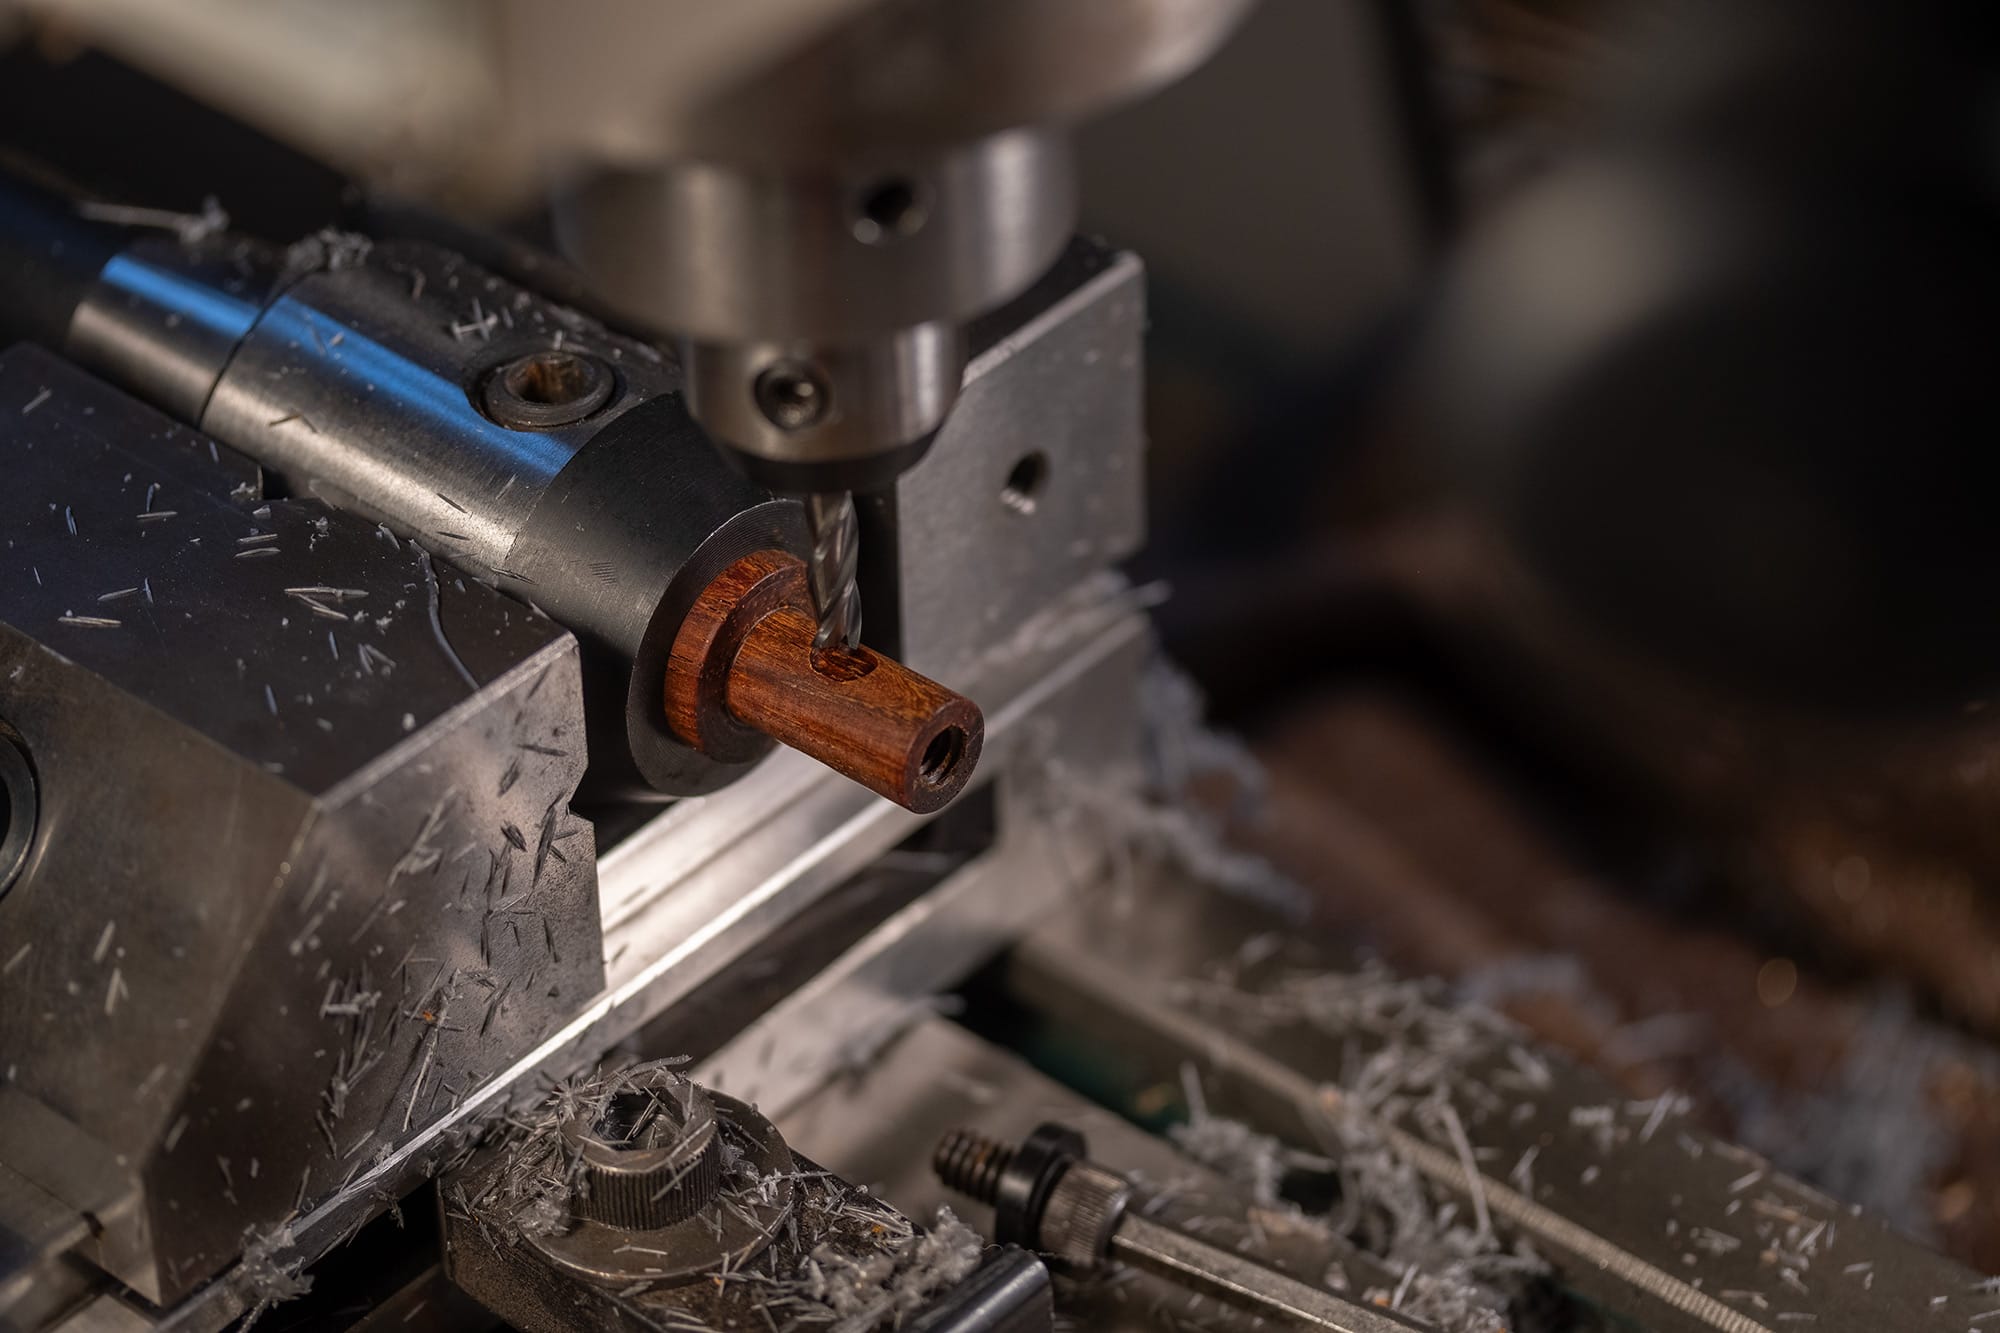
I've mounted my cocobolo mandrel on the mill, centering it with the tool. I'll be using a 3/16" dia. solid carbide endmill for this operation.
In the end of the mandrel you'll notice I cut threads to accept a machine screw.
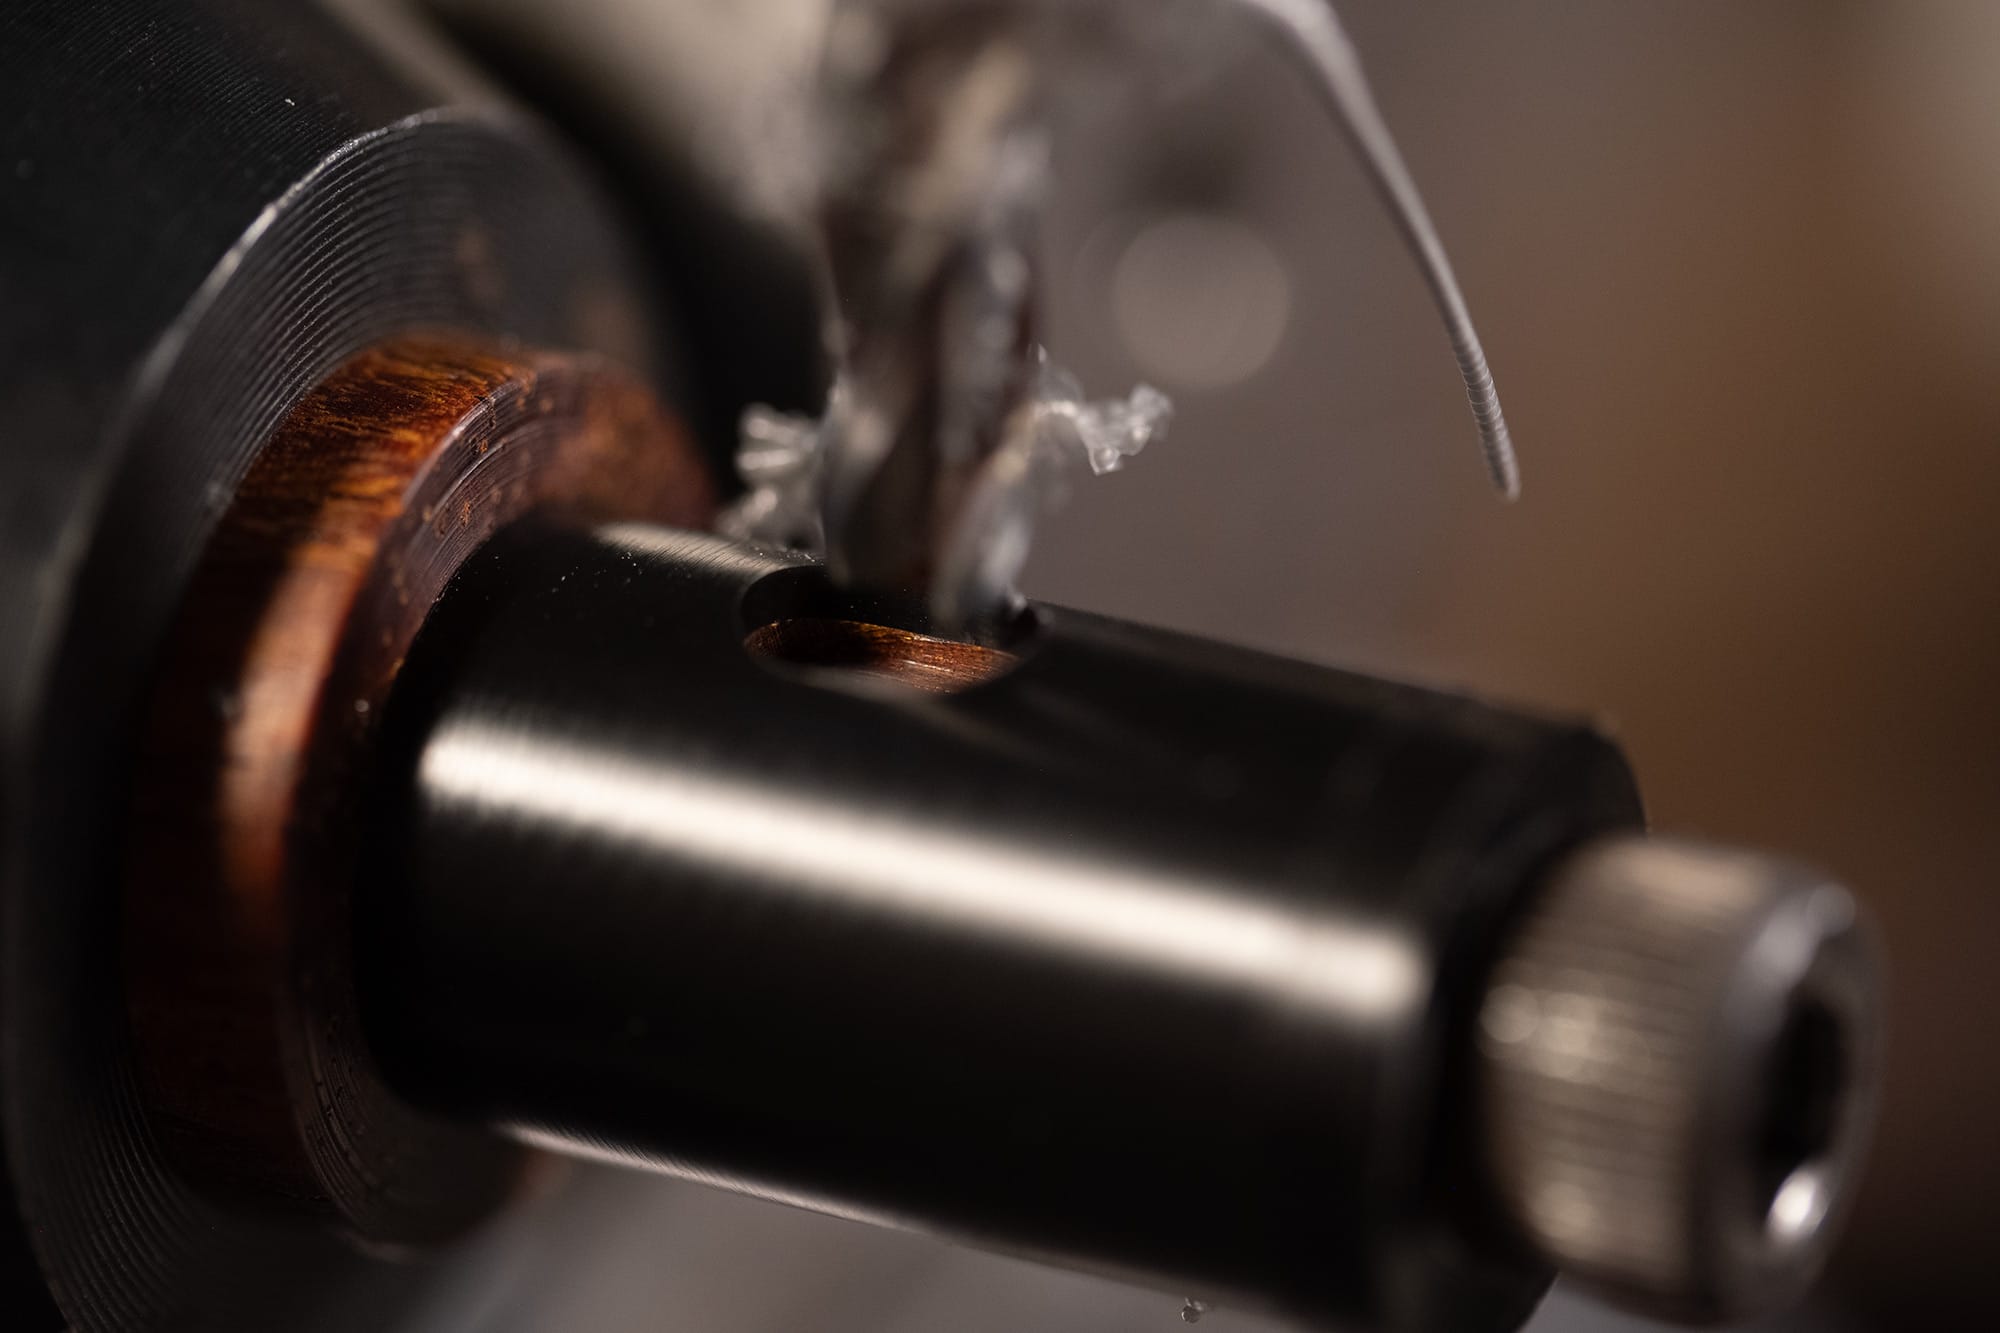
That screw, plus a Delrin washer, is used to clamp each Delrin sleeve onto the mandrel.
A slot is cut into each sleeve using the end mill.
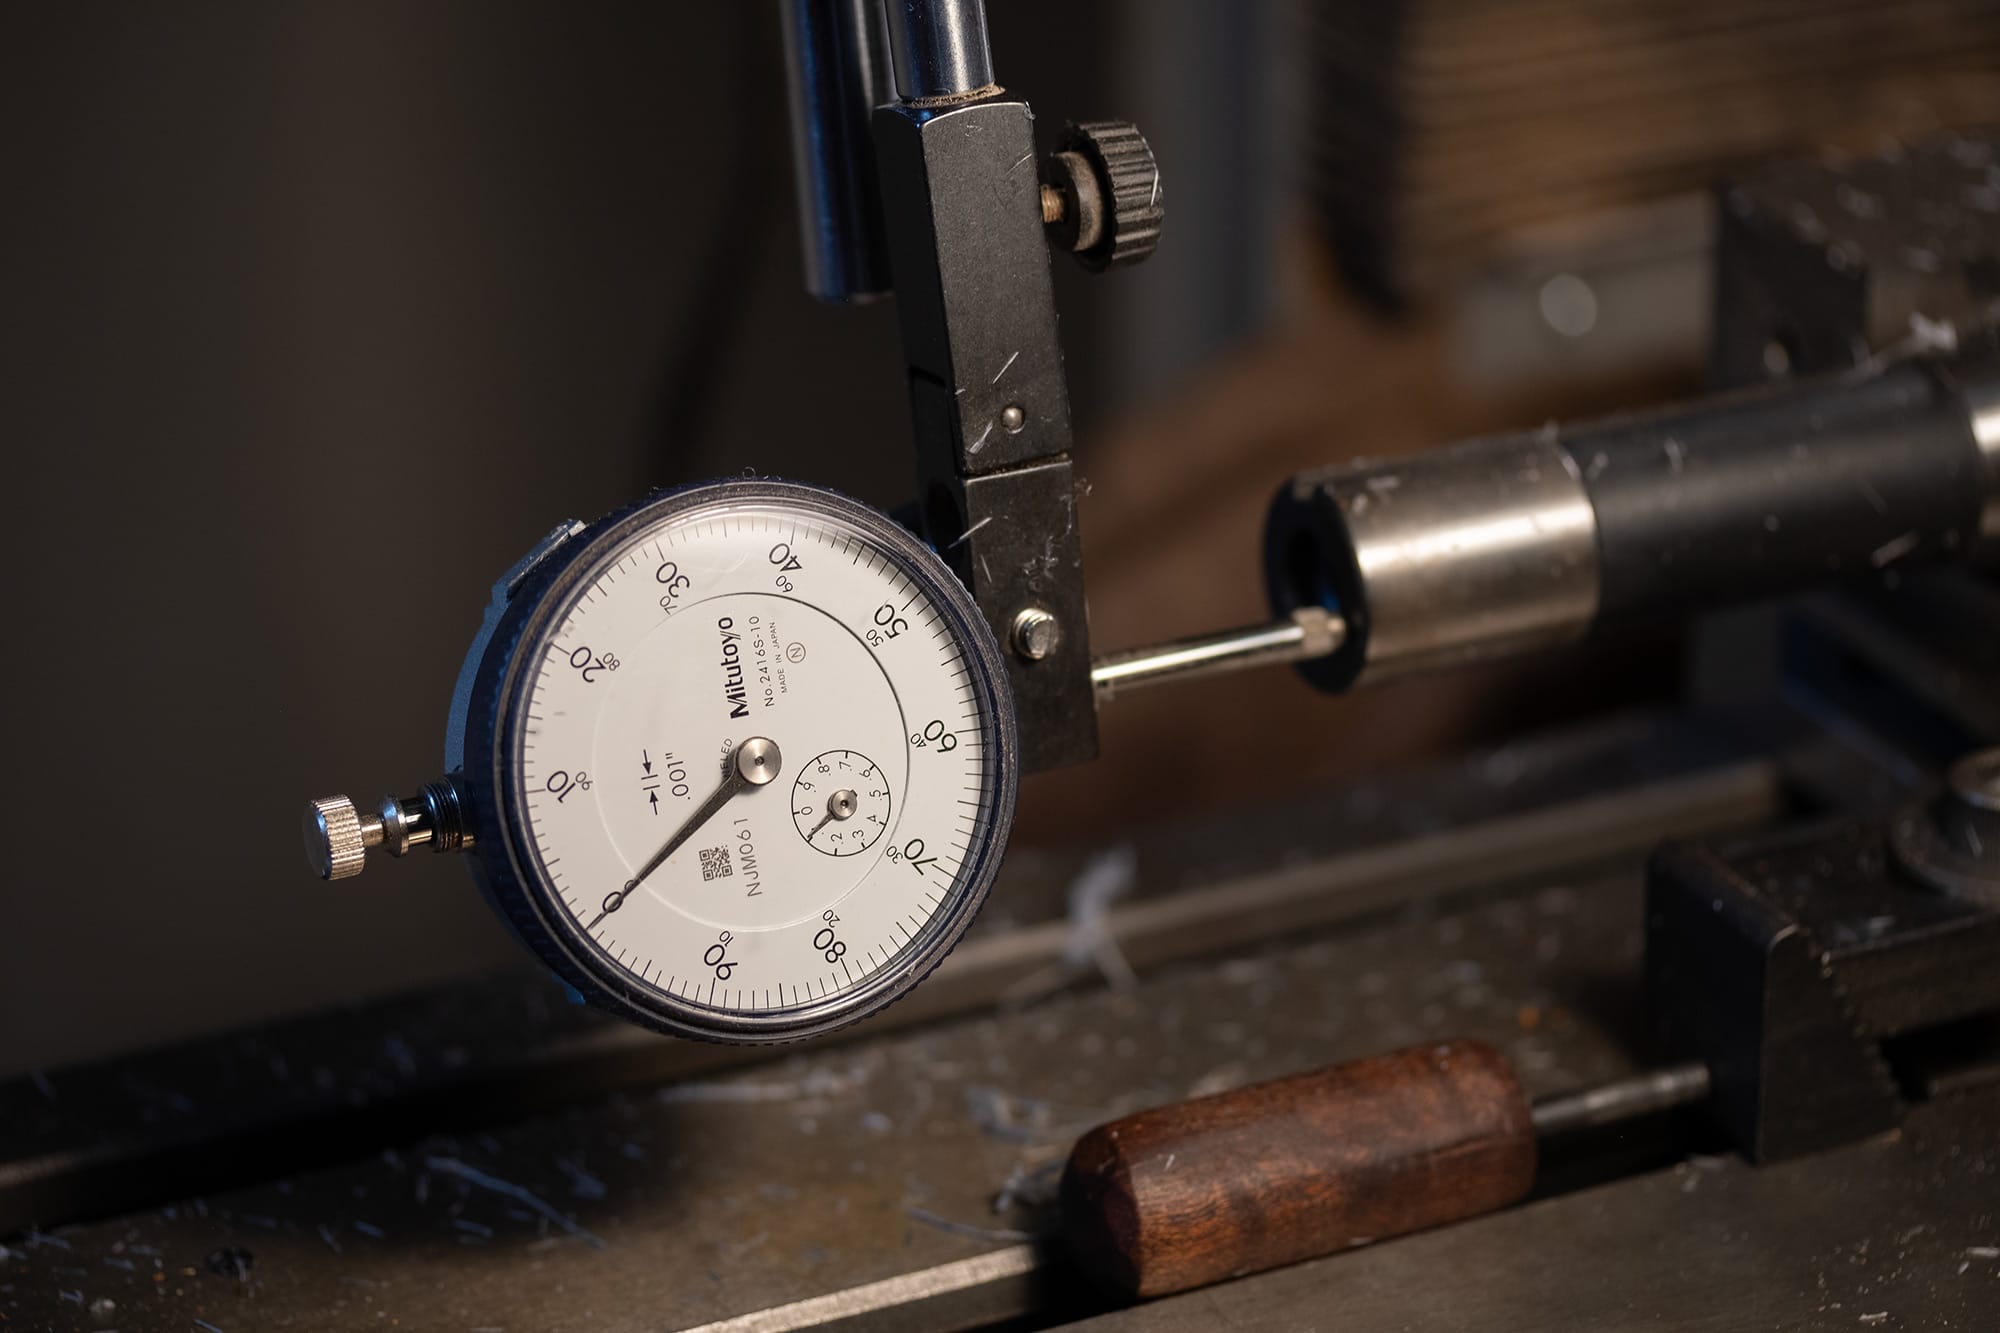
The precise length of the slot is measured using this dial.
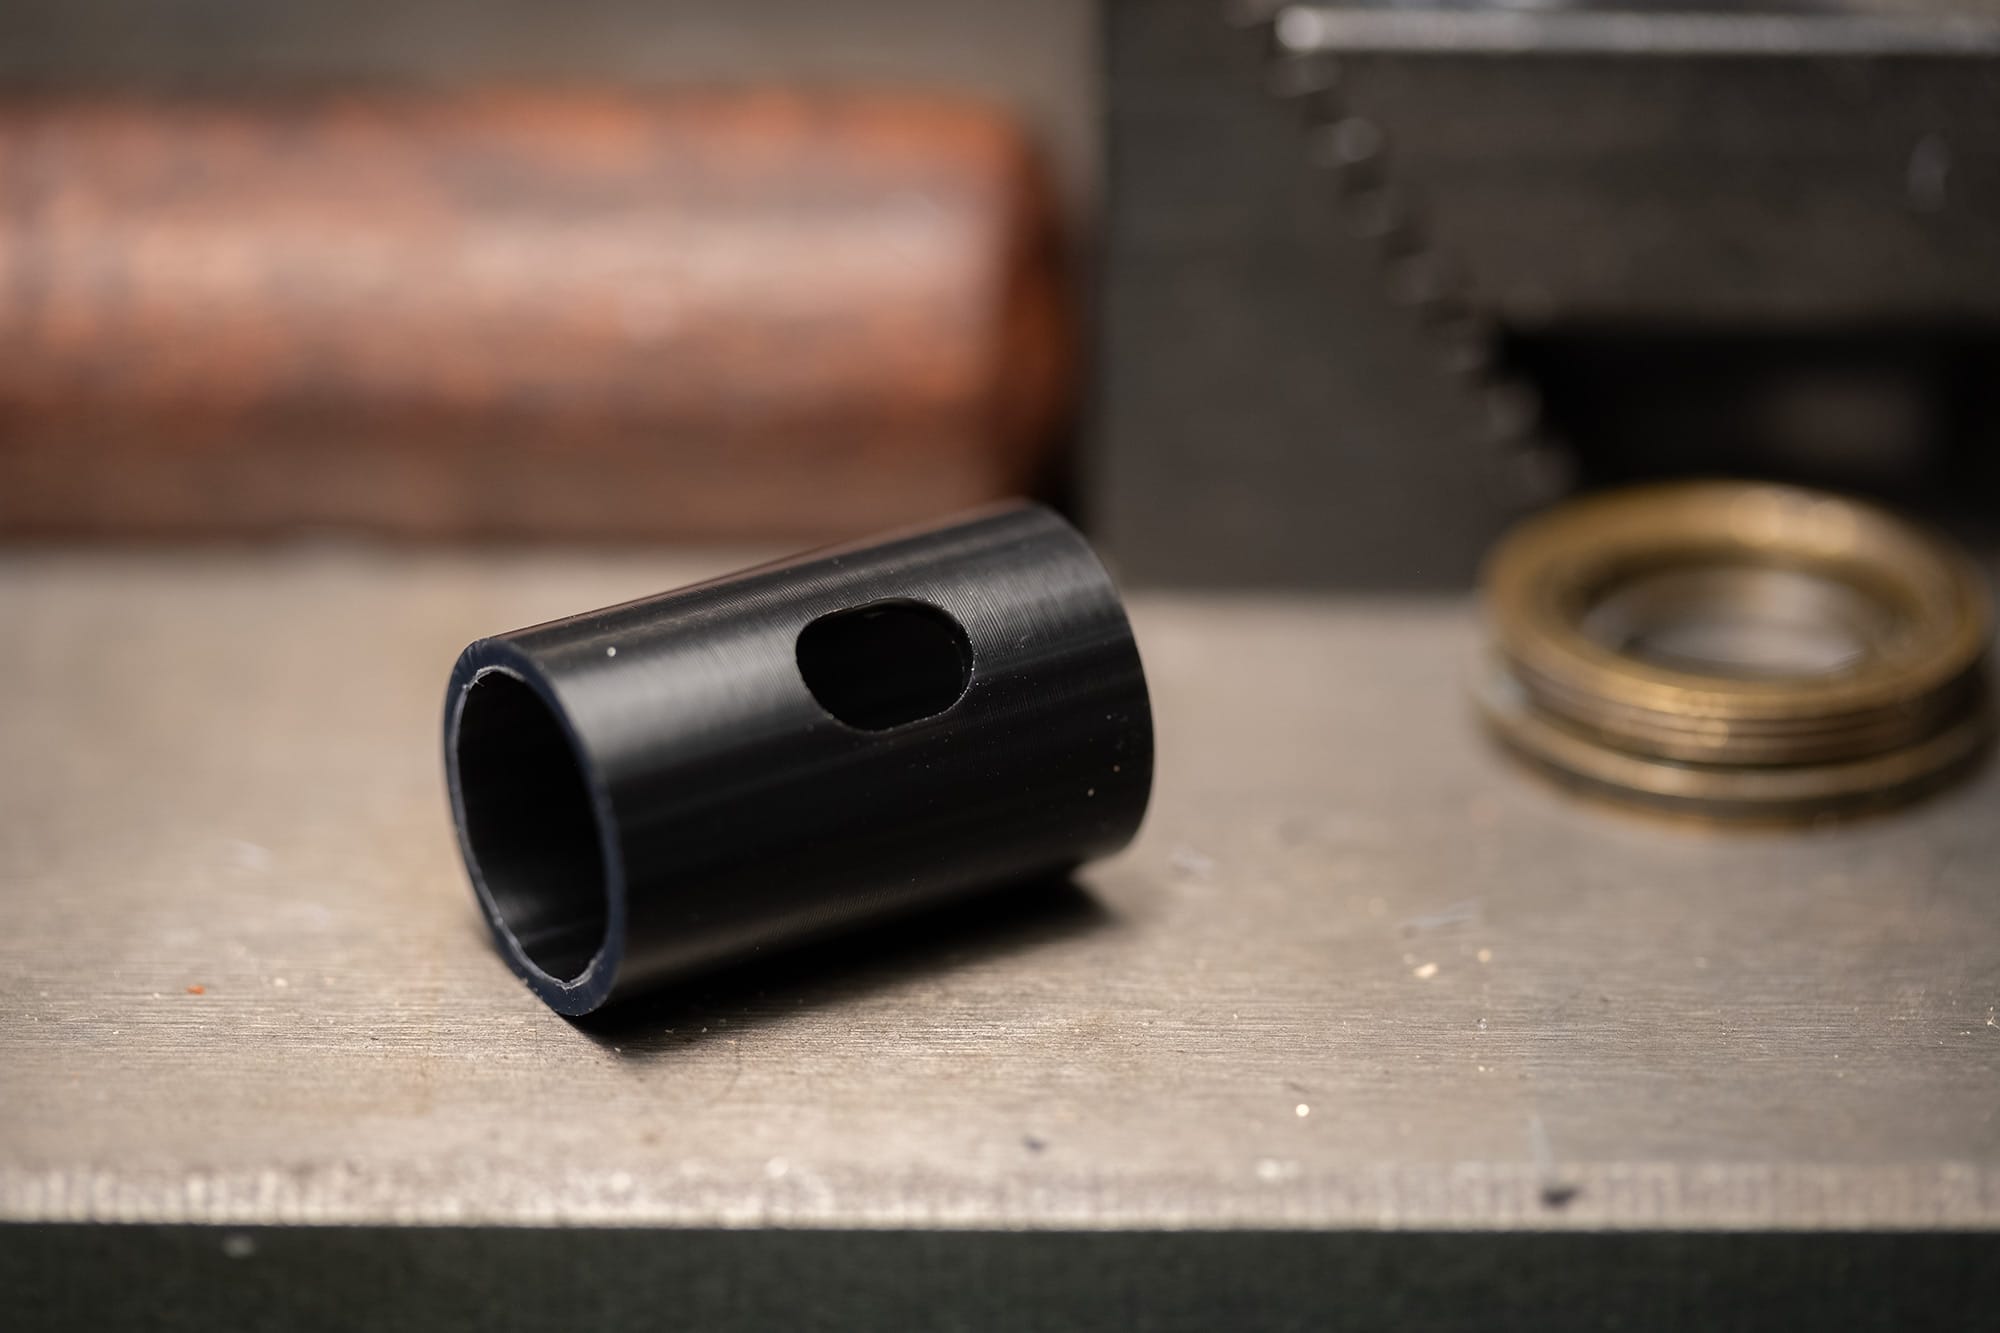
Here is the finished part. The slot functions as the physical stop for the button. The length of the slot determines the travel of the brass button within the sleeve.
In a future update we'll see how the brass buttons are installed and the purpose of this slot will be more obvious.
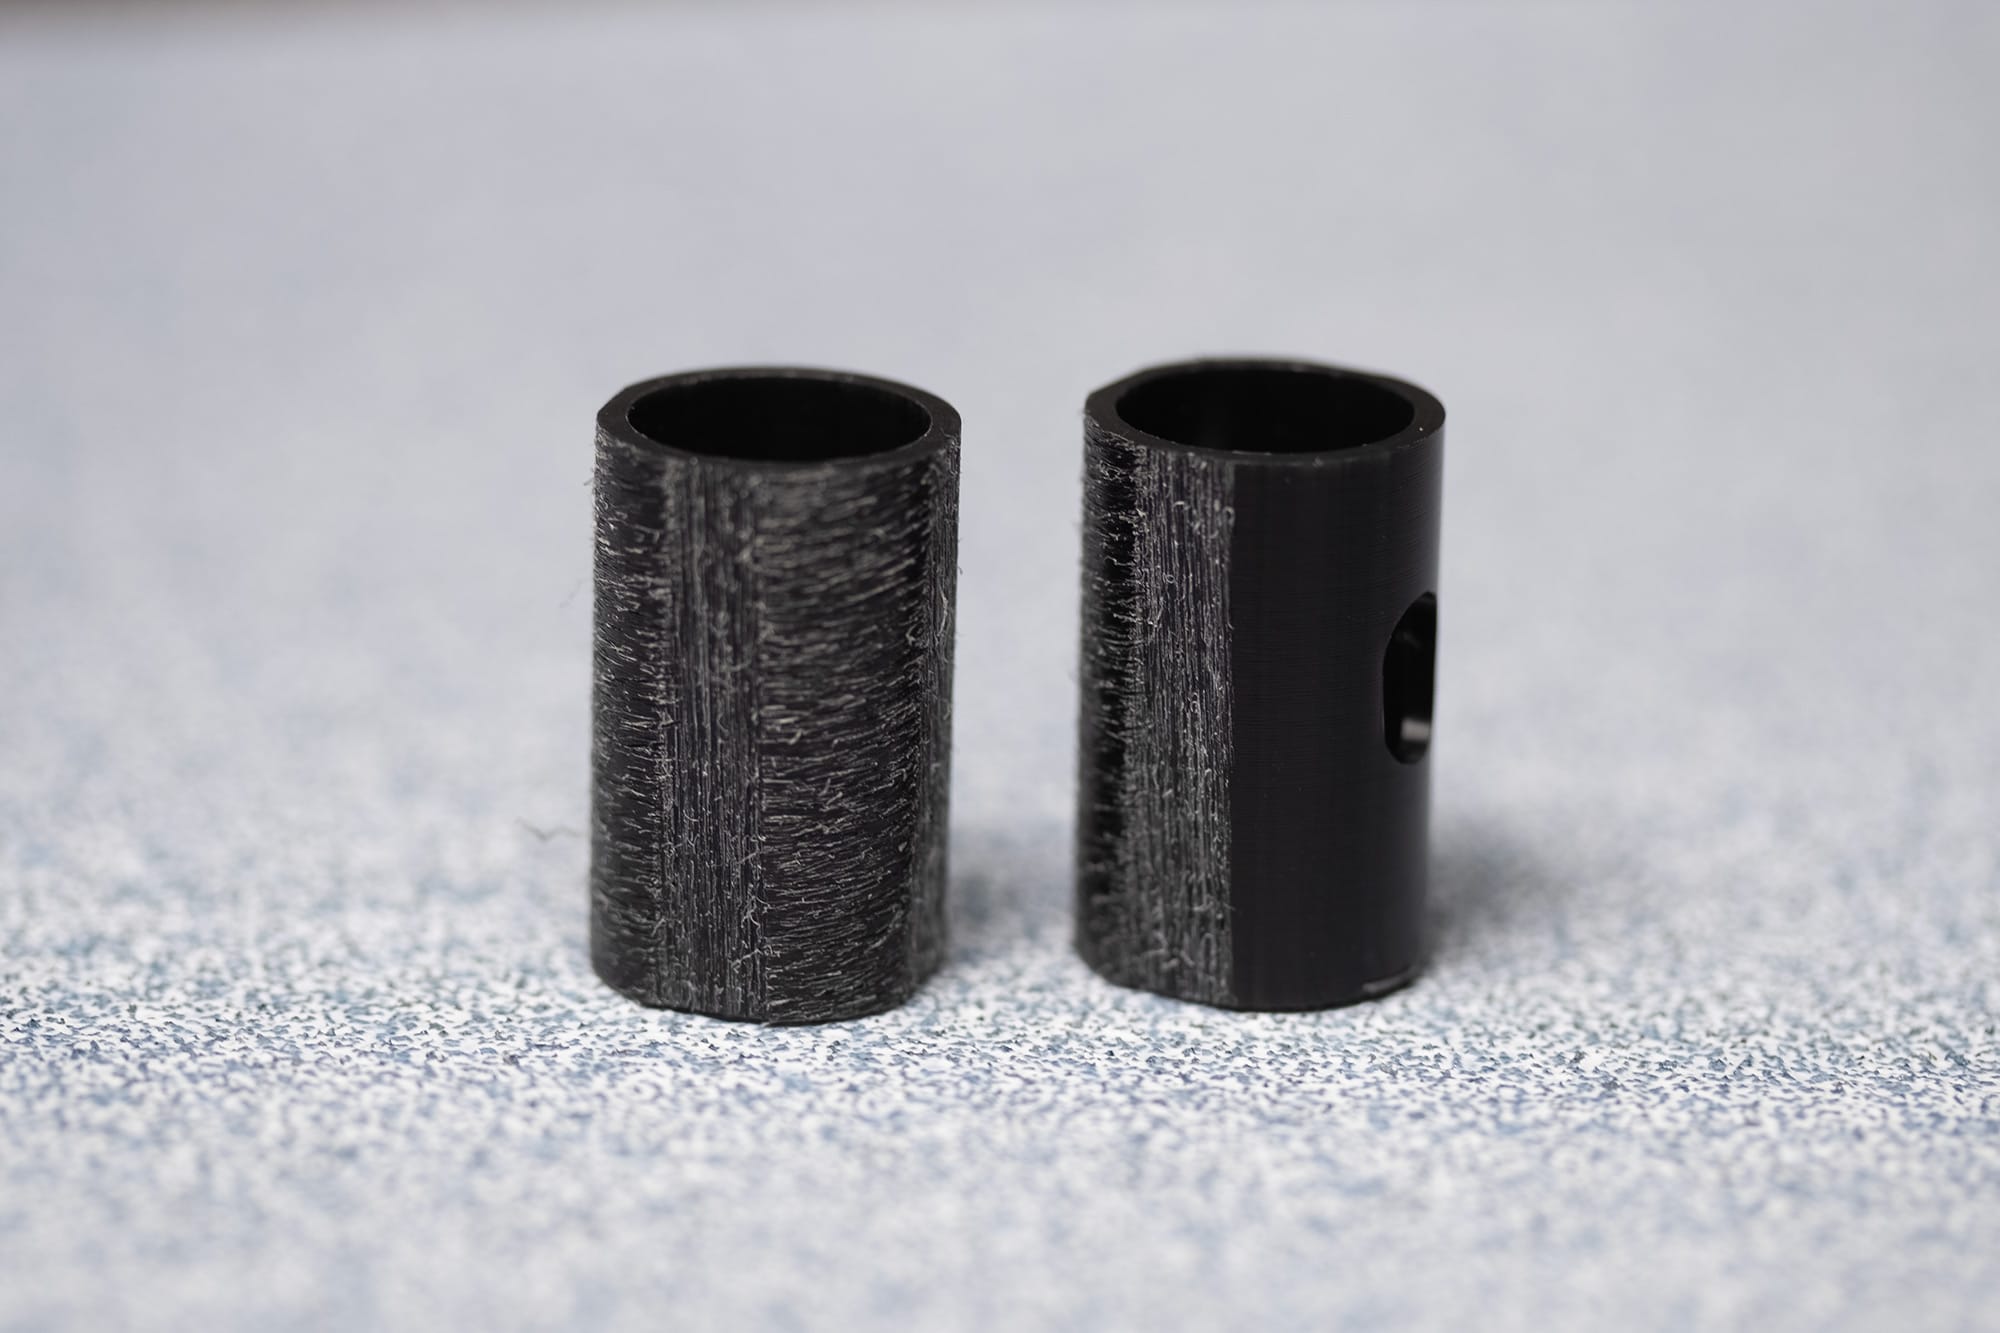
Since these sleeves will be glued into the wooden bodies they need to be aggressively roughed up on the outside to help create a good mechanical bond.
I sand three flats that'll act as glue wicking channels. Also notice the direction of the sanding marks. The flats are sanded along the length, where as the outside surfaces are sanded across. These cross ways scratches will help with the glue wicking. More on that later.
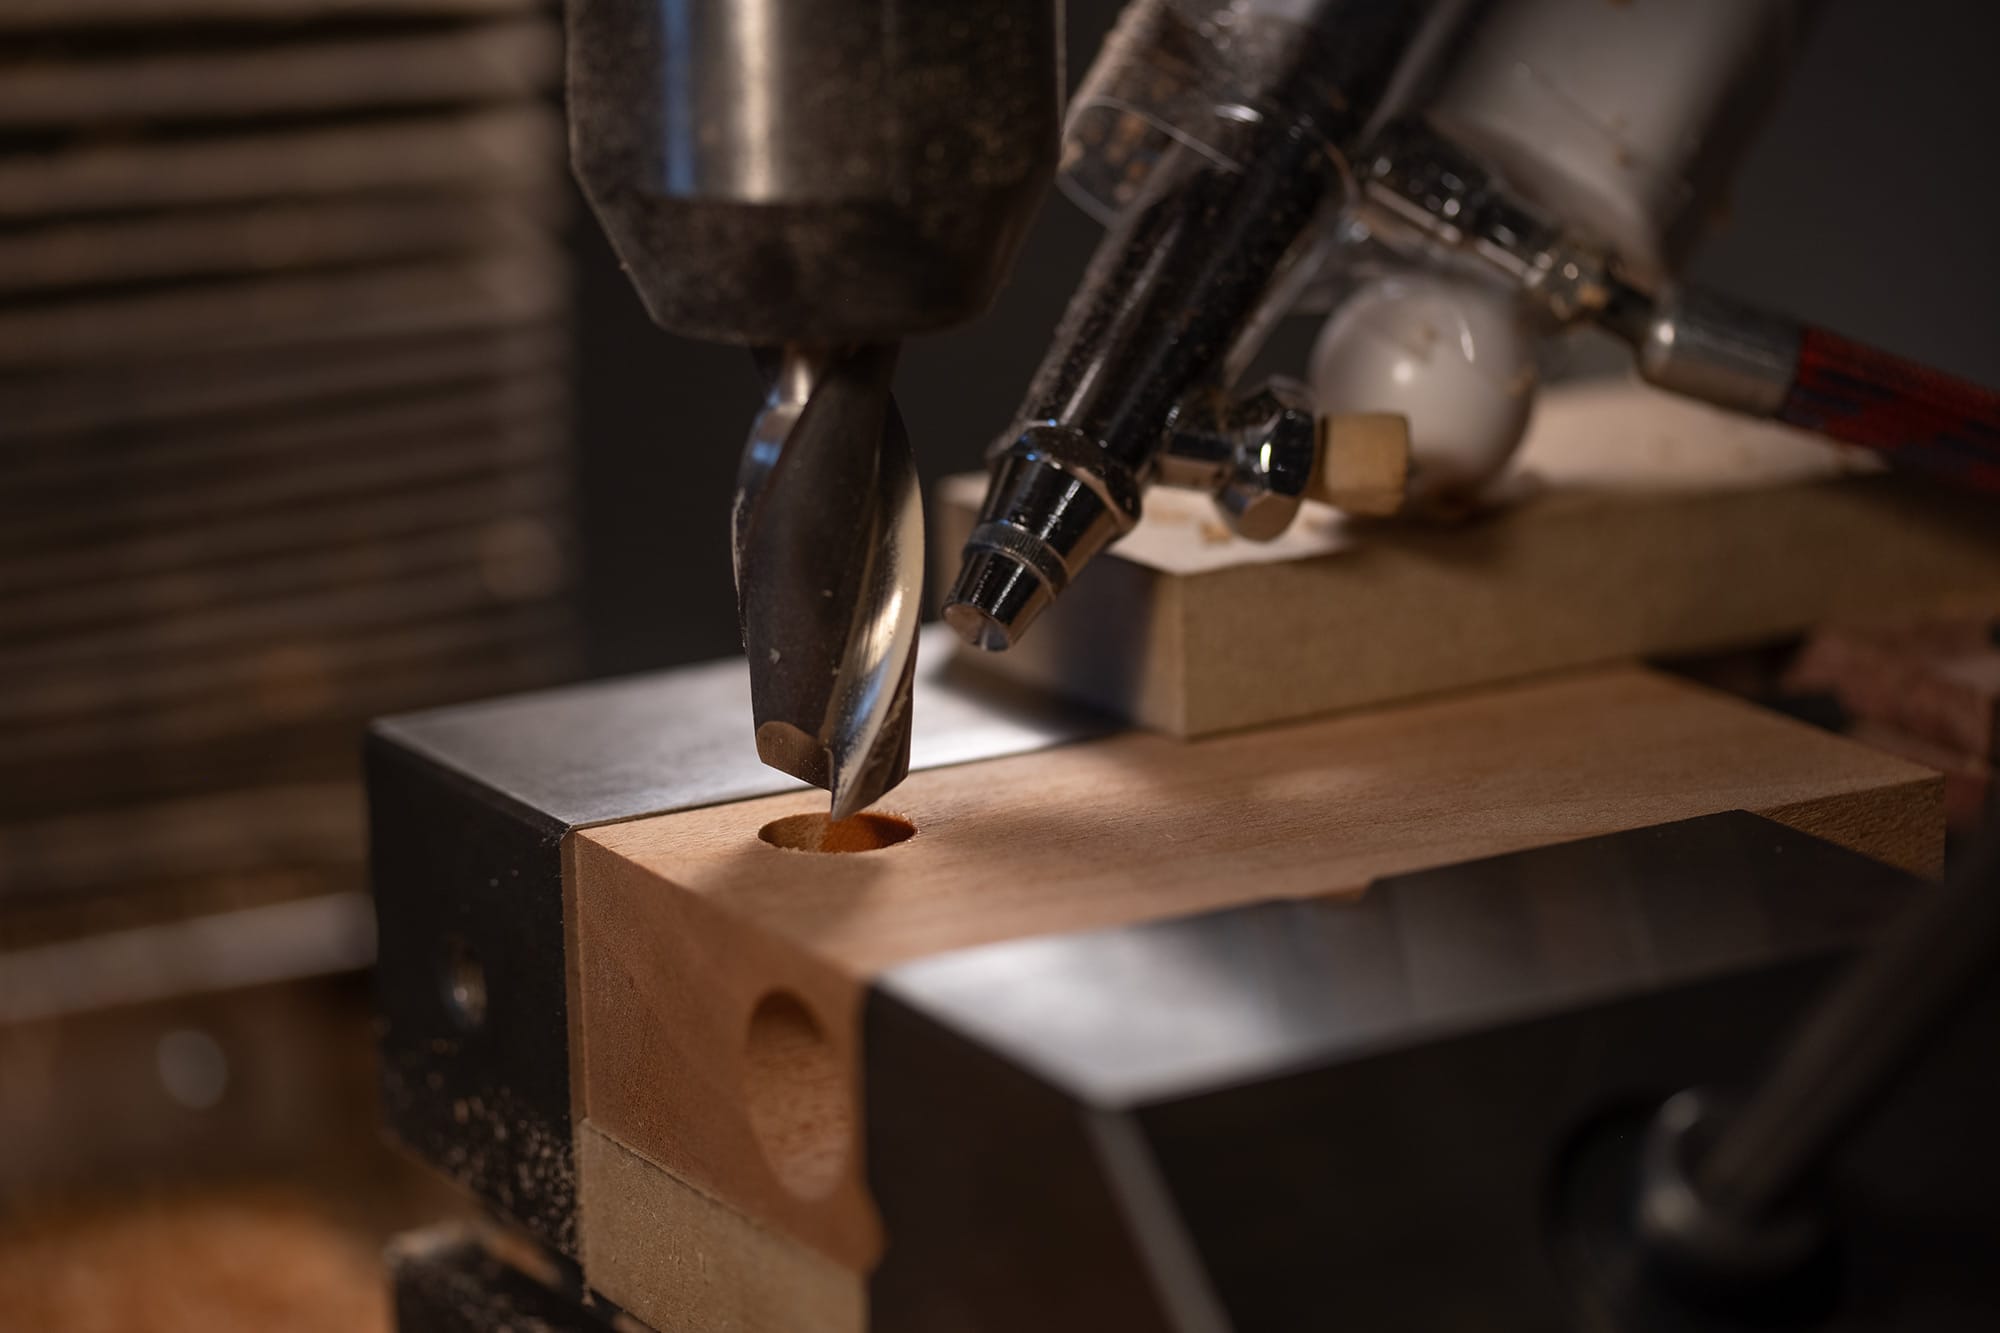
Moving back to the Toad bodies, I'll machine the mounting holes for the sleeves.
I start by drilling an undersized hole with an endmill. The underside of each body is supported by a block of MDF to reduce tear out.
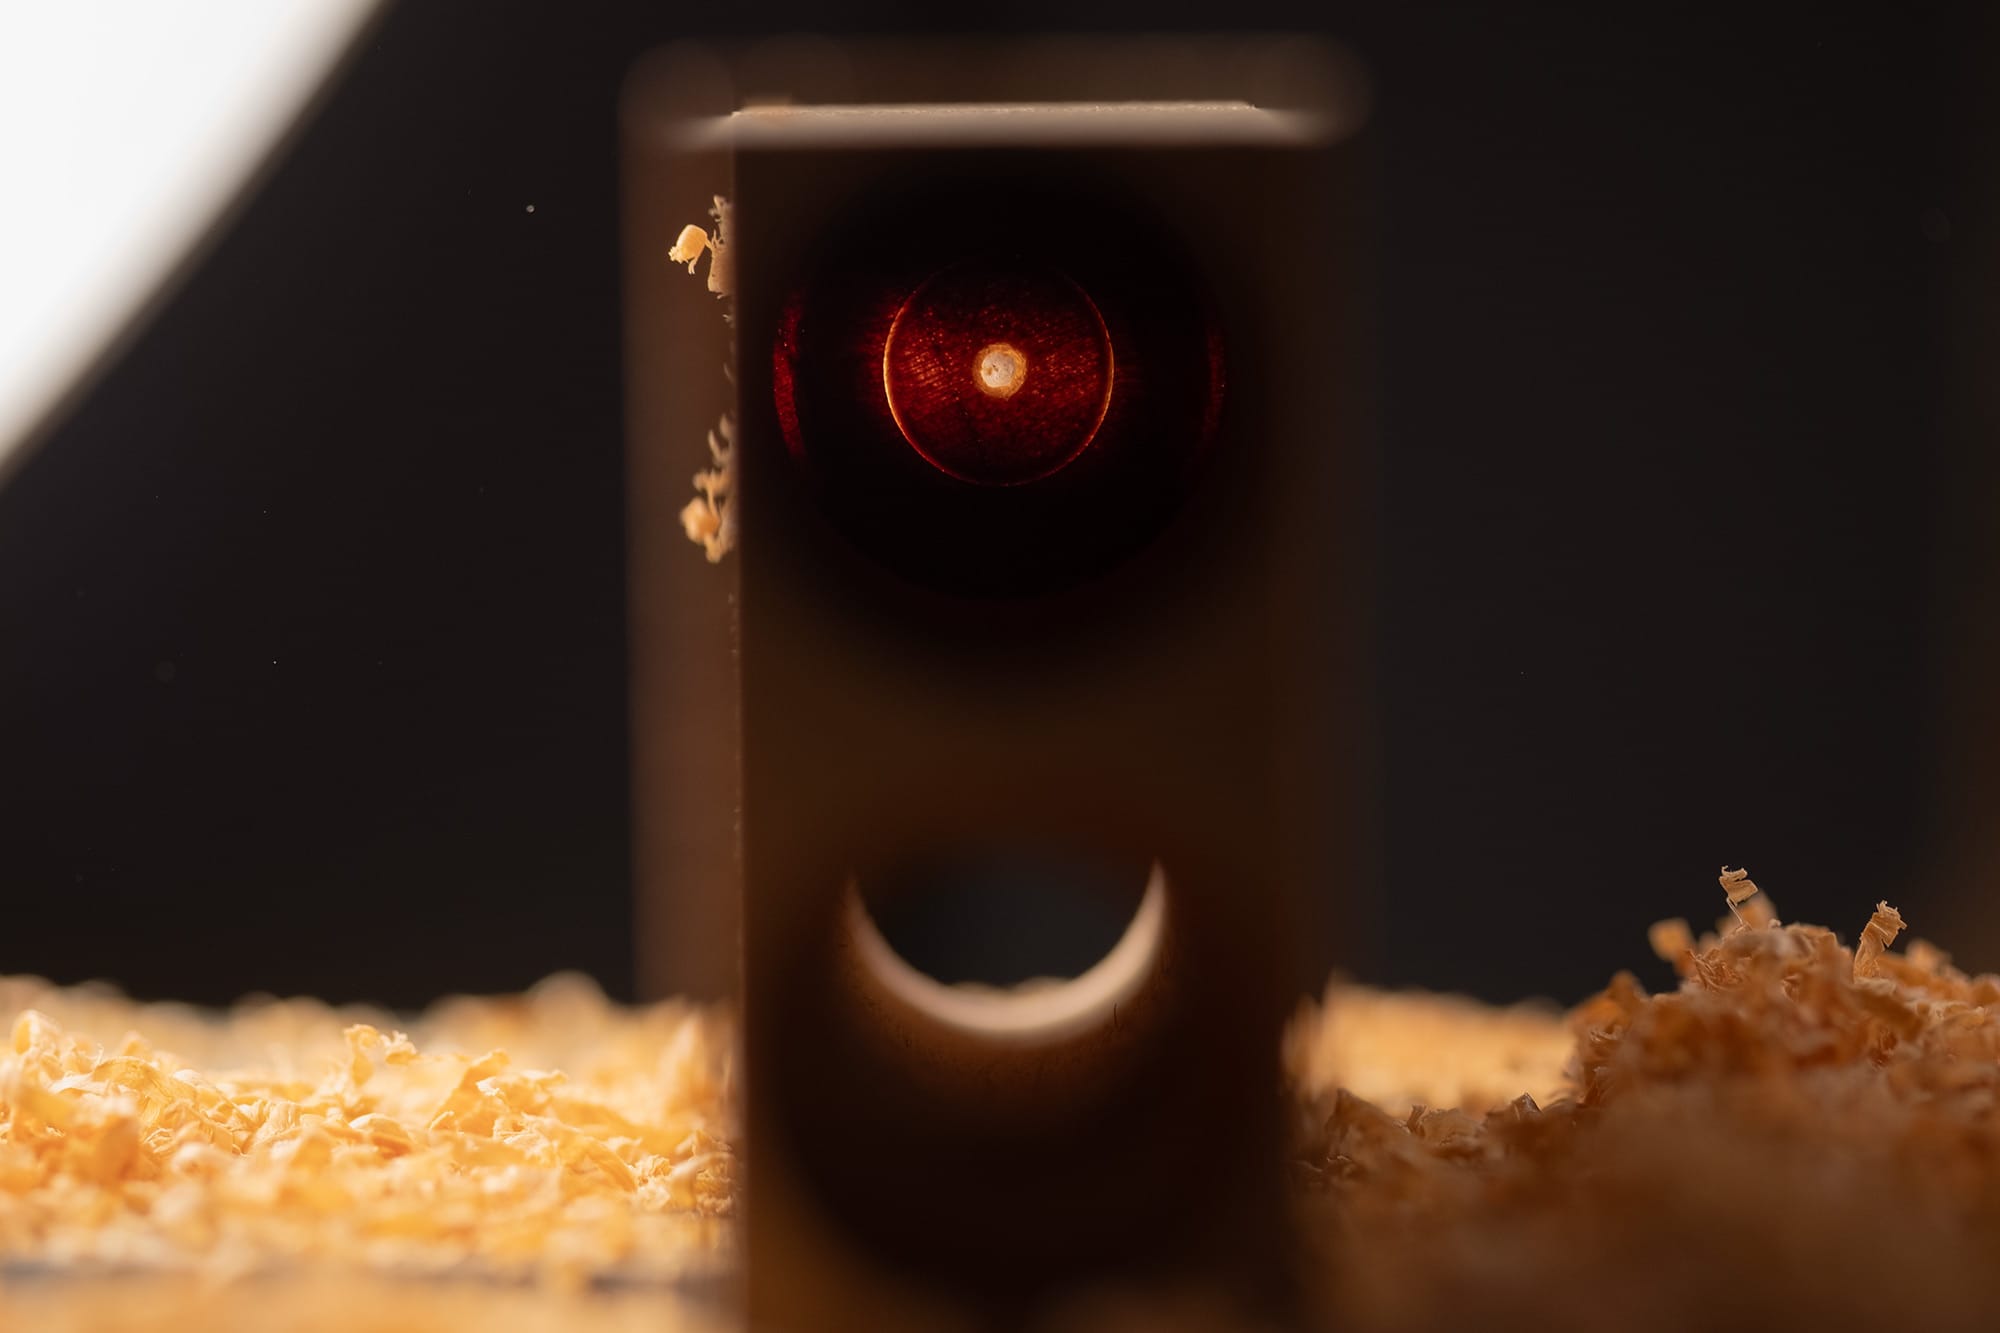
After that undersized hole is created, I create a score line at the bottom of the battery compartment. This is made with a sharp brad-point drill bit and a jig that holds the bit concentric to the battery hole.
The wooden wall between the battery compartment and the button hole is incredibly thin, about 1mm. Before the Delrin is glued into place, this wall is very fragile.
The score line helps to relieve stress on the wall while I machine the button hole to its final size. I found that without this score line I would often get cracks in this wall. A crack at this stage means a lot of work down the drain.
The score line is made to a very precise depth. It needs to almost poke out the other side... but remain just shy, so as to be strong enough to remain solid during the next machining step. It's a delicate balance!
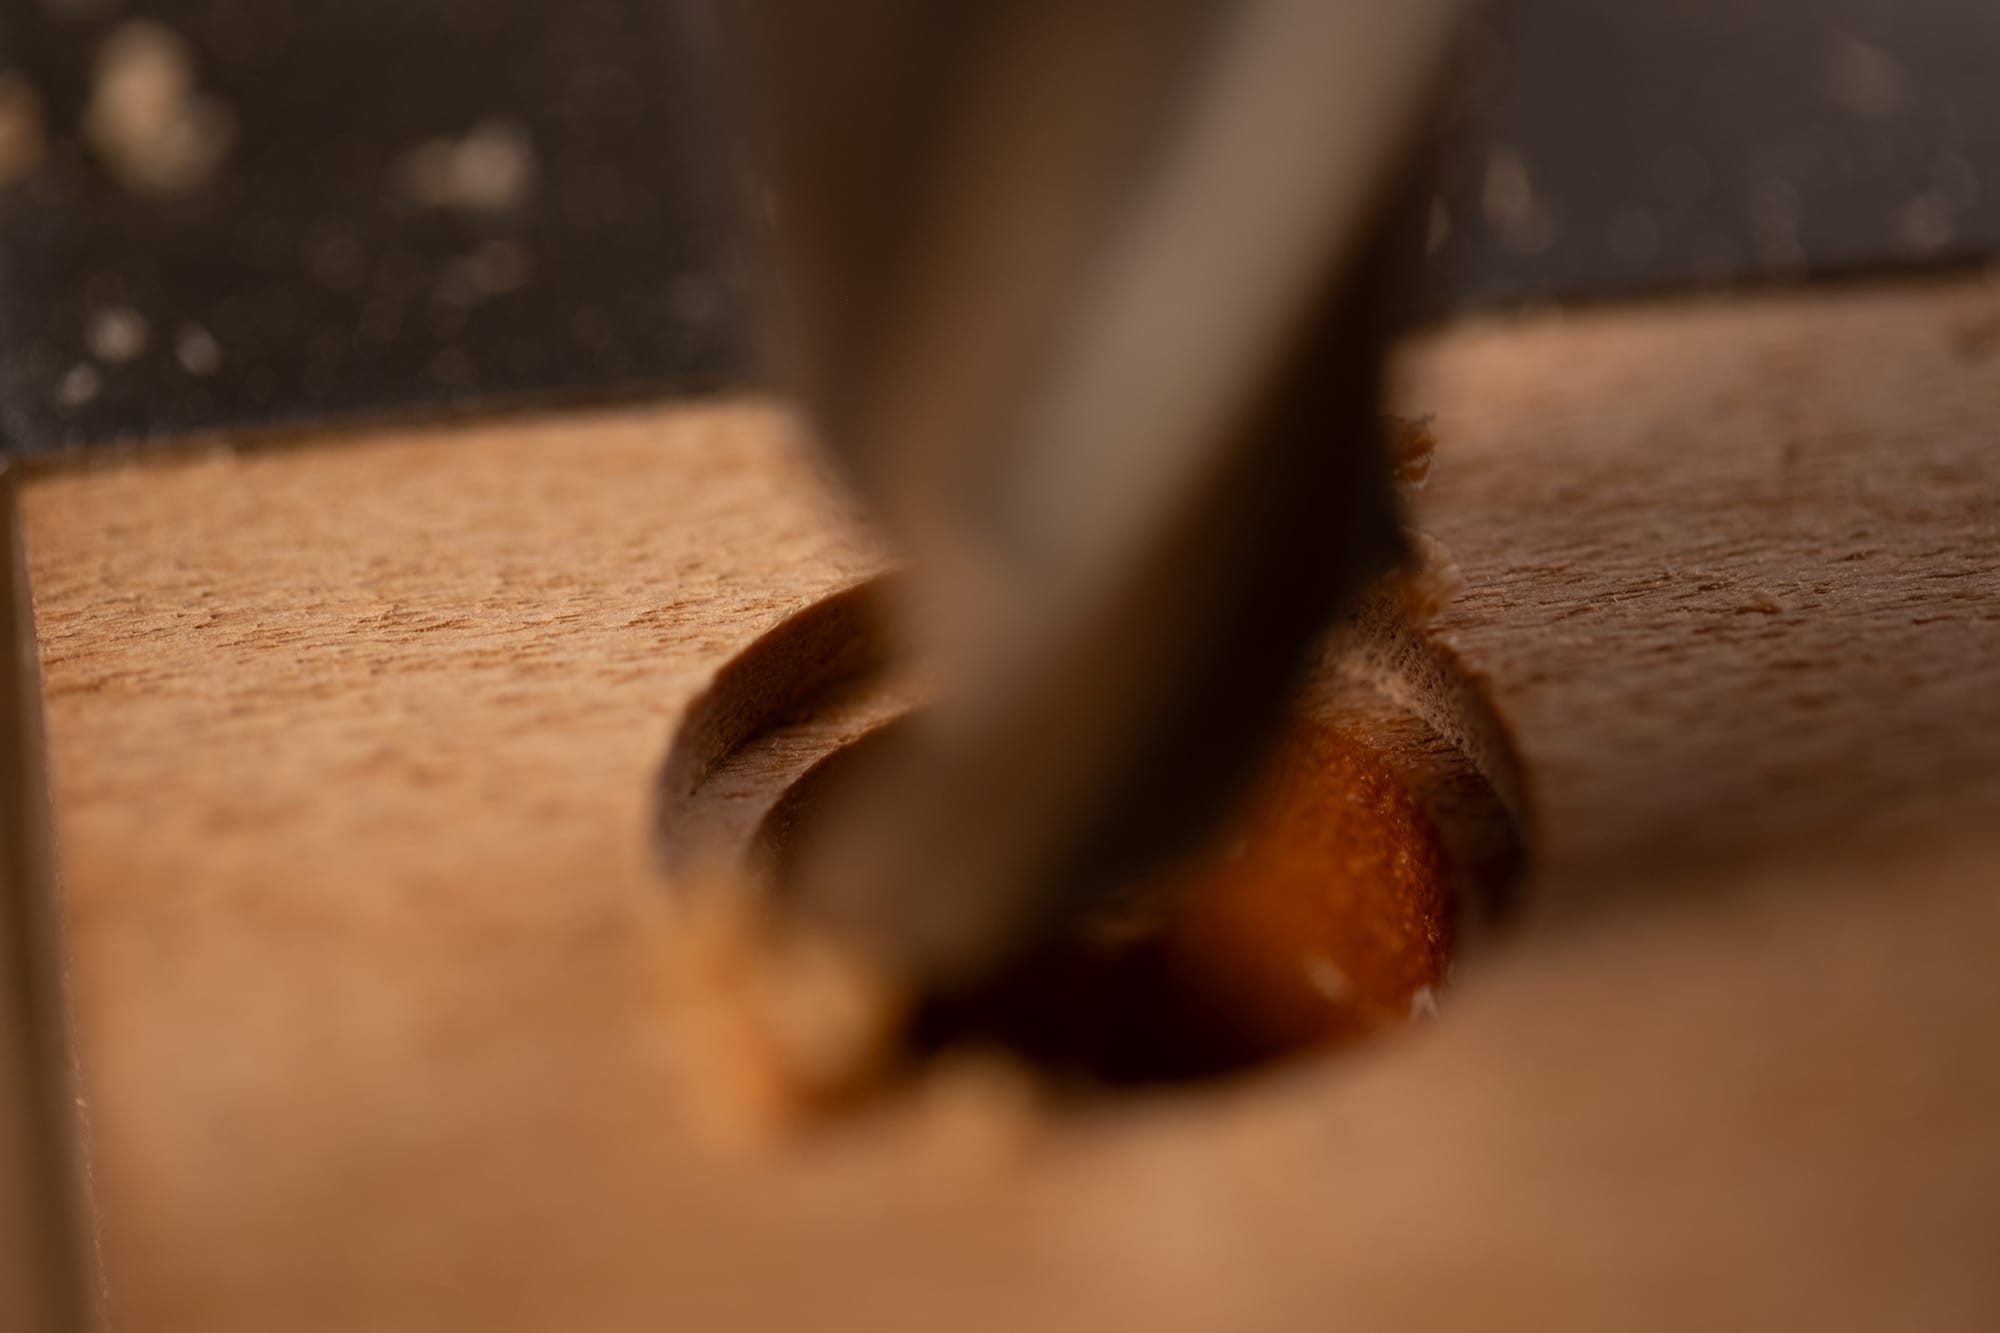
I go very slowly with this final endmill. The main thing here is to keep the wood cool. If I go too fast the wood heats up, dries out rapidly, and the rapid shrinkage causes that thin wall to crack.
Before I had this process dialed in, I would often remove a Toad body from the mill... everything would look perfect... then I would hear a cracking sound and watch as a crack emerged in front of my eyes. Very frustrating.
If a crack does occur, it usually propagates from the center out. The score line creates a stopping point for the crack. Since that part of the wall will be removed, I don't really care if it cracks.
Luckily, with a lot of practice under my belt... I didn't have any cracks with this batch!
After the button hole is completed, I go back in with the brad point drill that I used to make that score line. I punch through that thin wall with the drill, creating a perfect hole that connects the button to the battery compartment.
This can only be achieved with a brad point with very deep cutting 'lips/spurs'. The lips cut the circumference of the hole and pop out a nice round wafer of wood.
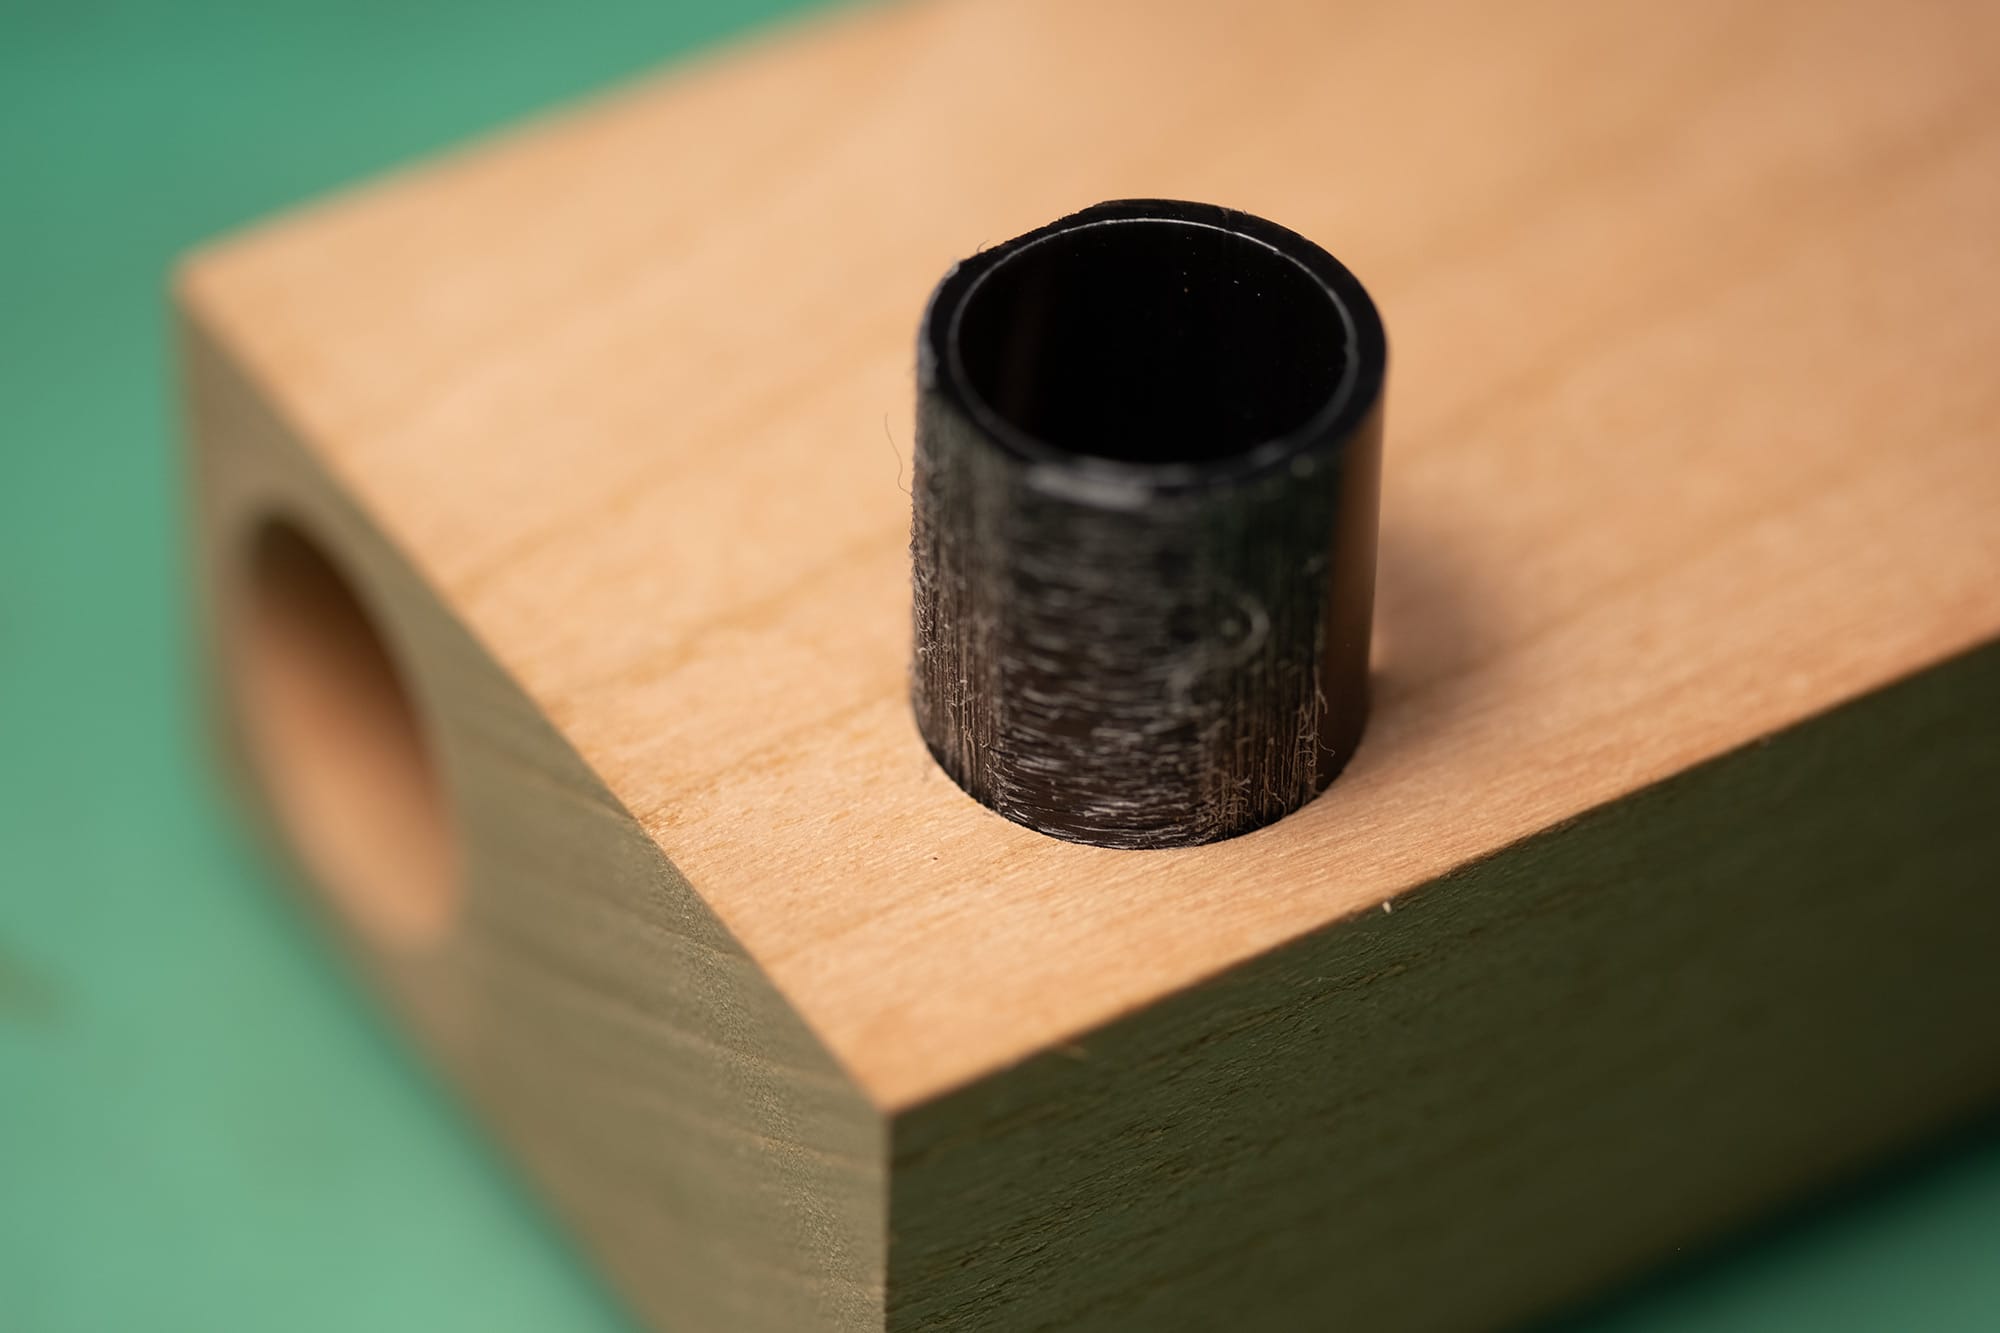
The Delrin sleeve can now be glued into place.
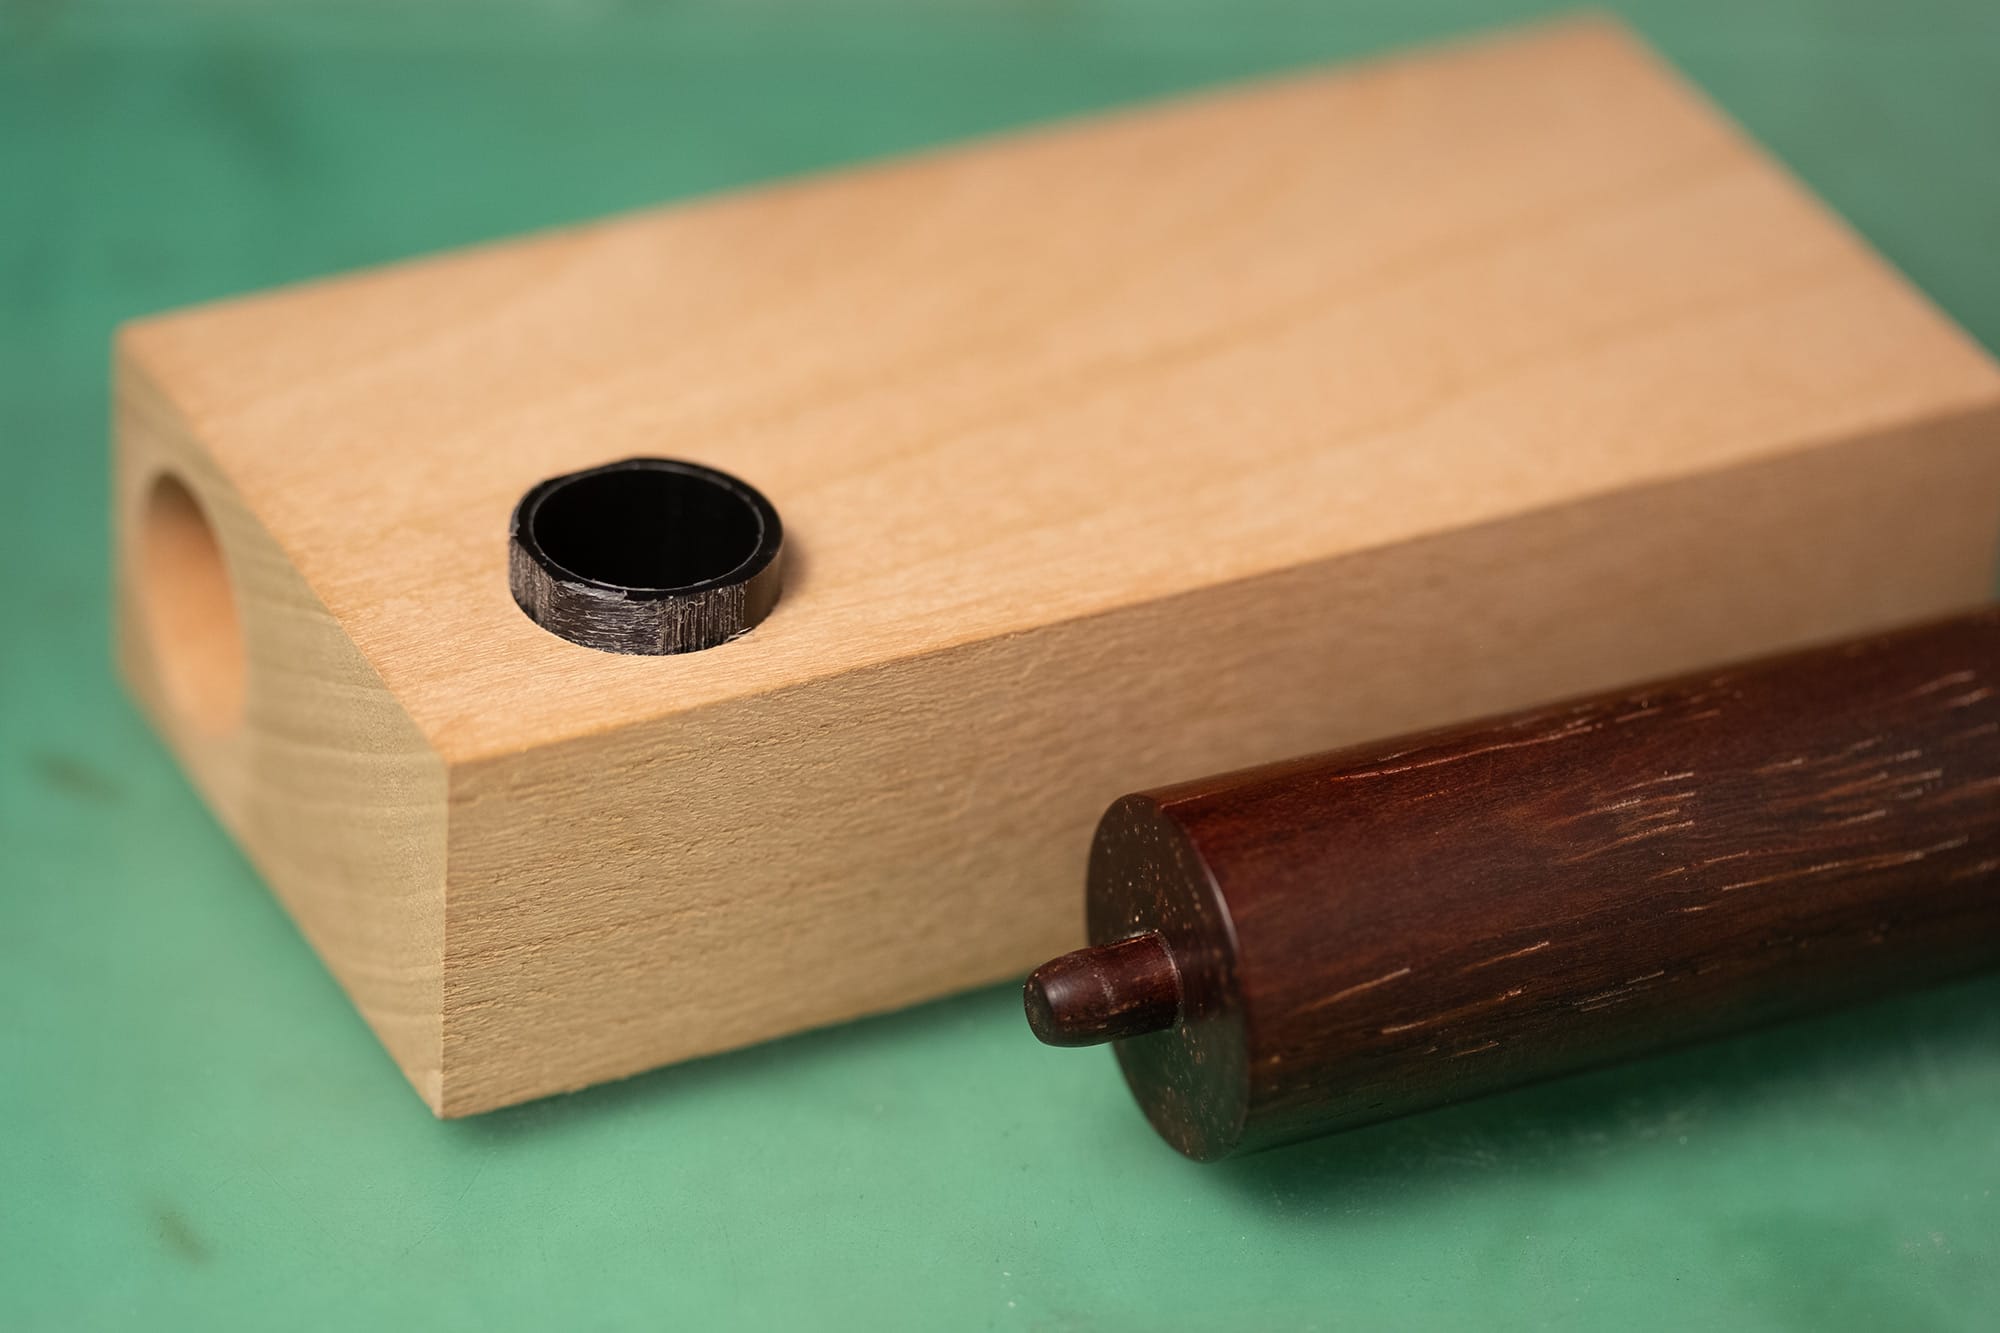
A cocobolo plug with alignment pin is used to position the slot correctly.
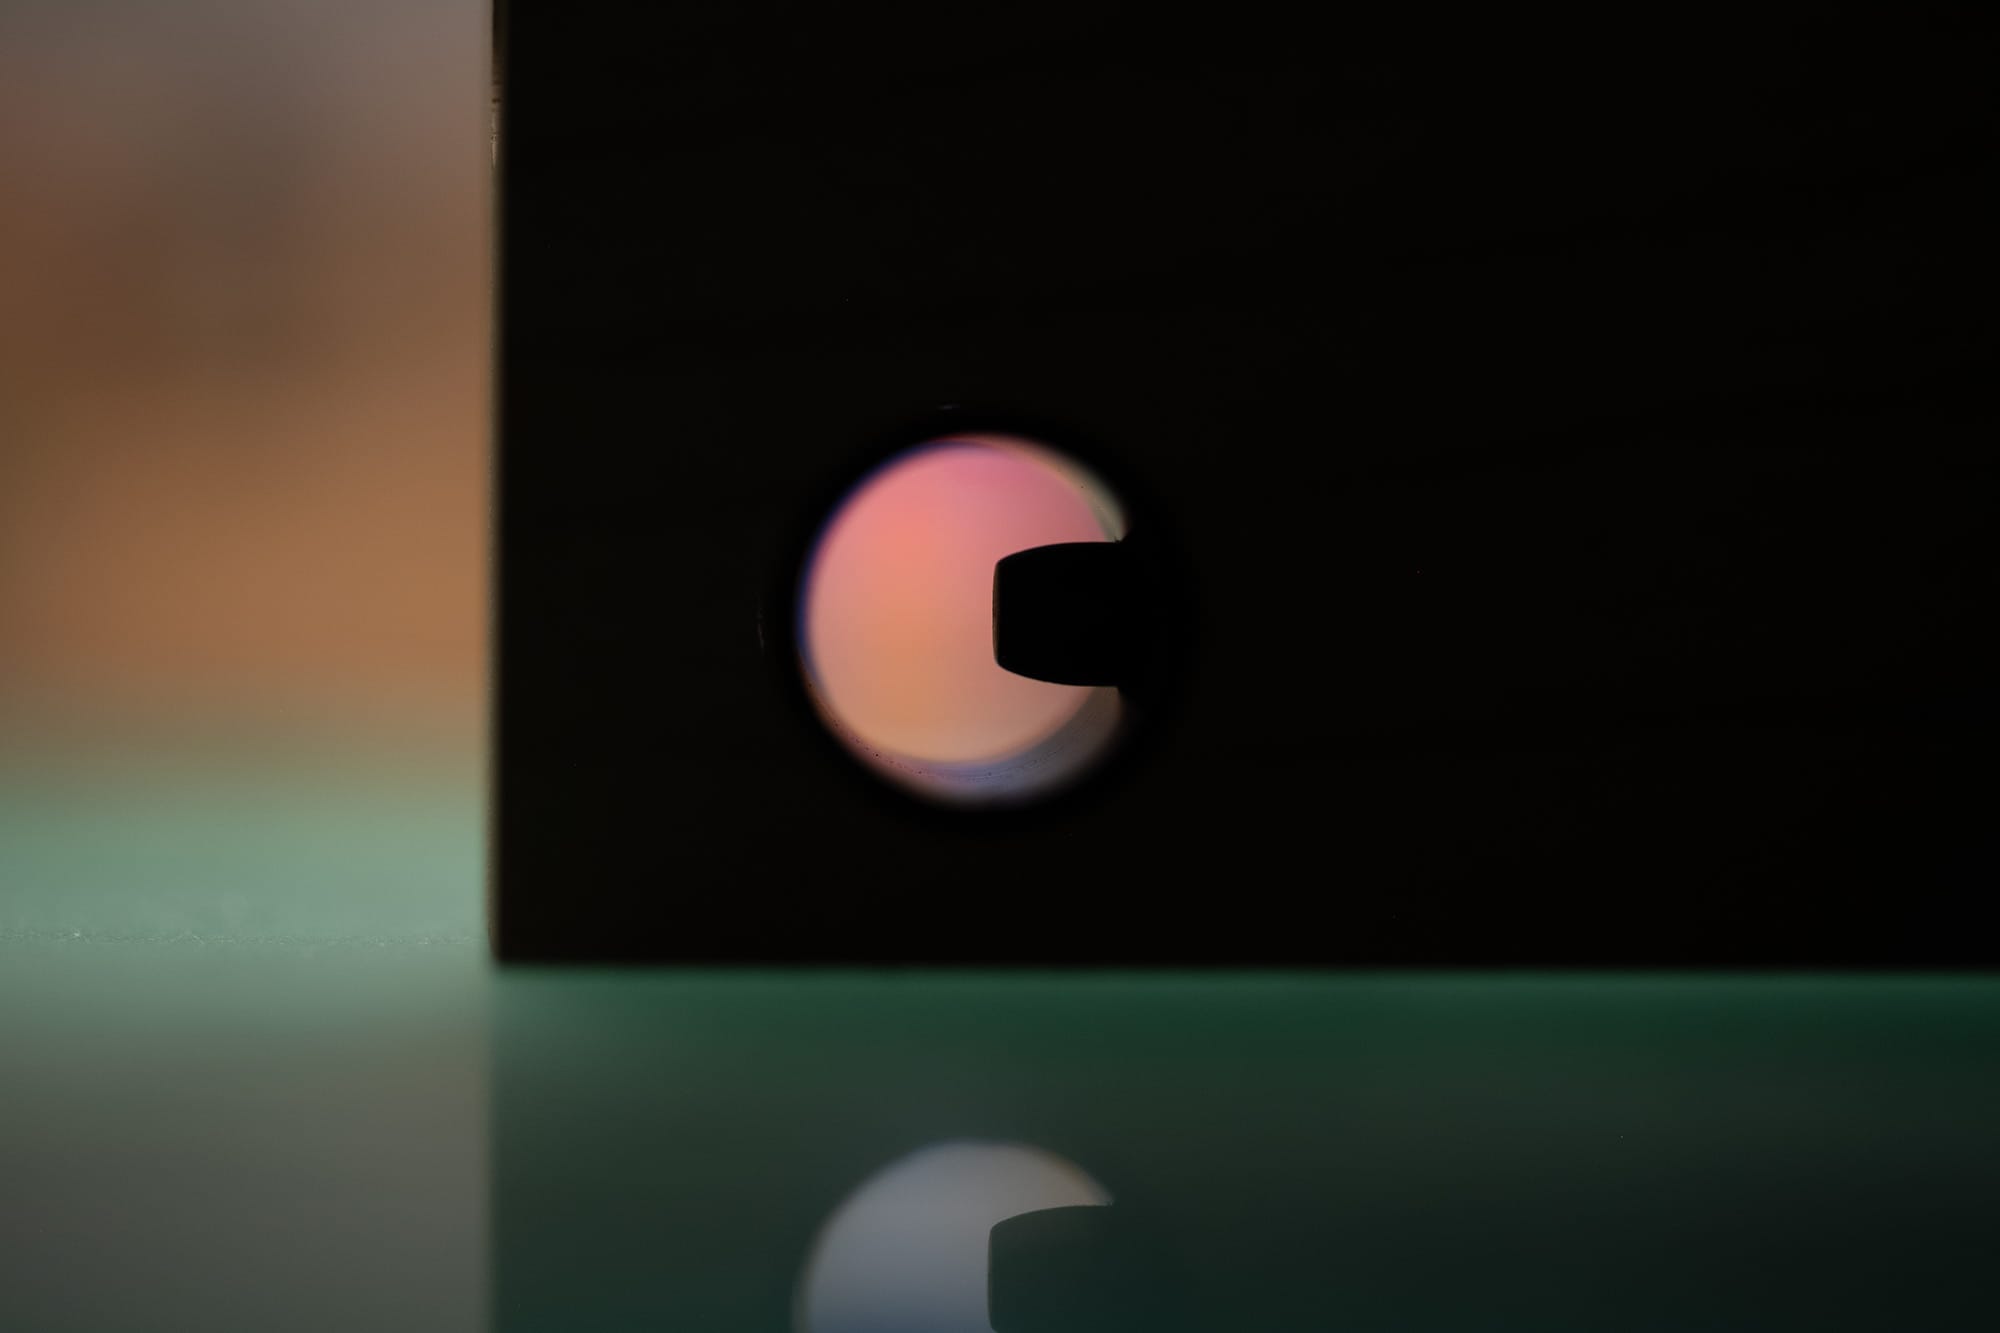
The plug is inserted into the battery hole, and the pin goes into the slot.
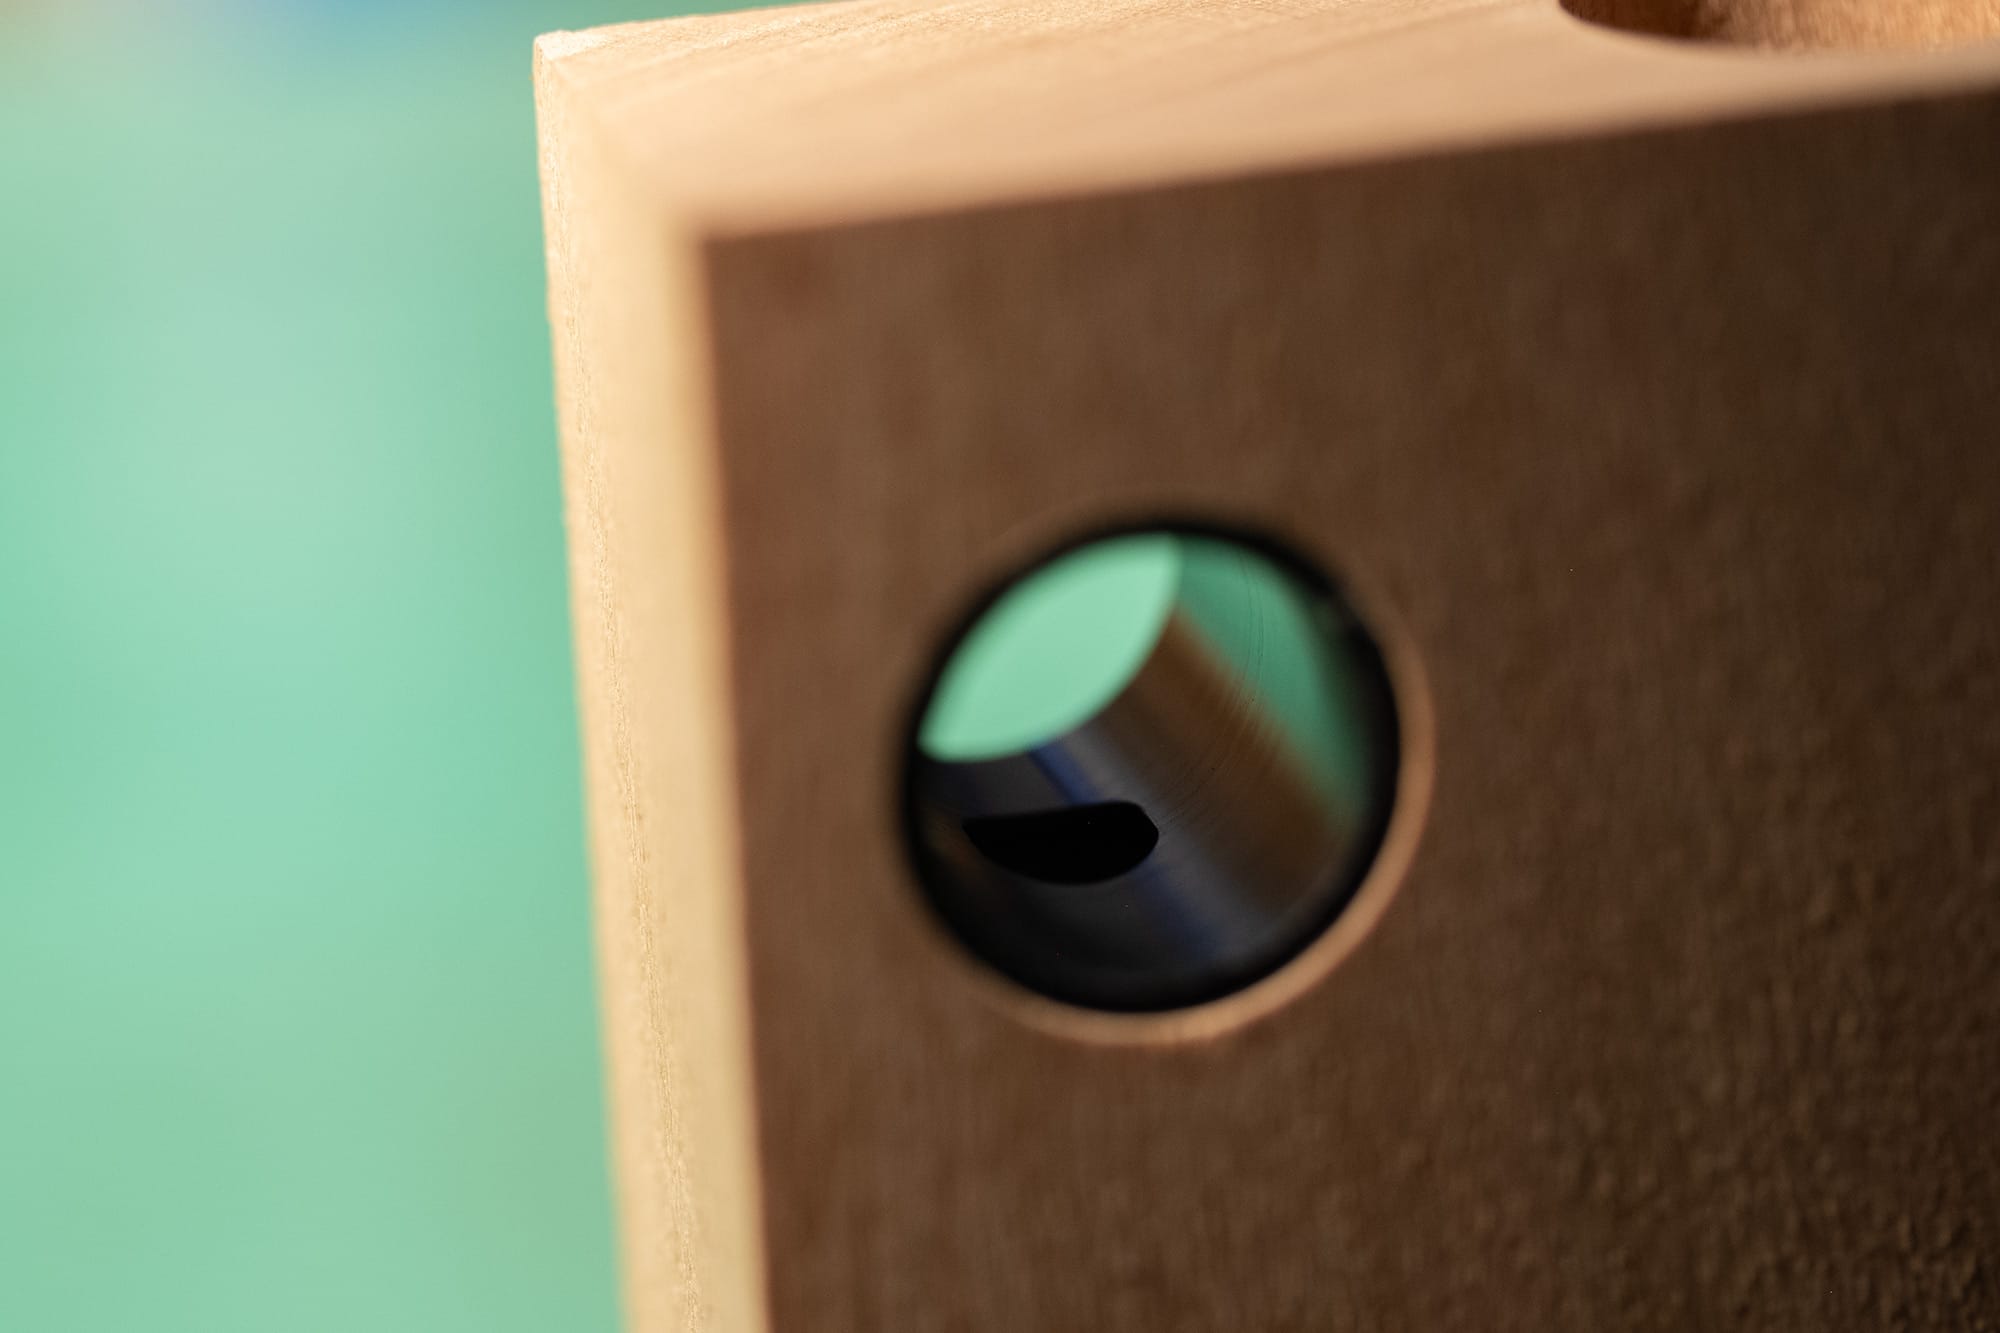
With the plug removed, the slot is now centered. These Delrin sleeves are a snug fit so they won't move around during glue up.
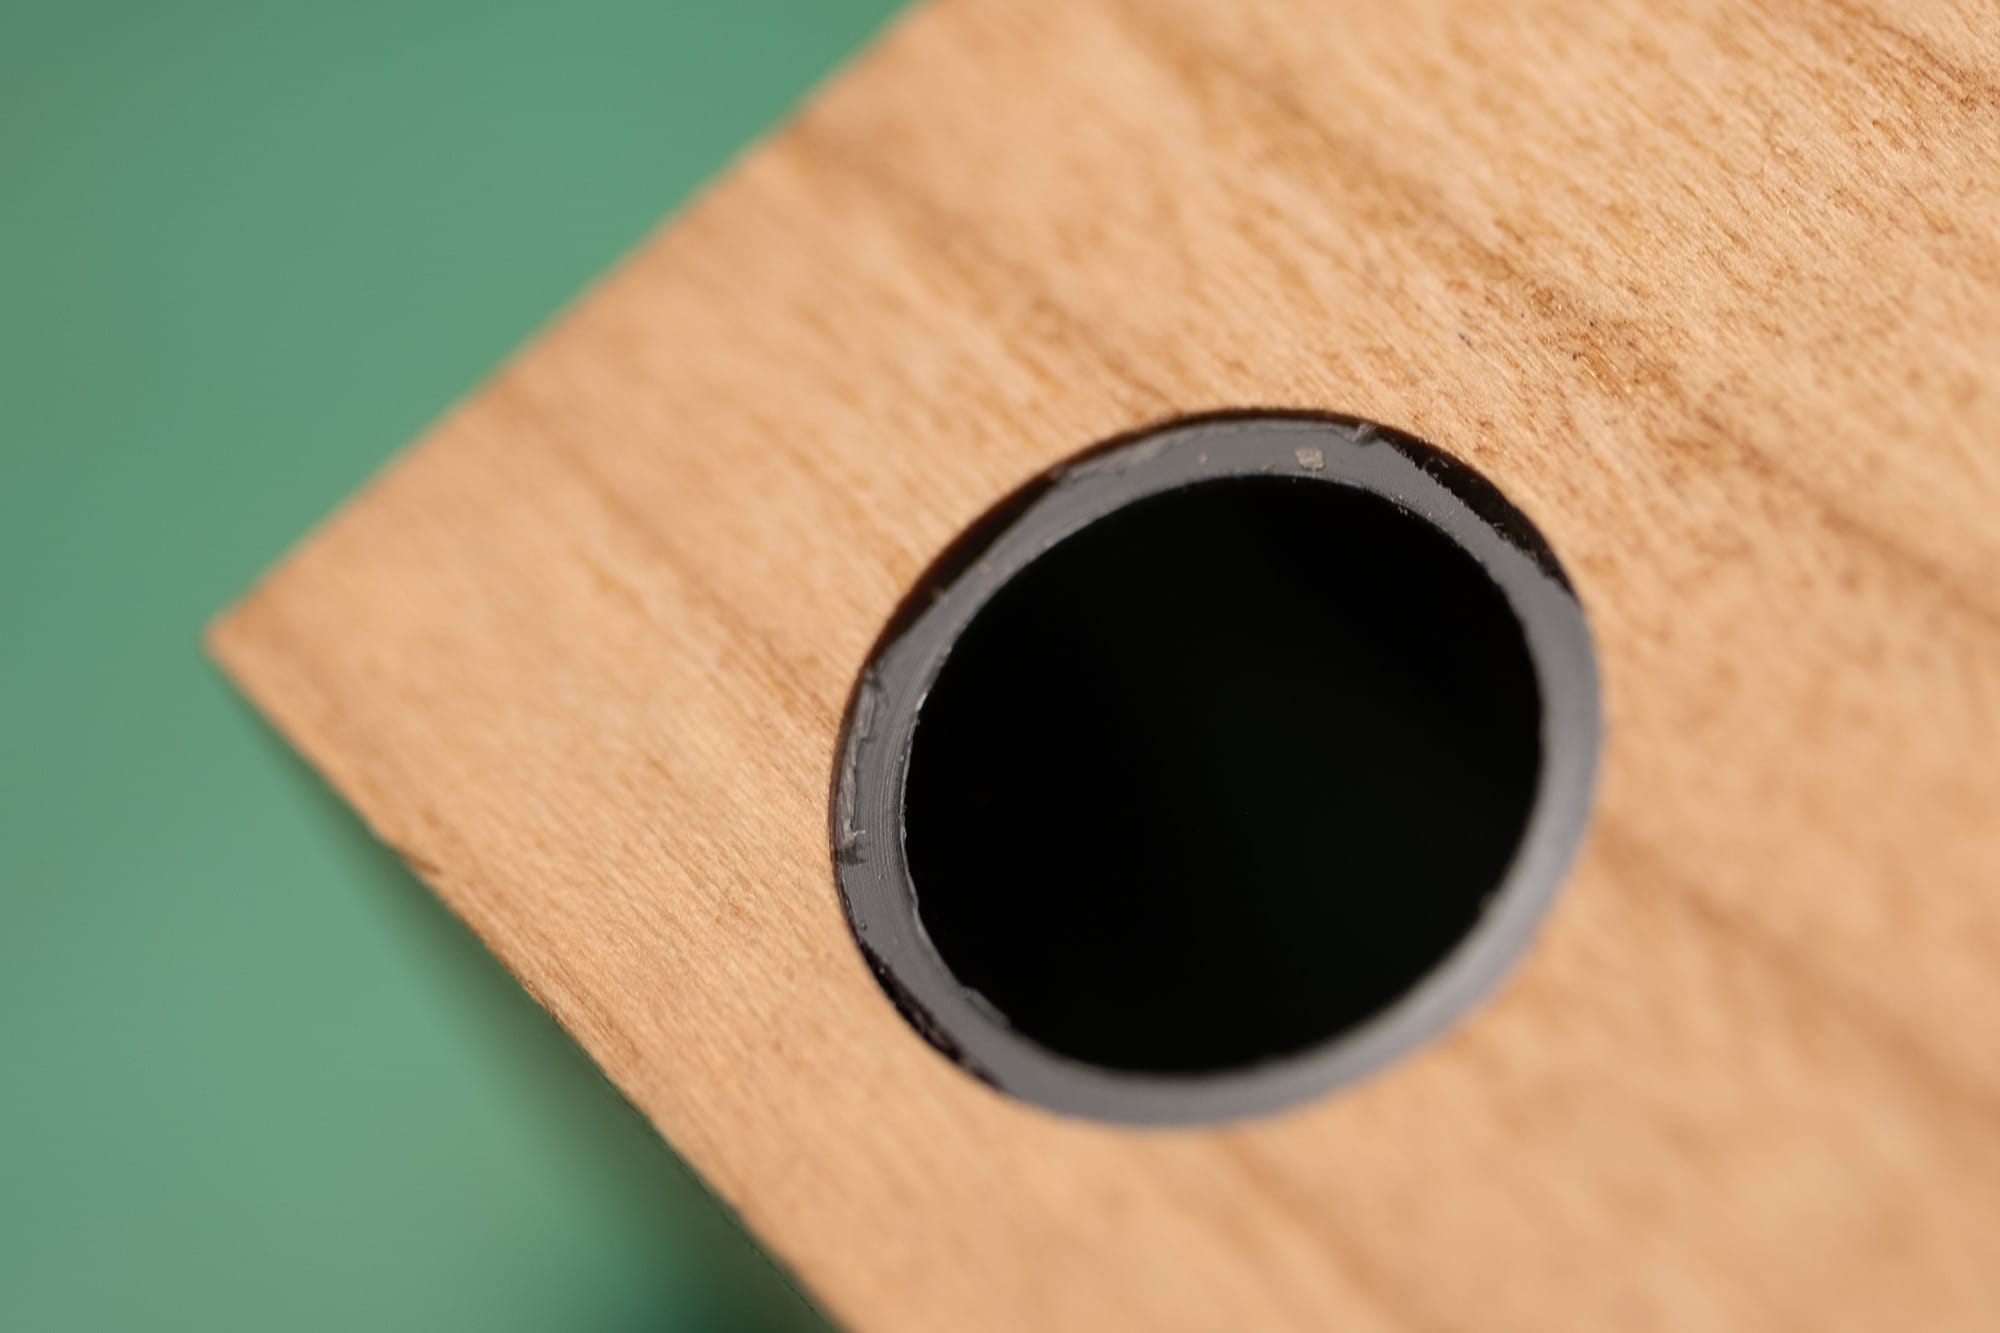
And because they're a snug fit... they would be difficult to glue by any other method apart from the one I'll show here.
If glue were applied to these parts before assembly, the snugness of the fitment would push all the glue out of the joint... creating a big mess. Glue would be pushed into the battery compartment and it'd be almost impossible to clean up.
In this close up photo, you can see the three flats that I sanded on the outside of the the Delrin sleeves. These glue channels wick the glue into the joint where it'll work itself further around the entire joint. The wicking action sucks up only as much glue as the joint can hold, so a proper amount of glue is guaranteed every time.
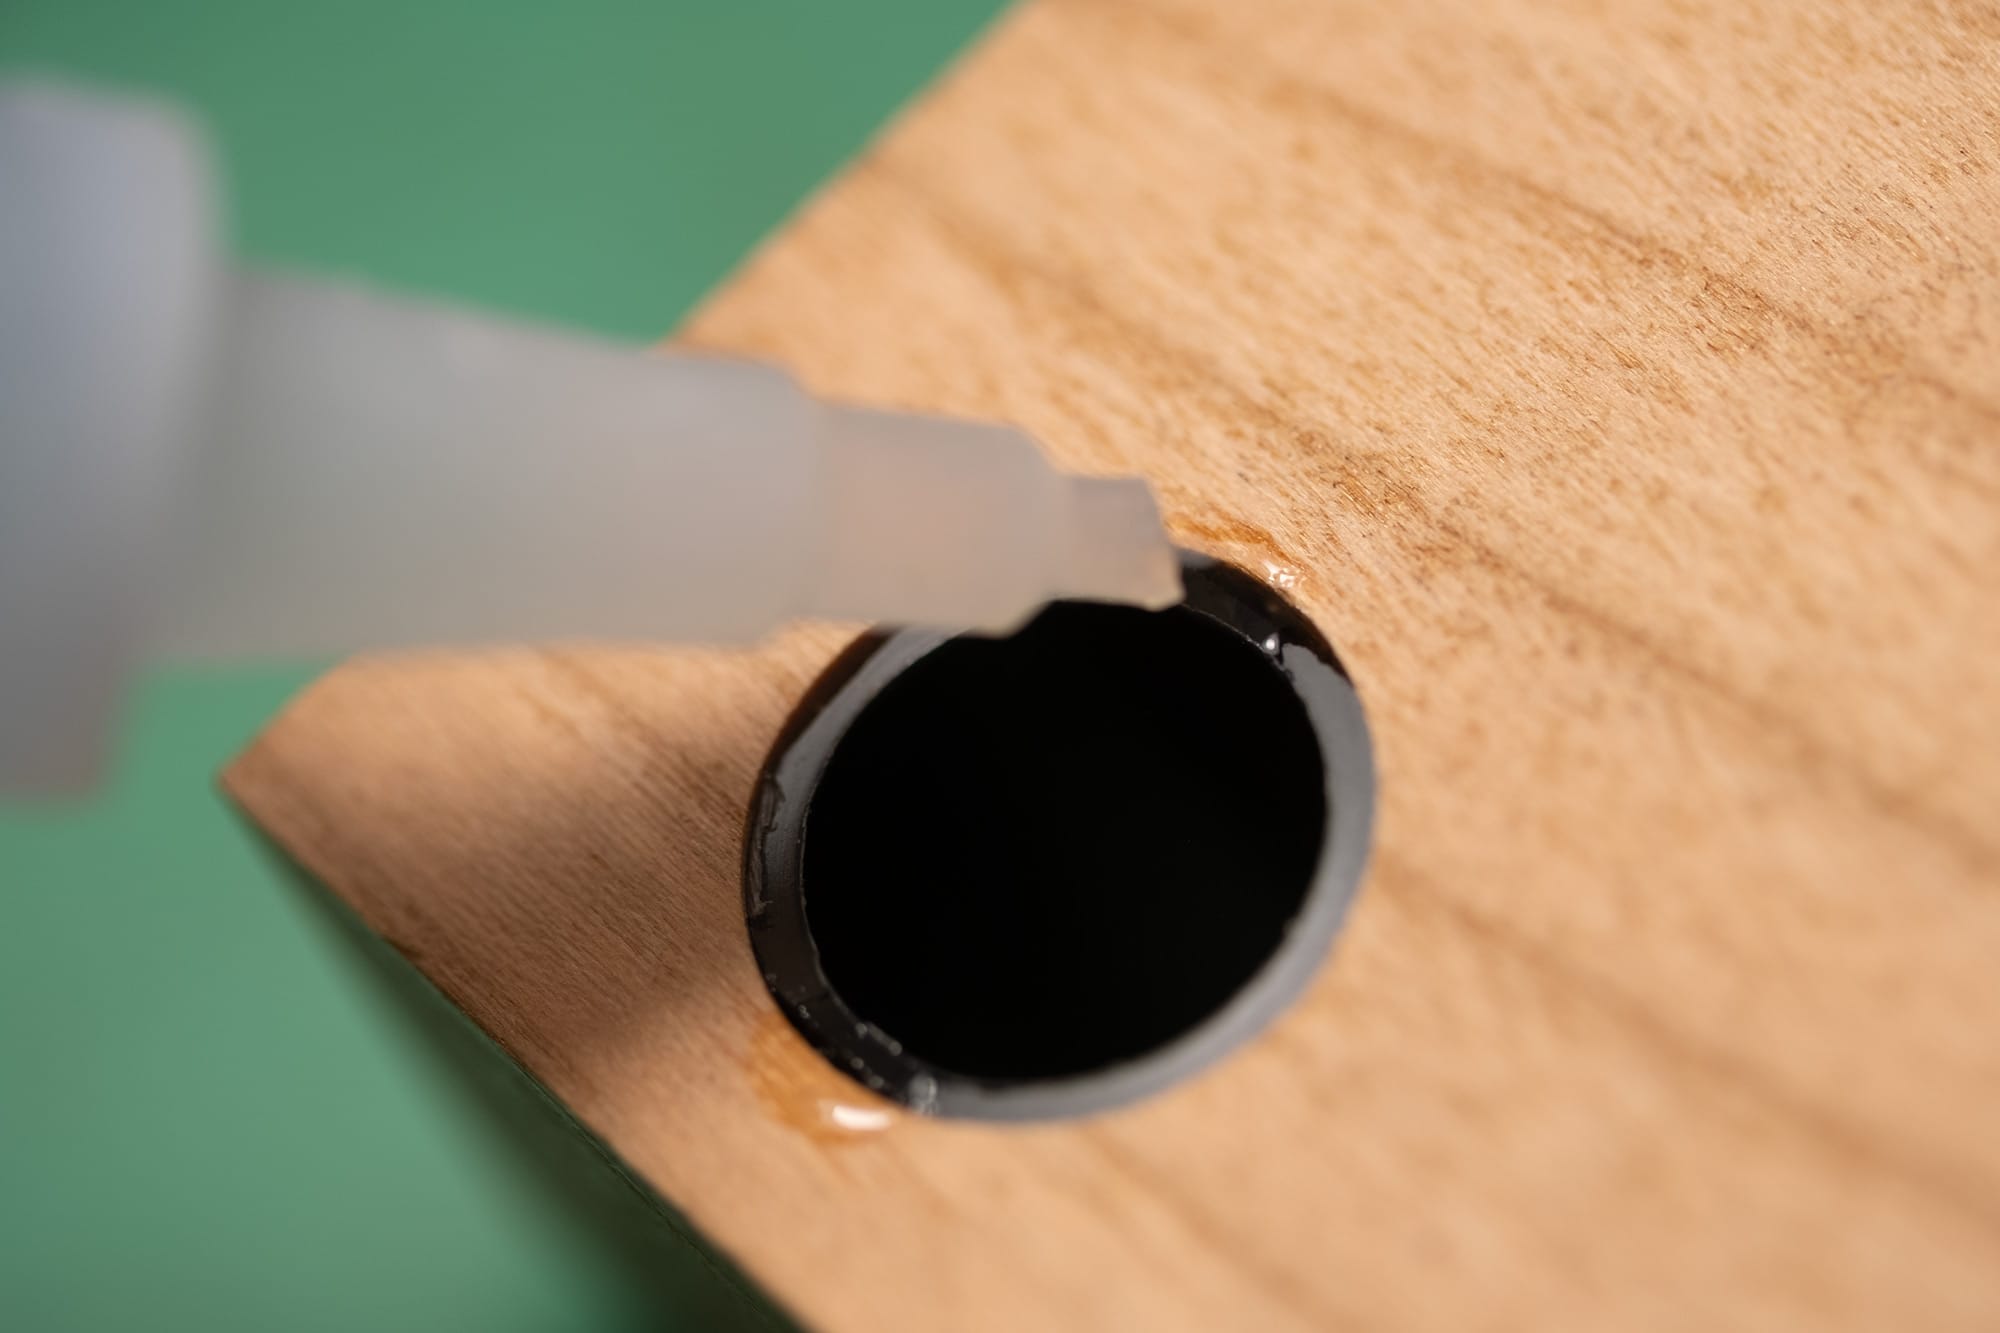
I use liquid CA glue for this. Even though CA glue doesn't make a good chemical bond with Delrin, the mechanical bond makes up for it, and the water-thin consistency is necessary for the wicking action.
The CA glue fills all of the micro voids between the wood and Delrin, hardening into a solid plastic filler that locks the two parts together.
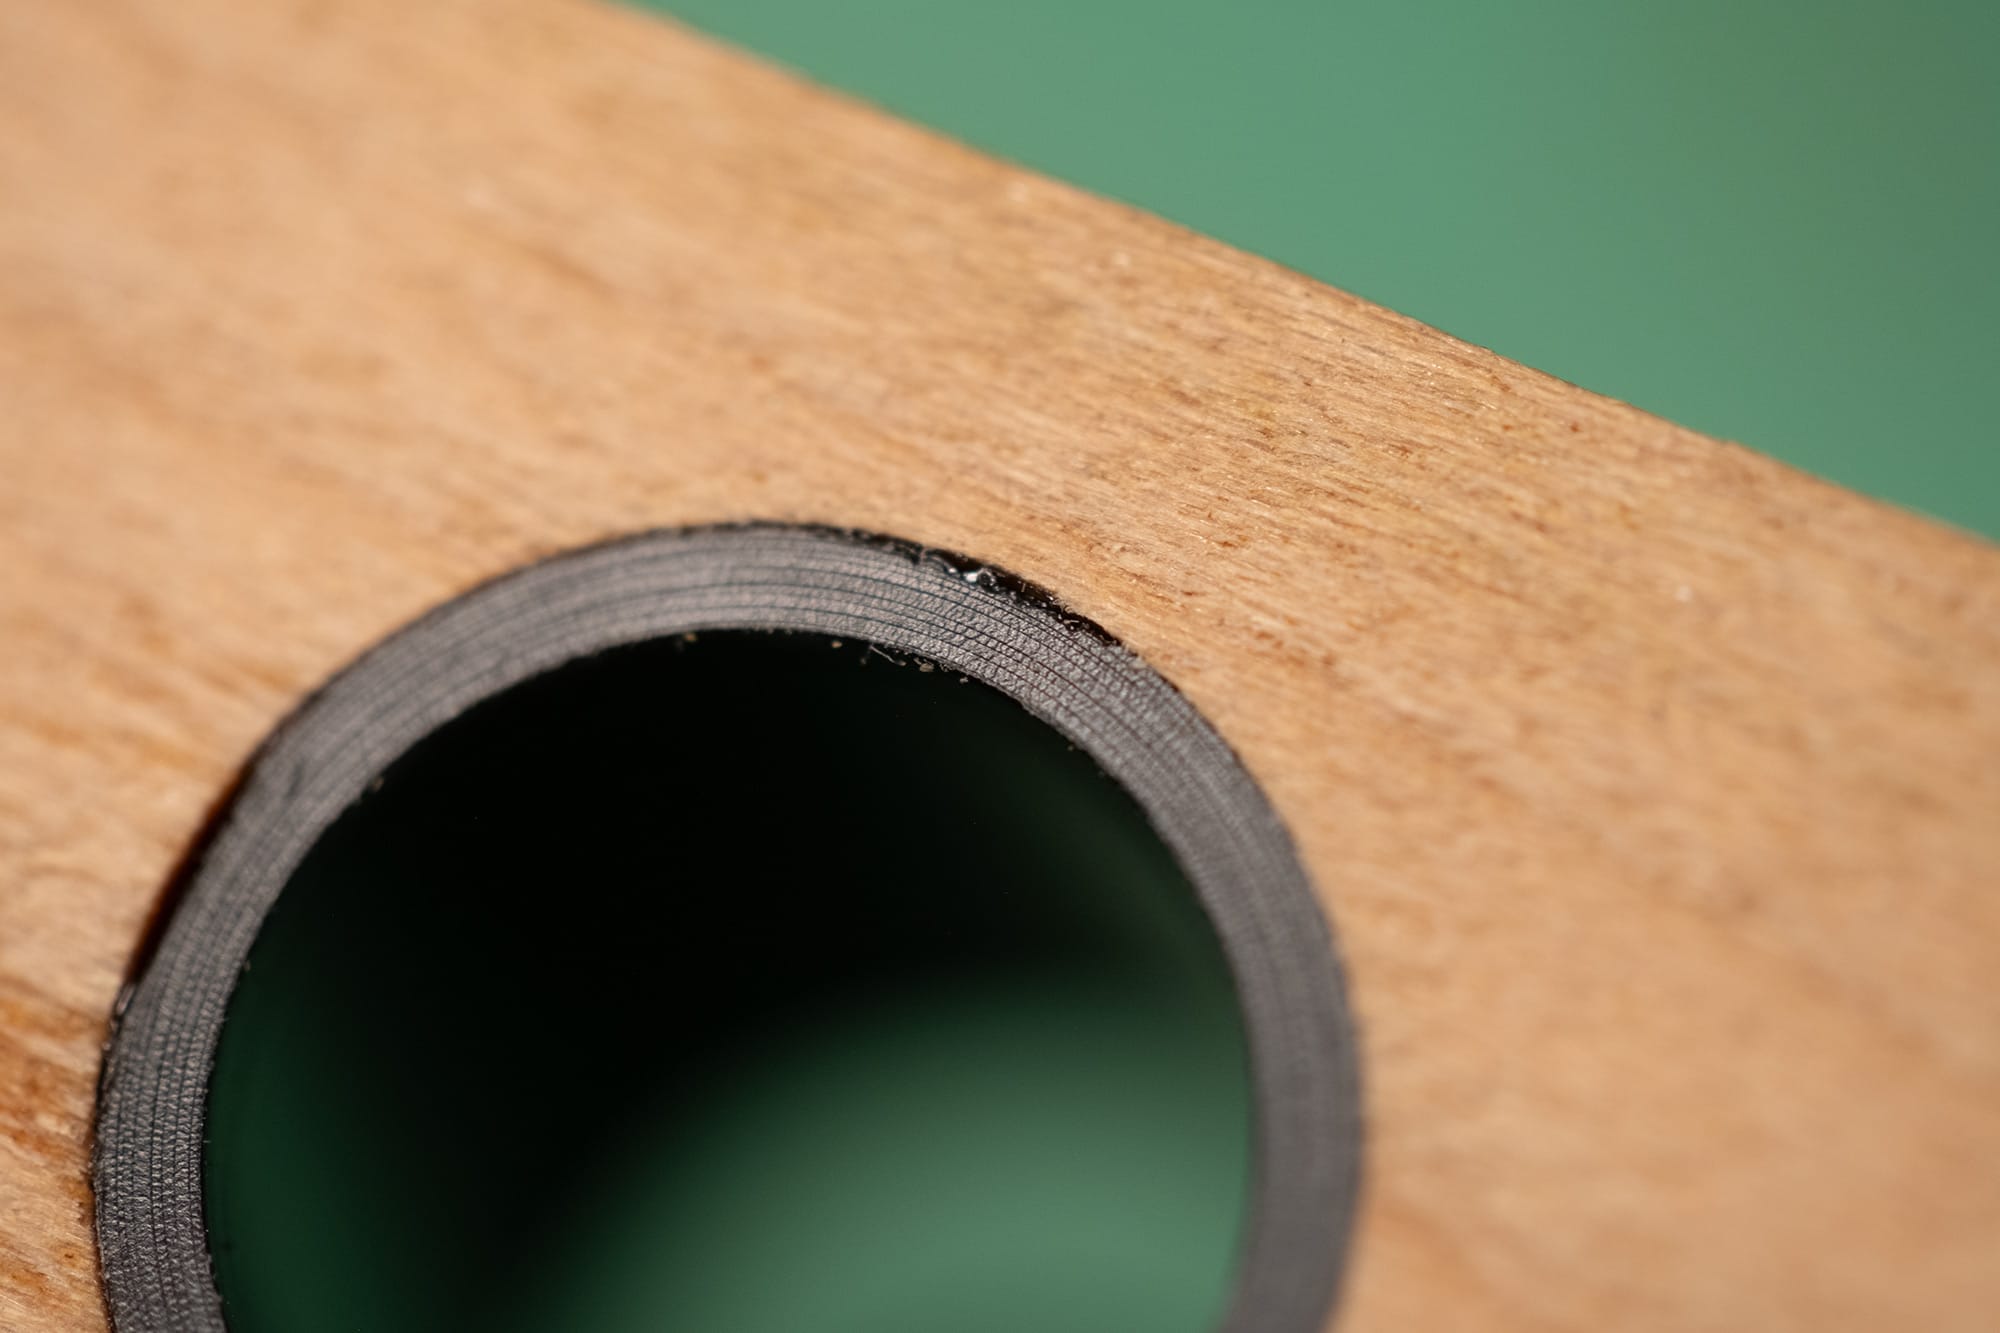
During glue up, I keep an eye on the reverse side. Here, you can see the wet glue just starting the emerge. This shows that the glue has wicked itself fully into the joint.
Notice how clean the joint is, no clean up of glue squeeze out required.
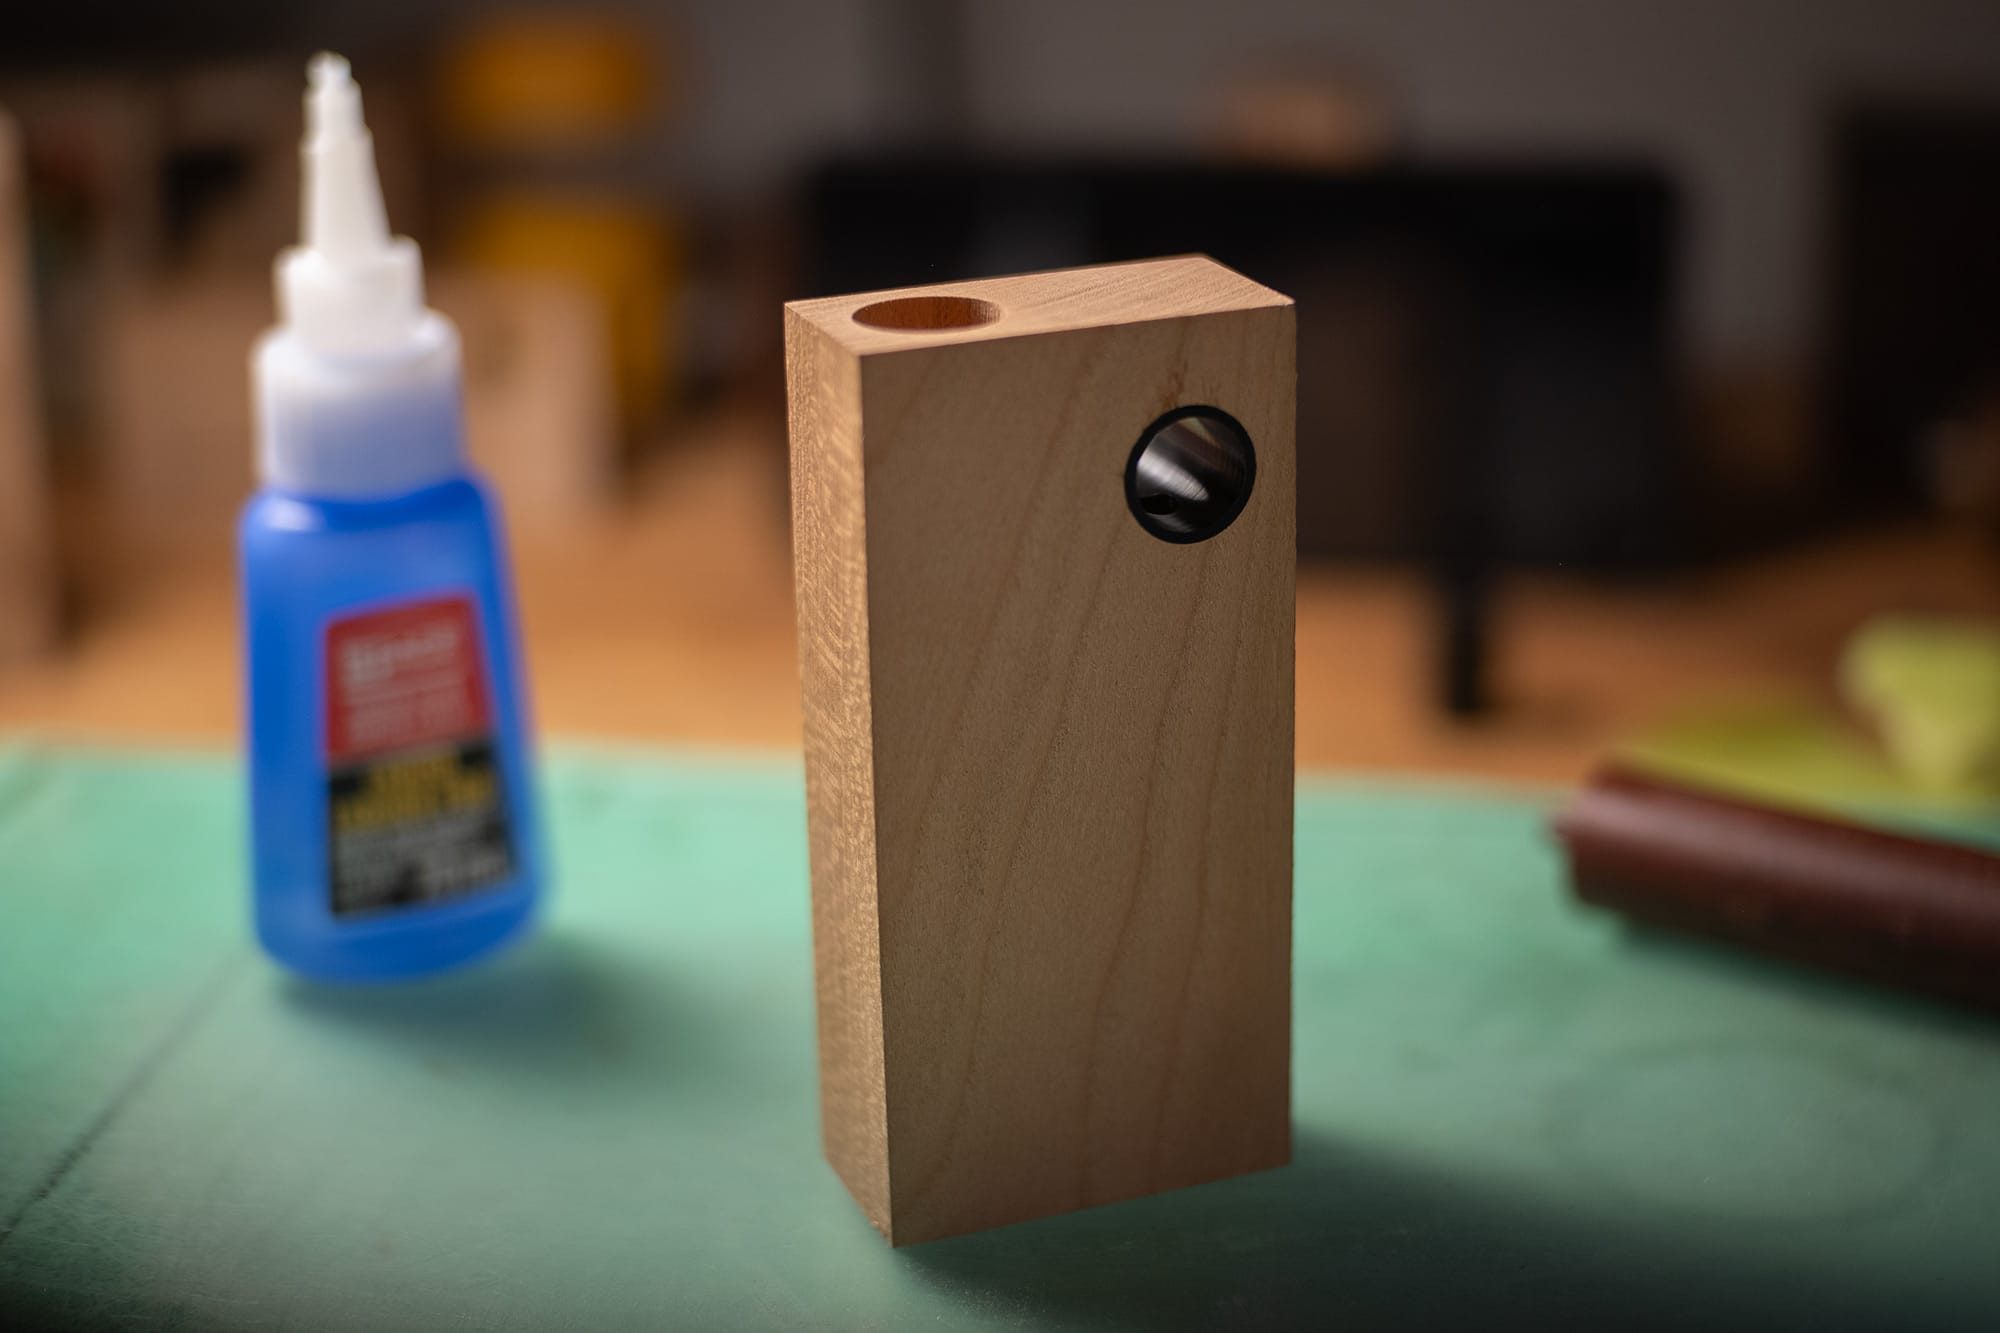
These are now ready for the next steps. And that's where I'll leave it for today.