Toad Craft 07
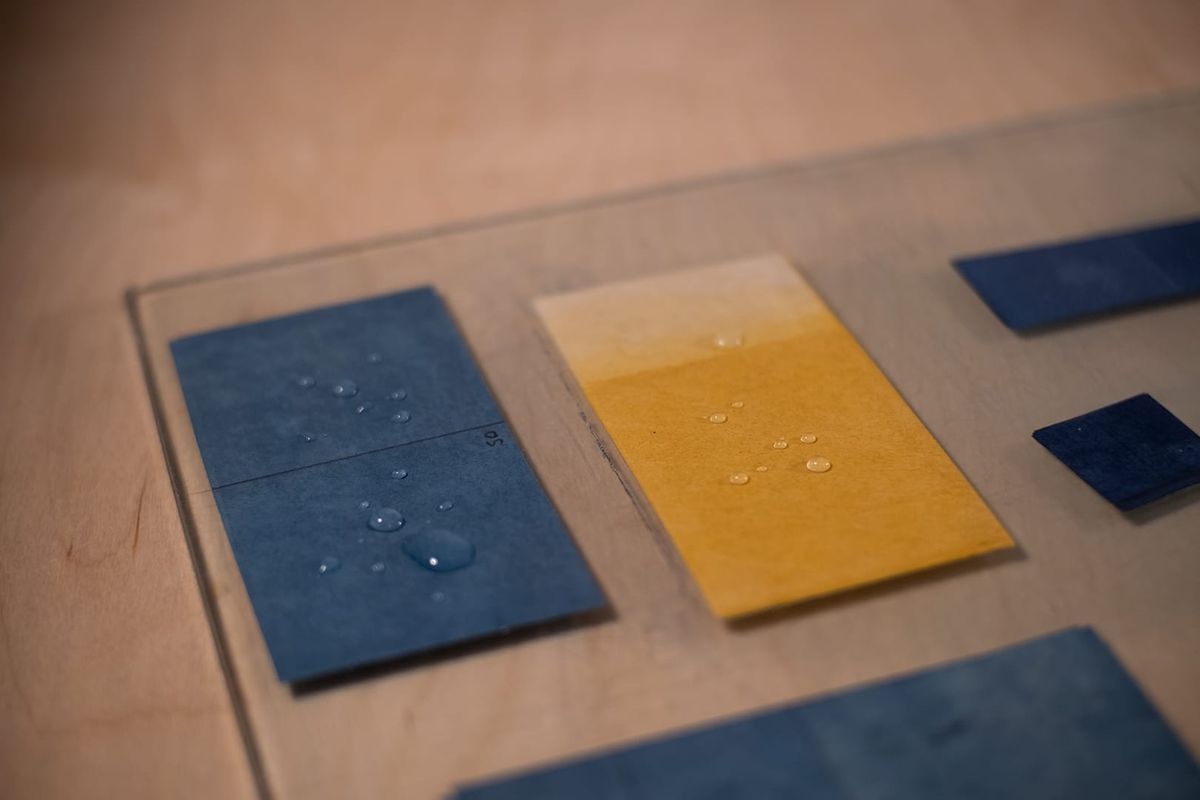
In this update we'll creep ever closer to getting these Toads ready to wrap with washi.
Ill be showing the assembly process for joining the wood and metal parts together.
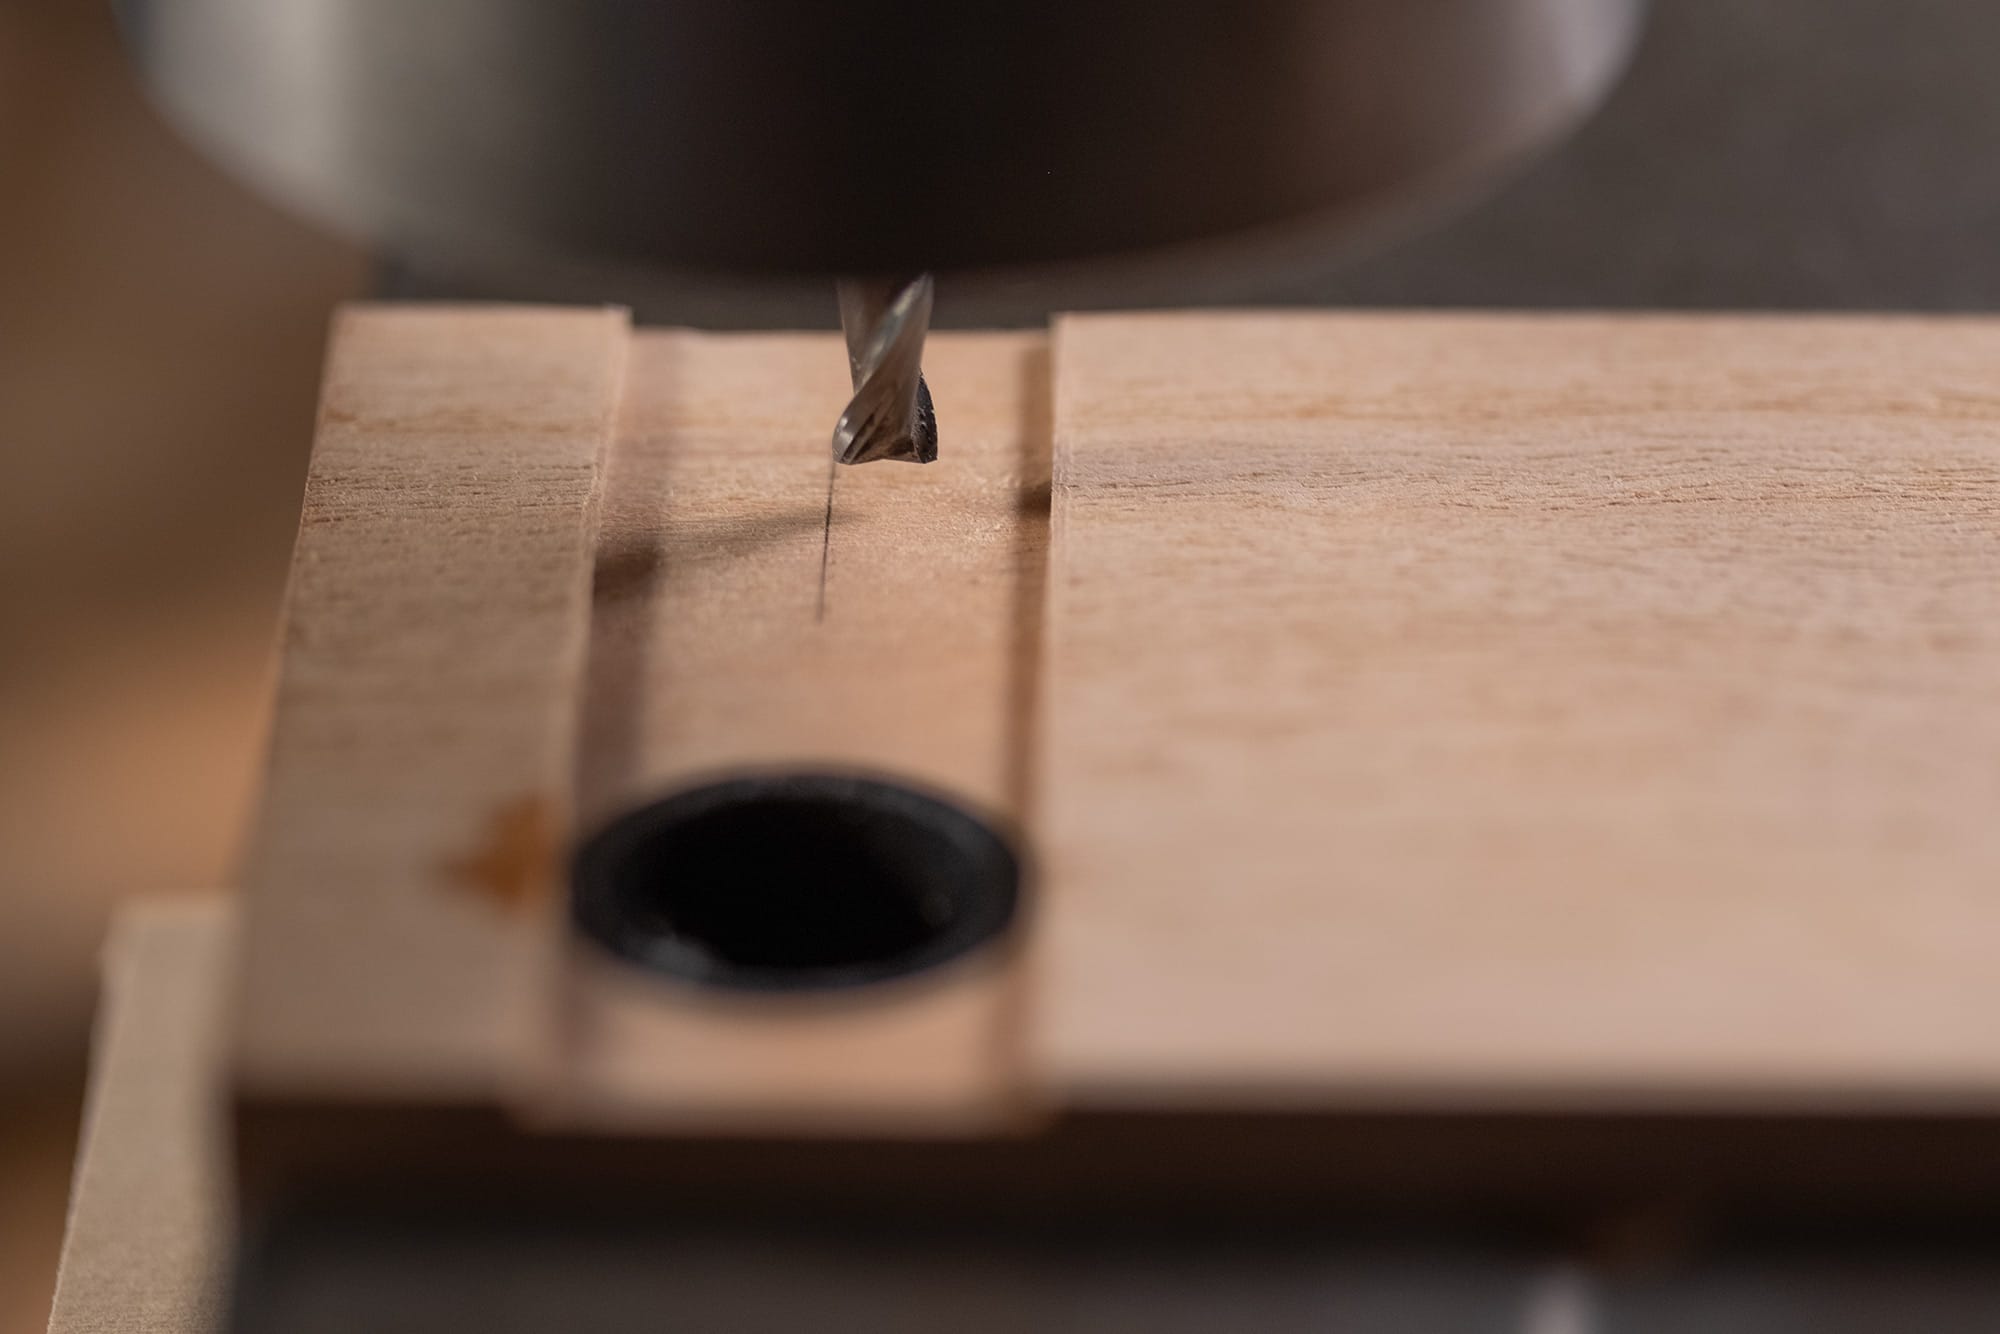
First, a slot is milled to accommodate the brass backing plate that sits behind the button. At the same time, the Delrin button sleeve is machined level with the surface of the wood.
Pencil lines are marked onto the body to denote the start and end of a 1/8" wide slot that I'll be machining next.
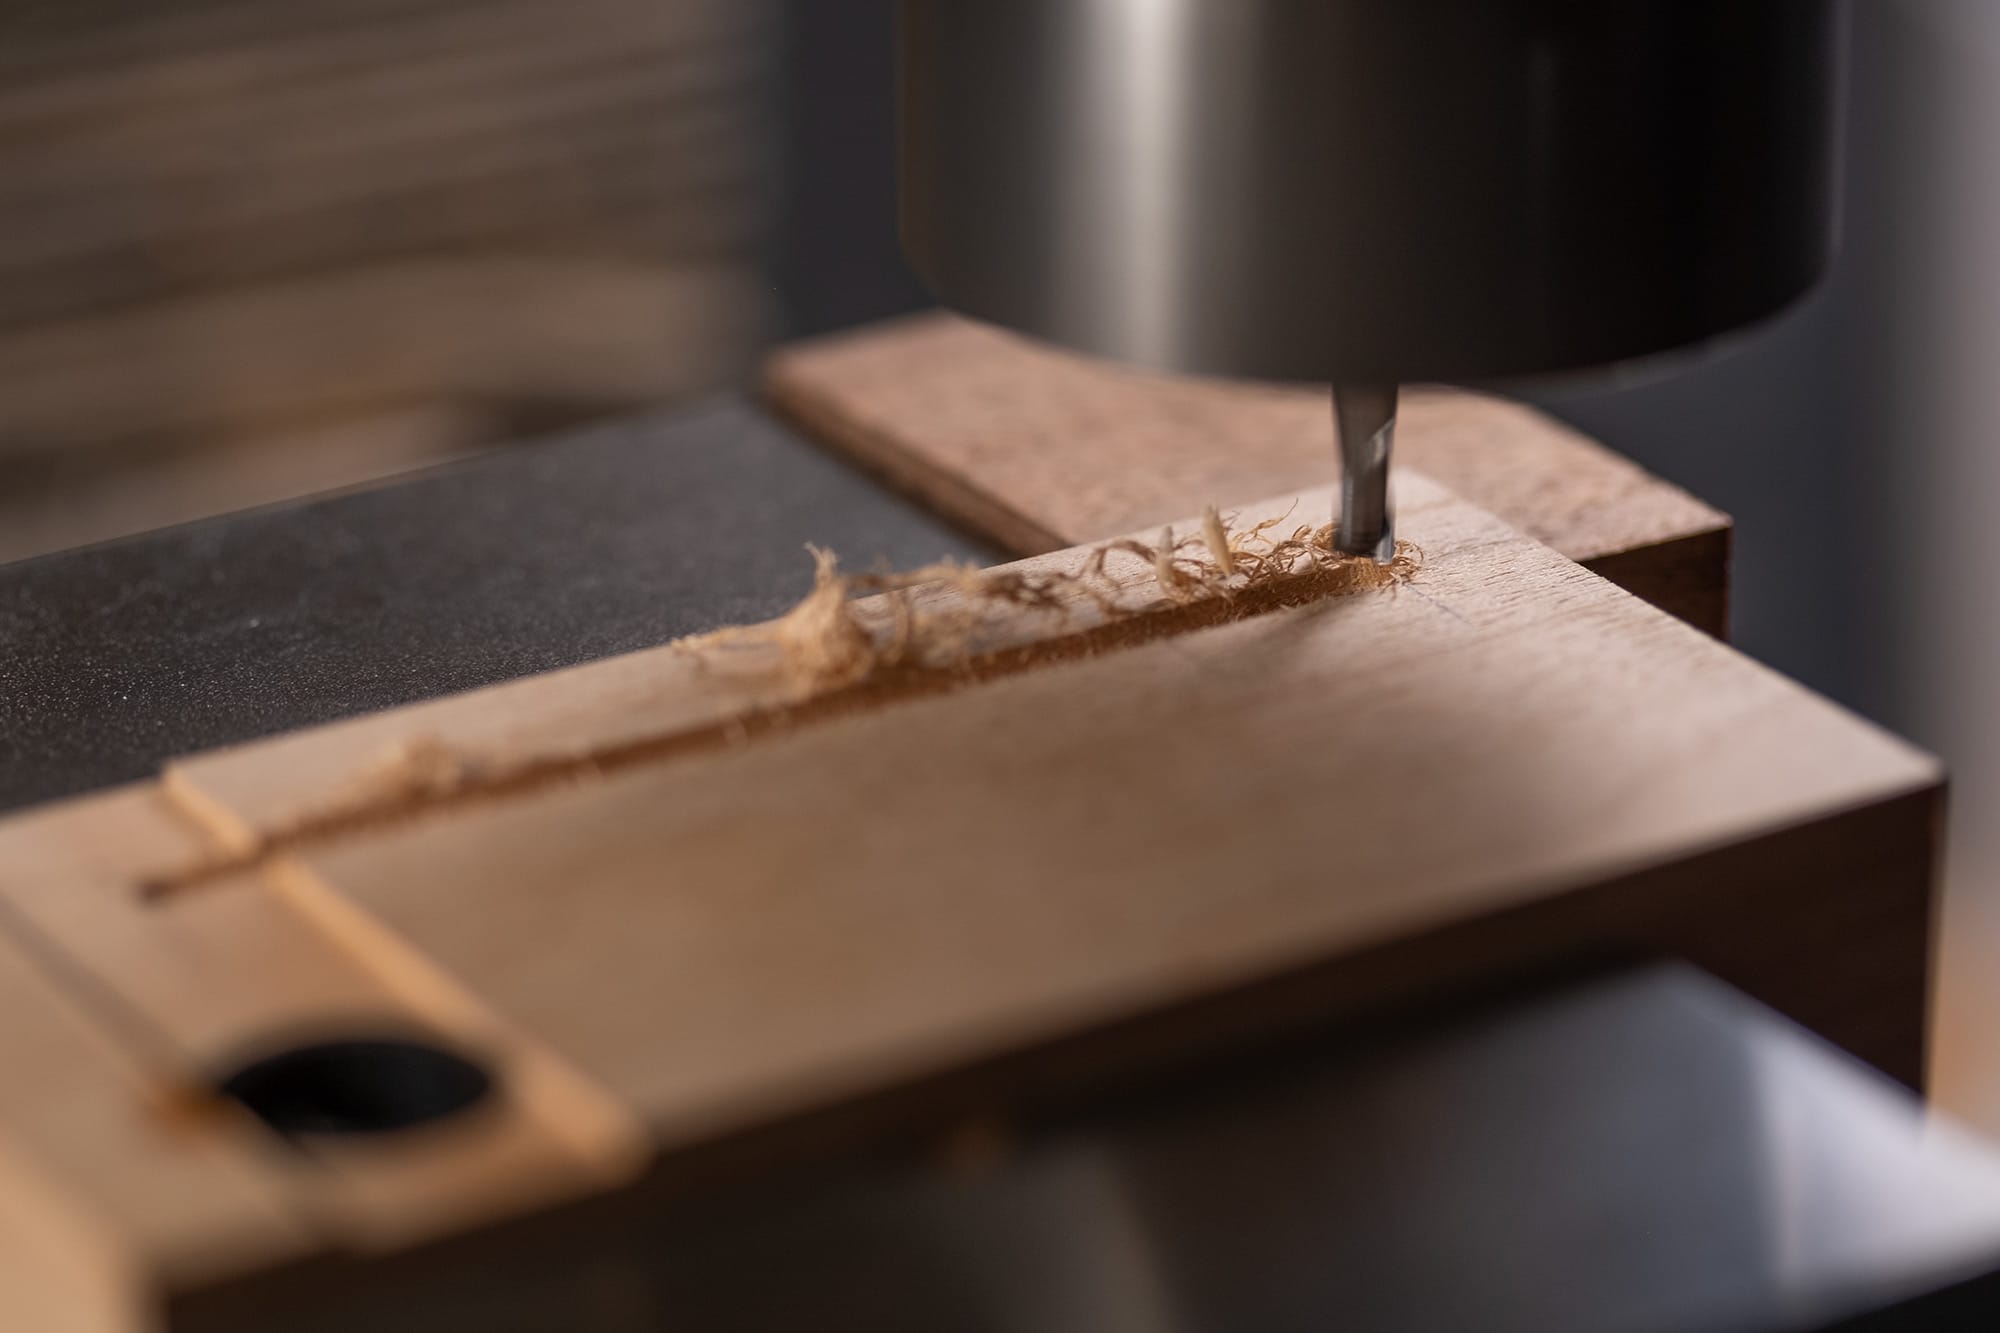
Machining the slot that'll house the copper electrical path.
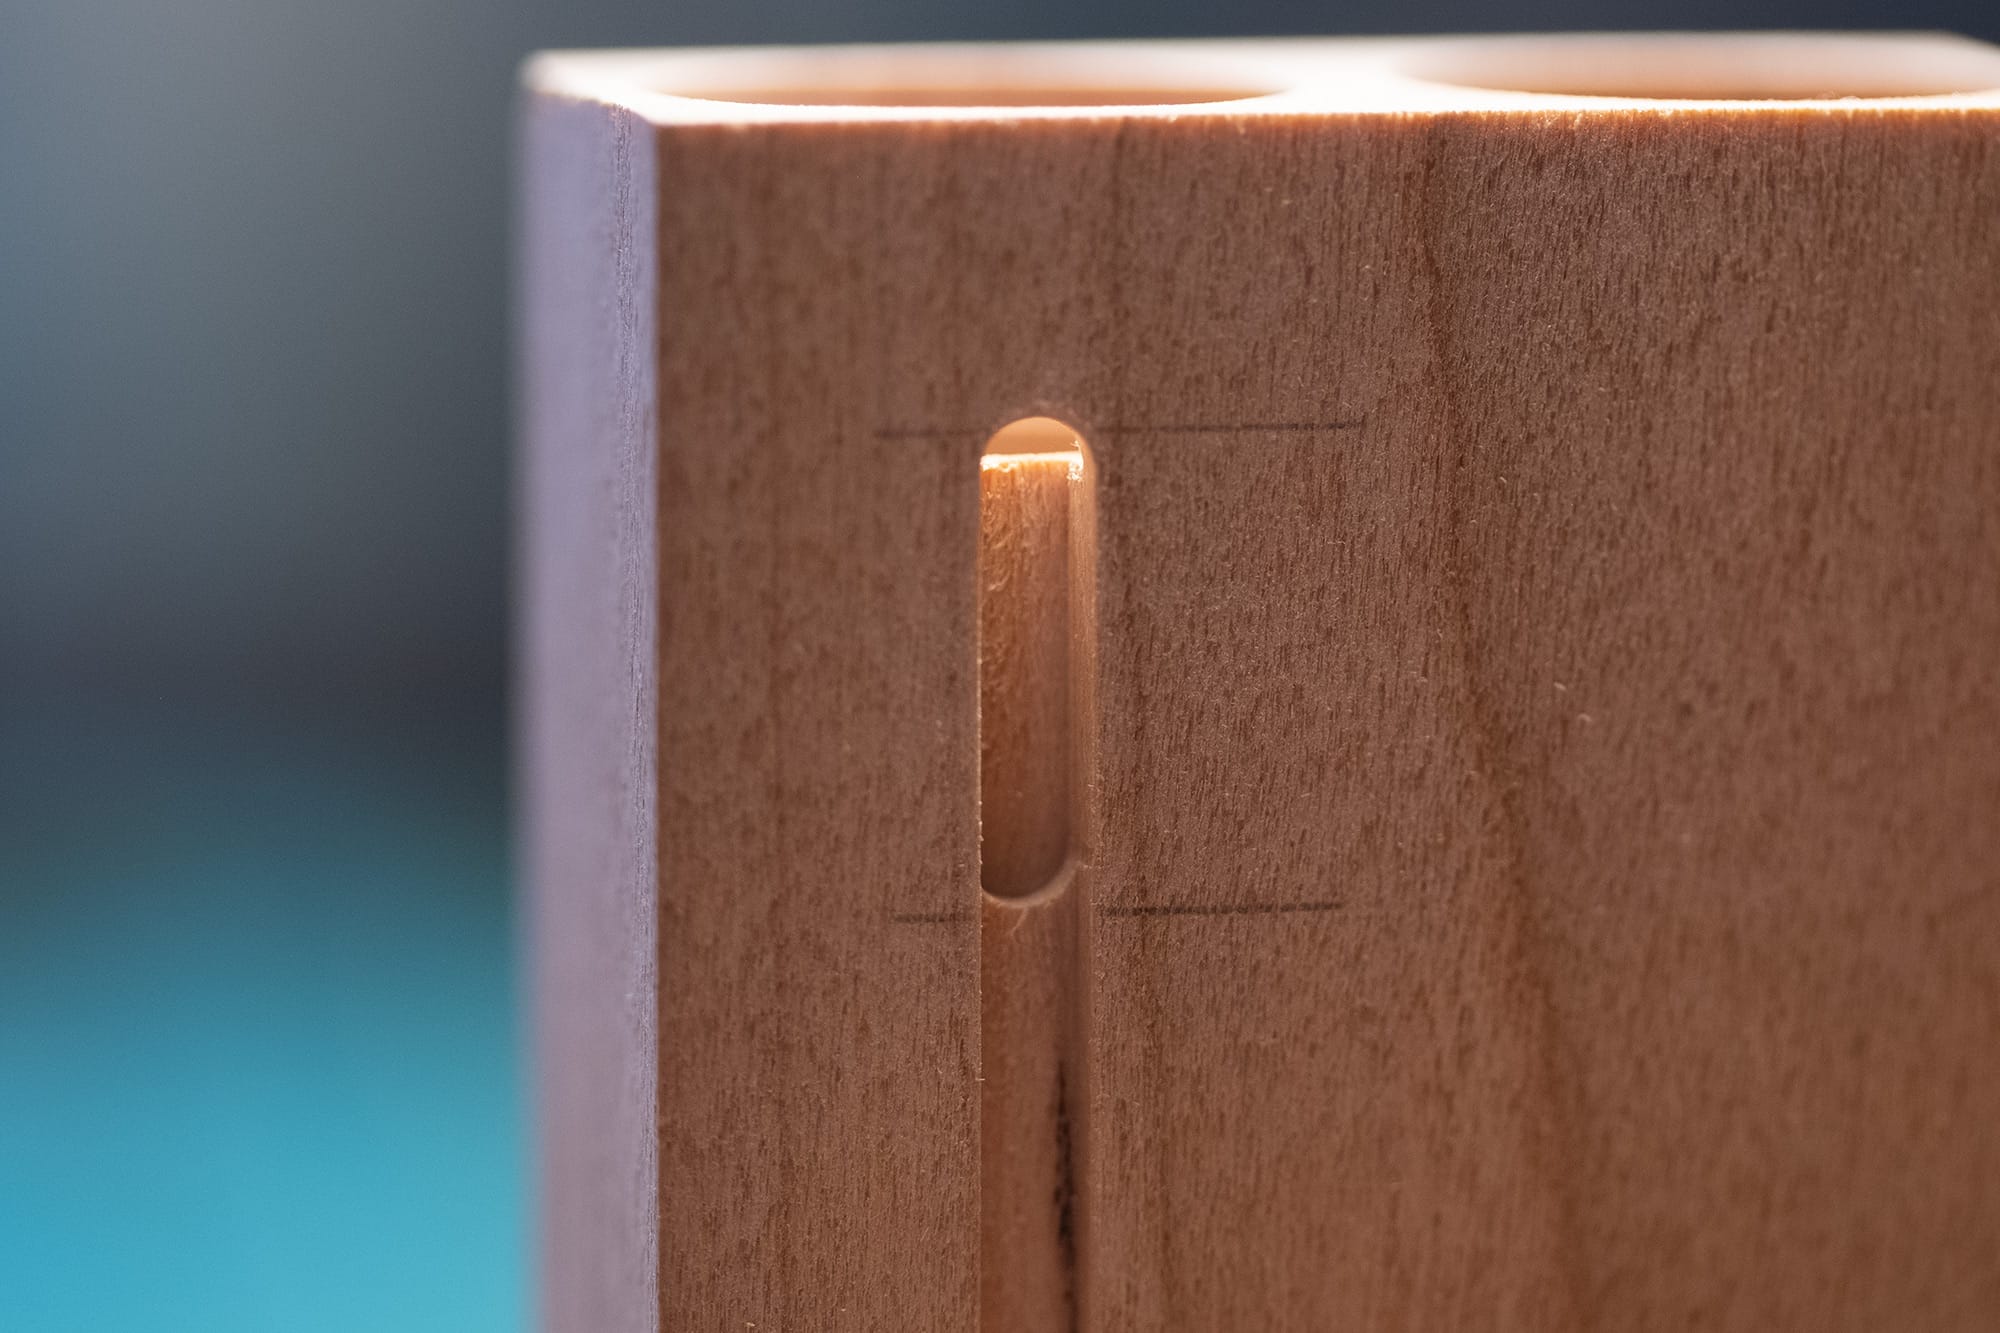
The depth of the slot is changed near the heater module area.
The straight copper lead that was previously soldered to the brass contact rings need to be bent so that they can snake through the slot properly.
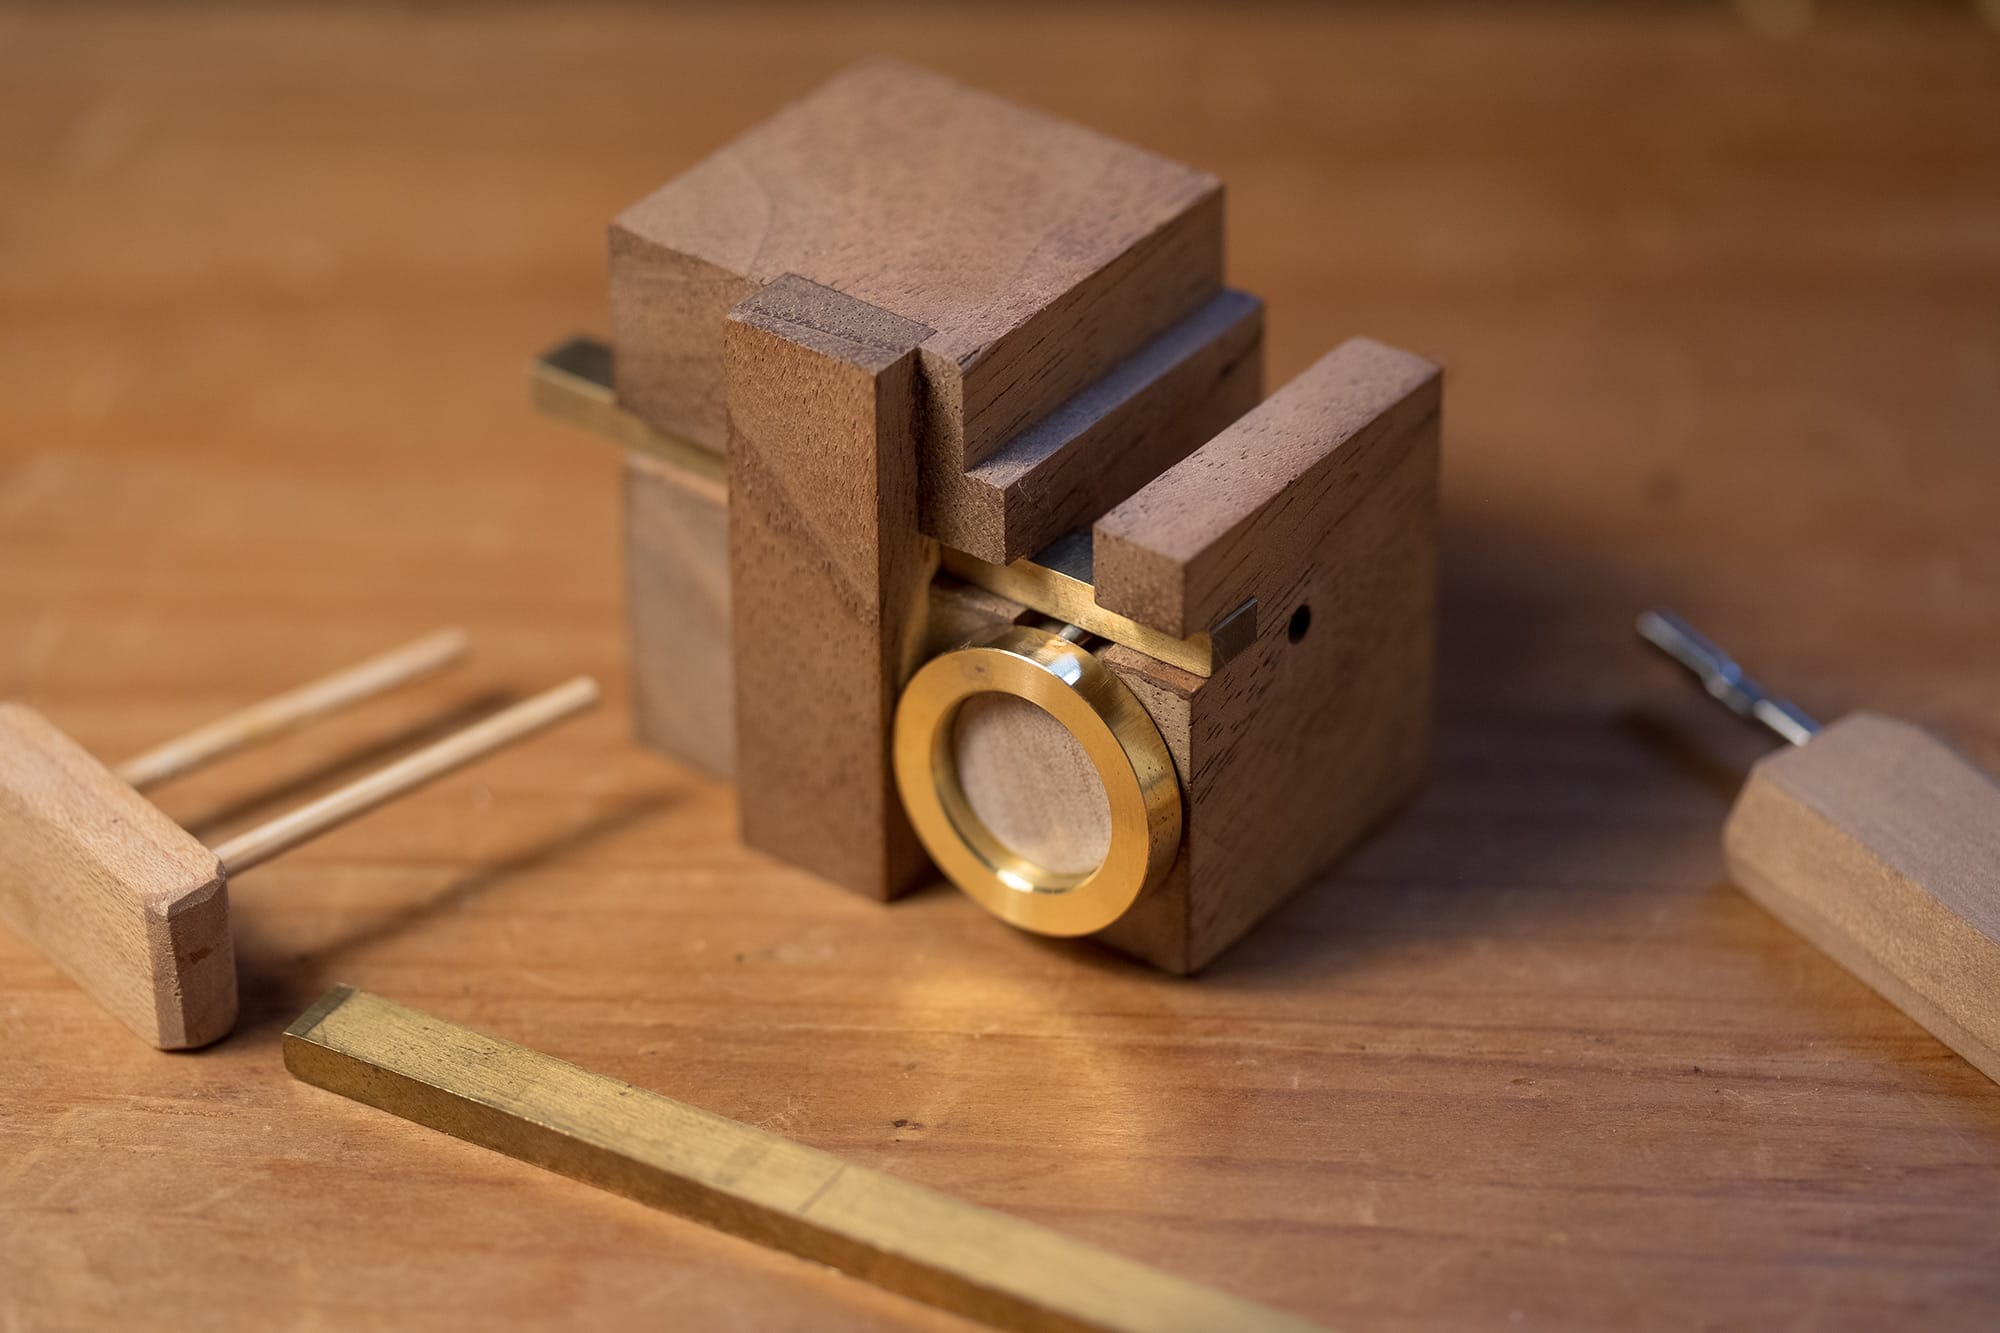
In order for the brass rings to sit perfectly into the wooden bodies, the bend in this copper lead needs to be just right. To help make this bend more repeatable across an entire batch of parts, I made this bending jig.
This Frankenstein of a jig holds a single brass ring captive with a brass clamping bar. A tight friction fit to holds everything together.
The clamping bar holds the copper lead so that when the bends are made no force is applied to the solder joint.
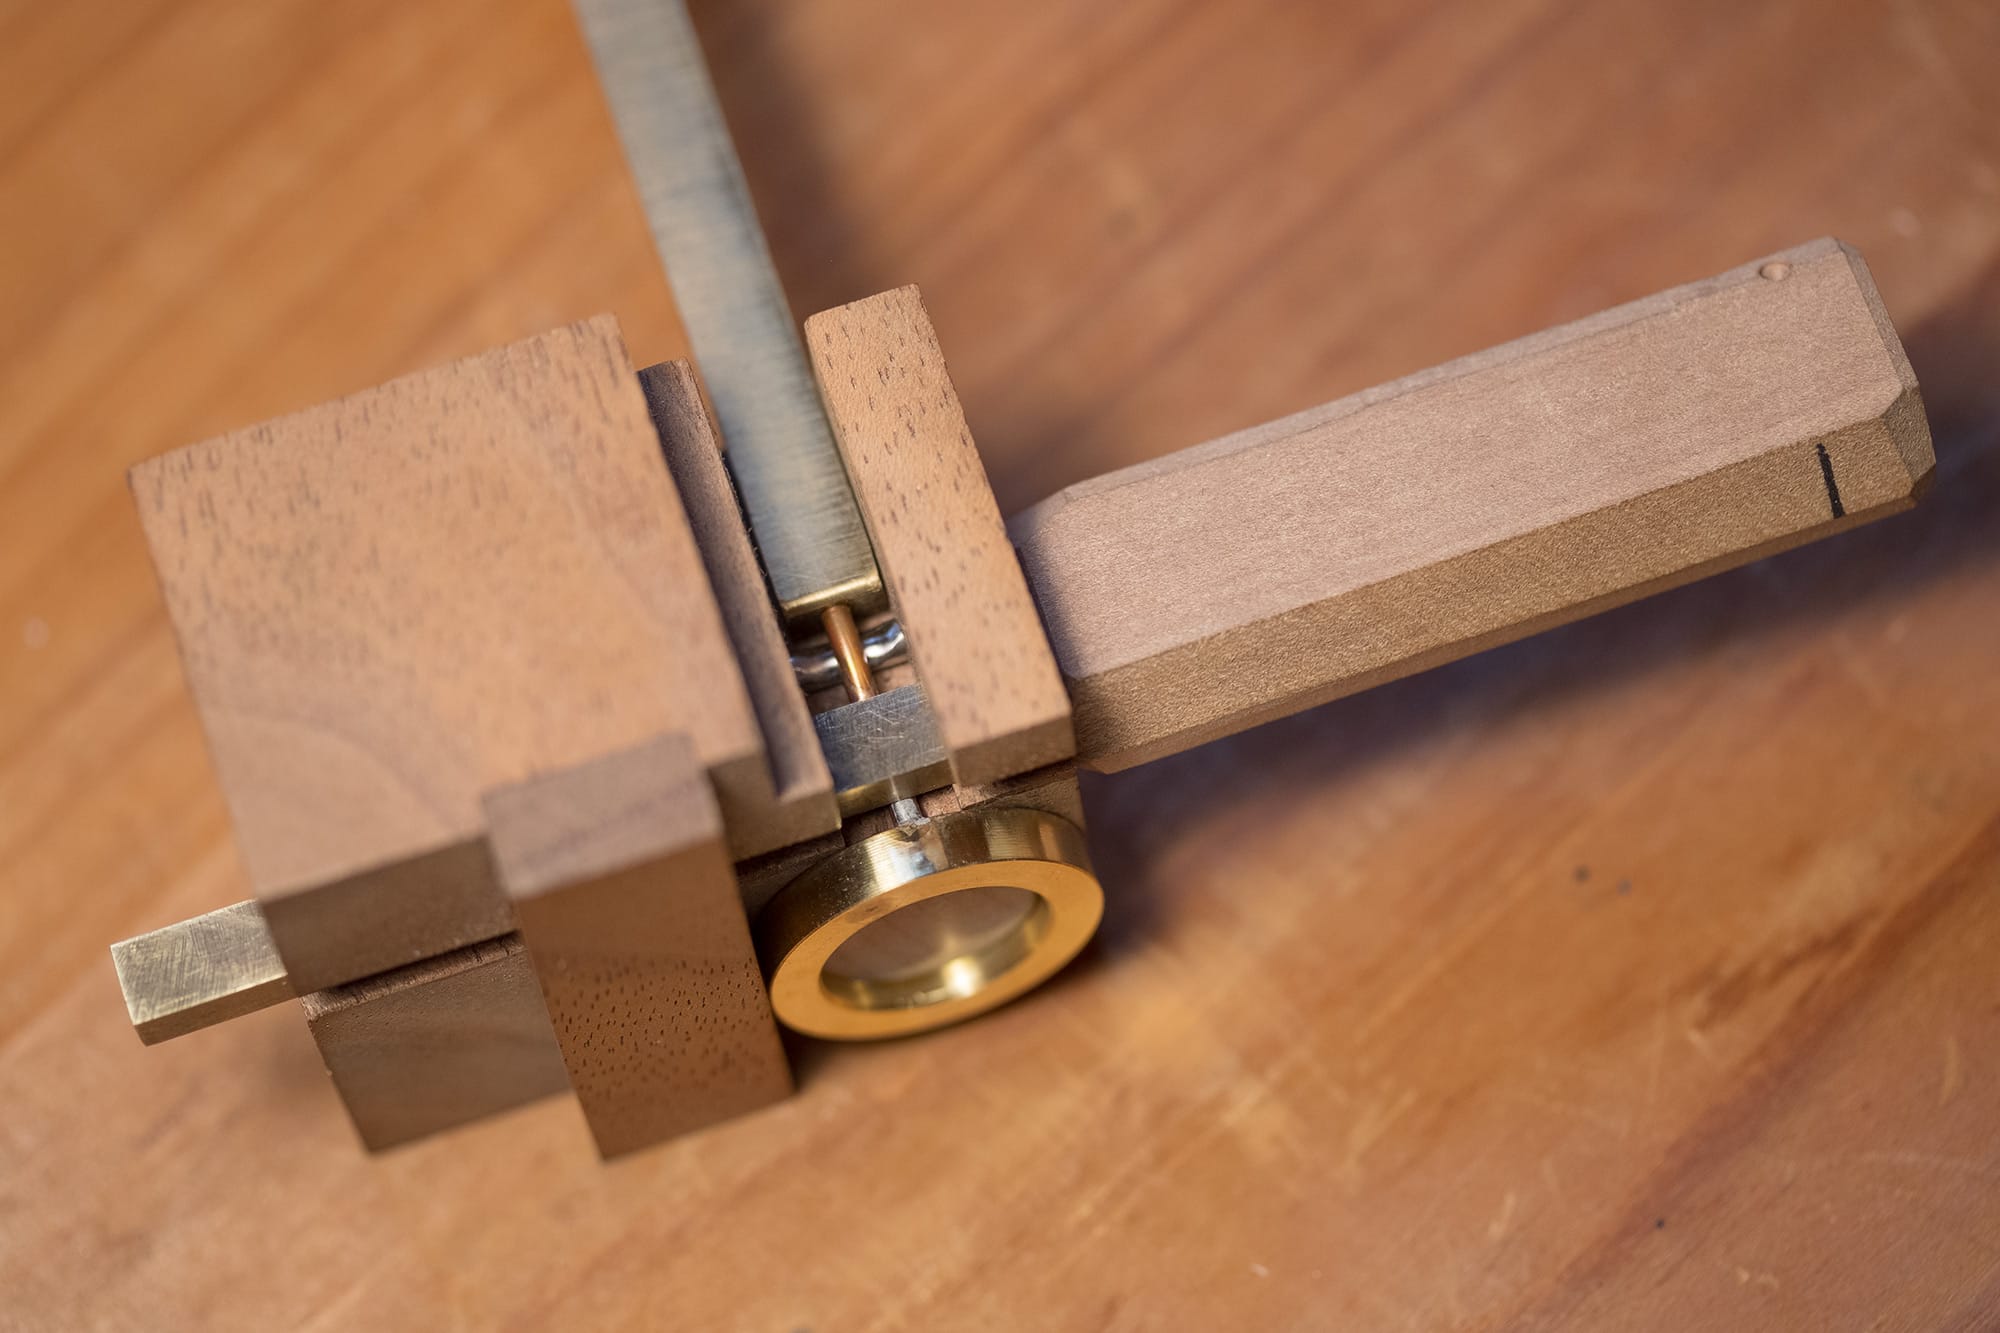
A bend is made, a key looking thing is inserted, another bend is made, the key is removed, the brass clamp is removed.
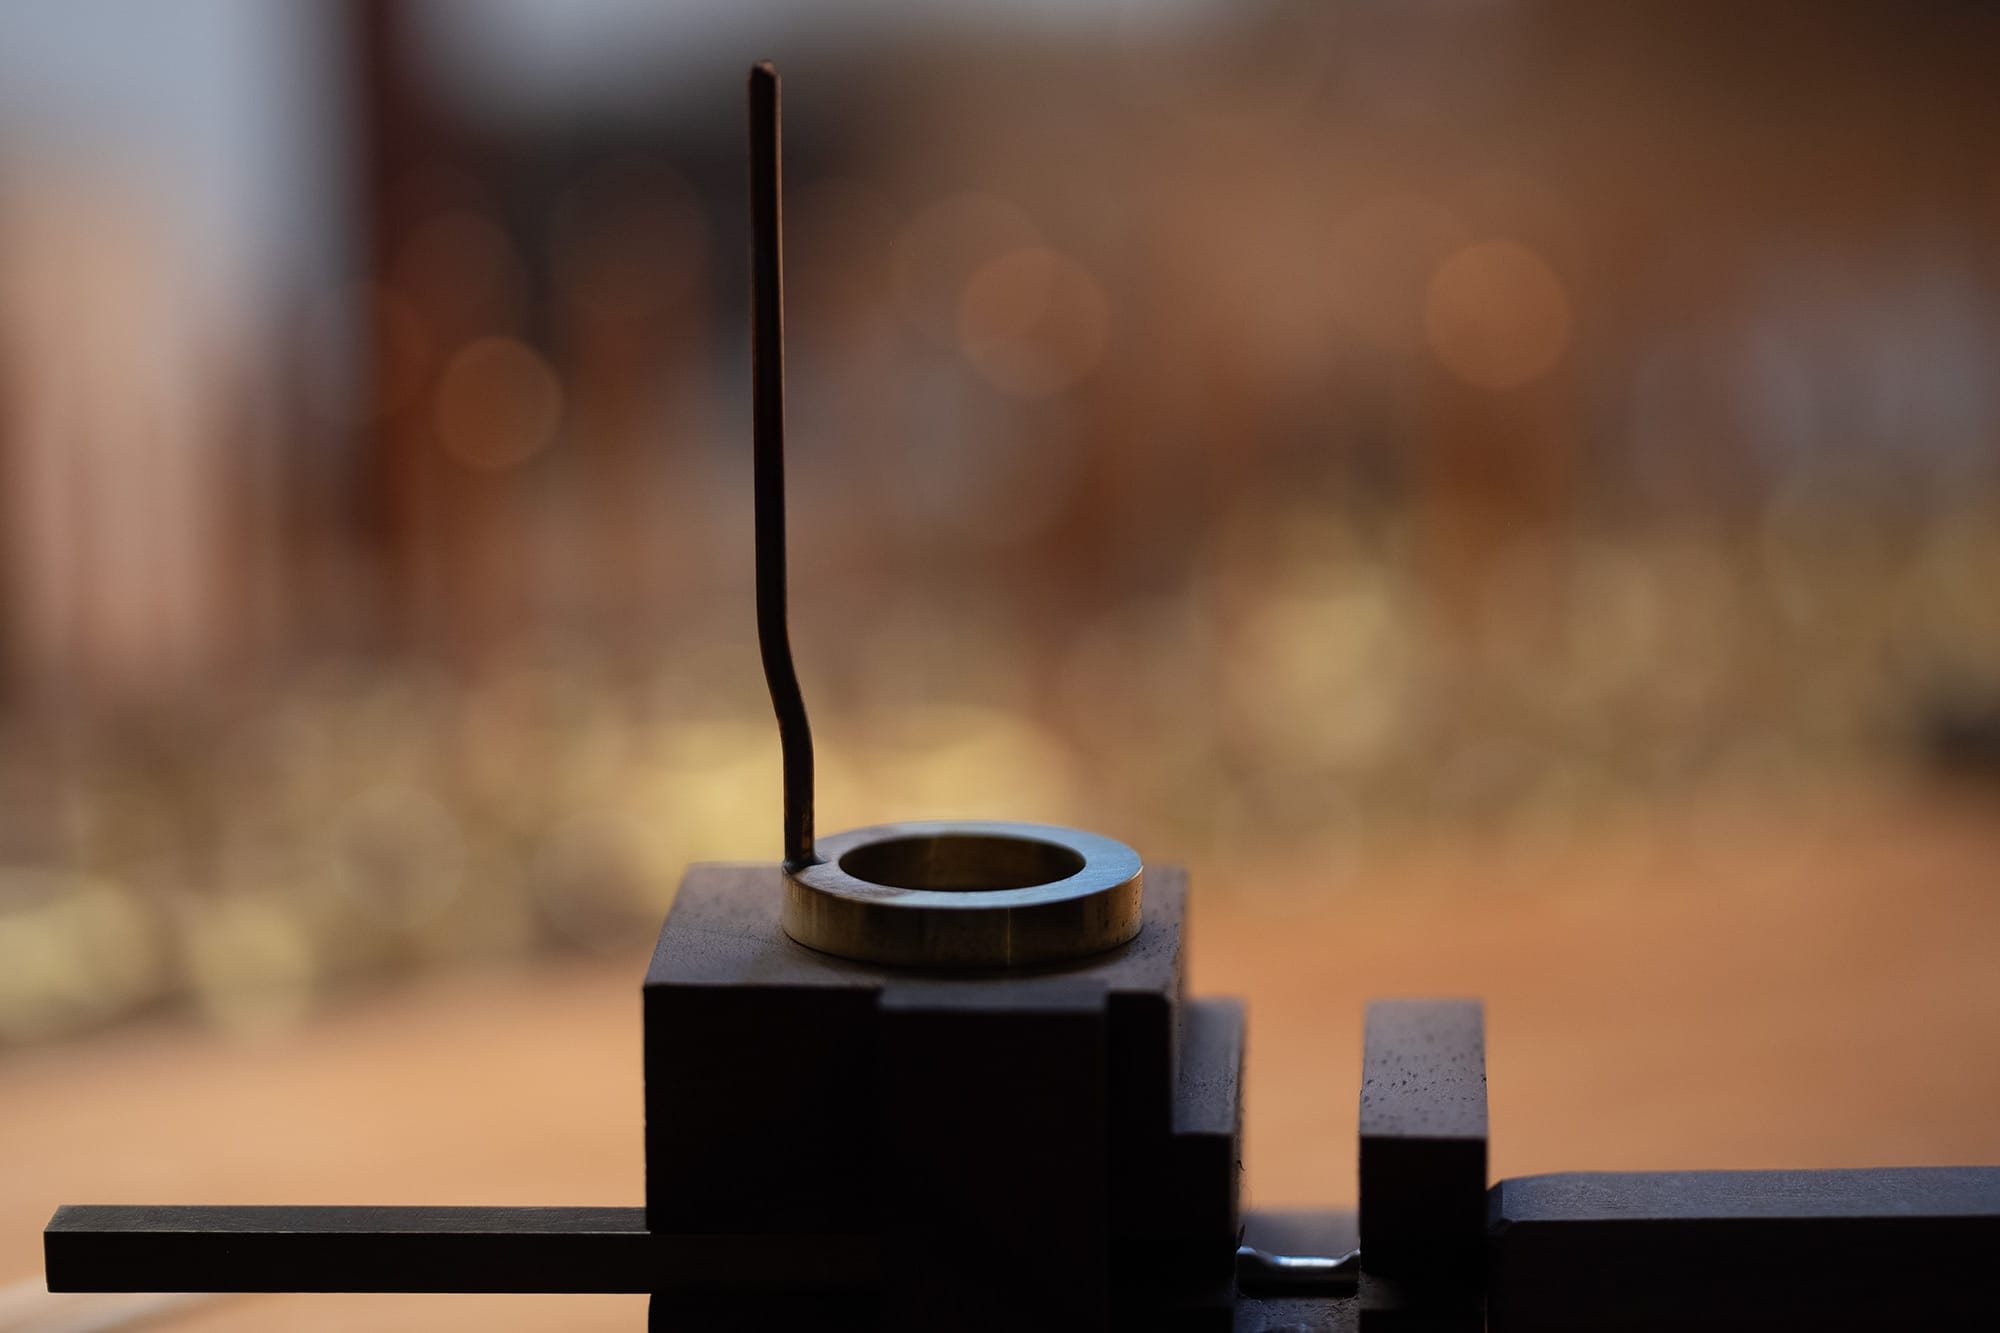
And out pops a nicely bent part. It still surprises me that this thing works as well as it does.
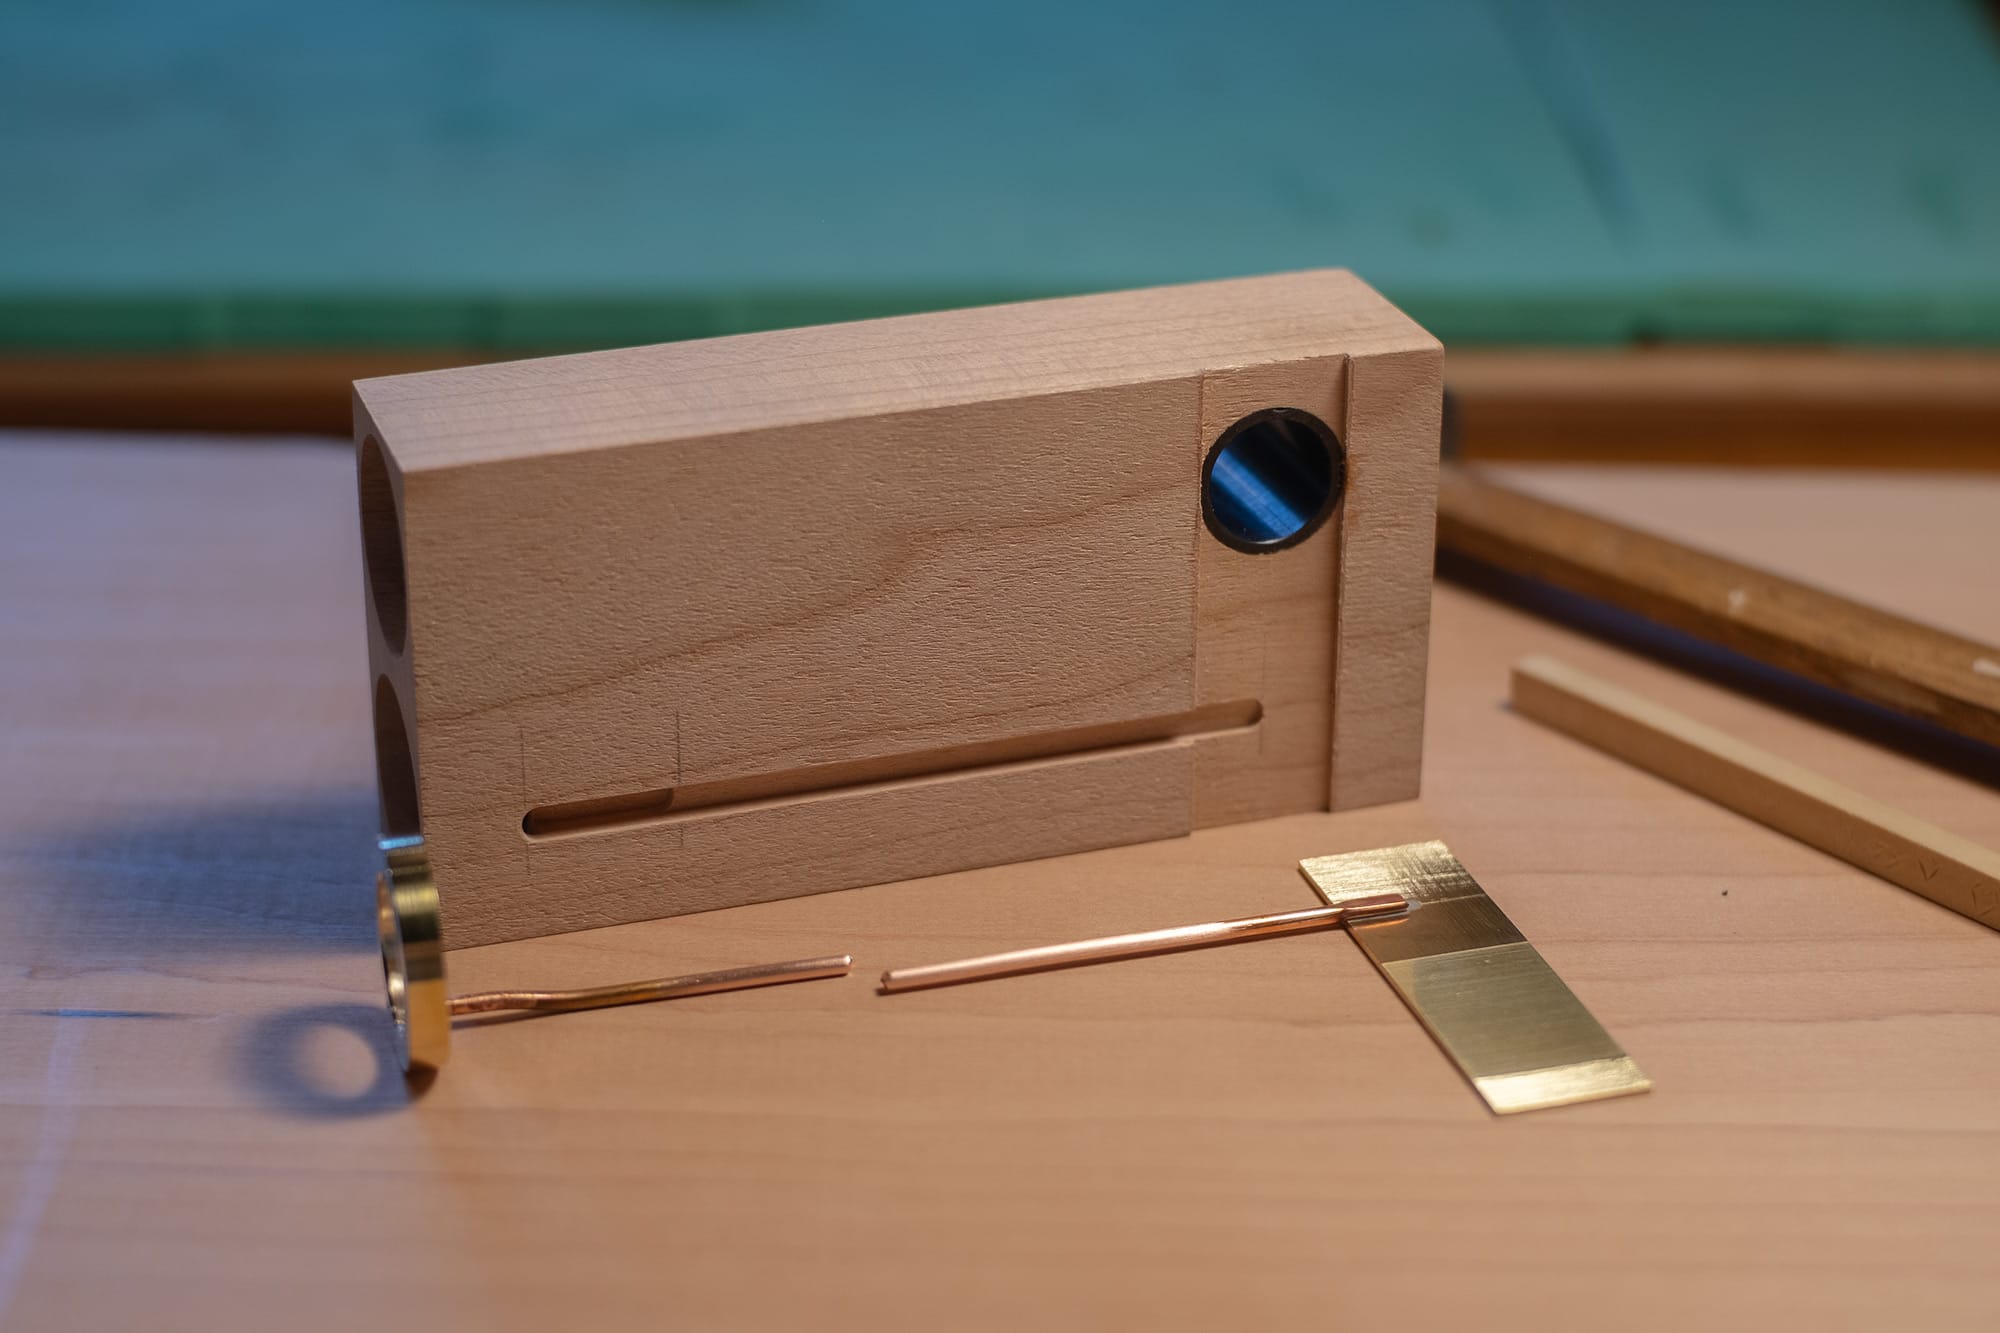
The brass and copper parts are given a final cleaning, sanding, and run through the ultrasonic cleaner. They're ready to be tucked into a comfy cherry wood bed.
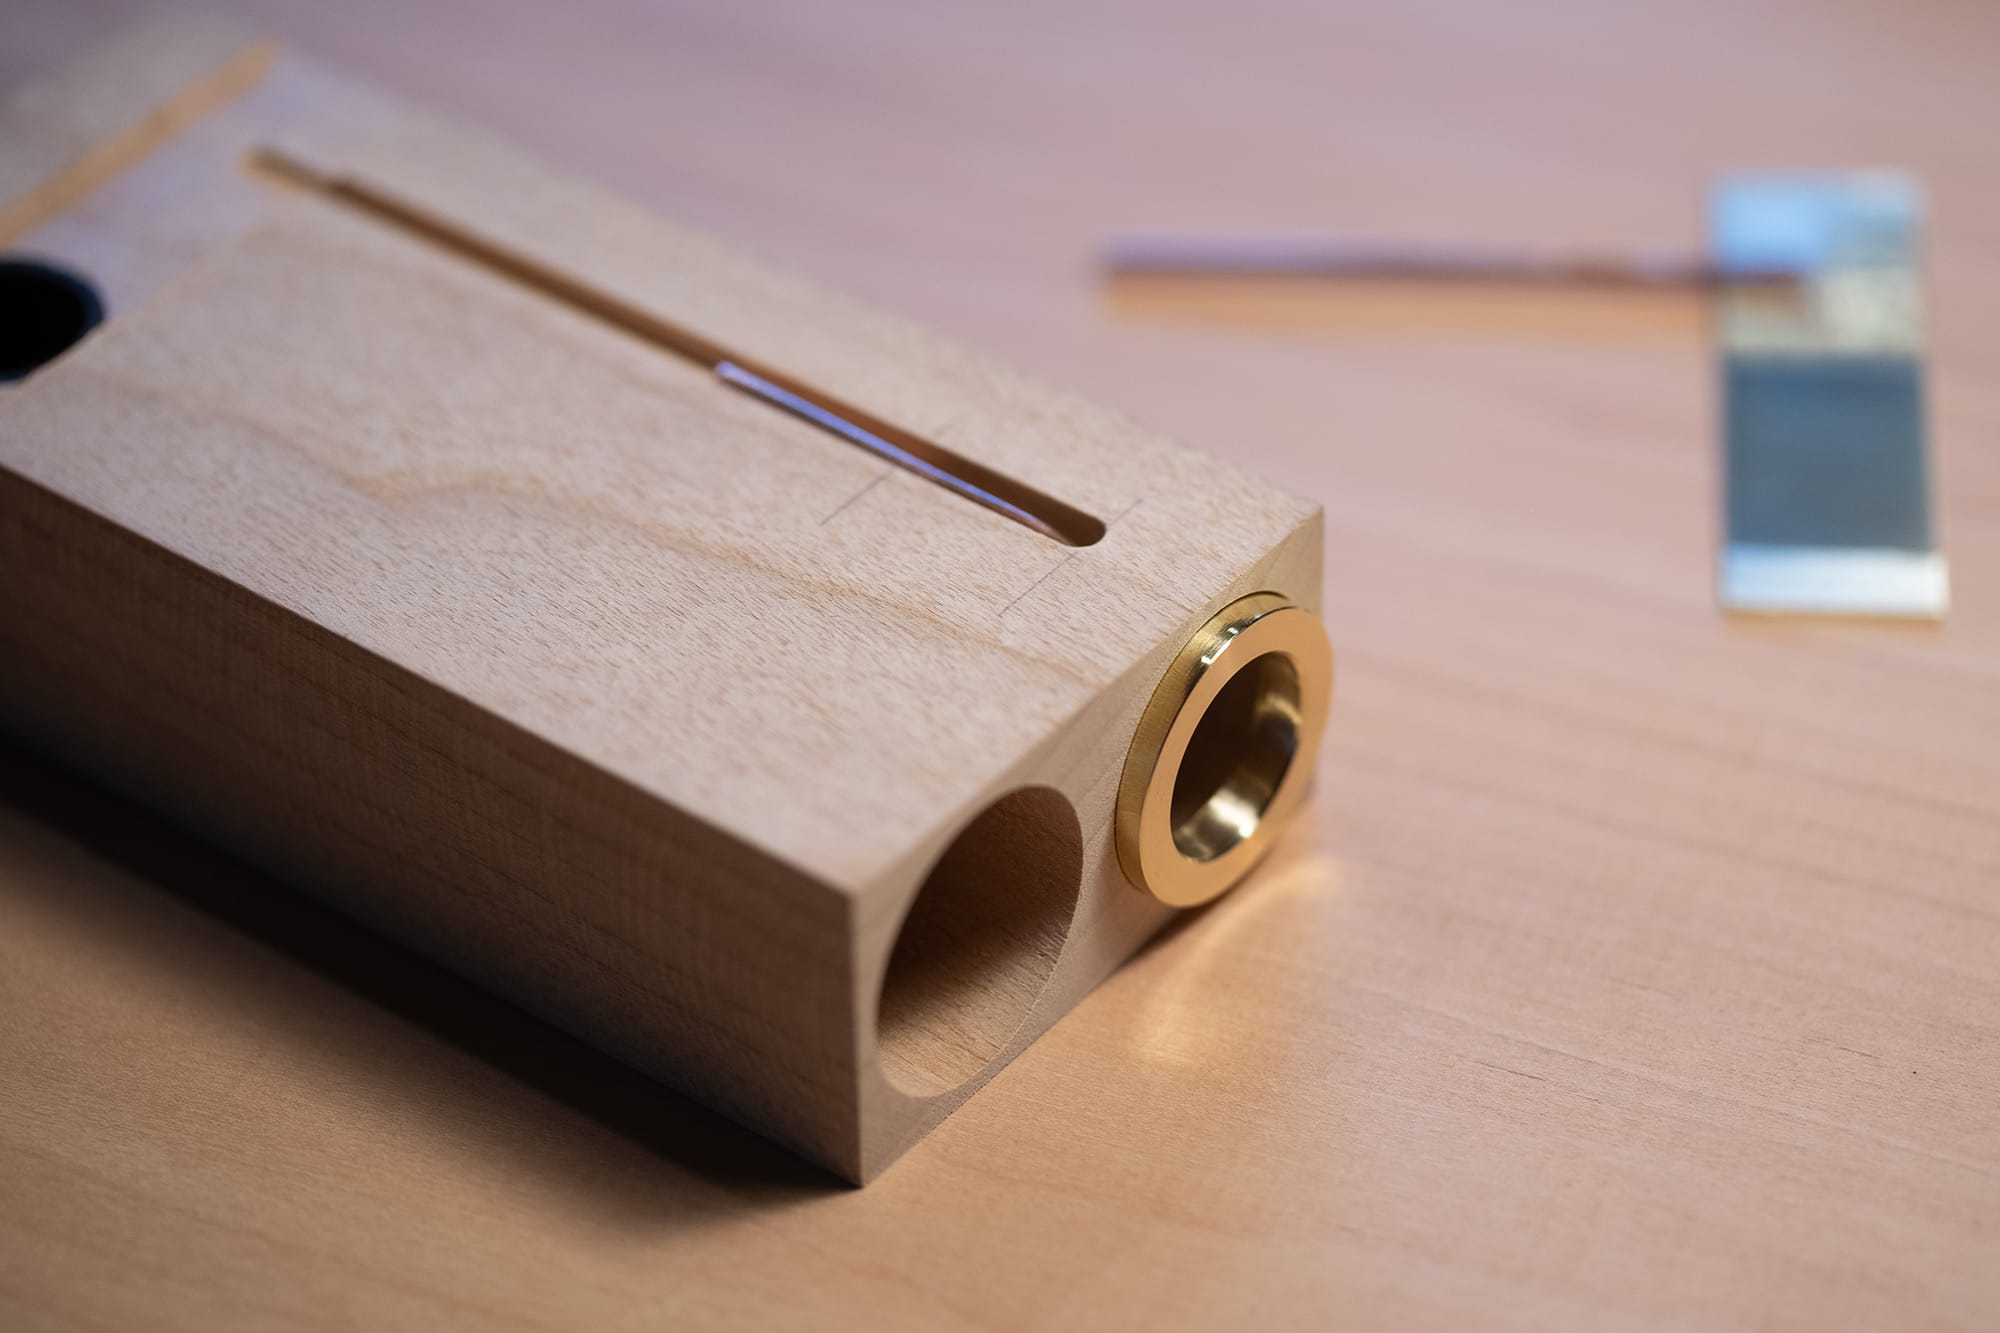
The brass rings are pressed in. The fit is snug.
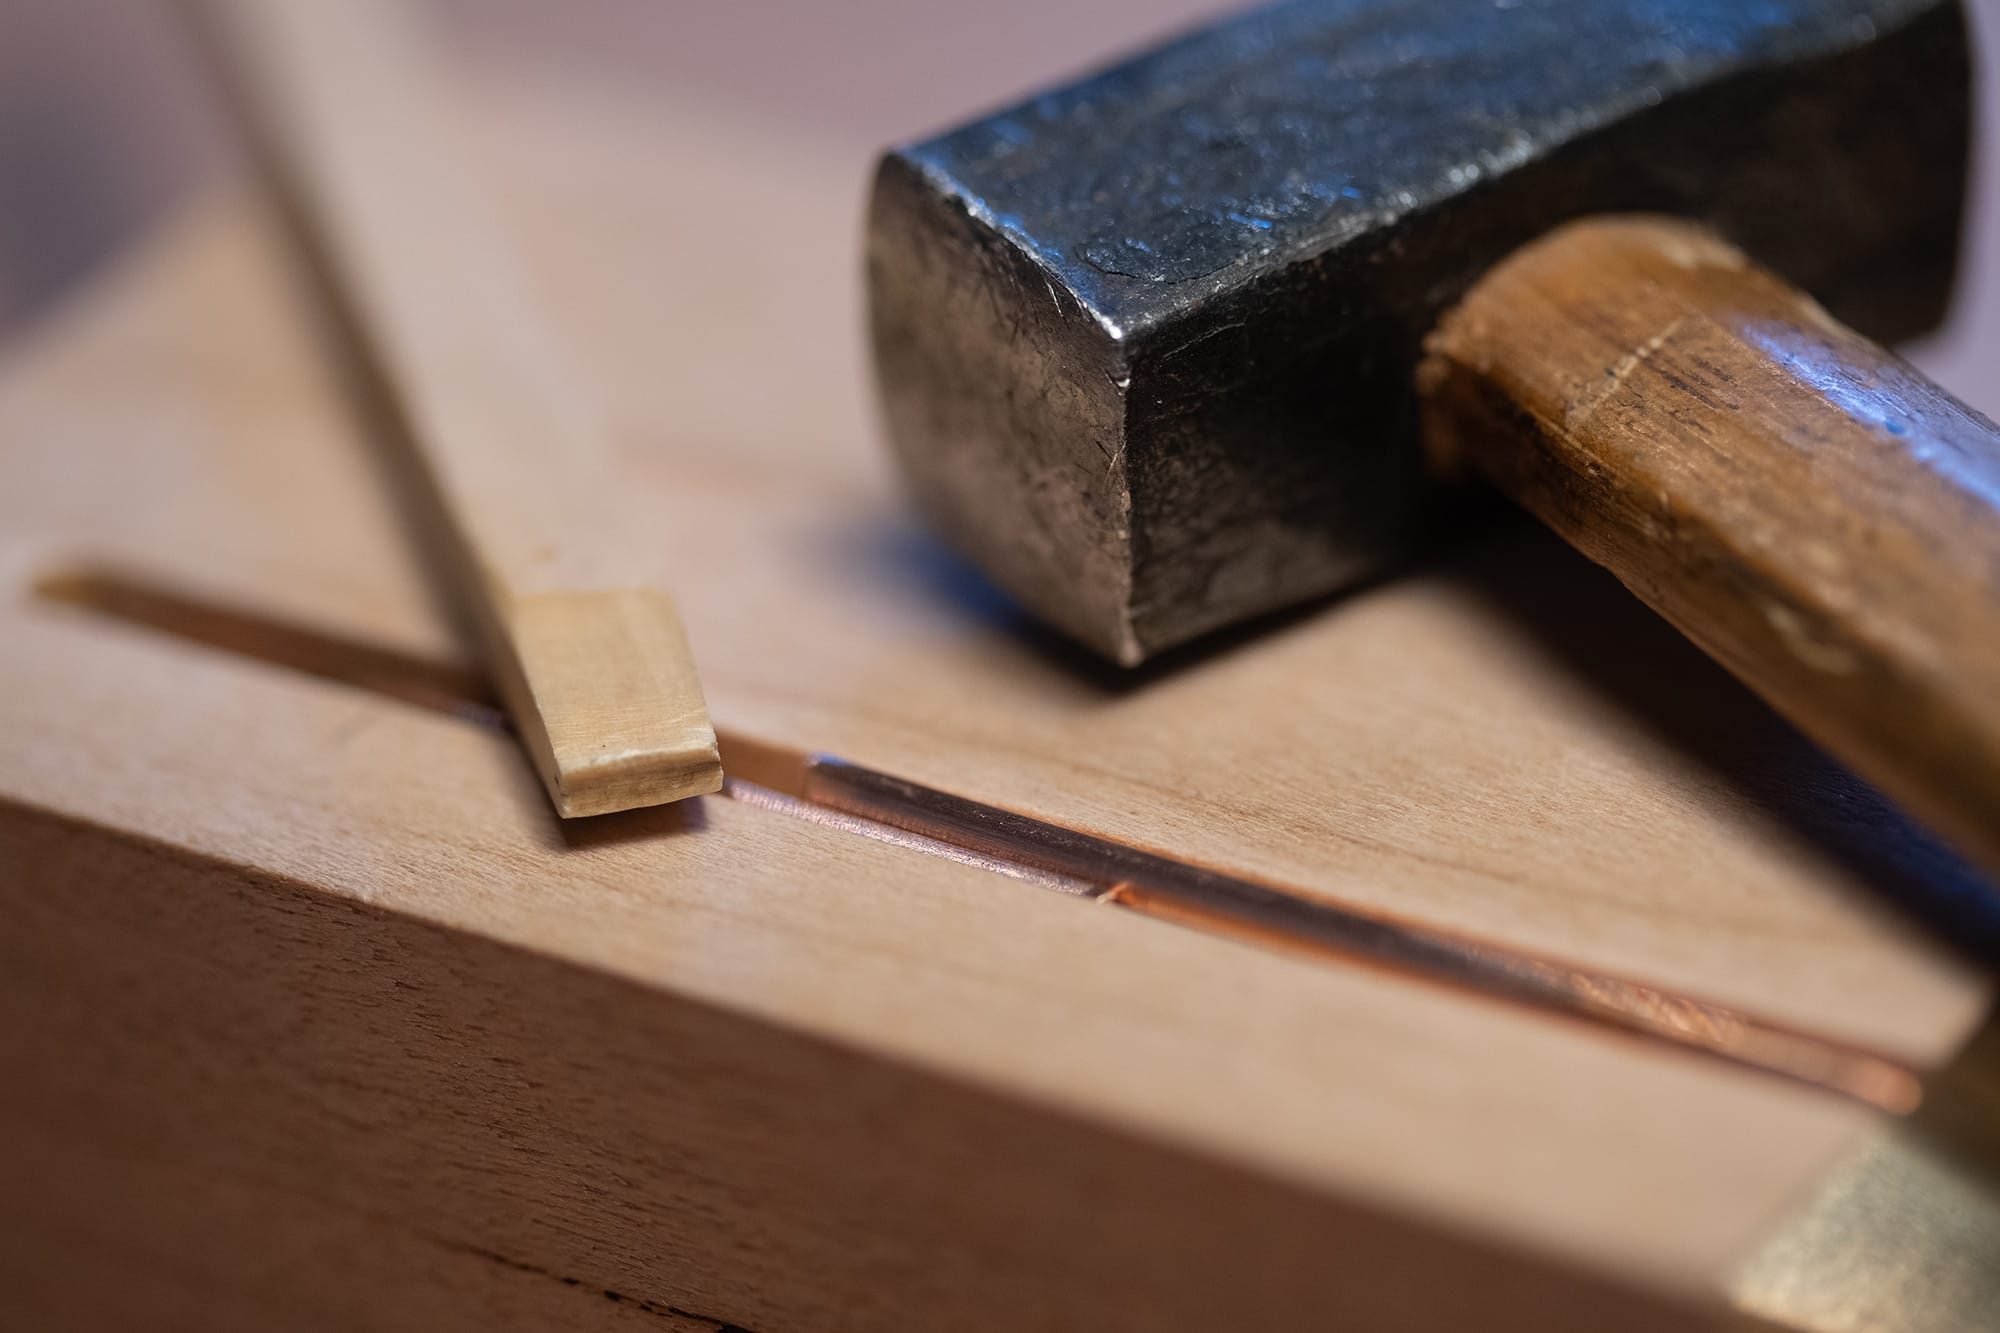
The brass plate behind the button is also pressed in, and the two copper leads sit beside each other in the slot.
The slot is slightly smaller than the width of the two copper leads. For the copper leads to fit they need to be hammered into place using this little boxwood punch tool.
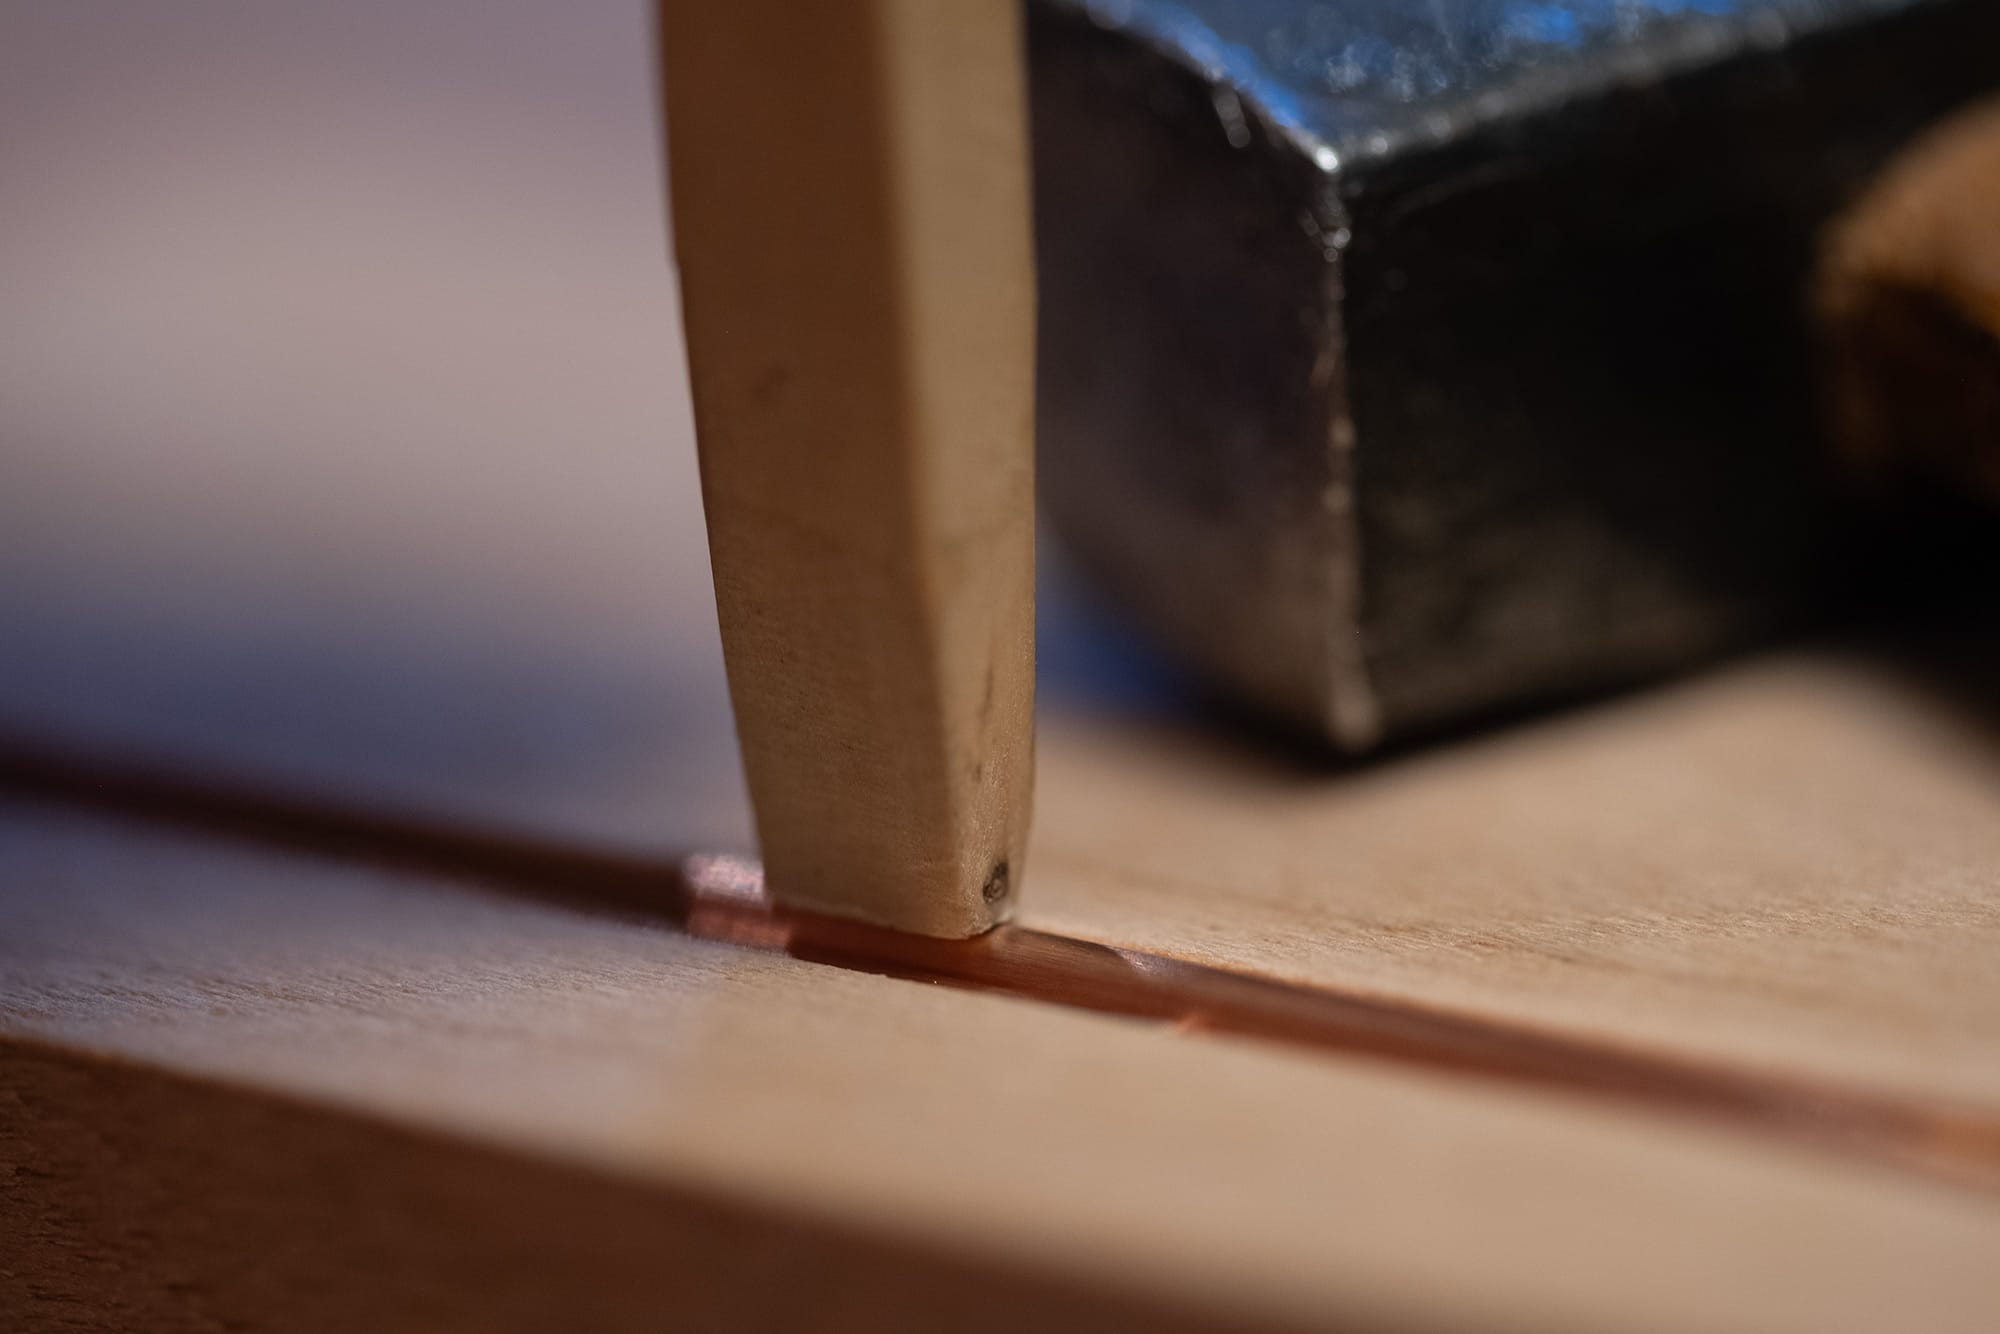
The punch is grooved to fit the shape of the copper lead. The boxwood is hard enough to keep its shape but won't damage the copper.
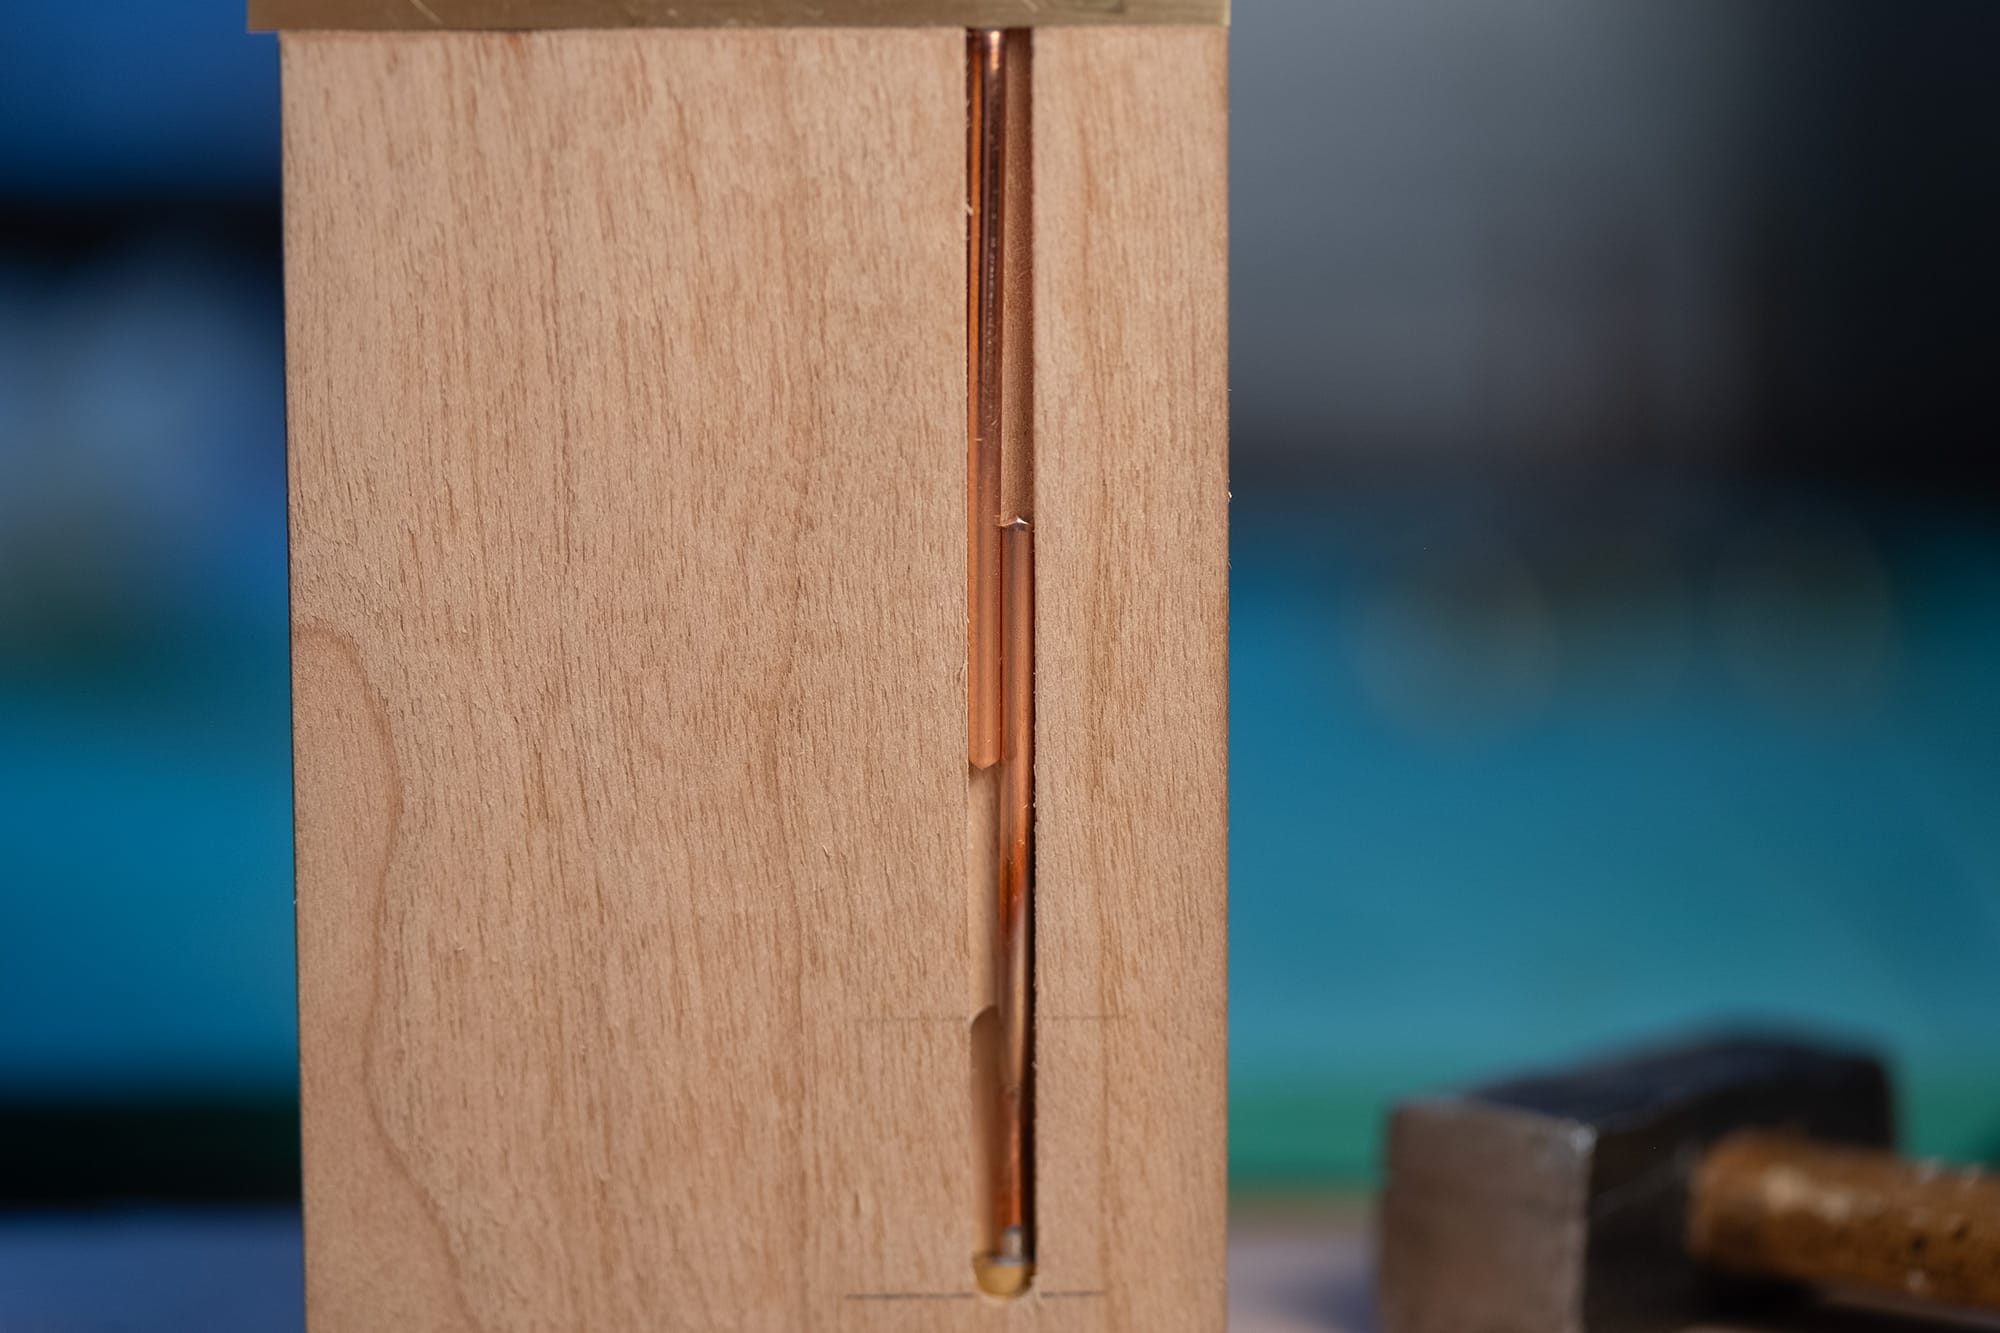
After hammering, the copper leads are pinched together very tightly within the slot. When this joint is soldered, it'll be extremely strong.
This joint also holds the brass heater module contact ring in place. This design allows for no glue to be used anywhere near the heater module area.
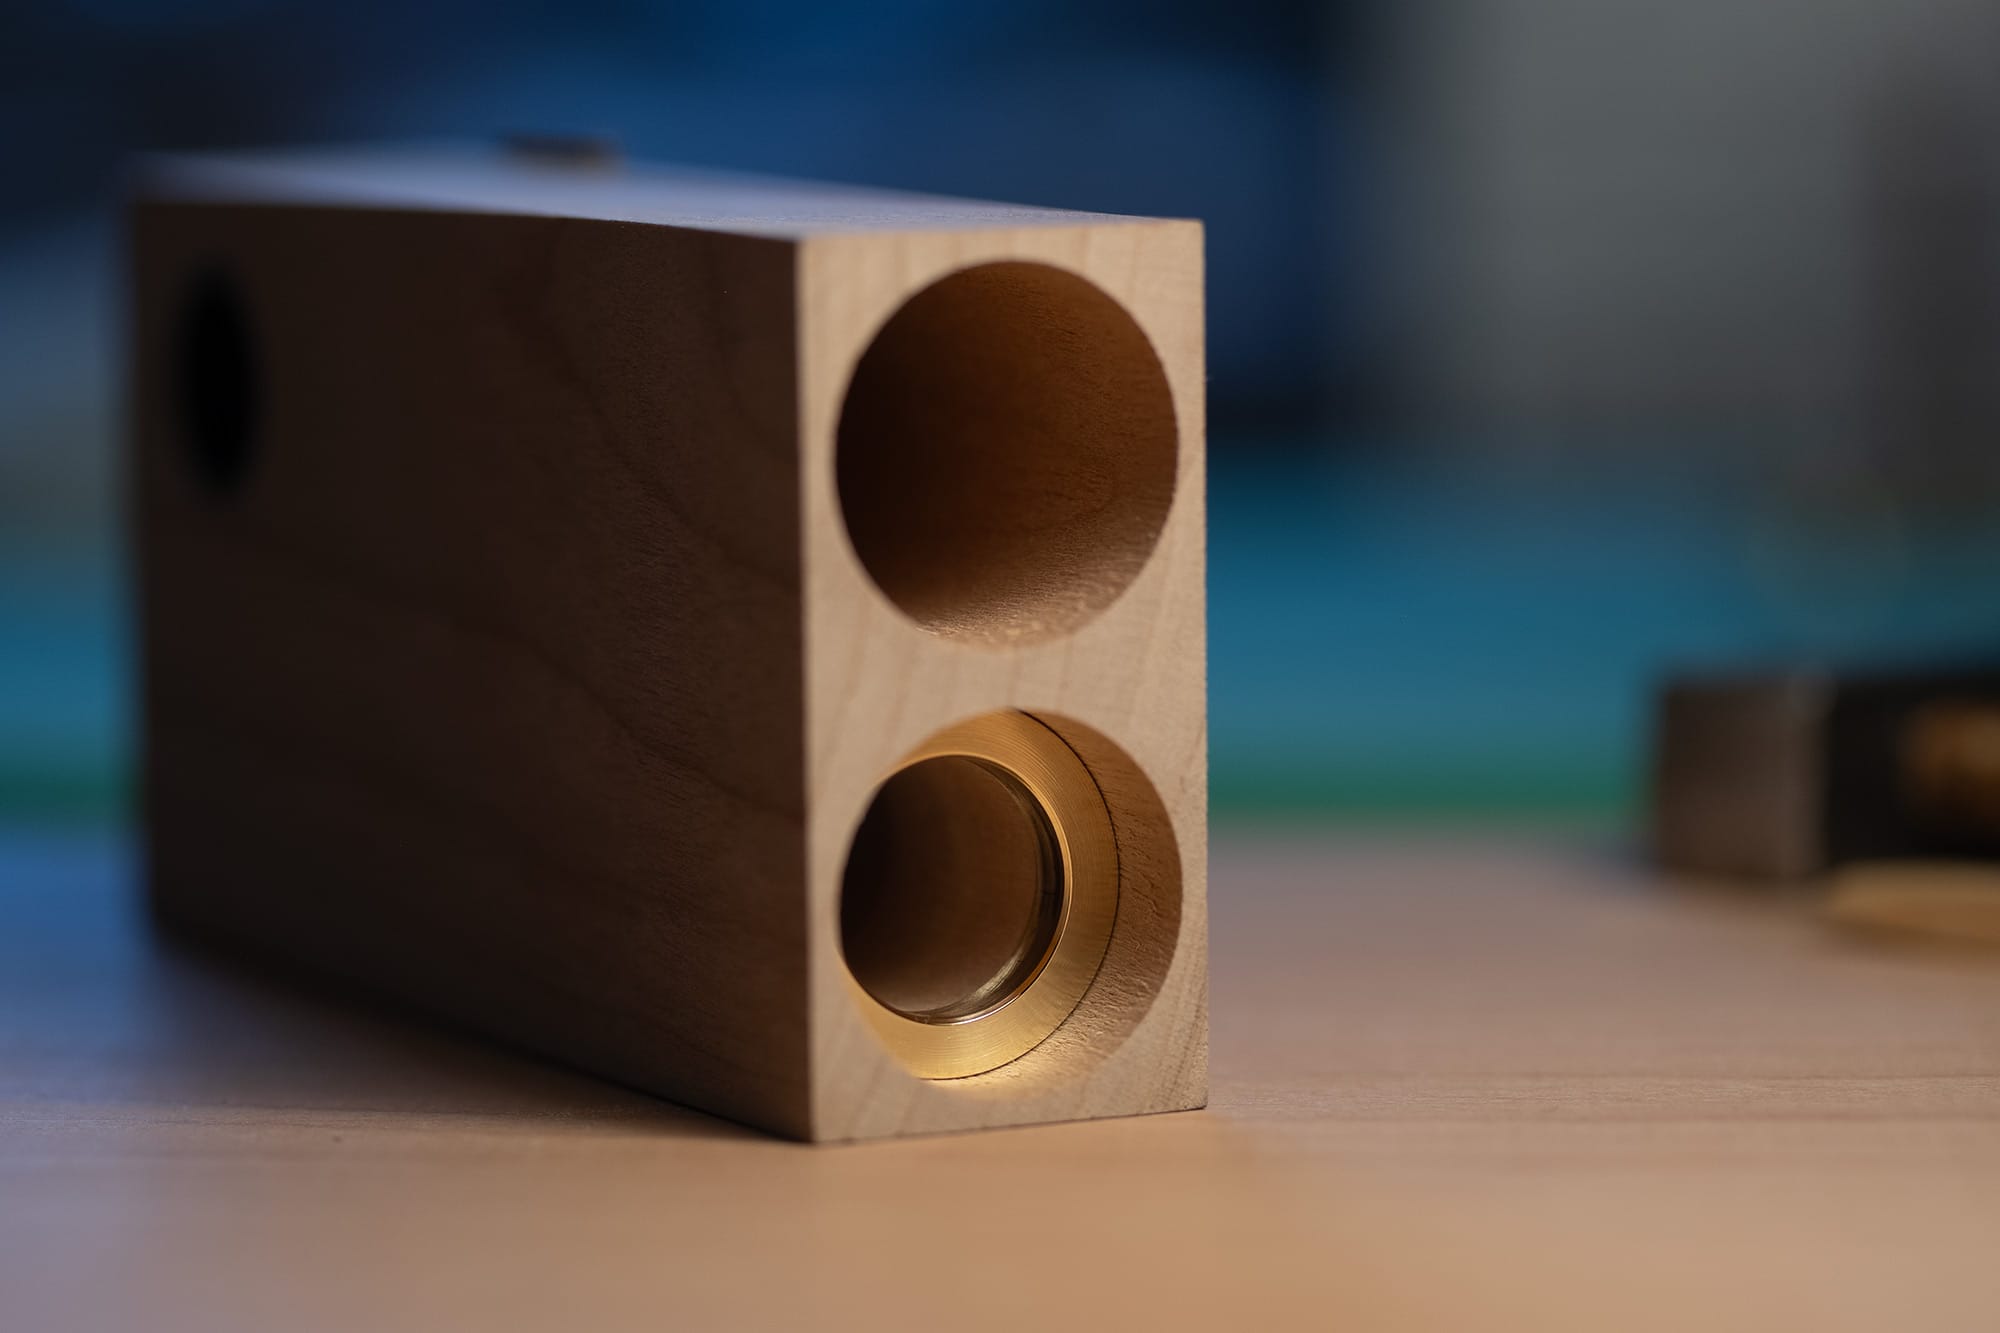
The copper leads and solder joint is totally isolated from the air path. Looking in from the bottom, all that can be seen is the brass ring. Nice and clean!
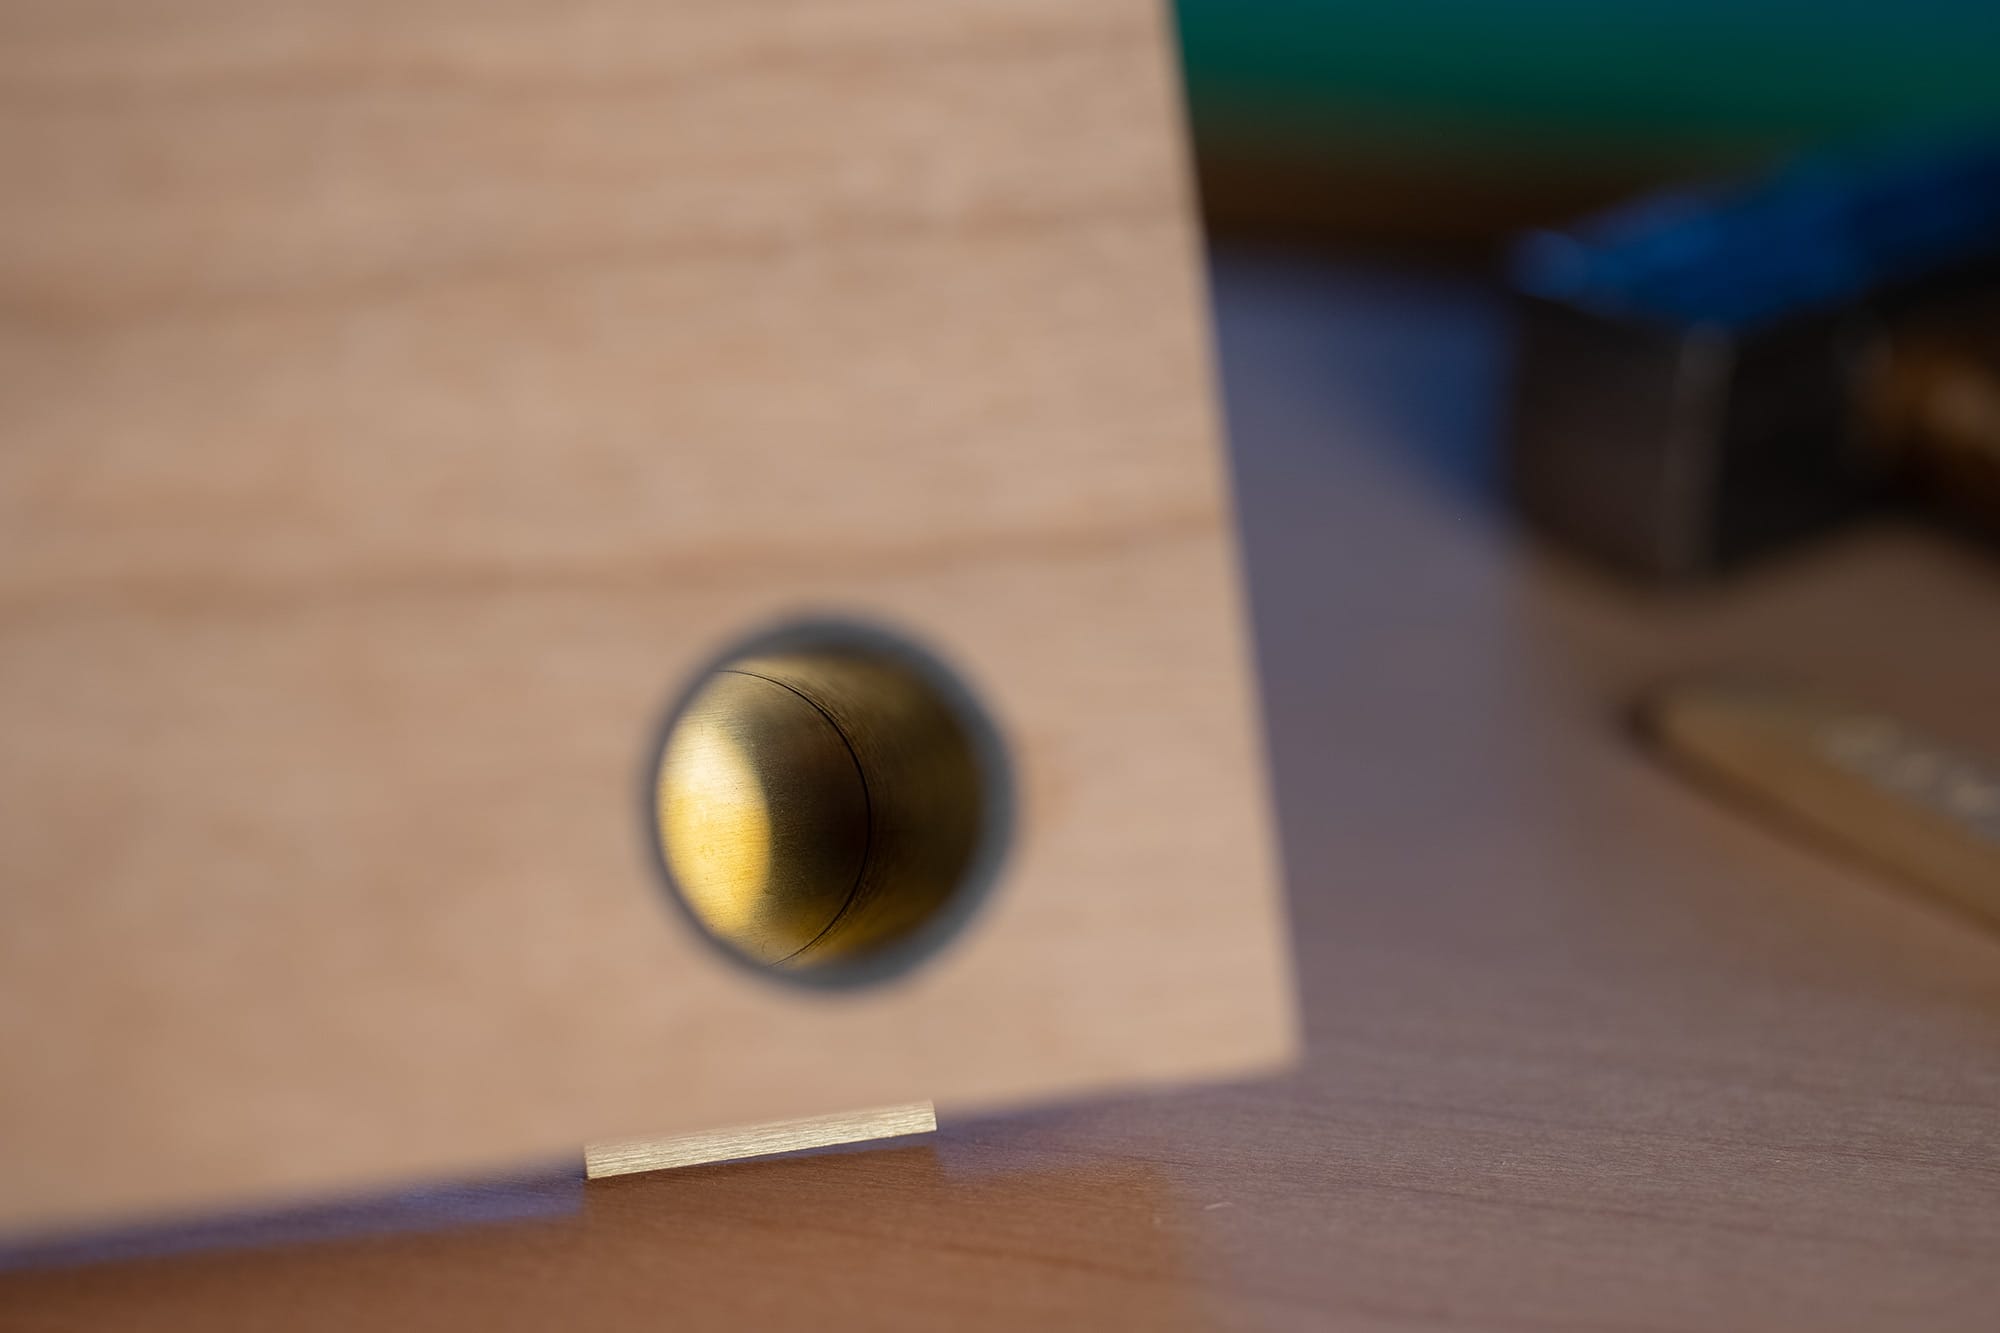
The polished brass contact at the back of the button area.
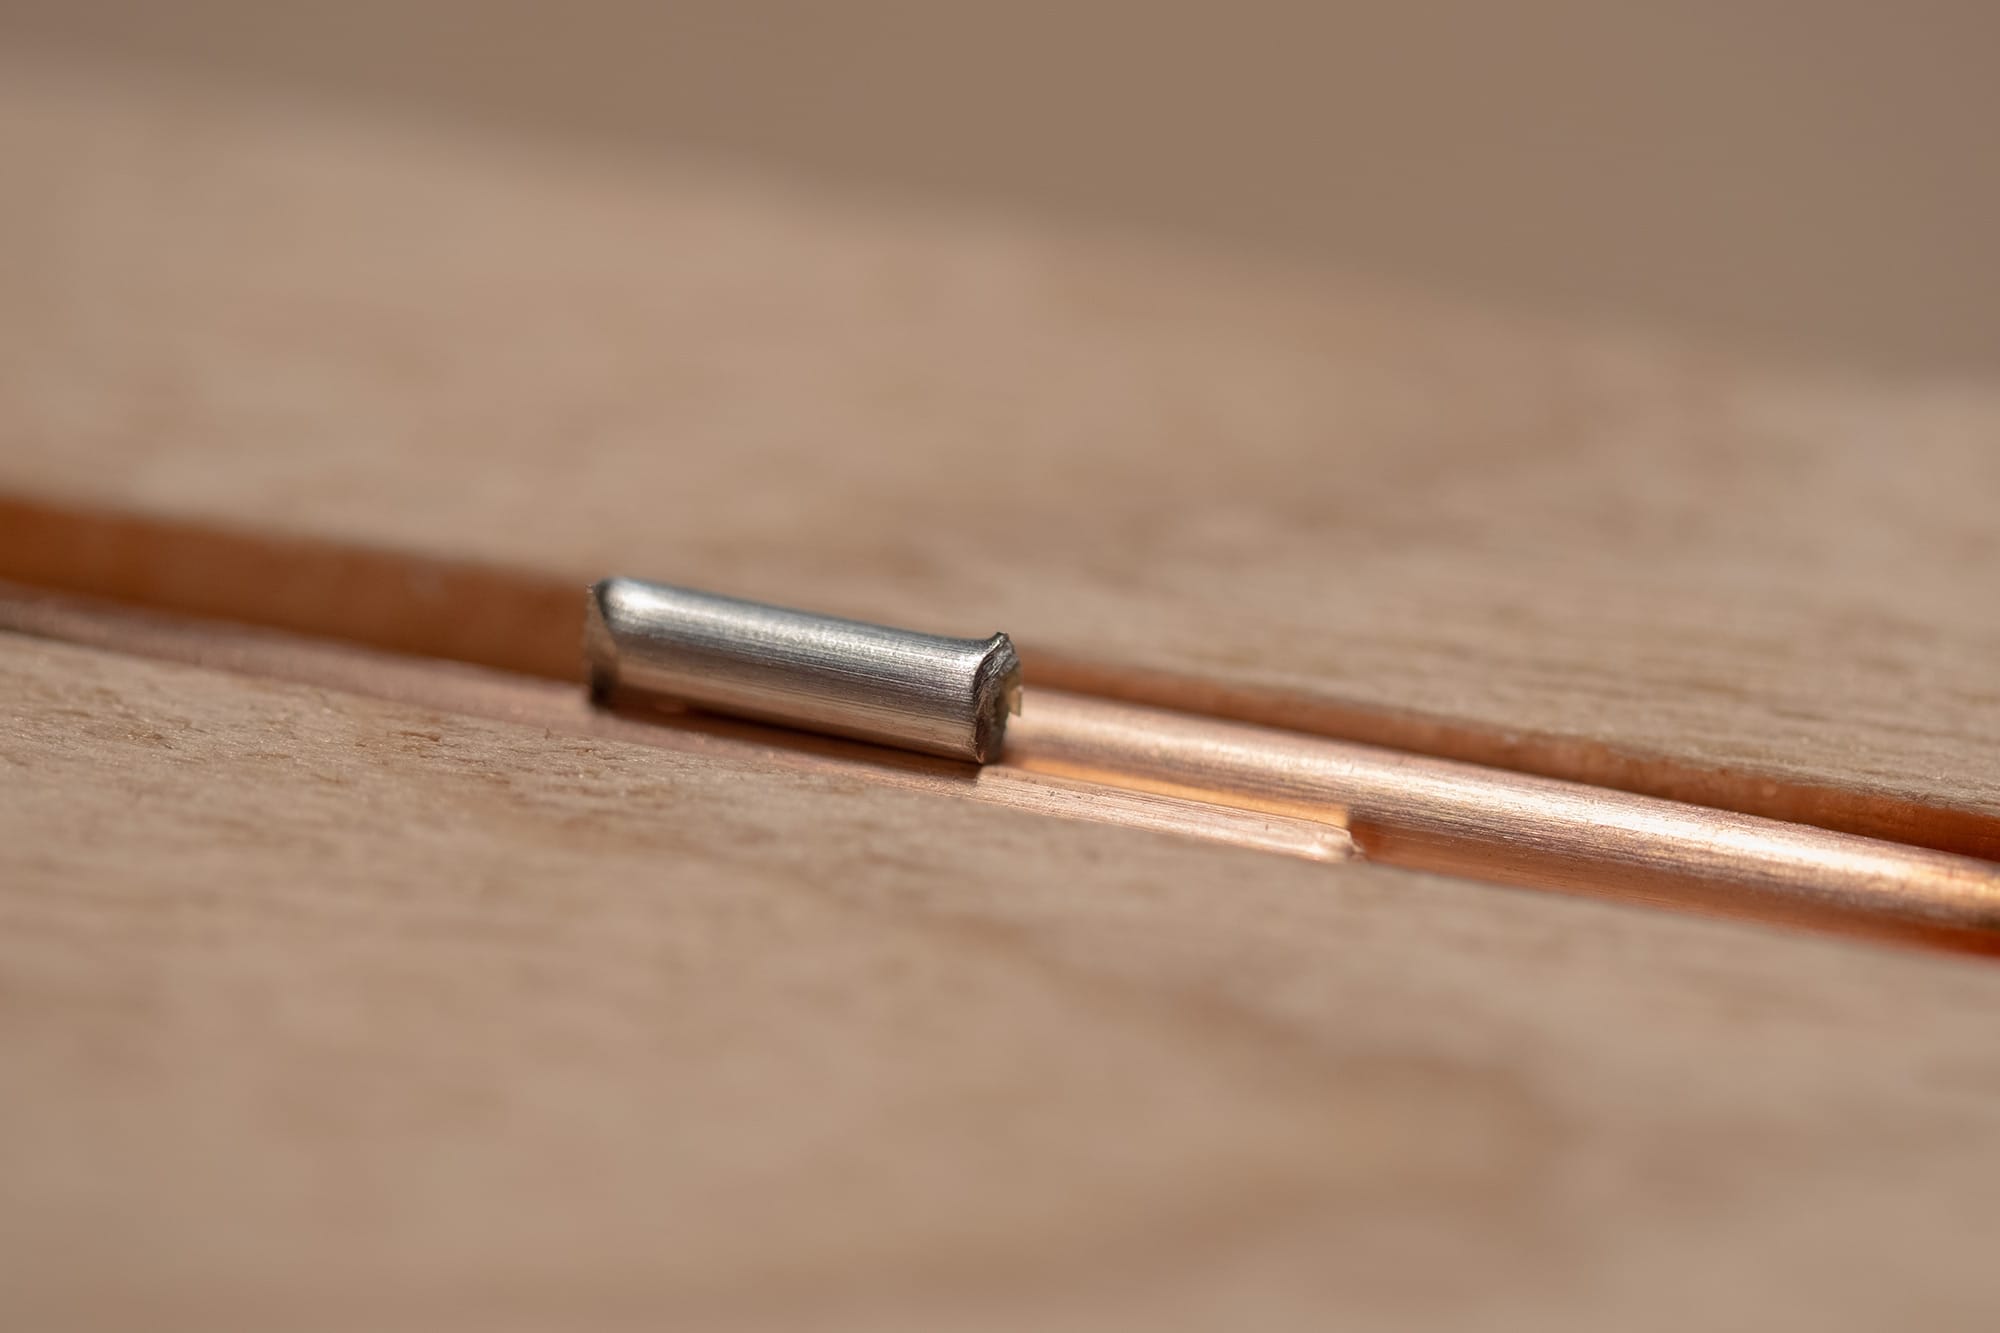
For the soldering step I use a no-clean, rosin core, lead free, electrical solder.
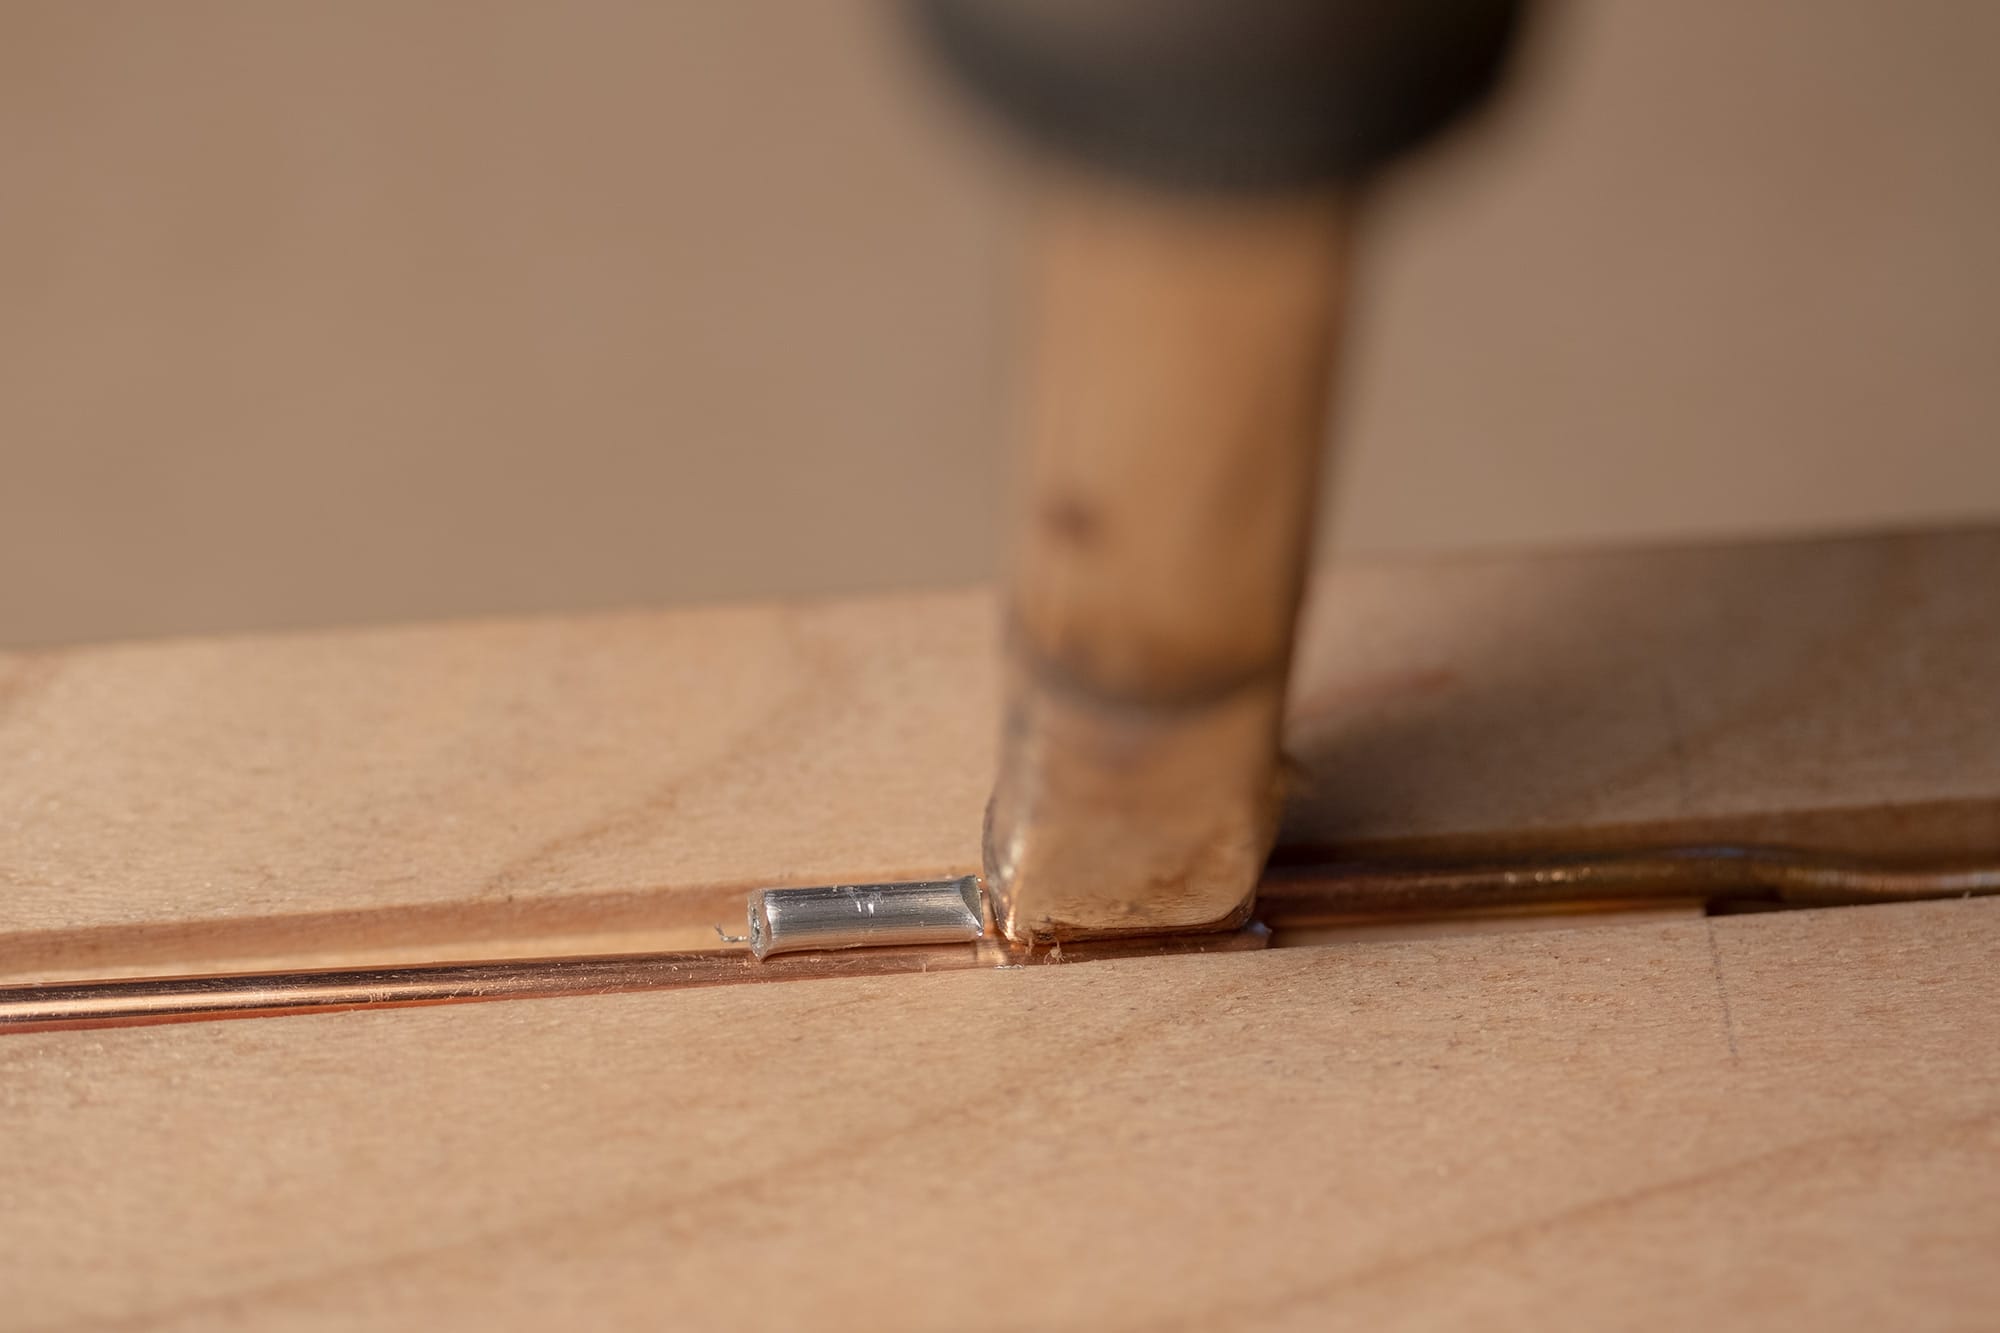
The trick with this solder joint is to get everything done before the wood starts to char.
For a quicker heat up I use a 100w iron with a large tip for maximum thermal energy transfer.
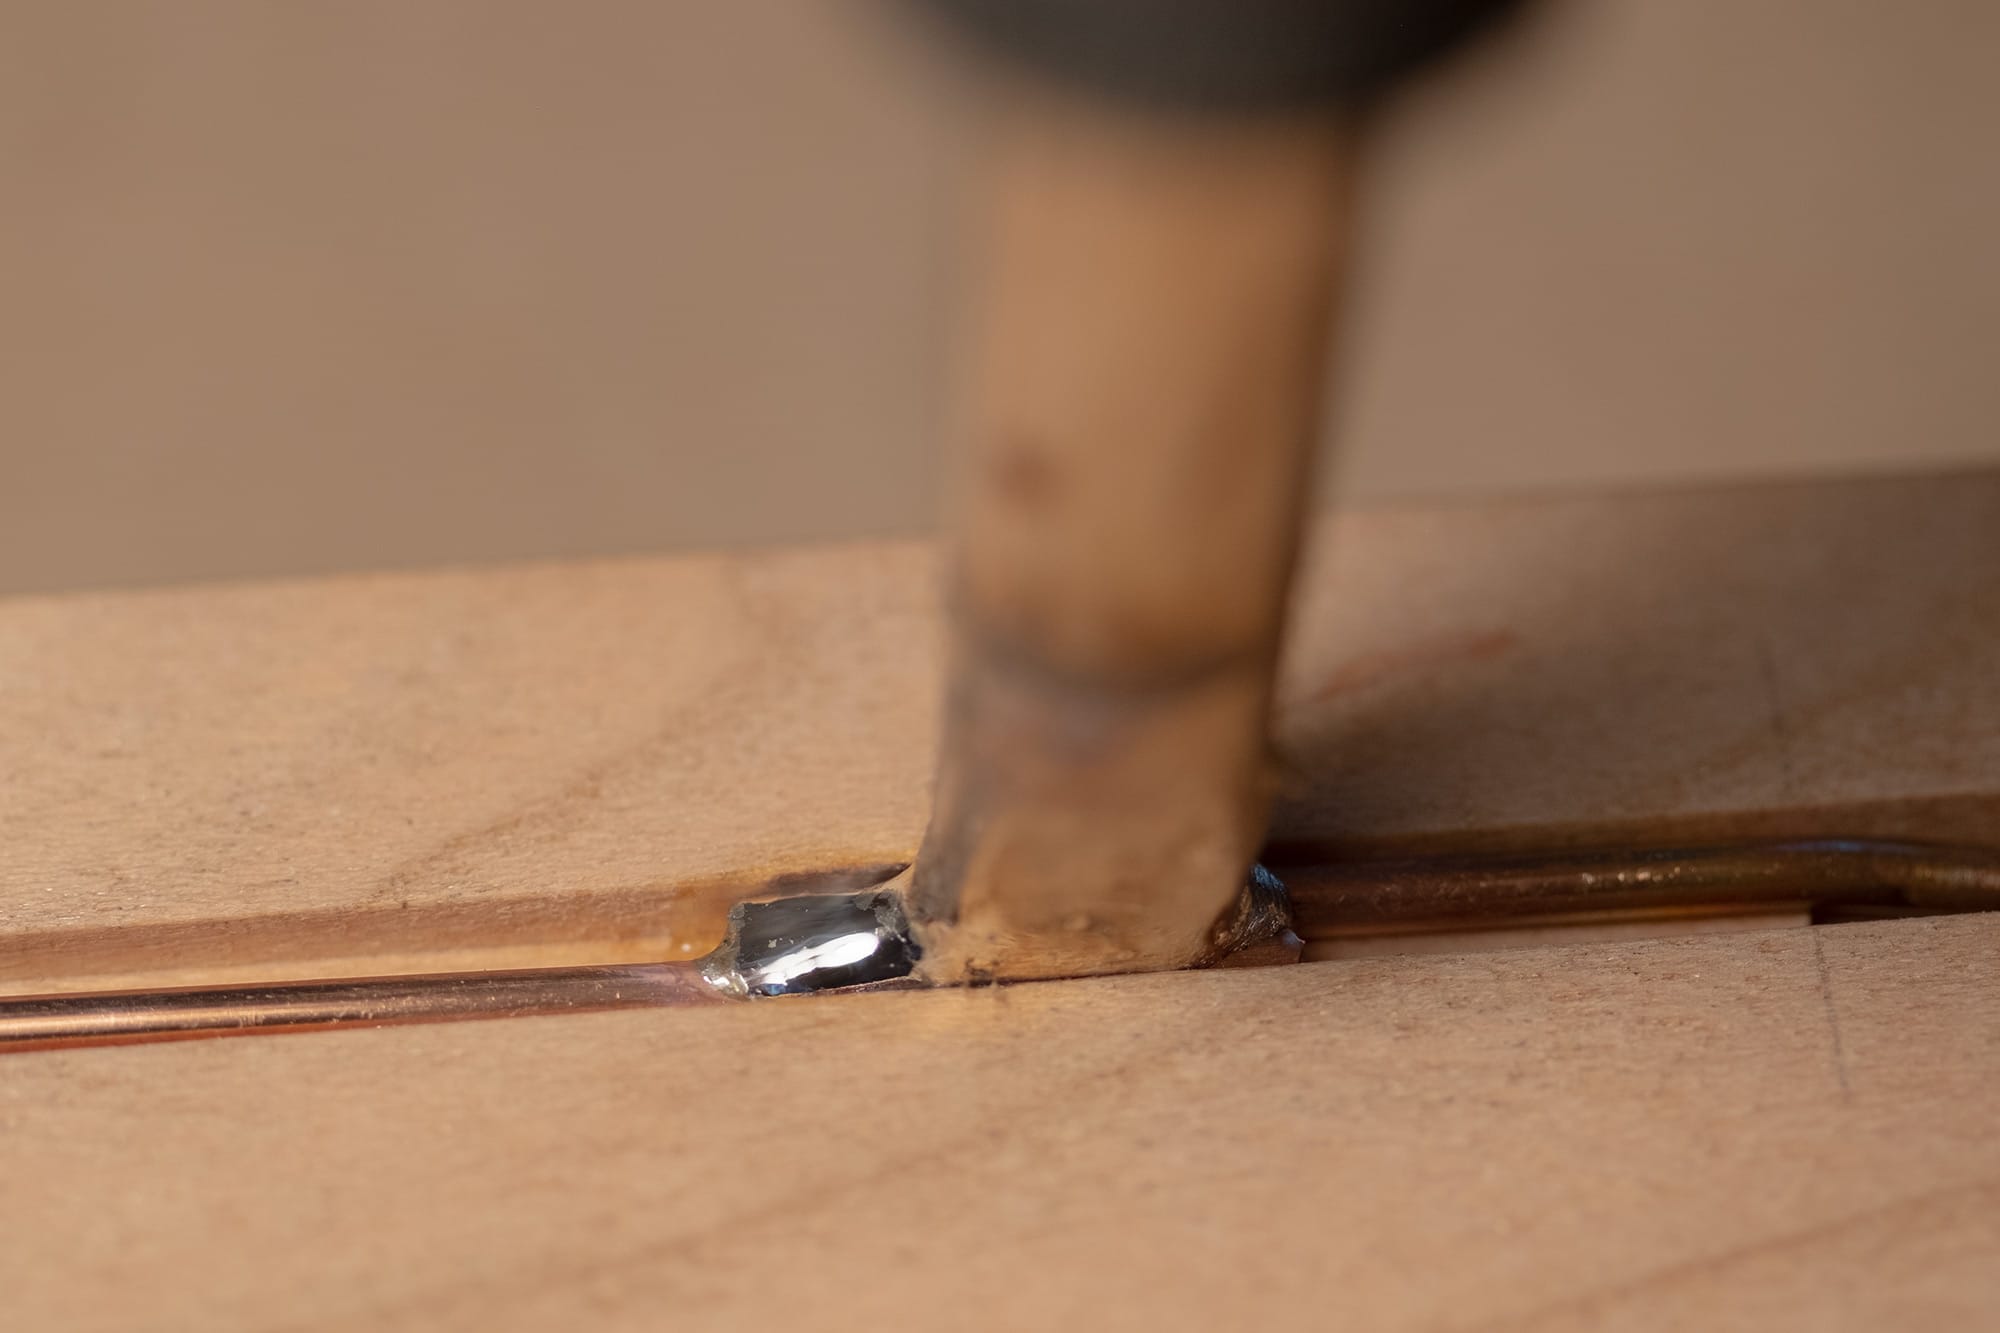
The solder melts in just a few seconds, I work quickly to move the iron up the entire length of the joint to make sure it's sufficiently heated through...
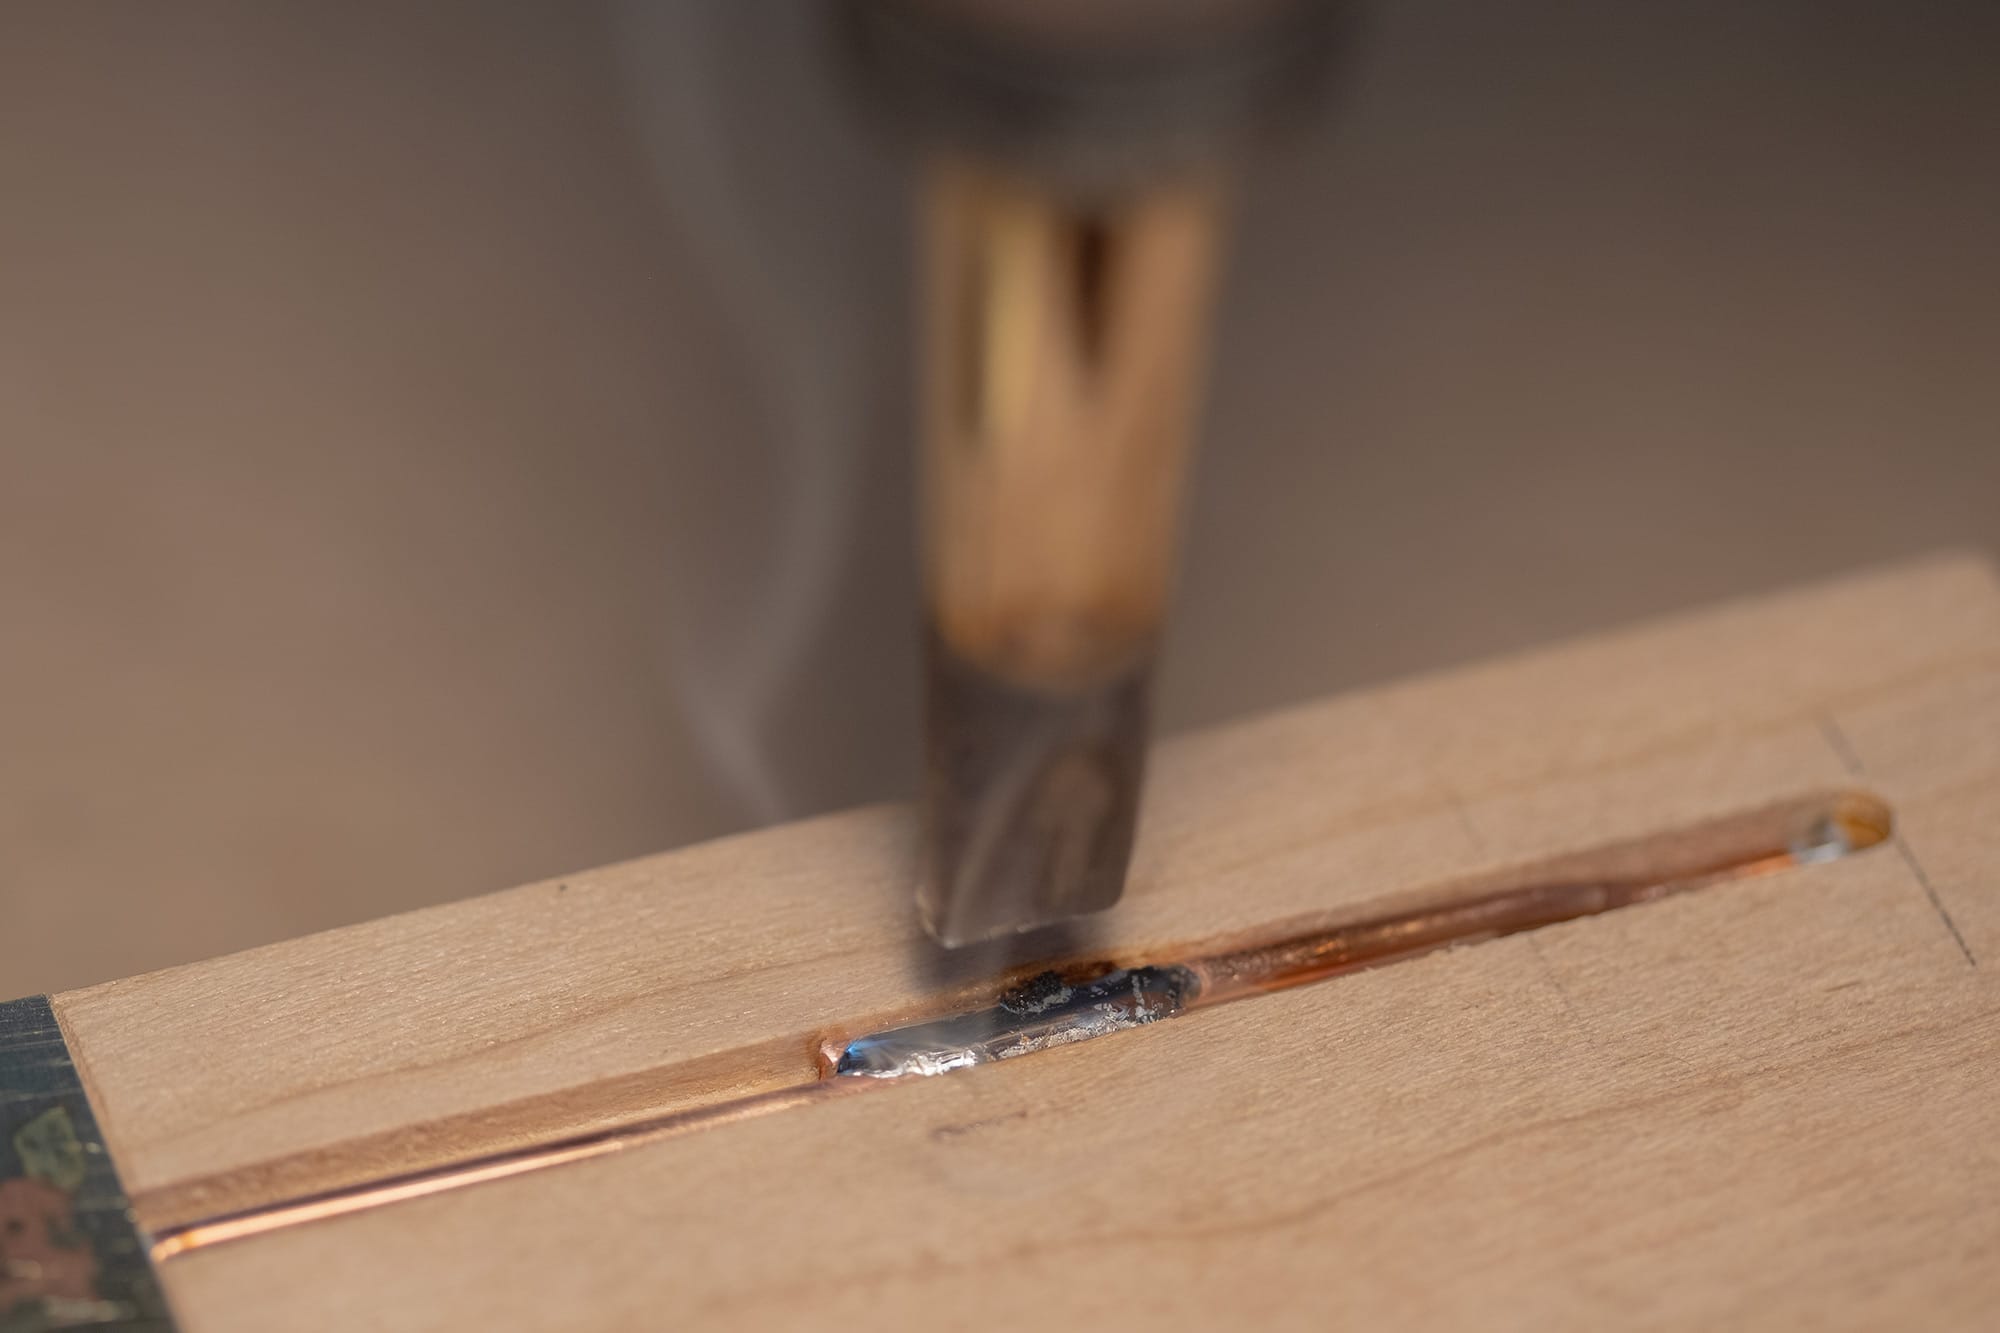
…and get out of there as quick as I can.
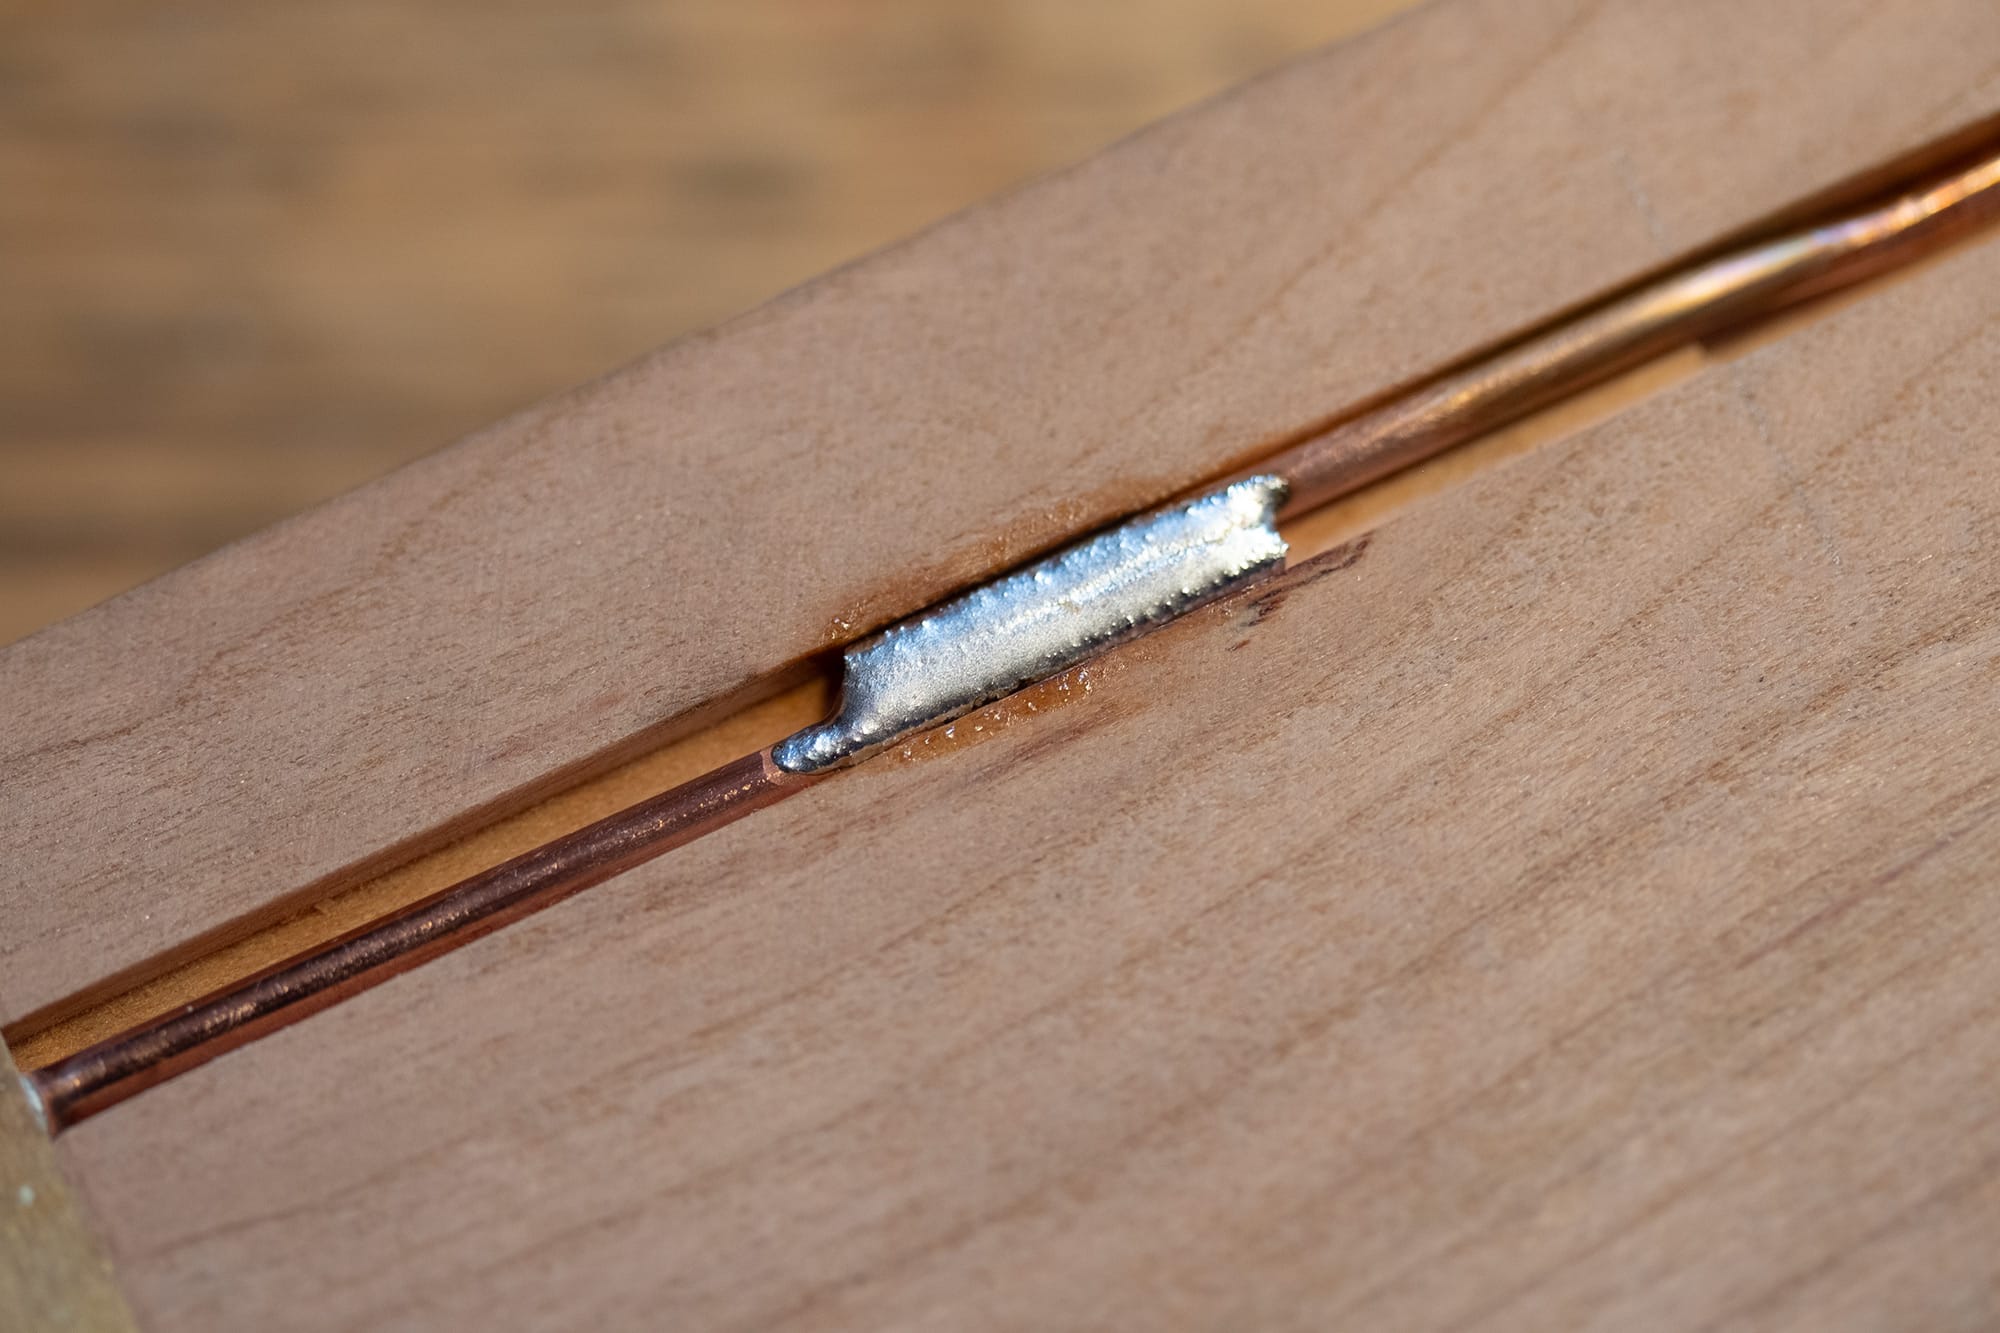
The finished joint, with just a bit of rosin flux leftover, easily cleaned up with acetone on a Q-tip.
The large soldered area between the two leads, plus the mechanical press-fit, produce a joint that should never come undone.
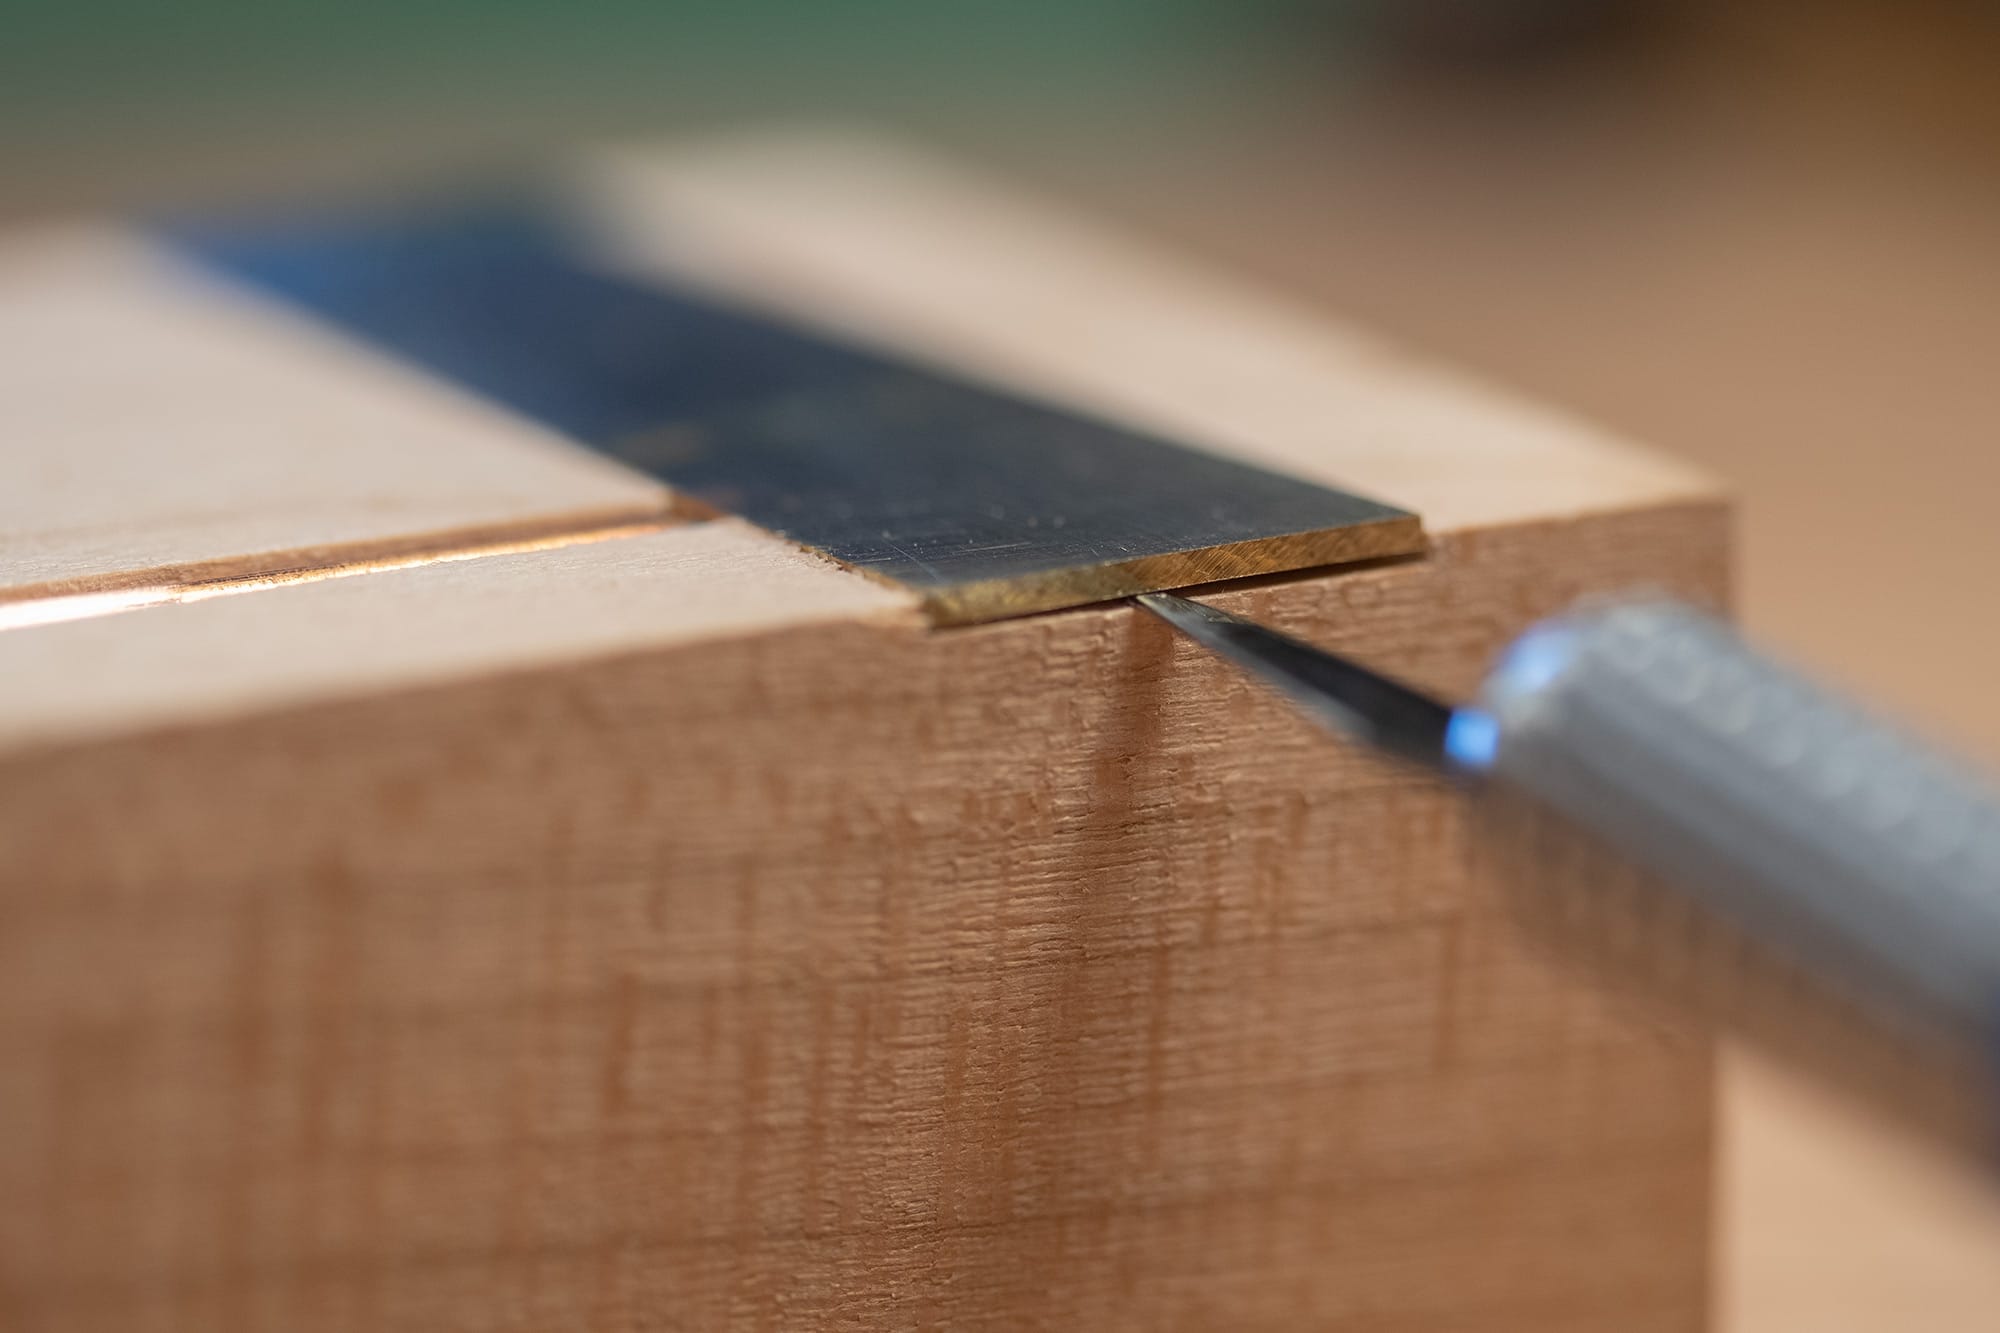
Moving back up to the brass plate, I'll be adding a bit of CA glue to help hold this side firmly in place. This plate will eventually be held down with machine screws, but a dab of glue affixes this little area so it wont lift up at any point during the rest of the crafting process.
A knife is used to pry up the plate just enough to wick some CA glue underneath.
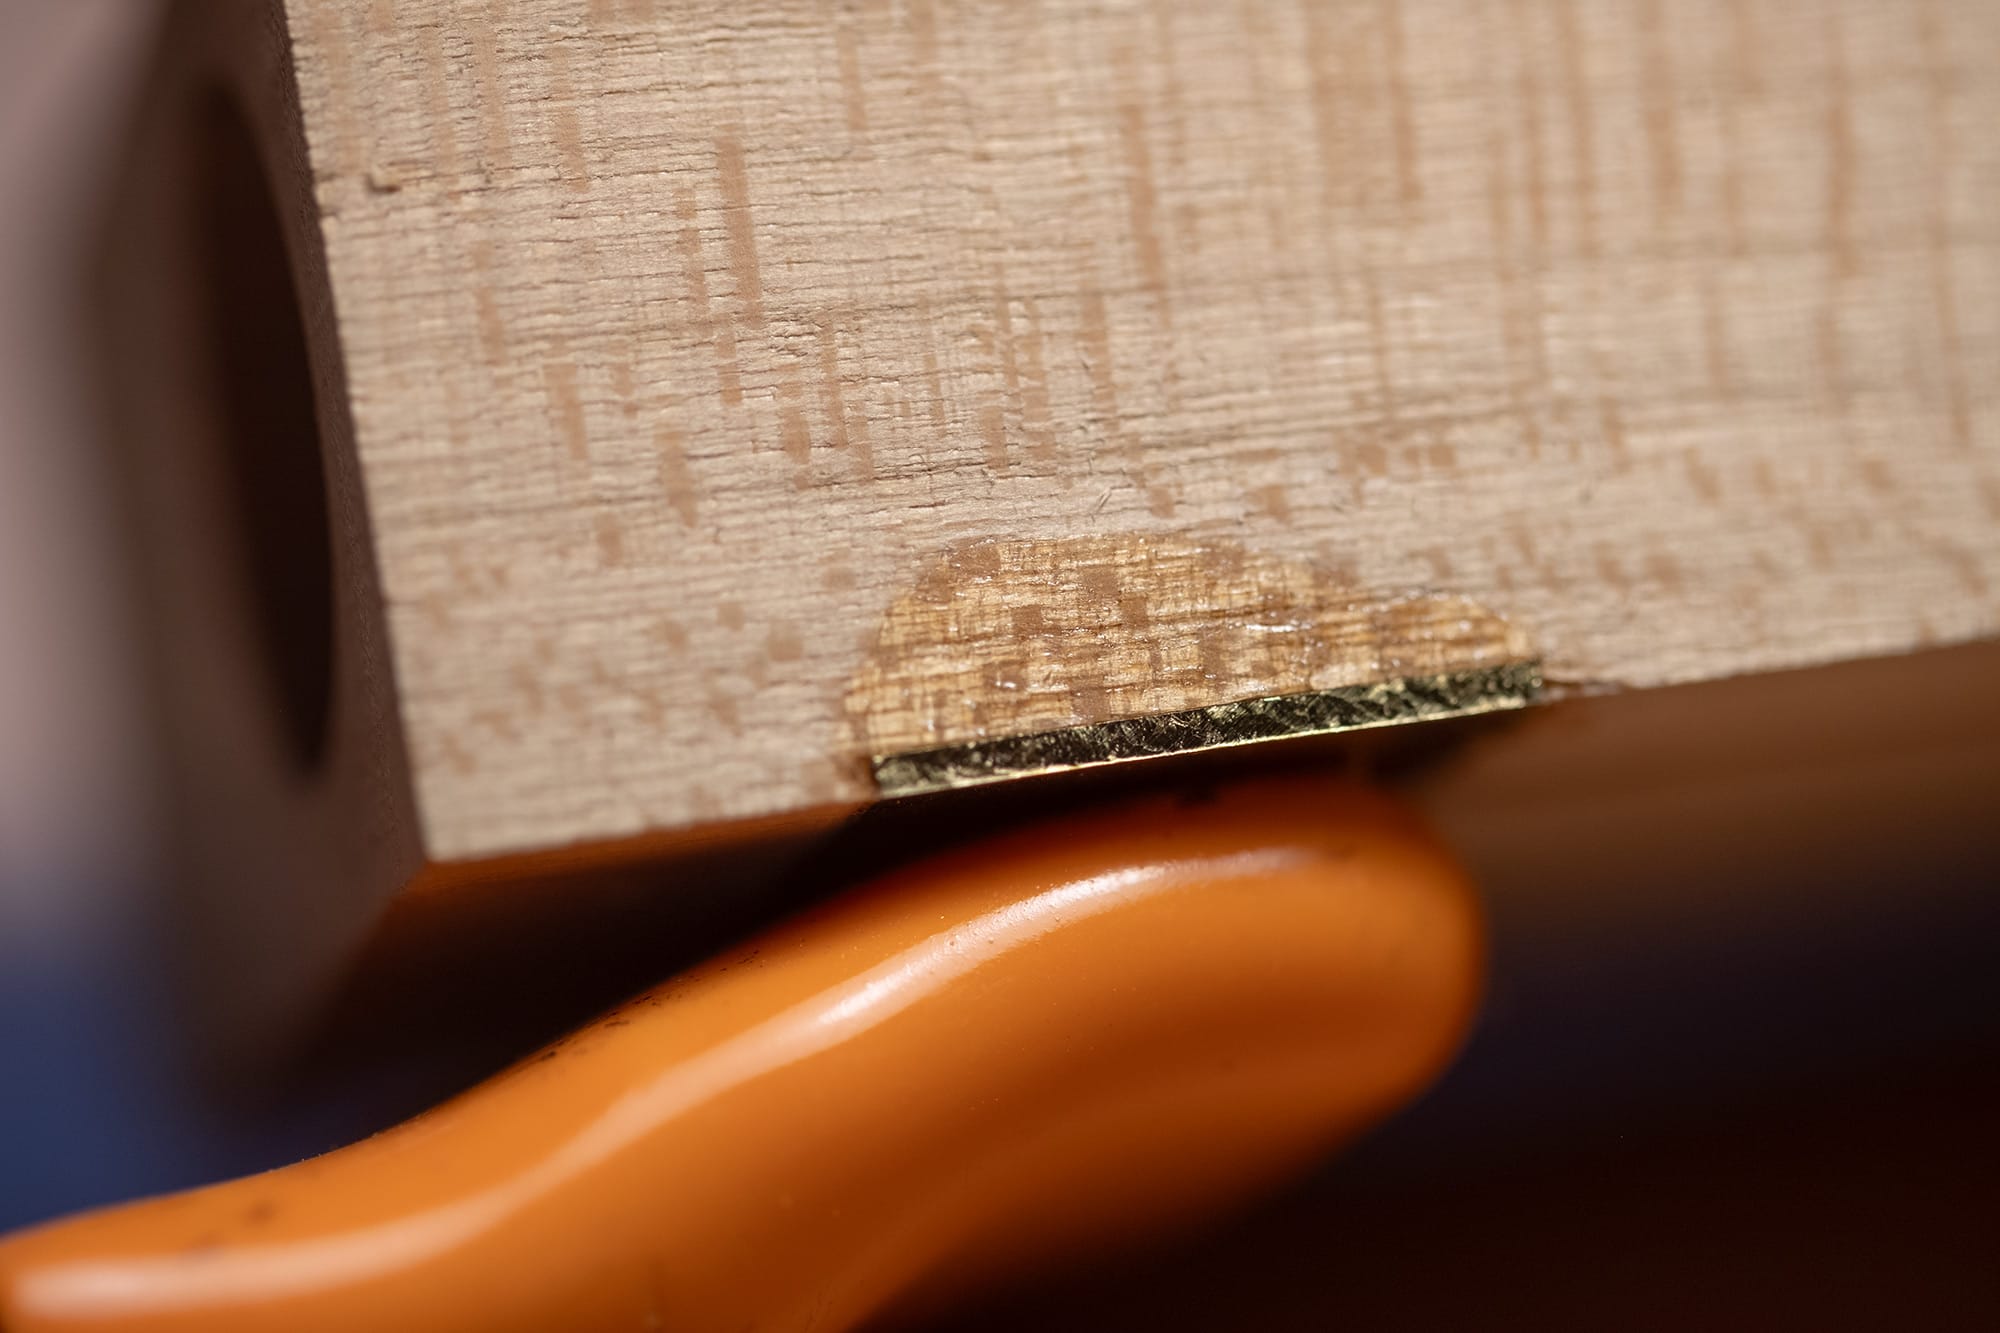
The plate is clamped down and left to dry. A good stopping point.