Toad Craft 02
After squaring up the cherry wood blocks, the next step is trimming off the bottoms.
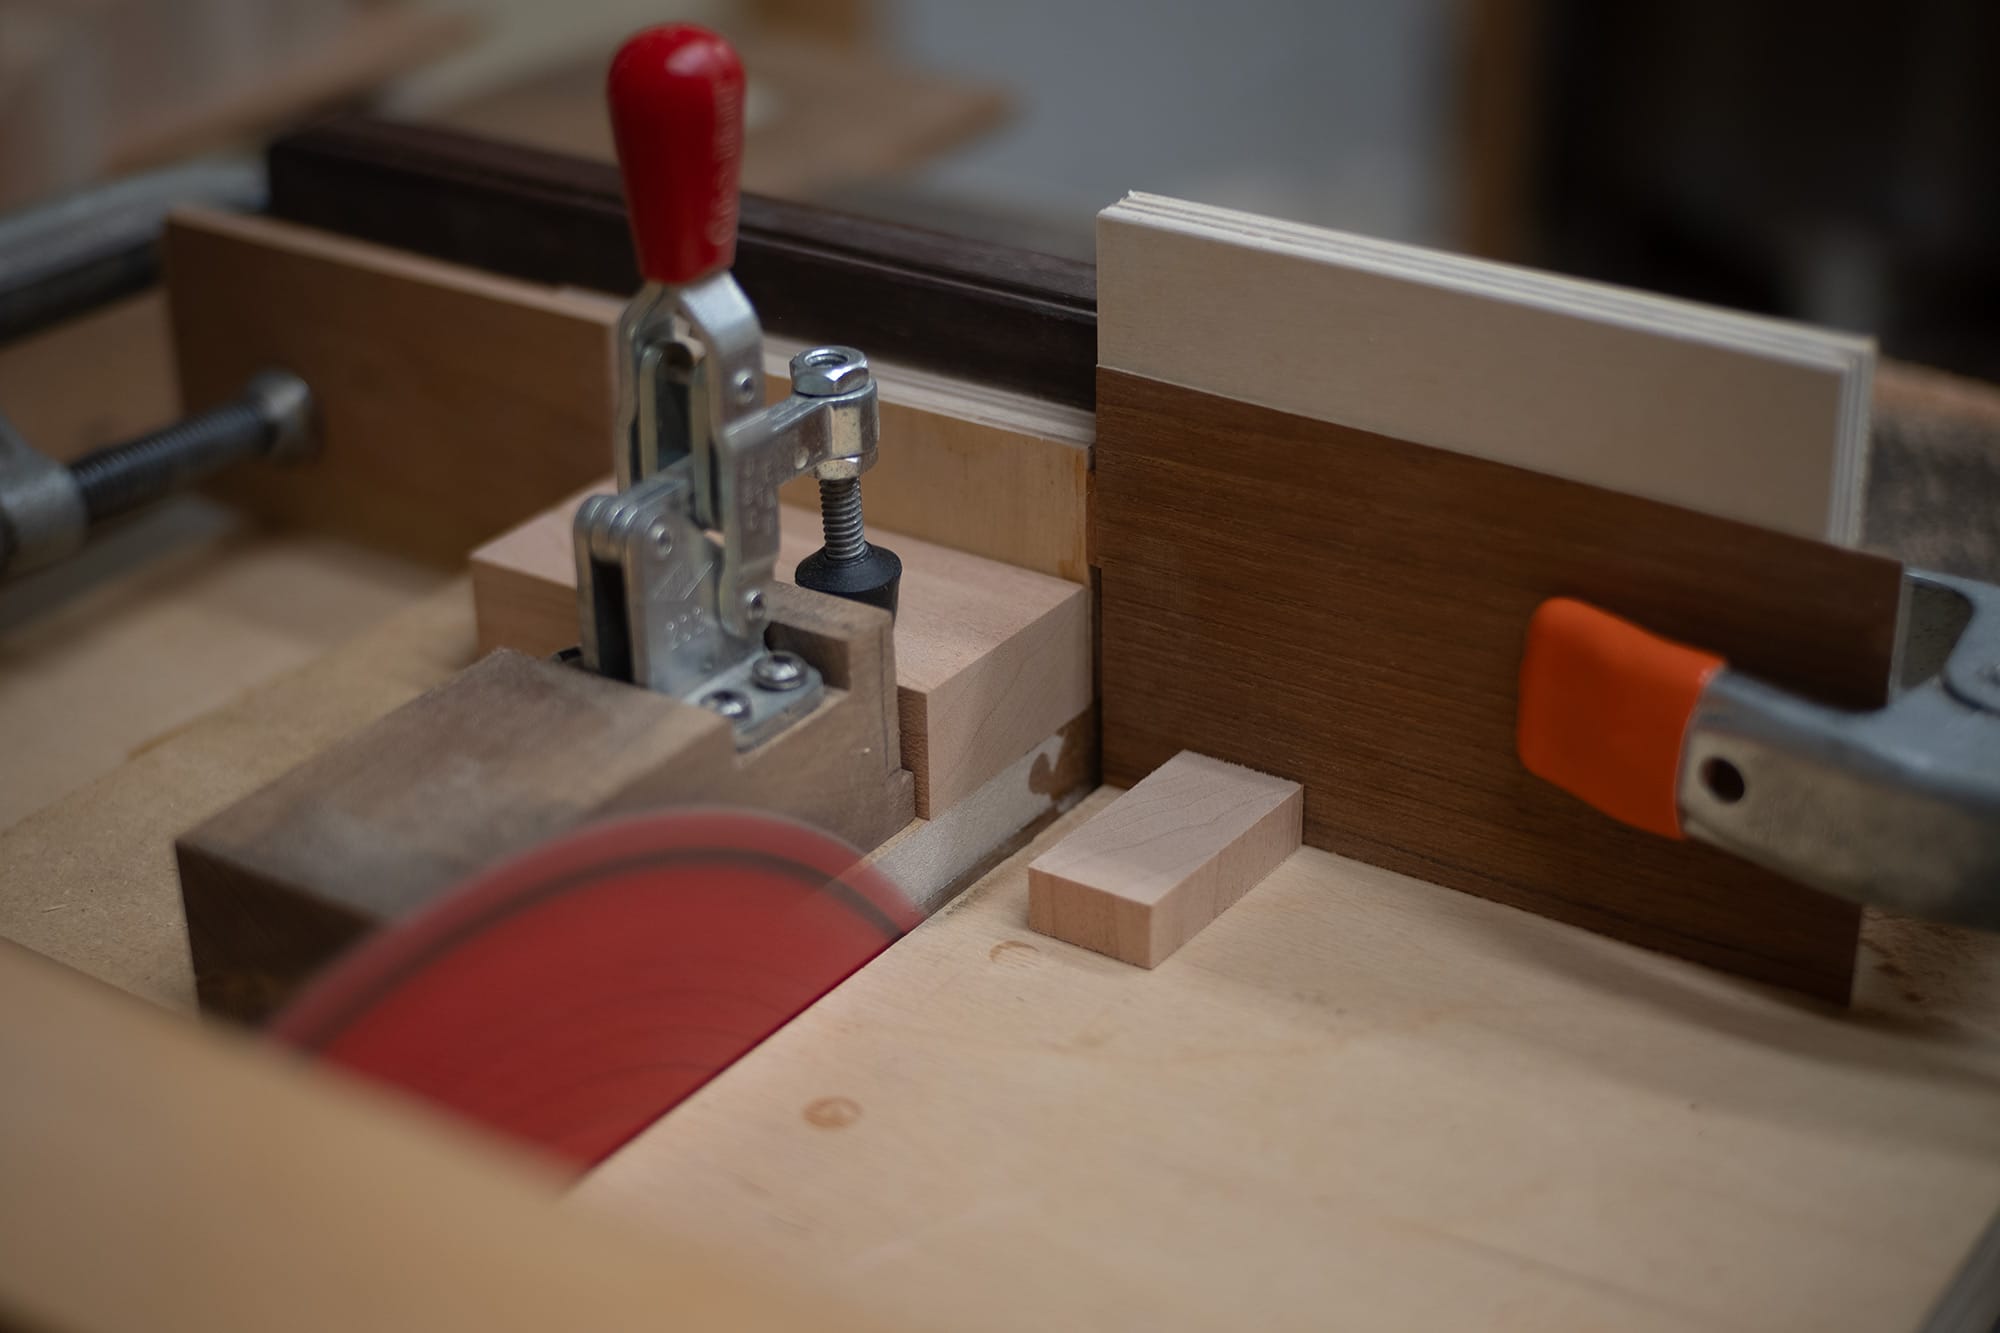
Each block is cut to produce it's own matching wooden bottom. These bottoms will eventually come into play later on in the crafting process, for now they get labelled and set aside.
Enter, the lathe, the big boy. It's time to bore some holes!
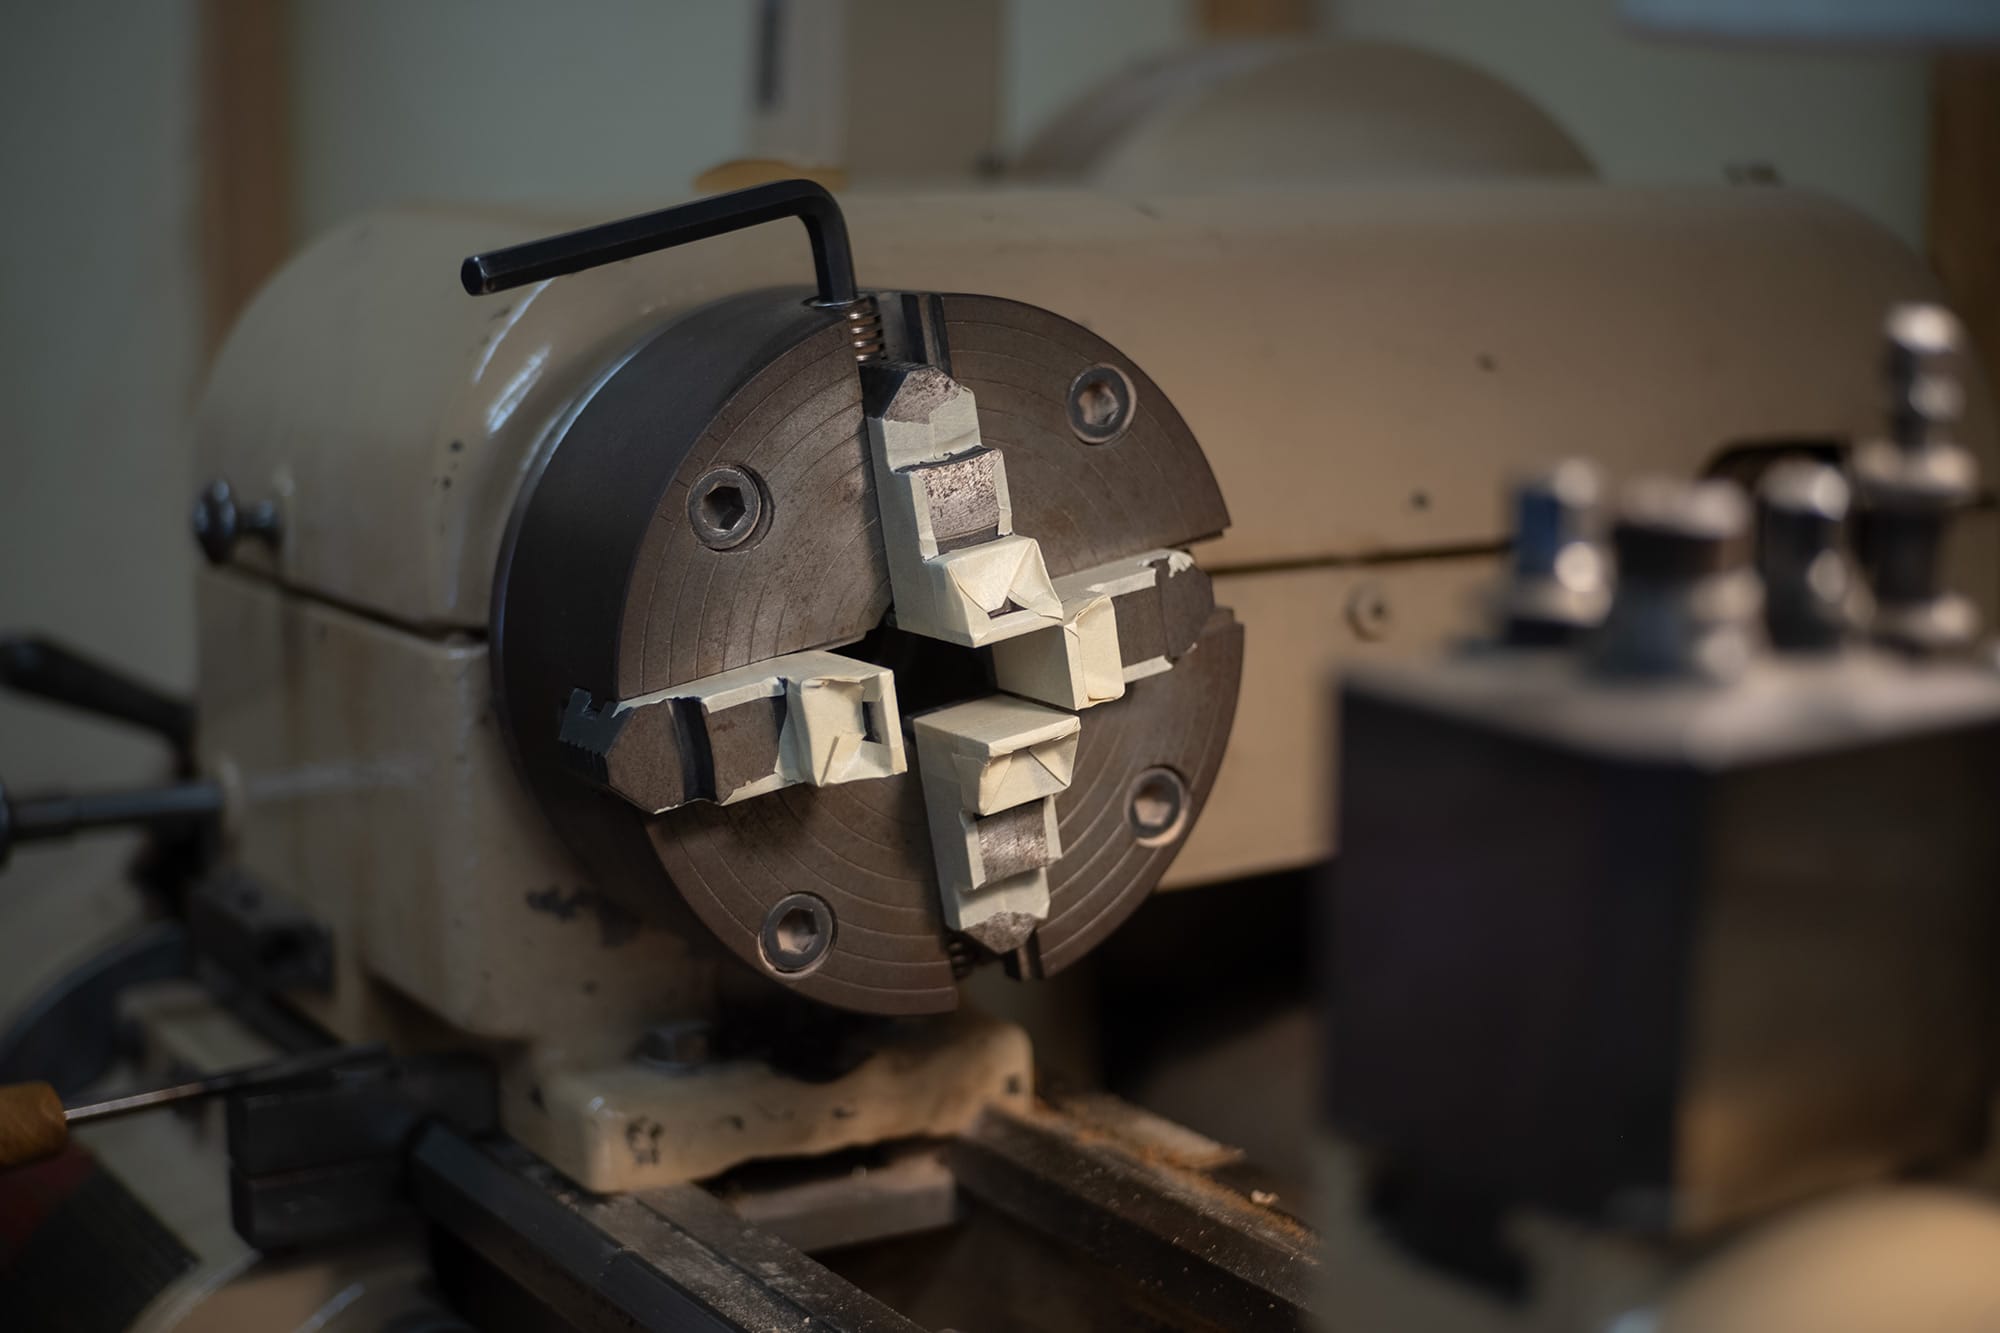
To mount each block to the lathe, they'll need to be held in this 4 jaw chuck. Each jaw moves independently, and so each block needs to be centered by hand by adjusting each jaw with a hex key.
This might seem like a trivial step, but it's proven to be annoyingly time consuming. The way a machinist would center an object like this would be to use a dial indicator. That's the method I used to use as well. It works great, but it's very time consuming over an entire batch.
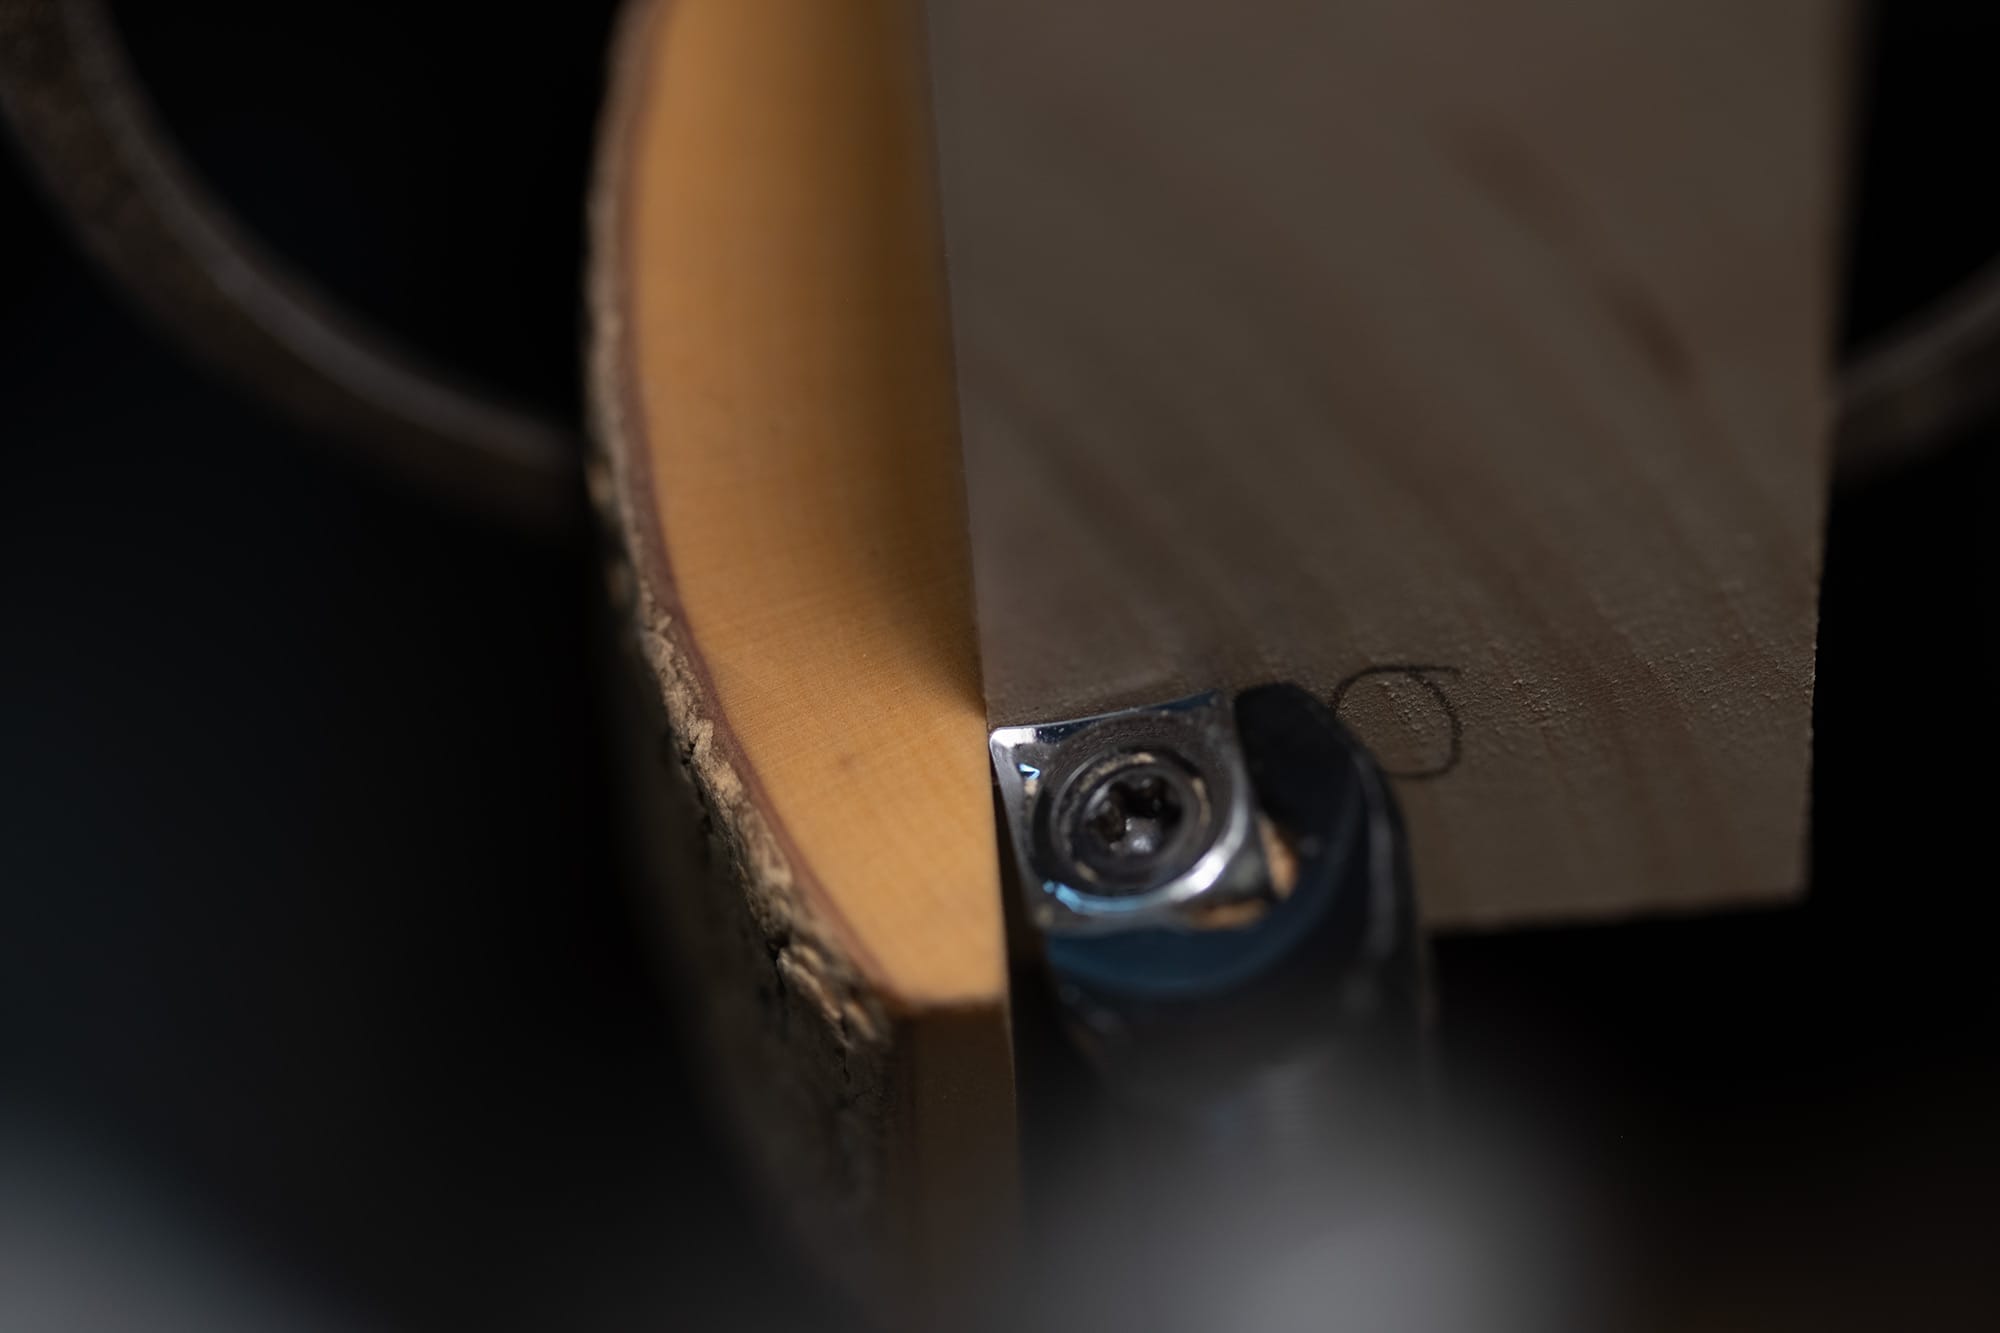
So, the dial was retired, and a little block of boxwood took its place. The boxwood is set on the side faces of a block that's being centered. I move the chuck jaws until the tip of the tool barely touches the boxwood. Now I know that the tip of the tool is aligned with that face. I spin the chuck and check the opposite face, adjusting until the three reference faces are equal.
This is similar to the dial method, but it's a bit more crude, relying on my eyes only. It's way faster, and with practice accuracy is better than I need.

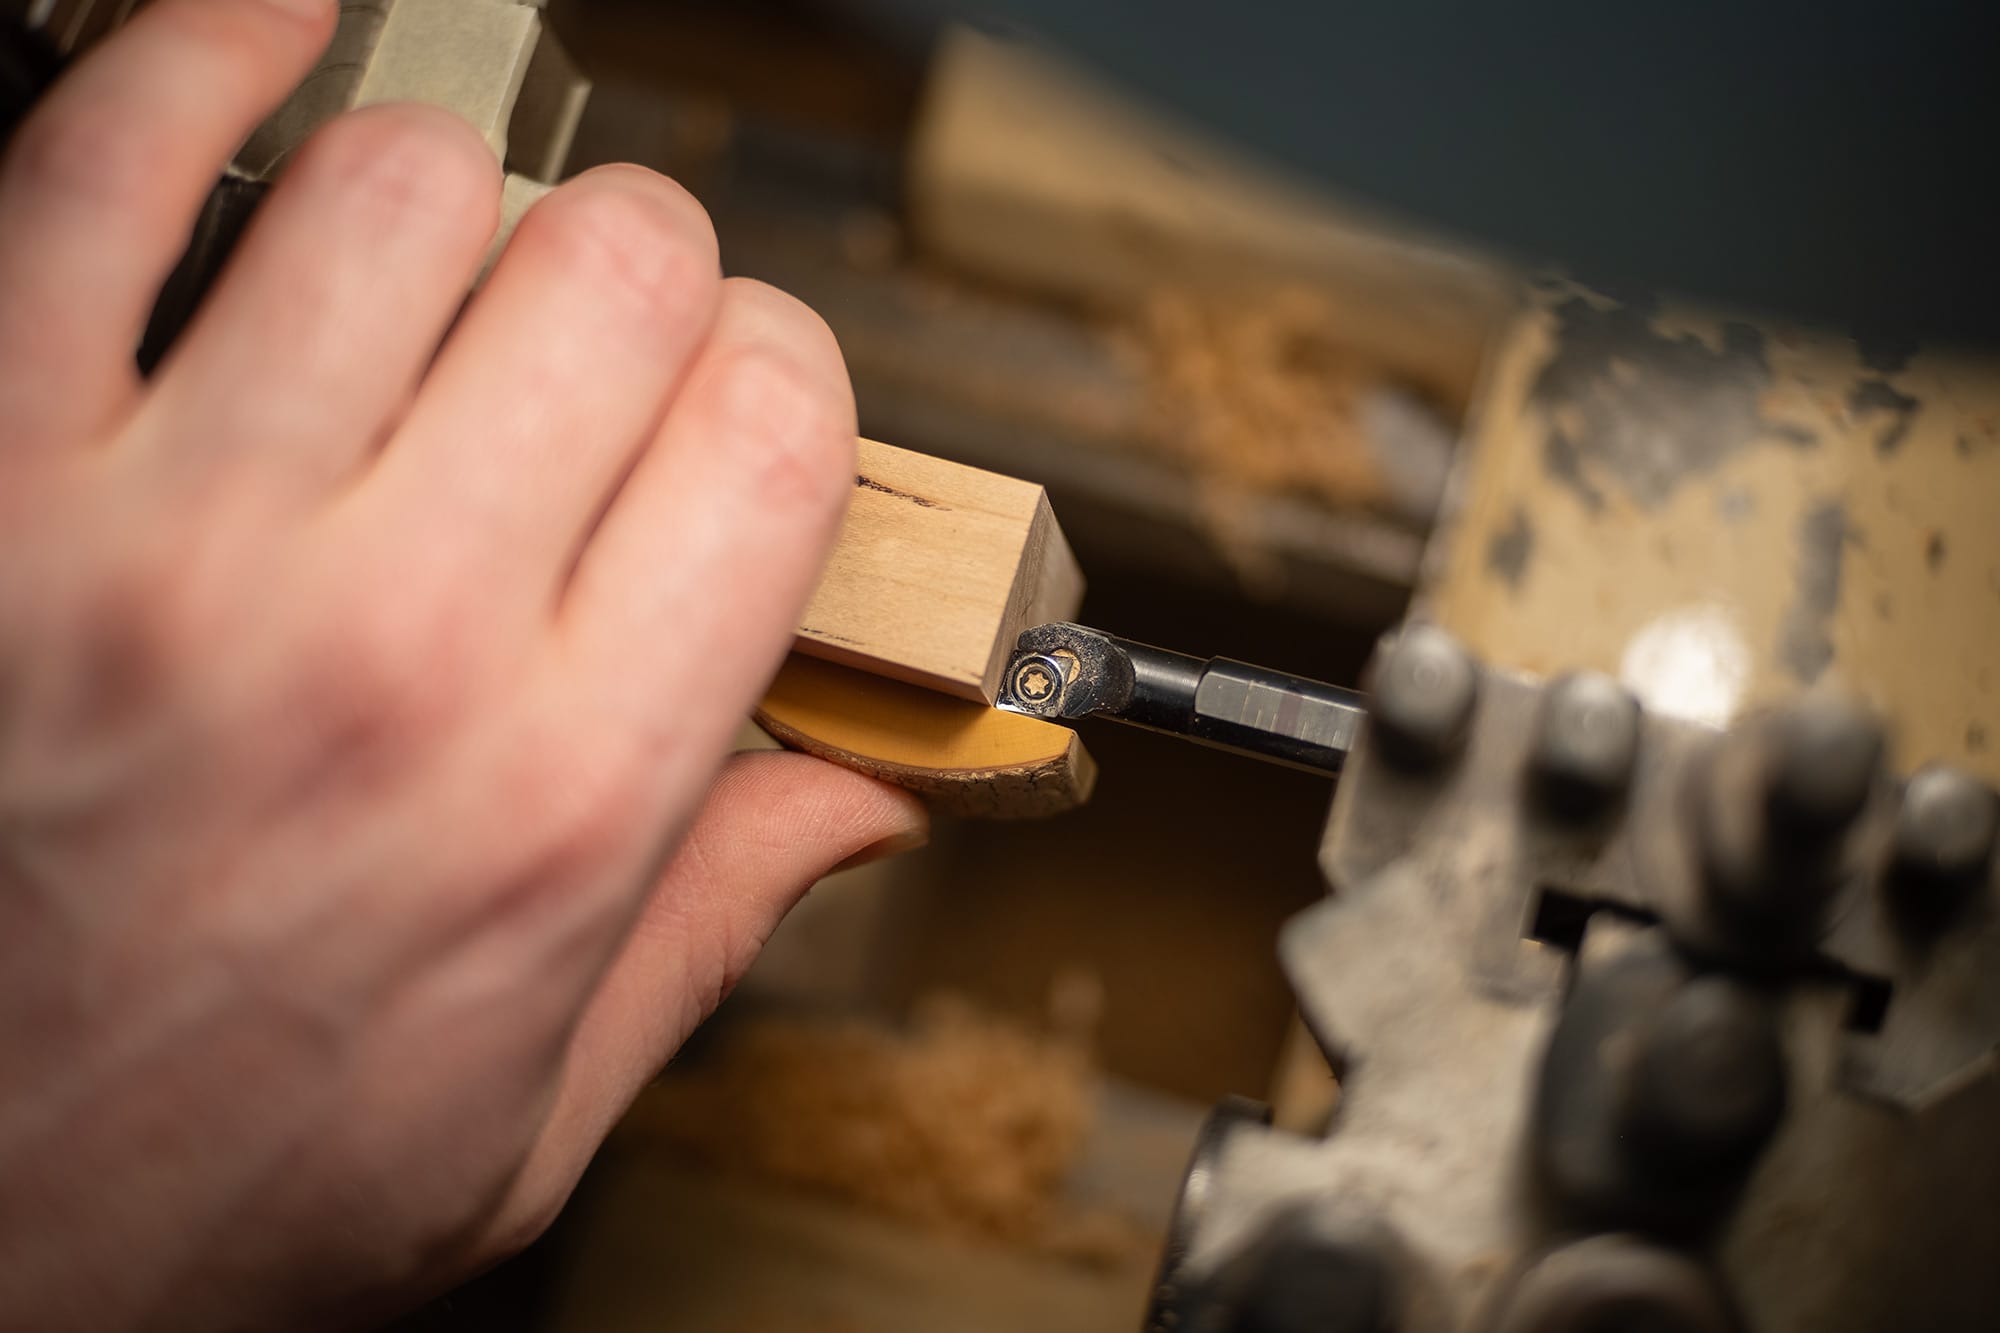
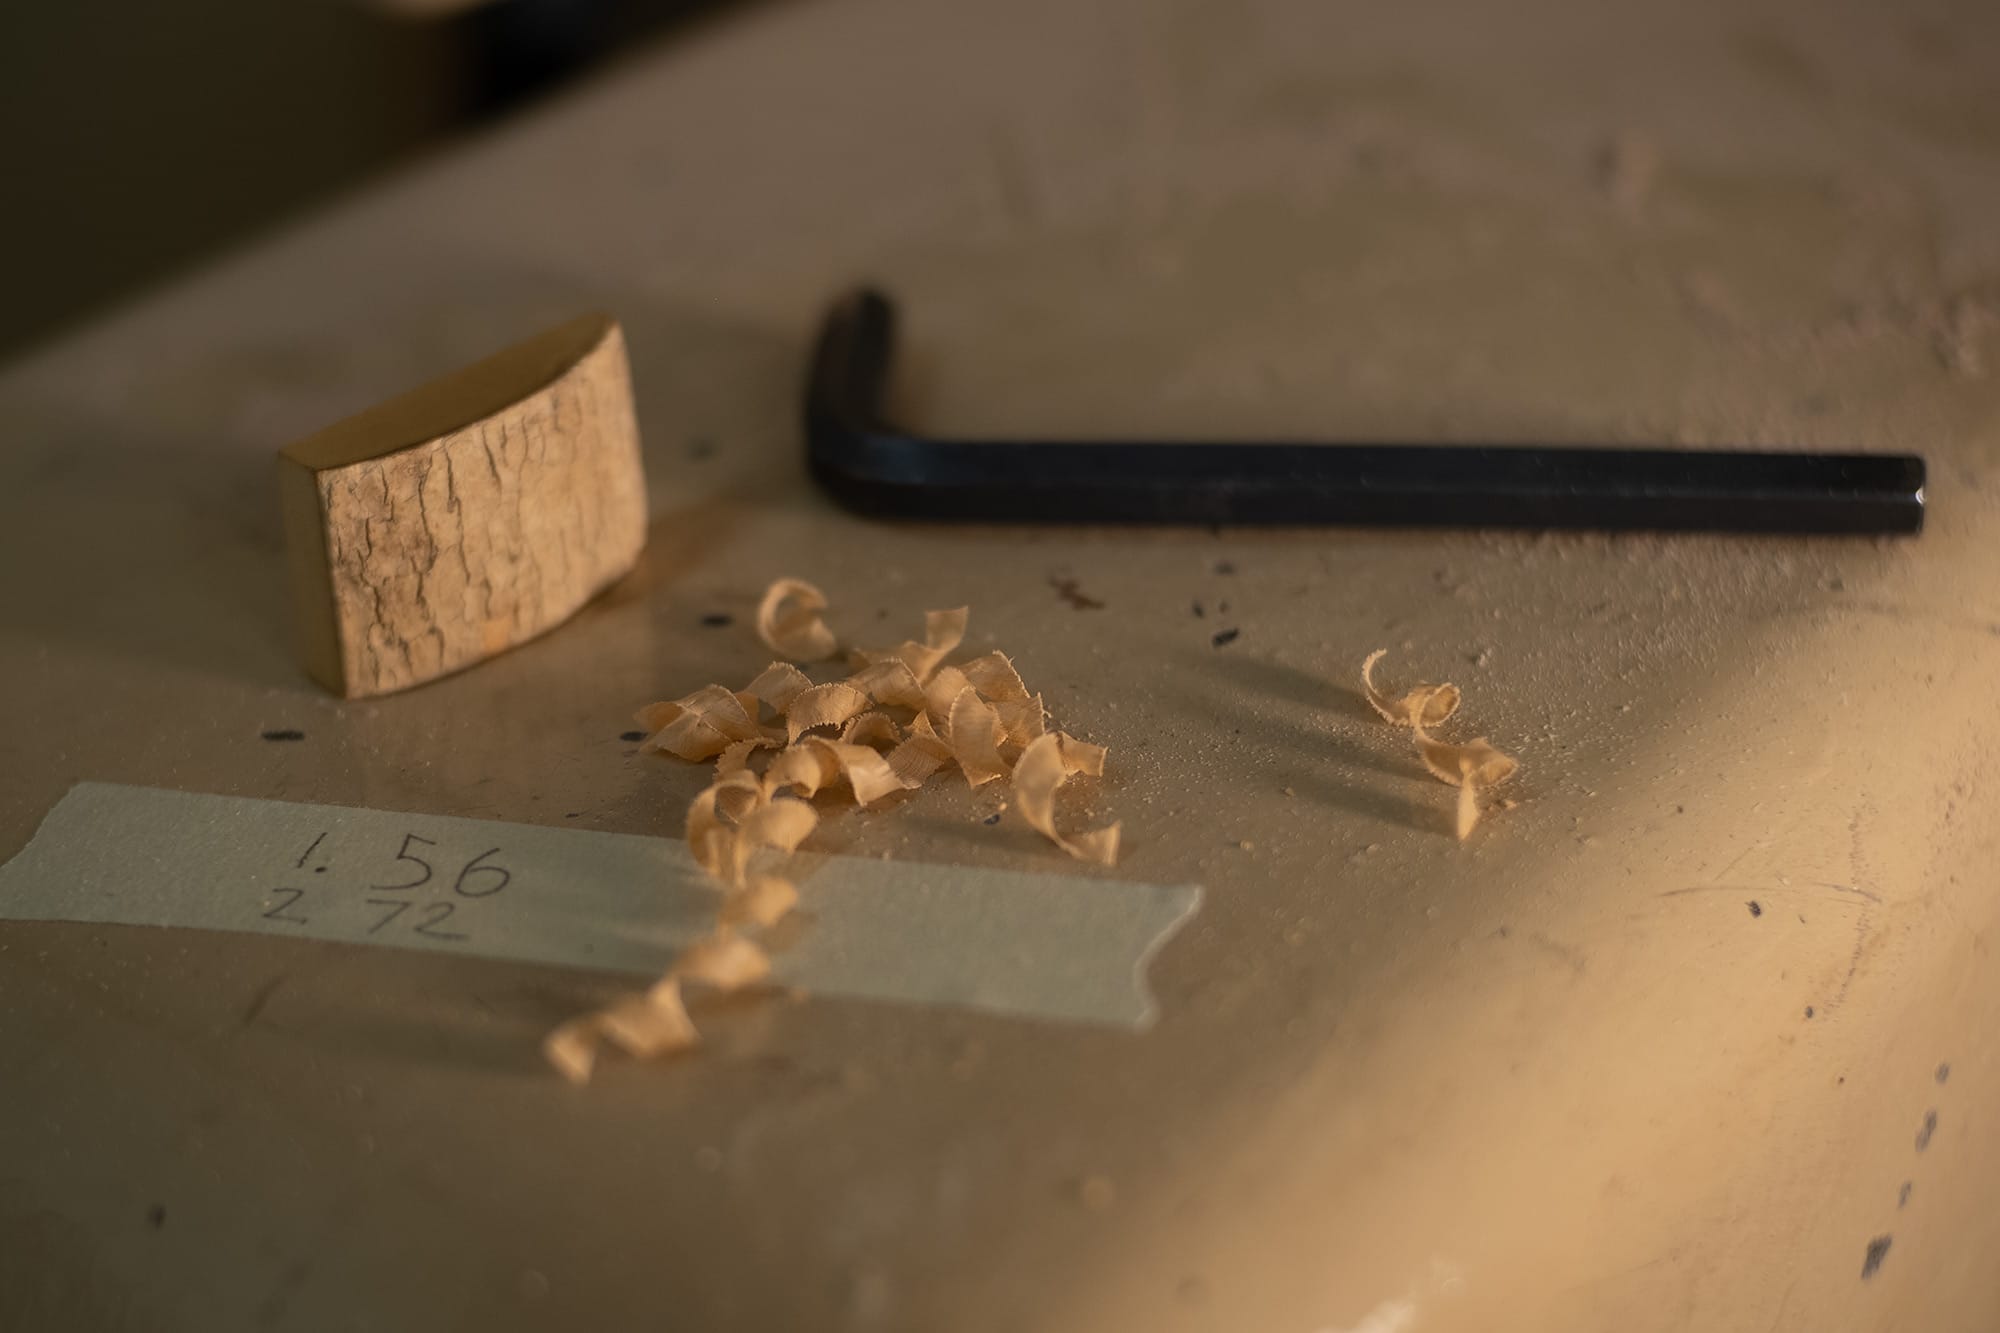
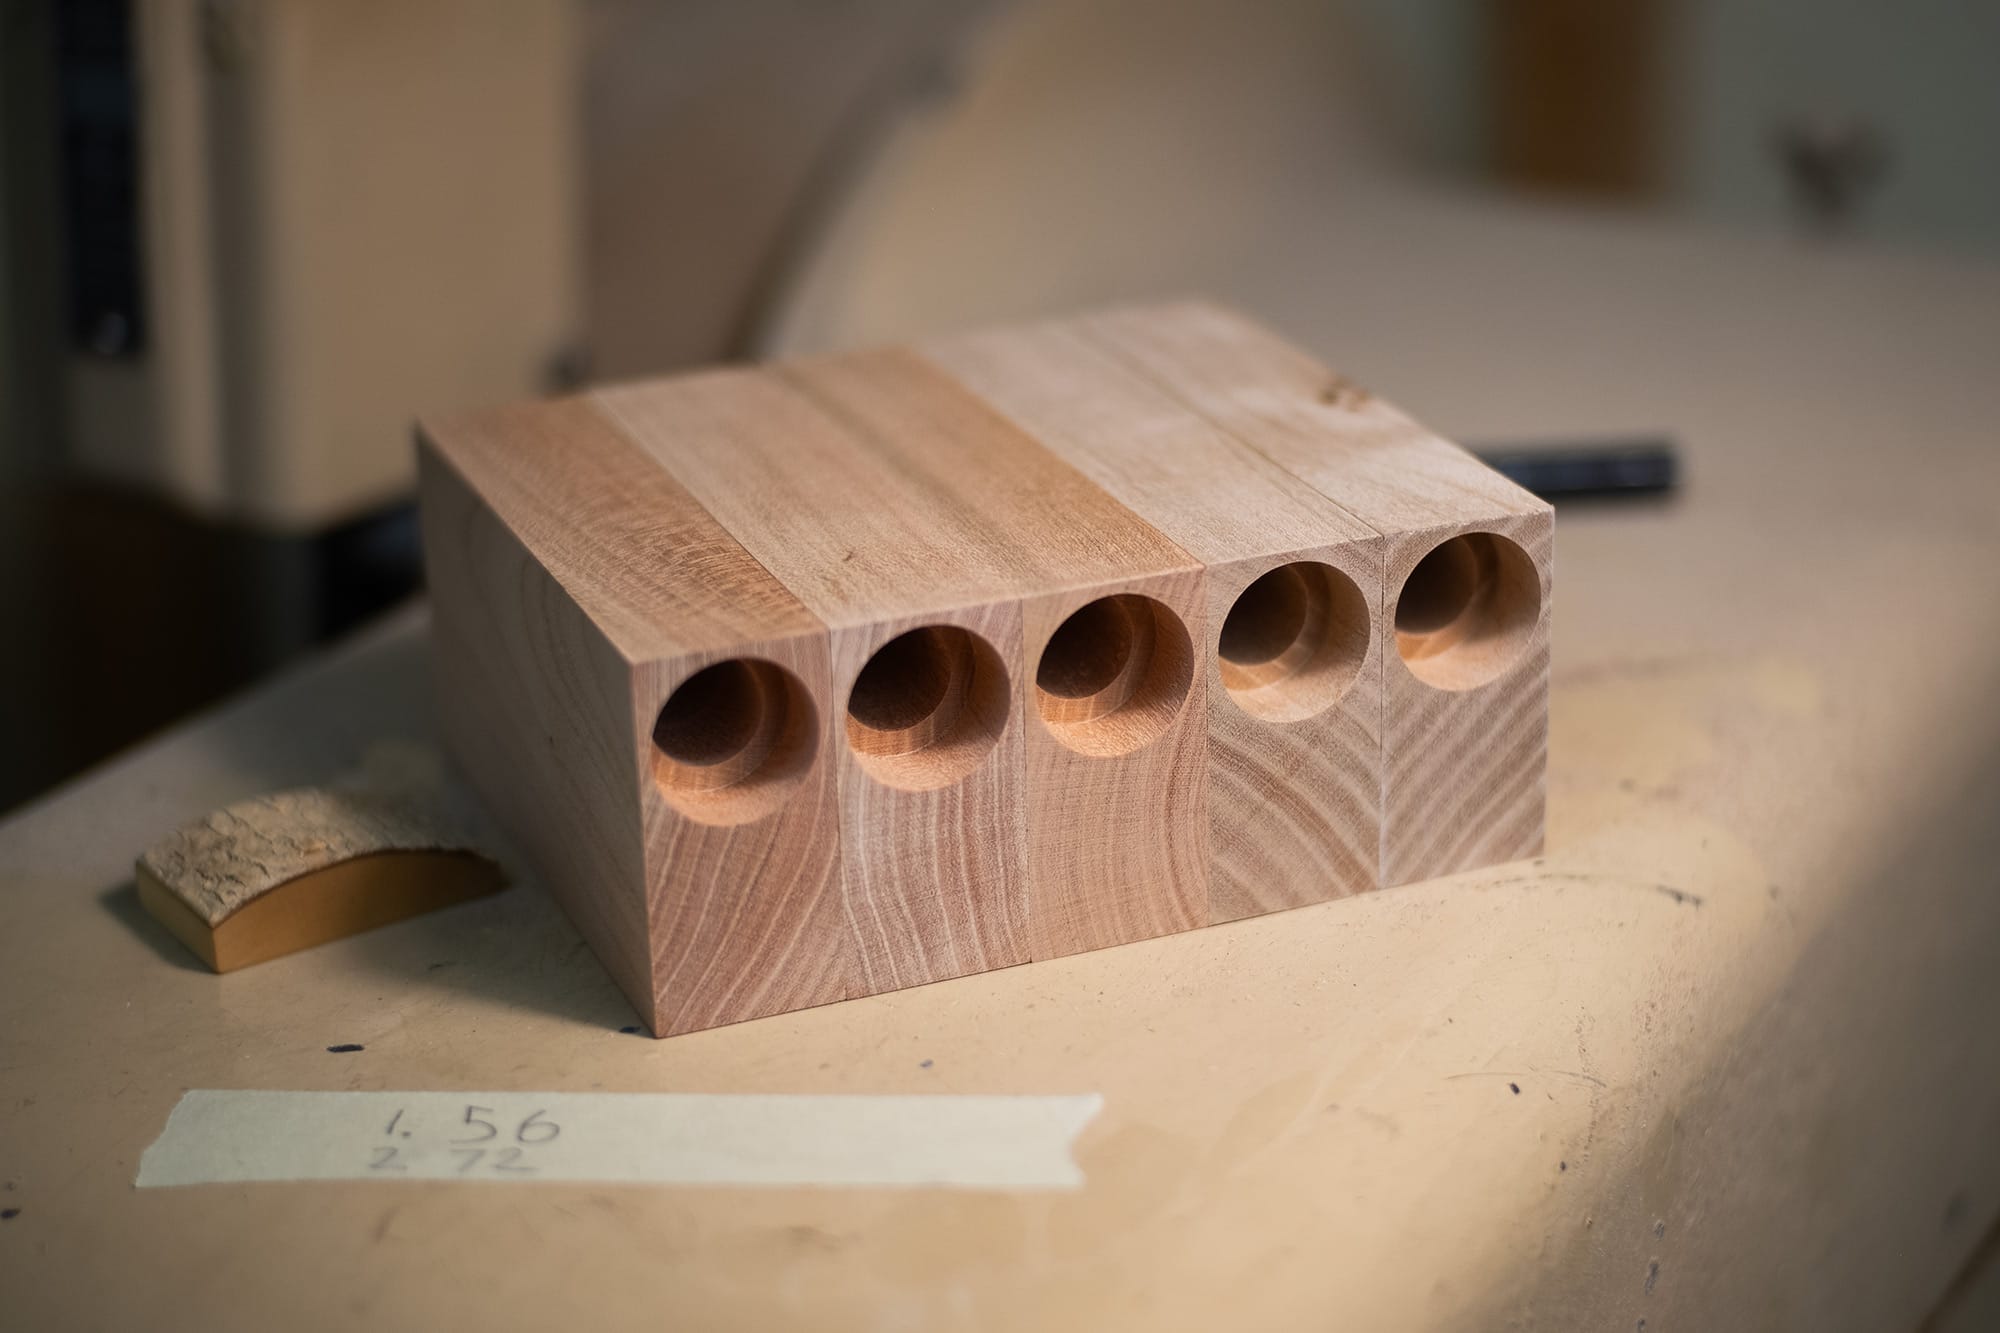
With the block snugged up in the chuck and ready to go, the next step is to set the depth of my lathe tool using the carriage stop. This lathe will automatically advance the tool into the wood until the carriage hits the stop, at which point the automatic feed will disengage.
I made wooden blocks with all my measurements. The wood block sets the stop. This block is marked with "0.372", and so the tool will cut into the wood 0.372" deep.
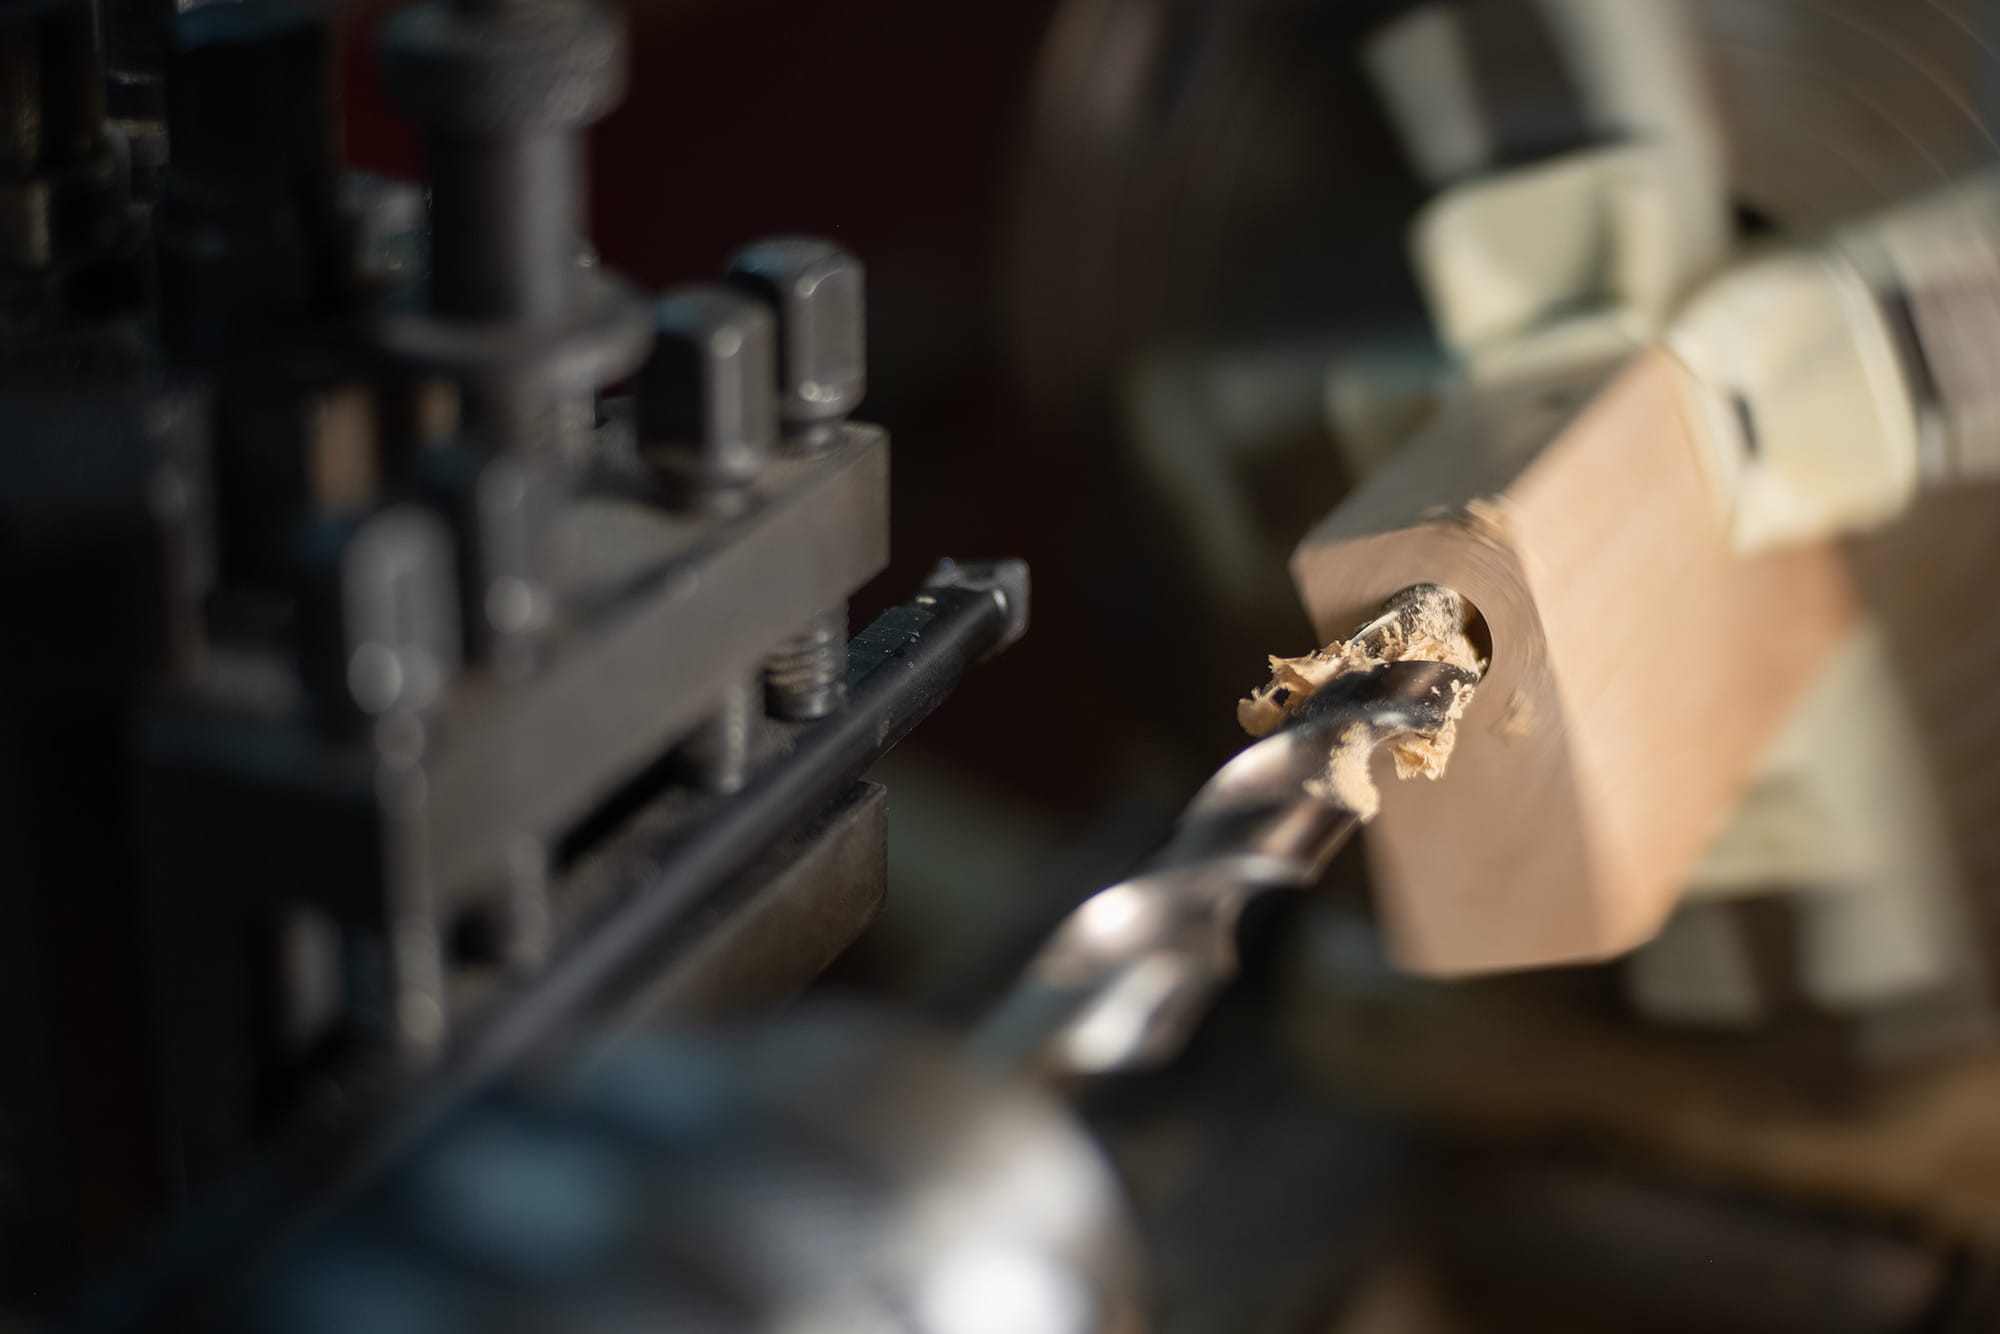
A drill bit is the quickest way to remove wood, and so I use one as often as I can.
I use cobalt steel twist drills with a split point. I've tried every high-end drill out there, and for drilling end grain the split point seems to self center the best and drill the straightest in deep holes. Carbide is better than cobalt, but in larger bits the price of carbide is painful... so for anything larger than 1/4" I stick to cobalt.
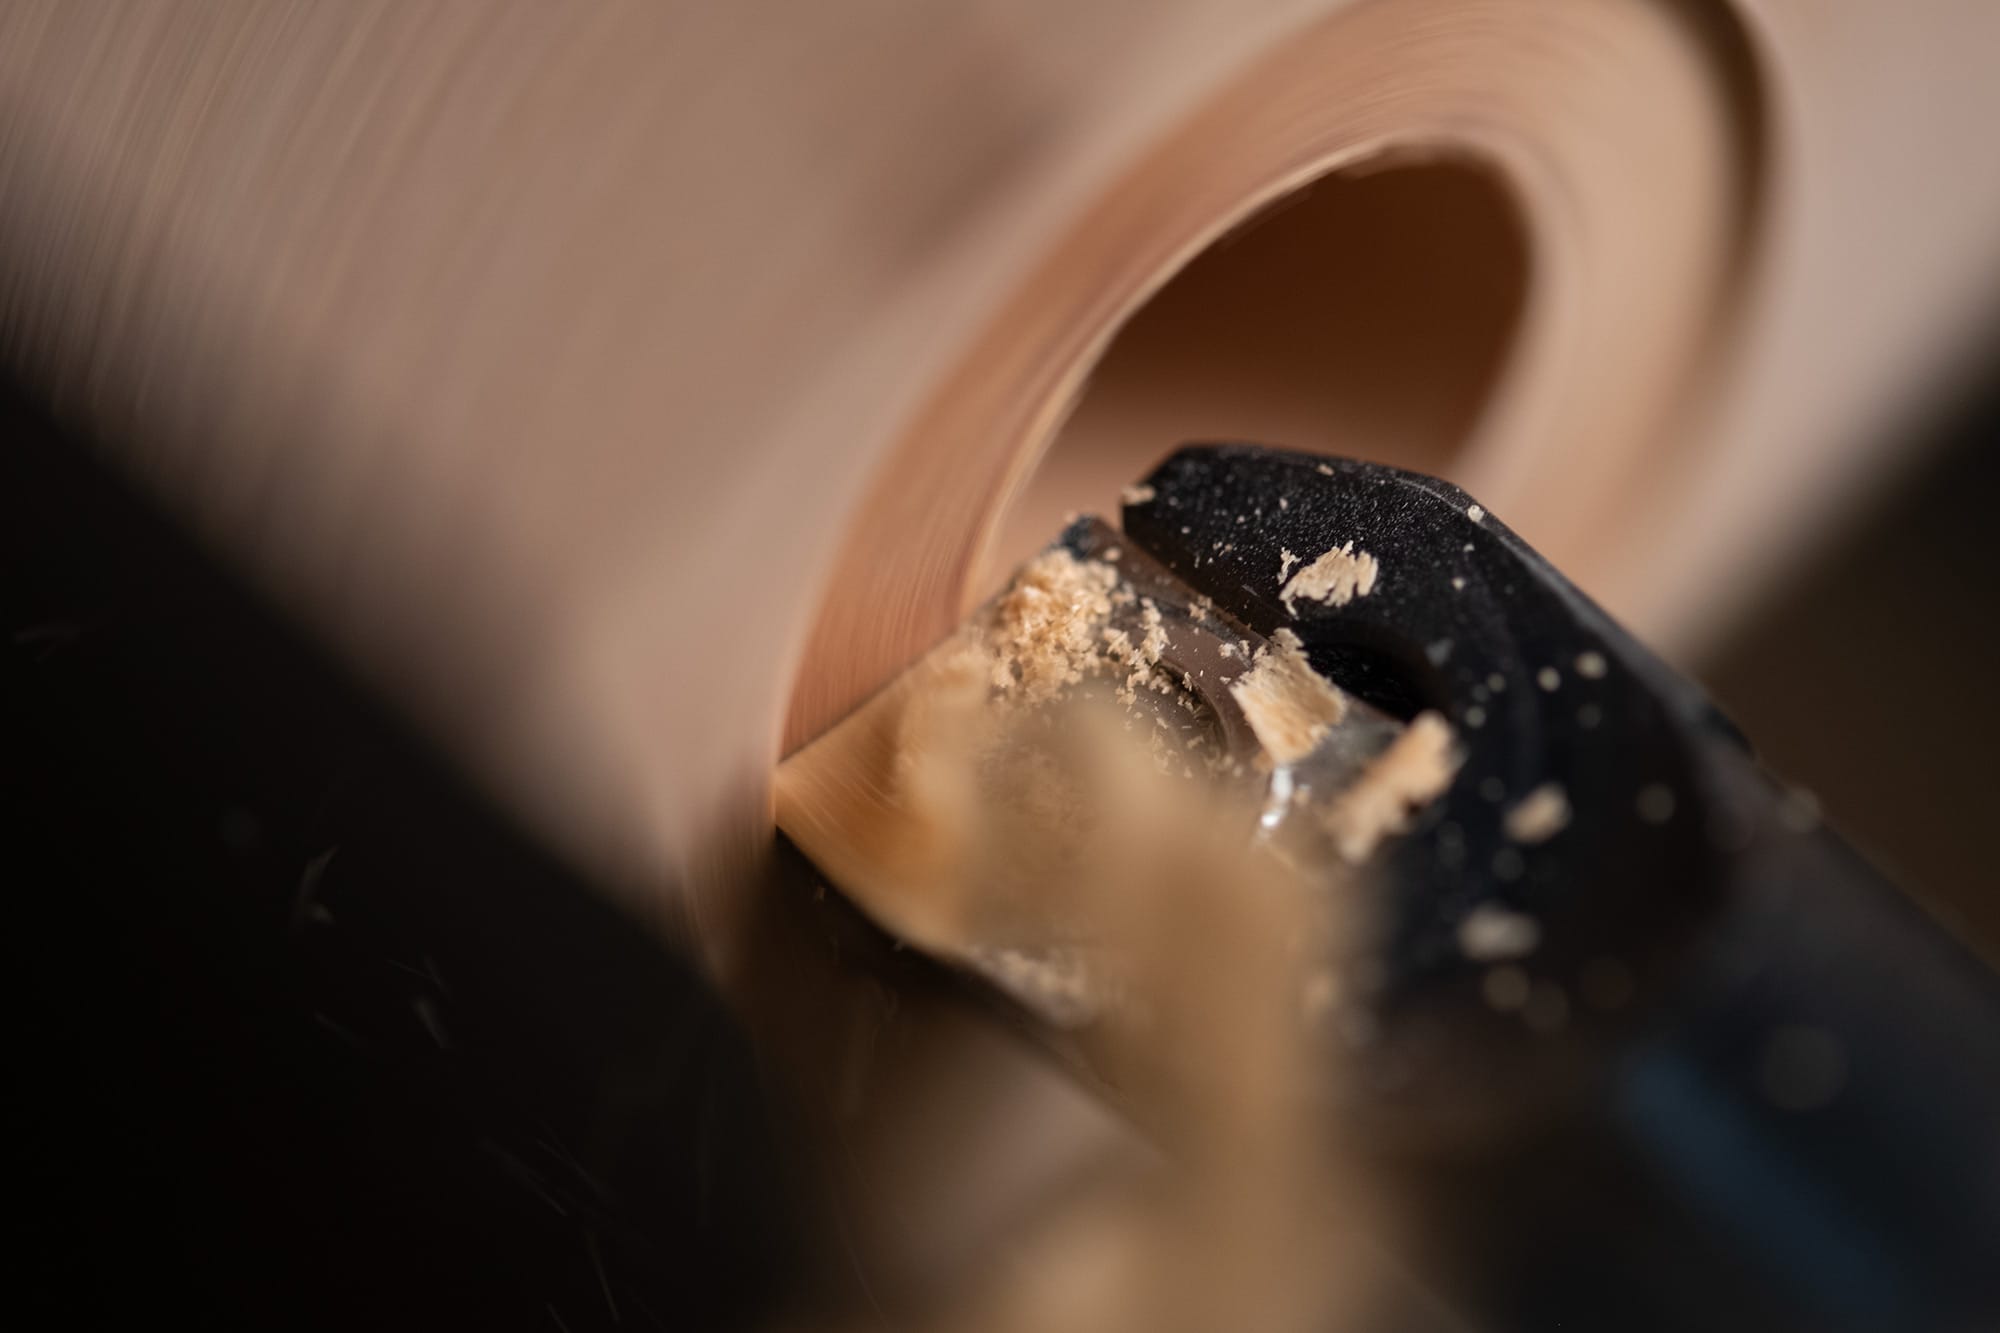
I've recently upgraded to carbide boring bars for most of my lathe tooling. It's a massive improvement over anything else. The key is to use carbide inserts designed for cutting aluminum, the ground/polished and uncoated variety. These razor sharp inserts take buttery smooth cuts in all wood species and stay sharp a very long time.
Just look at those nice little ribbons. Cherry machines... not that great, but with sharp tooling it's no issue.

The bore for the brass heater module contact ring and the heater module itself are machined at the same time. Each block is checked with a calipers when it comes off the lathe.
Lookin' nice!
Let's change gears and get some fresh air. The winter is winding down around here, but a freakish ice storm followed by some cold days left a walkable crust overtop of everything. Getting around the forest was suddenly like walking on smooth concrete instead of the usual trail busting in knee deep snow.
So, this was my burl harvesting window!
We'll be getting some pin/choke cherry burls. This is the only wood that I harvest myself, and it's the only wood I can't seem to find/buy anywhere else. It's an incredible burl wood. Extremely dense, tight n' wild burl patterns, and a beautiful warm brown colour.
I use this wood mostly for making stems. It functions similar to briar burl, but it's much more dense.
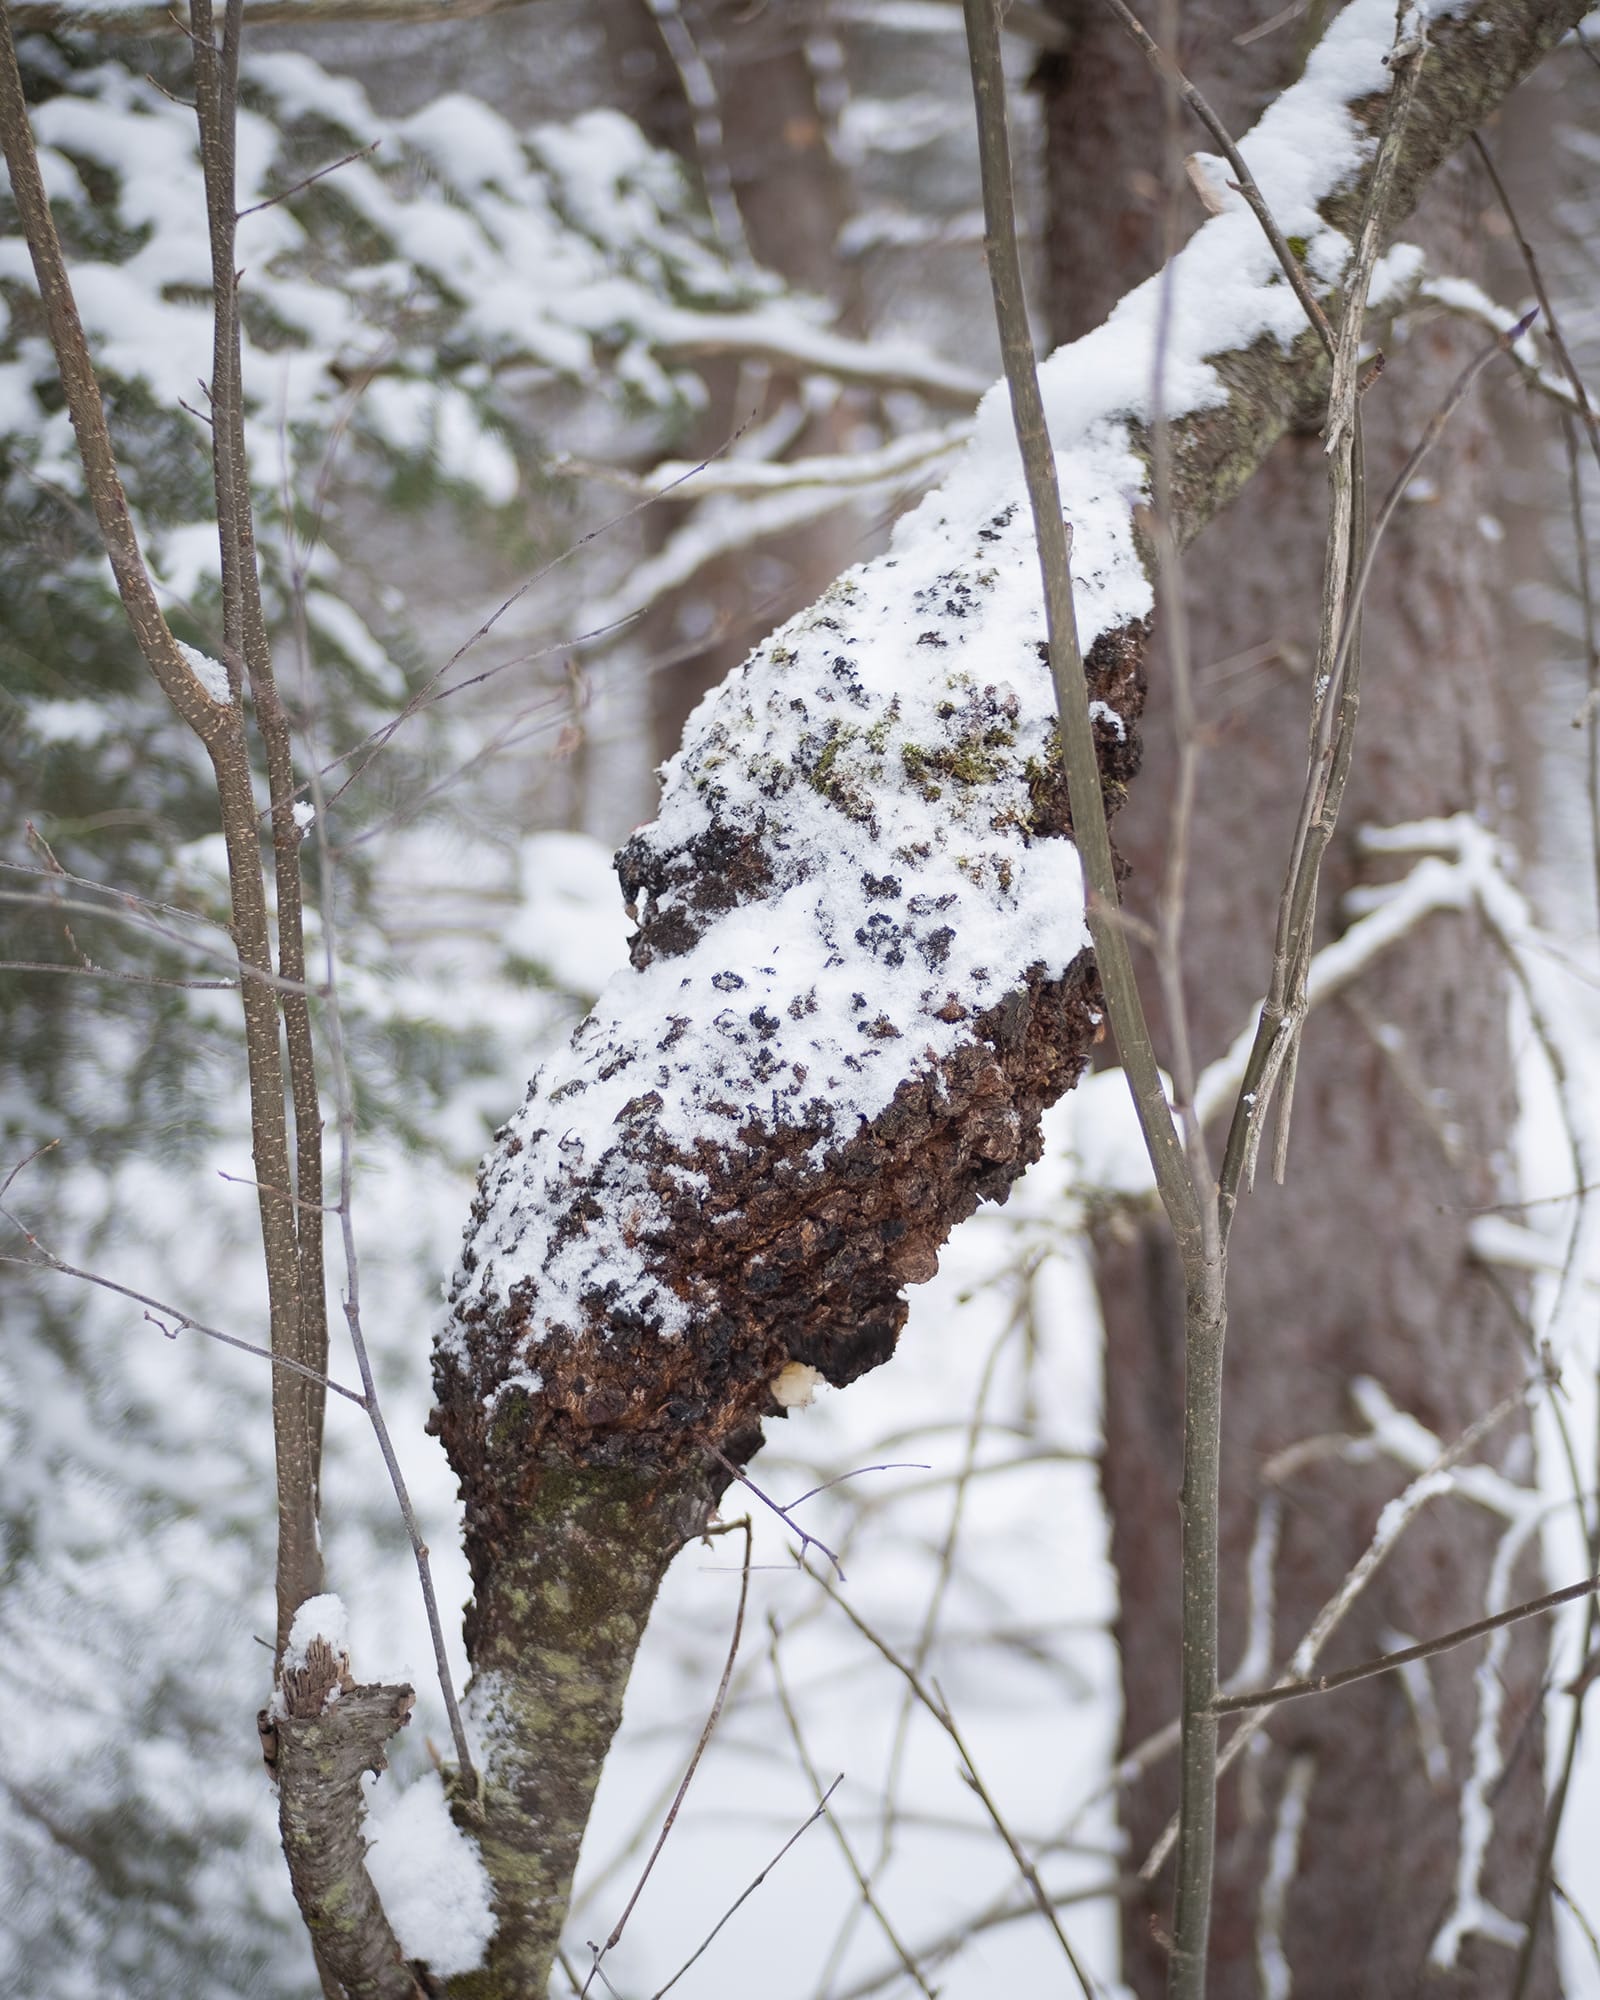
The pin and choke cherry trees around here form these gnarly lookin' burls. I've heard that it's a rare anomaly of this area. Any trees with these burls seem to die quite young, and I've witnessed many along the trail die and rot away. The larger and older cherry trees in this area don't have any burls on them. I remind myself of this fact whenever I feel bad for taking down a living creature of the forest.
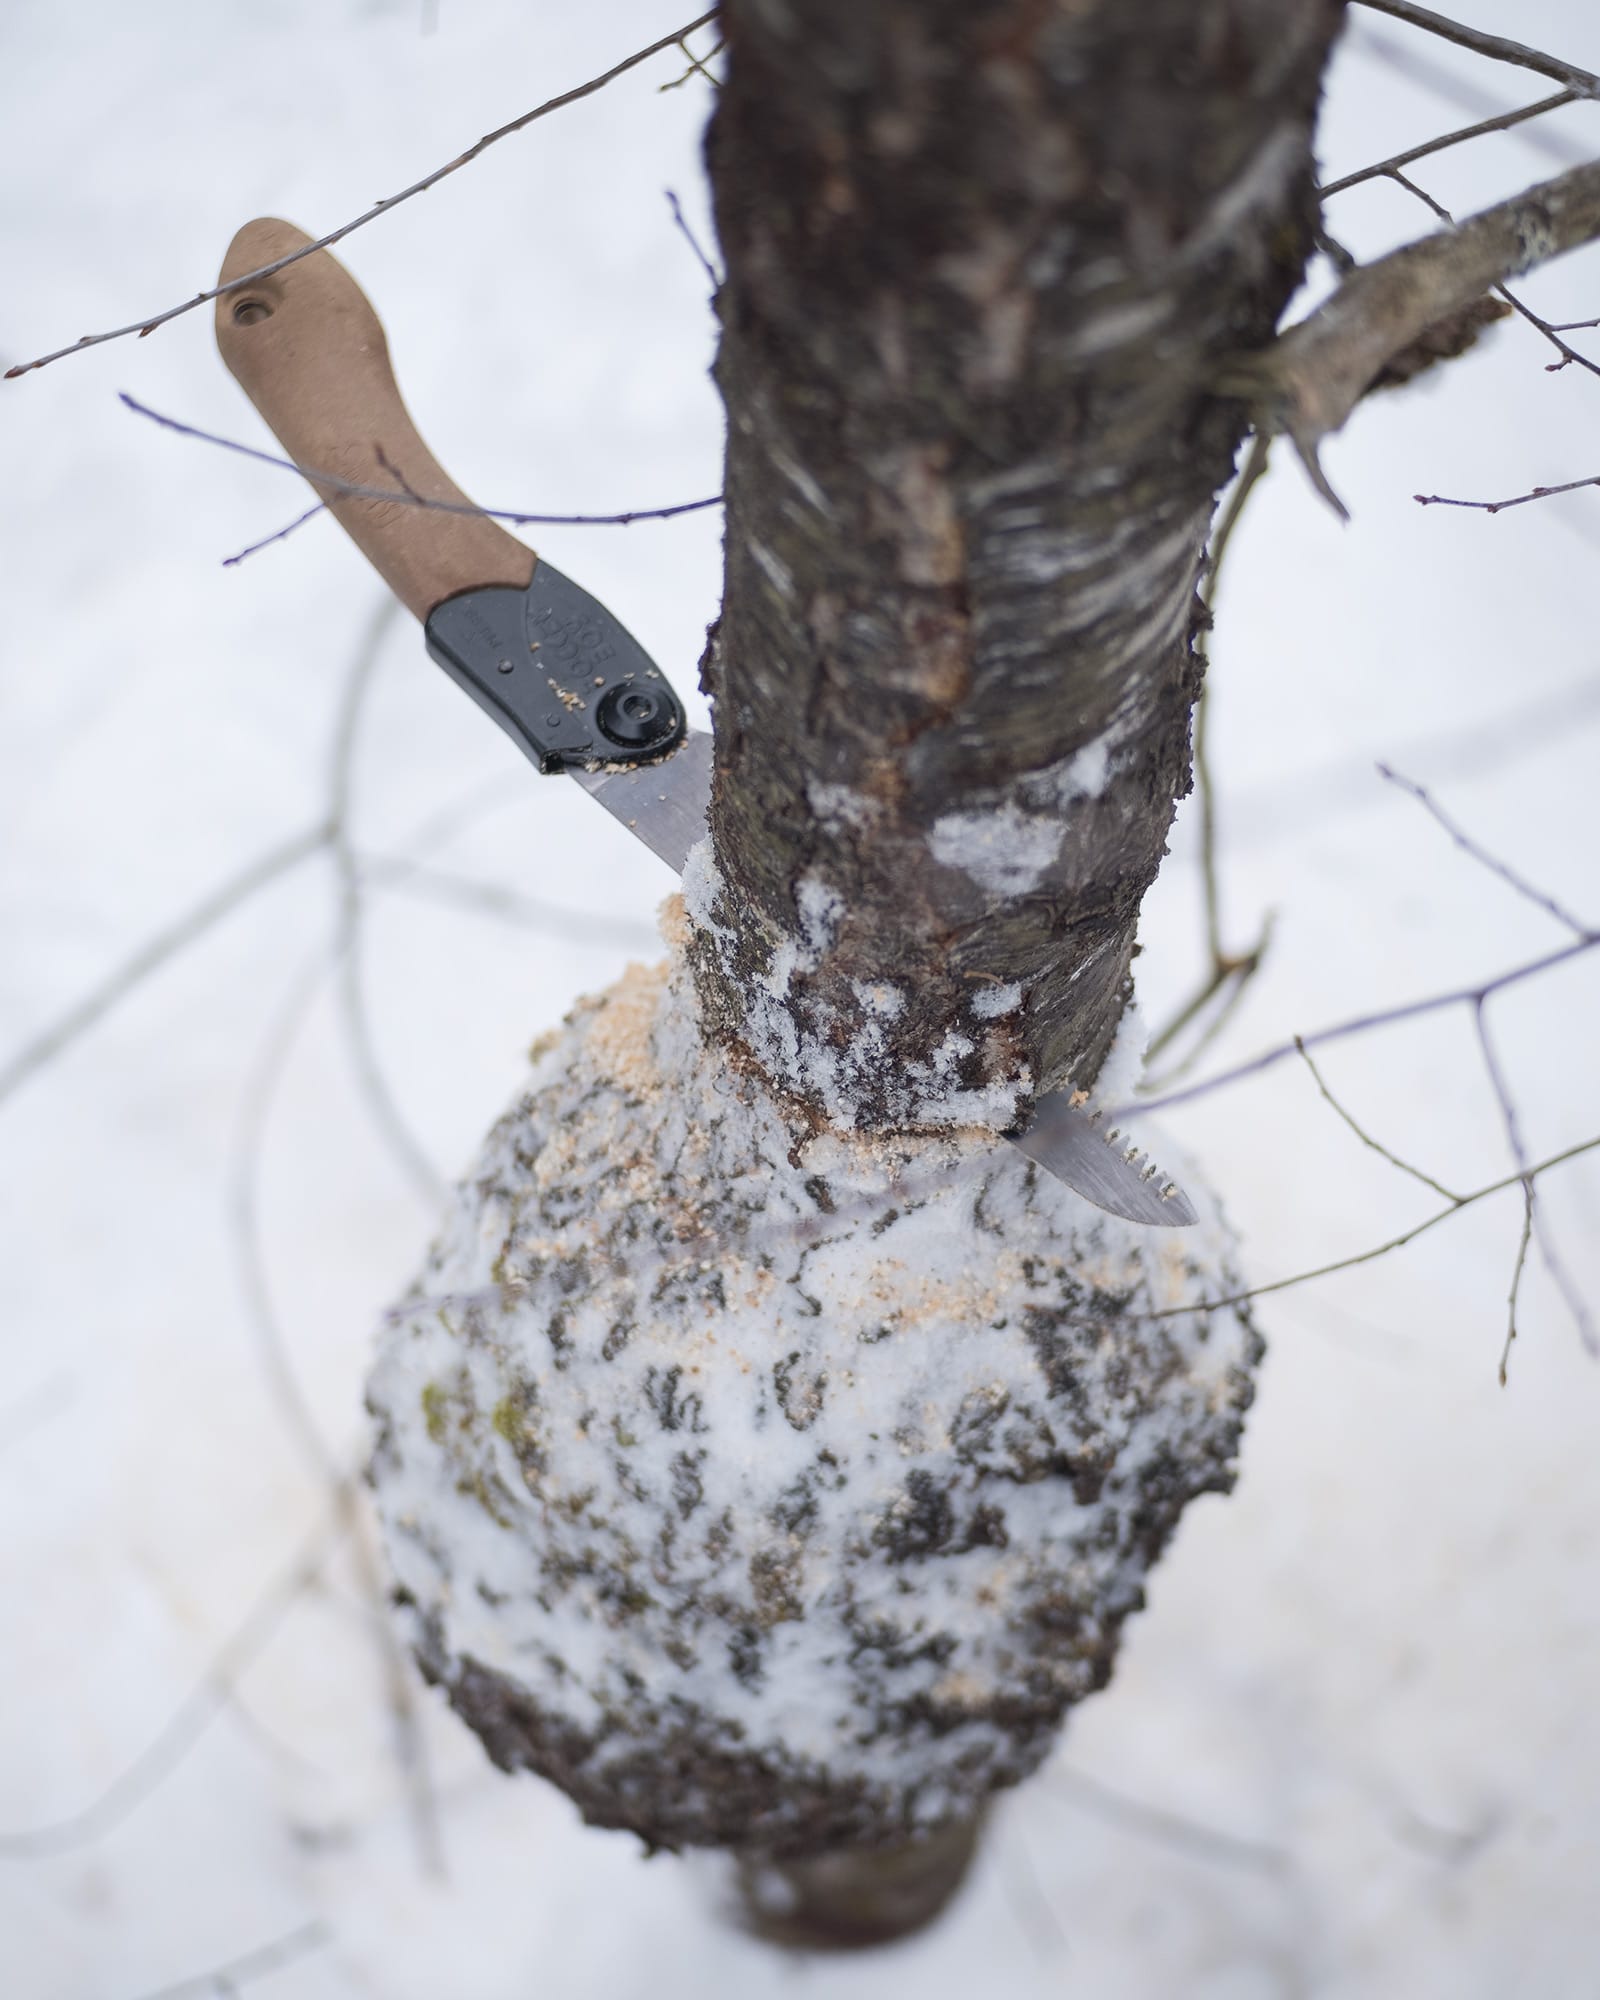
I'm using the Silky Pocketboy here, a christmas gift from Steff. This is its first real test and it cuts like a dream! I love it.
I ended up finding five prime burls to bring home, each will stay outside in the wood shed until the snow melts. I'll chainsaw them into smaller slabs, cover em' in wax, and put them aside to dry. They'll be ready in about a year... maybe.
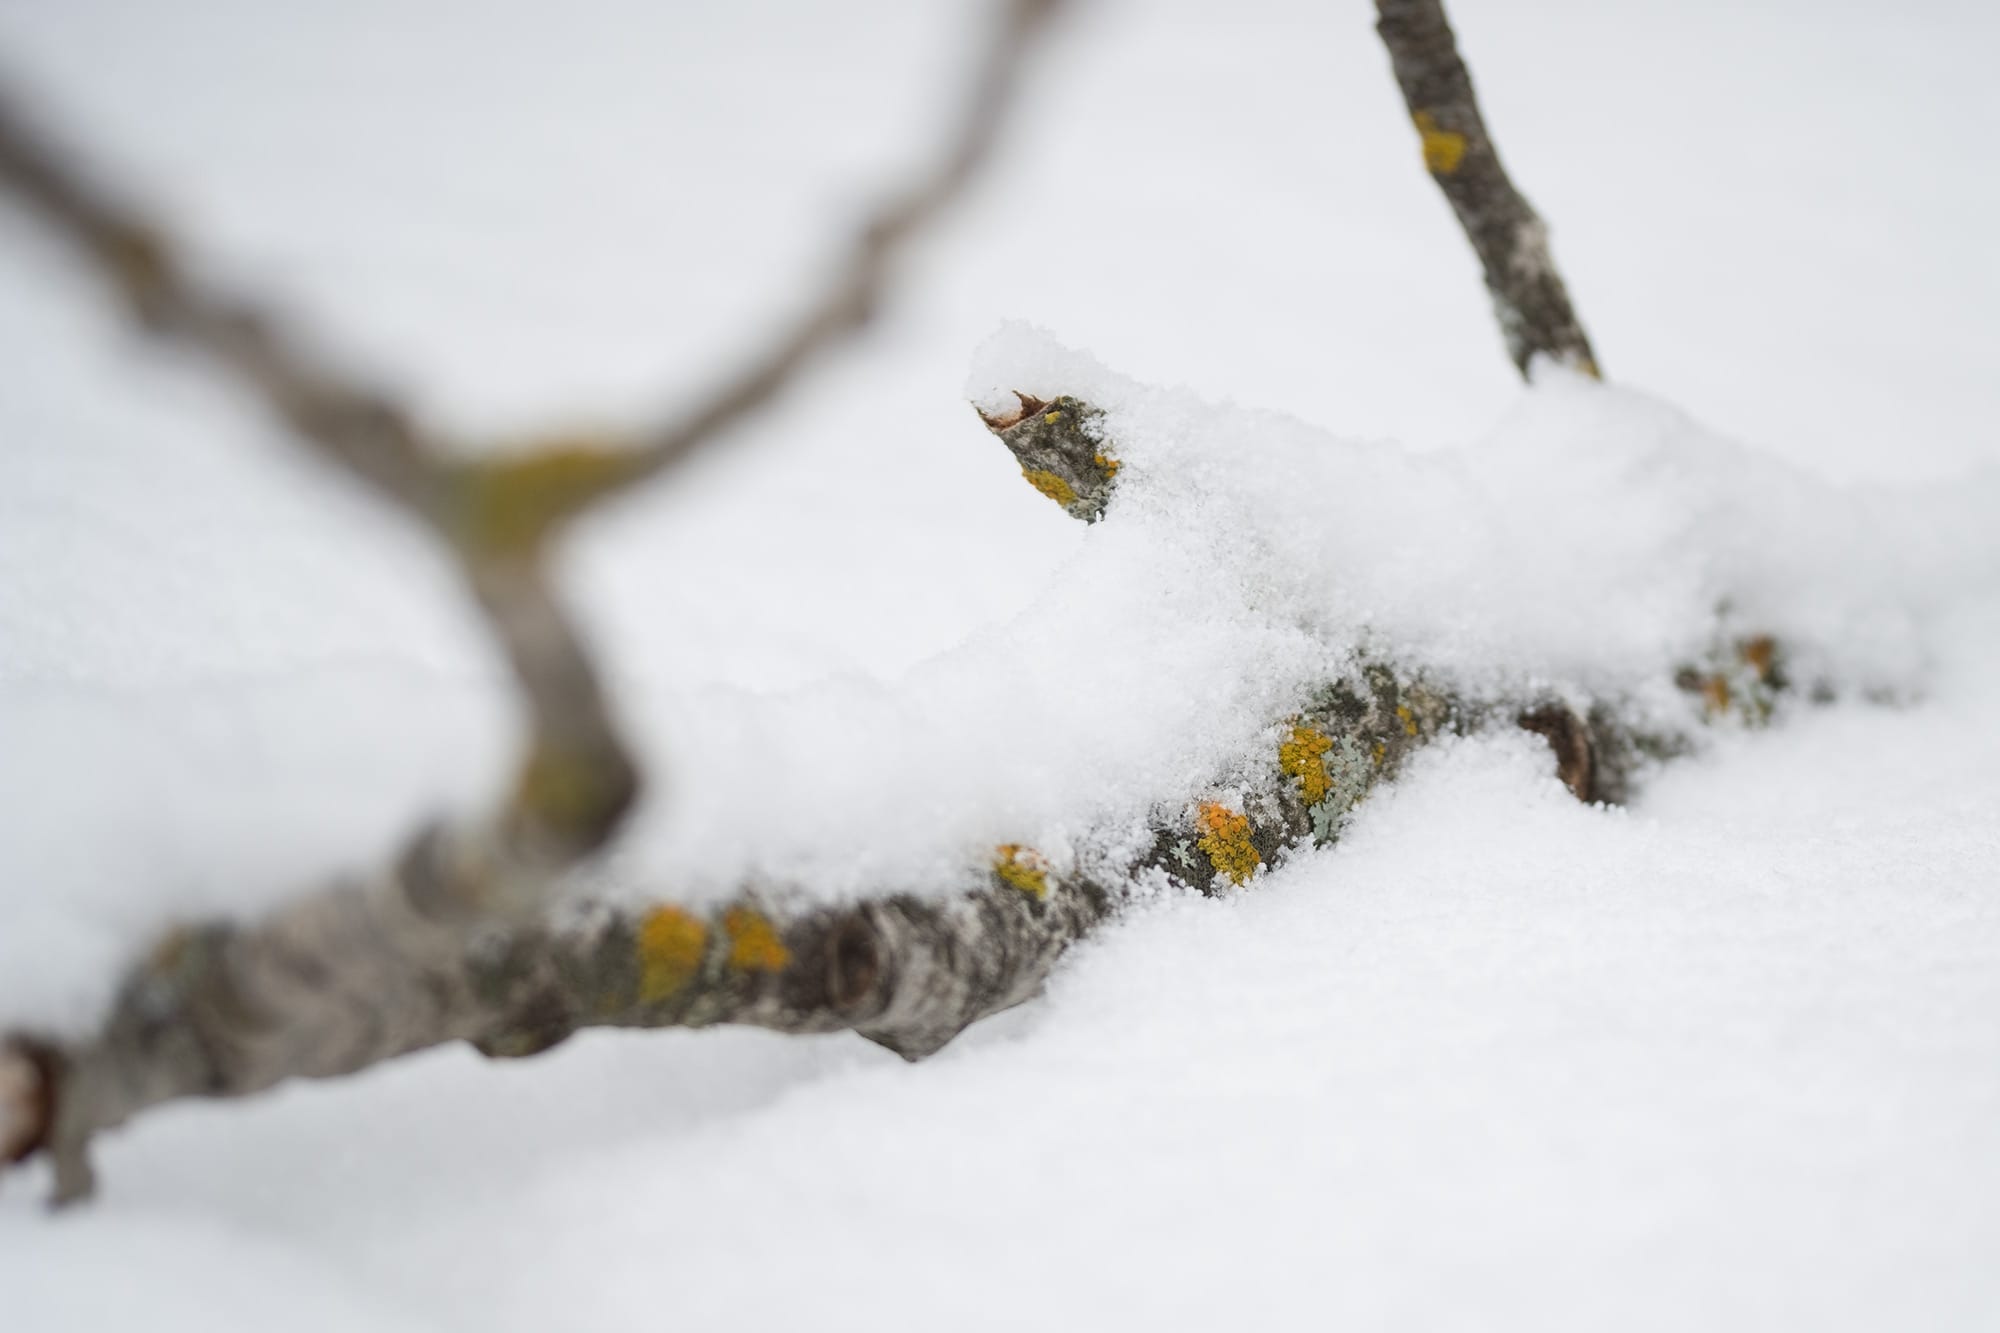
With the snow making its retreat, I'm also on the hunt for any branches that may have come down in that winter storm. The higher-up branches are perfect lichen nesting grounds, so, most often my lichens come from downed branches that I find on the forest floor. This branch here was peeking out with a nice bounty.
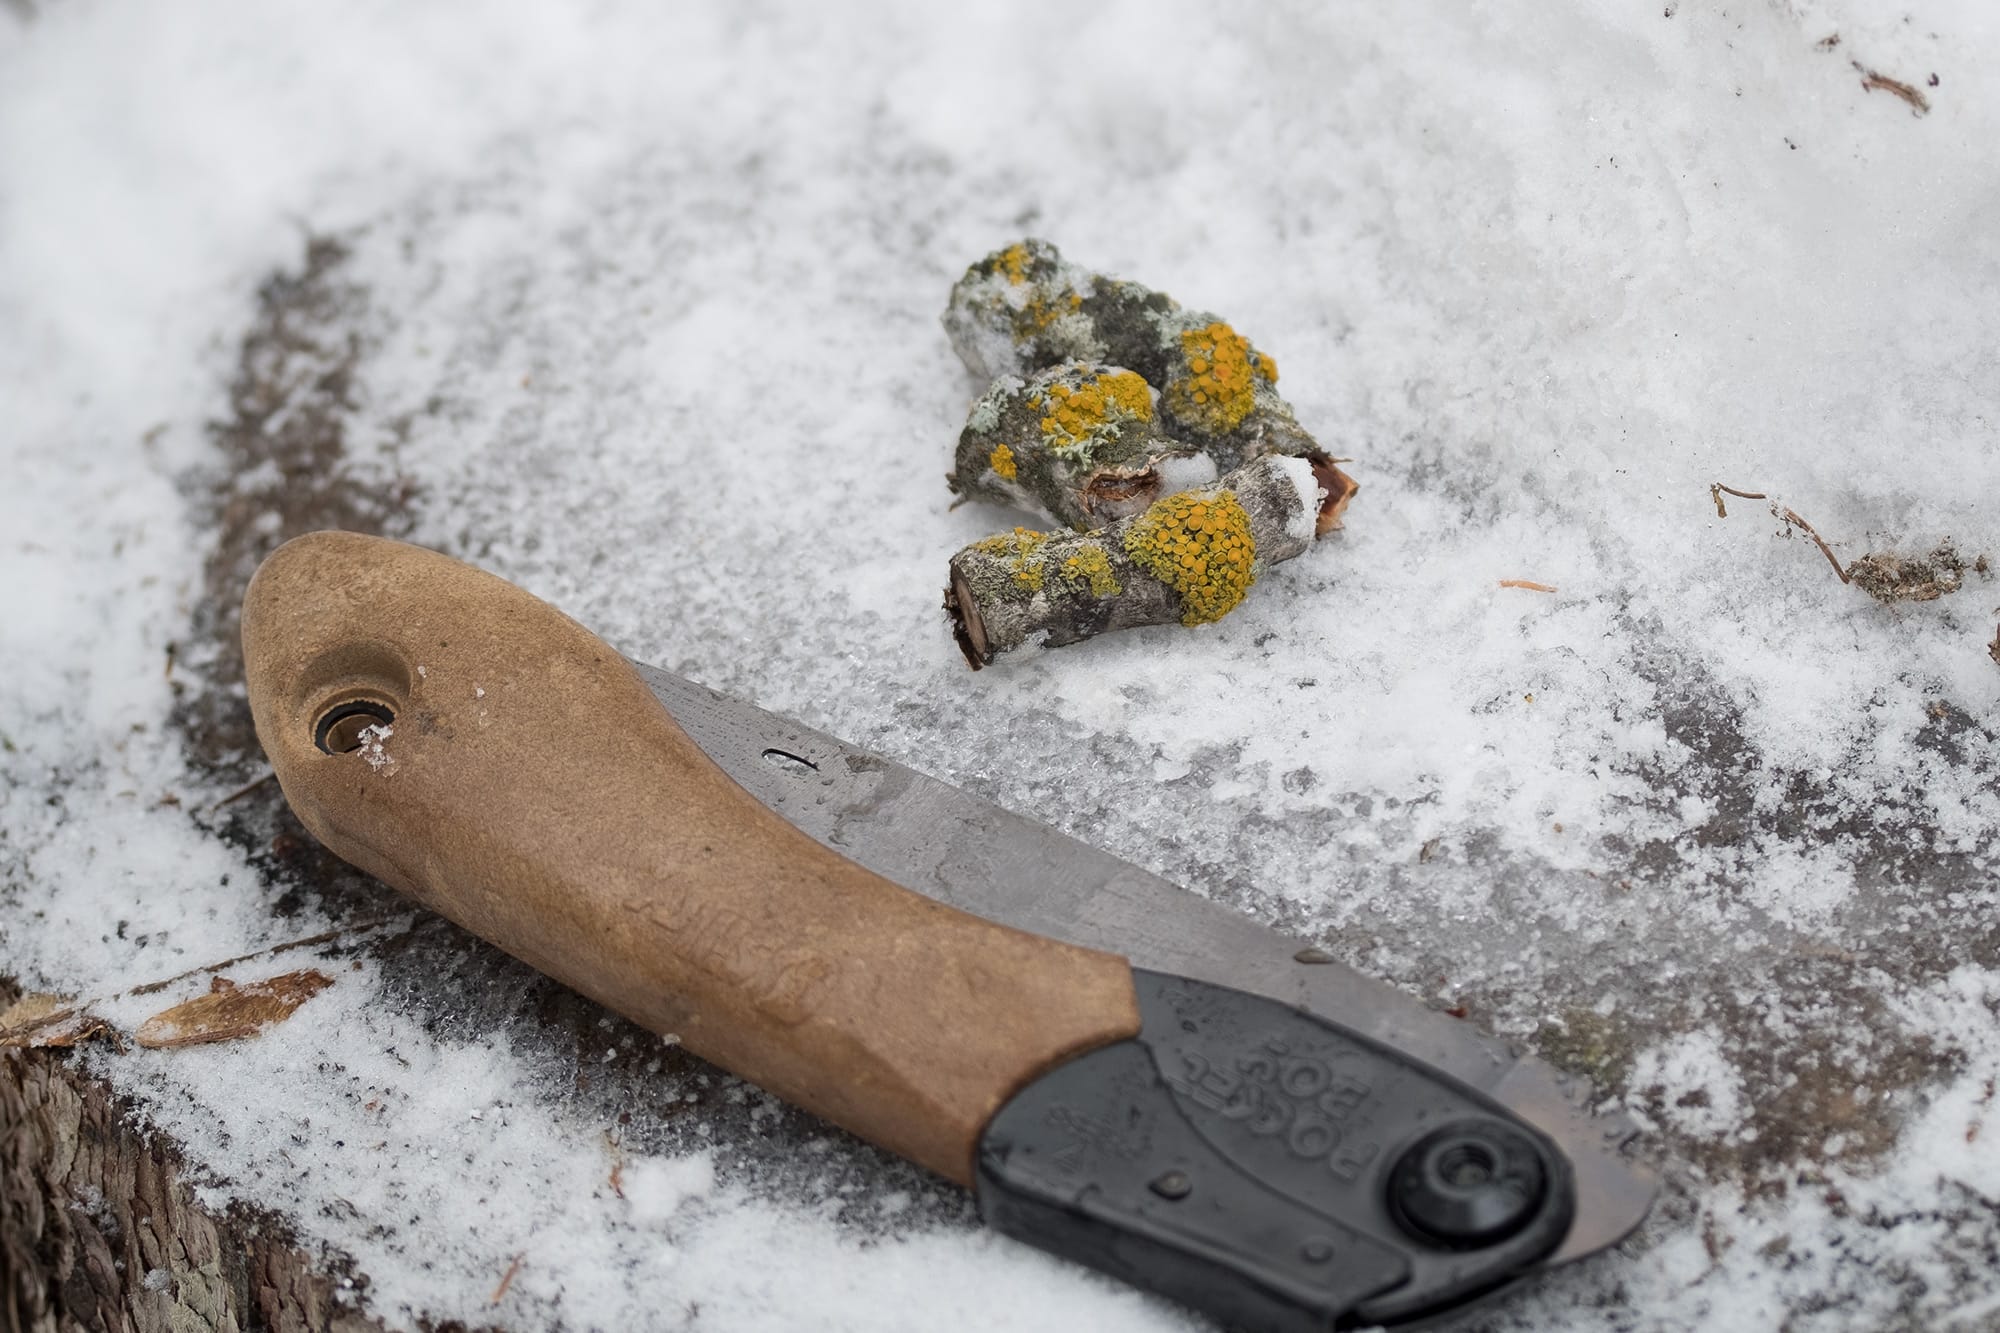
These yellow lichens will be stored away and used for this batch of Toads.
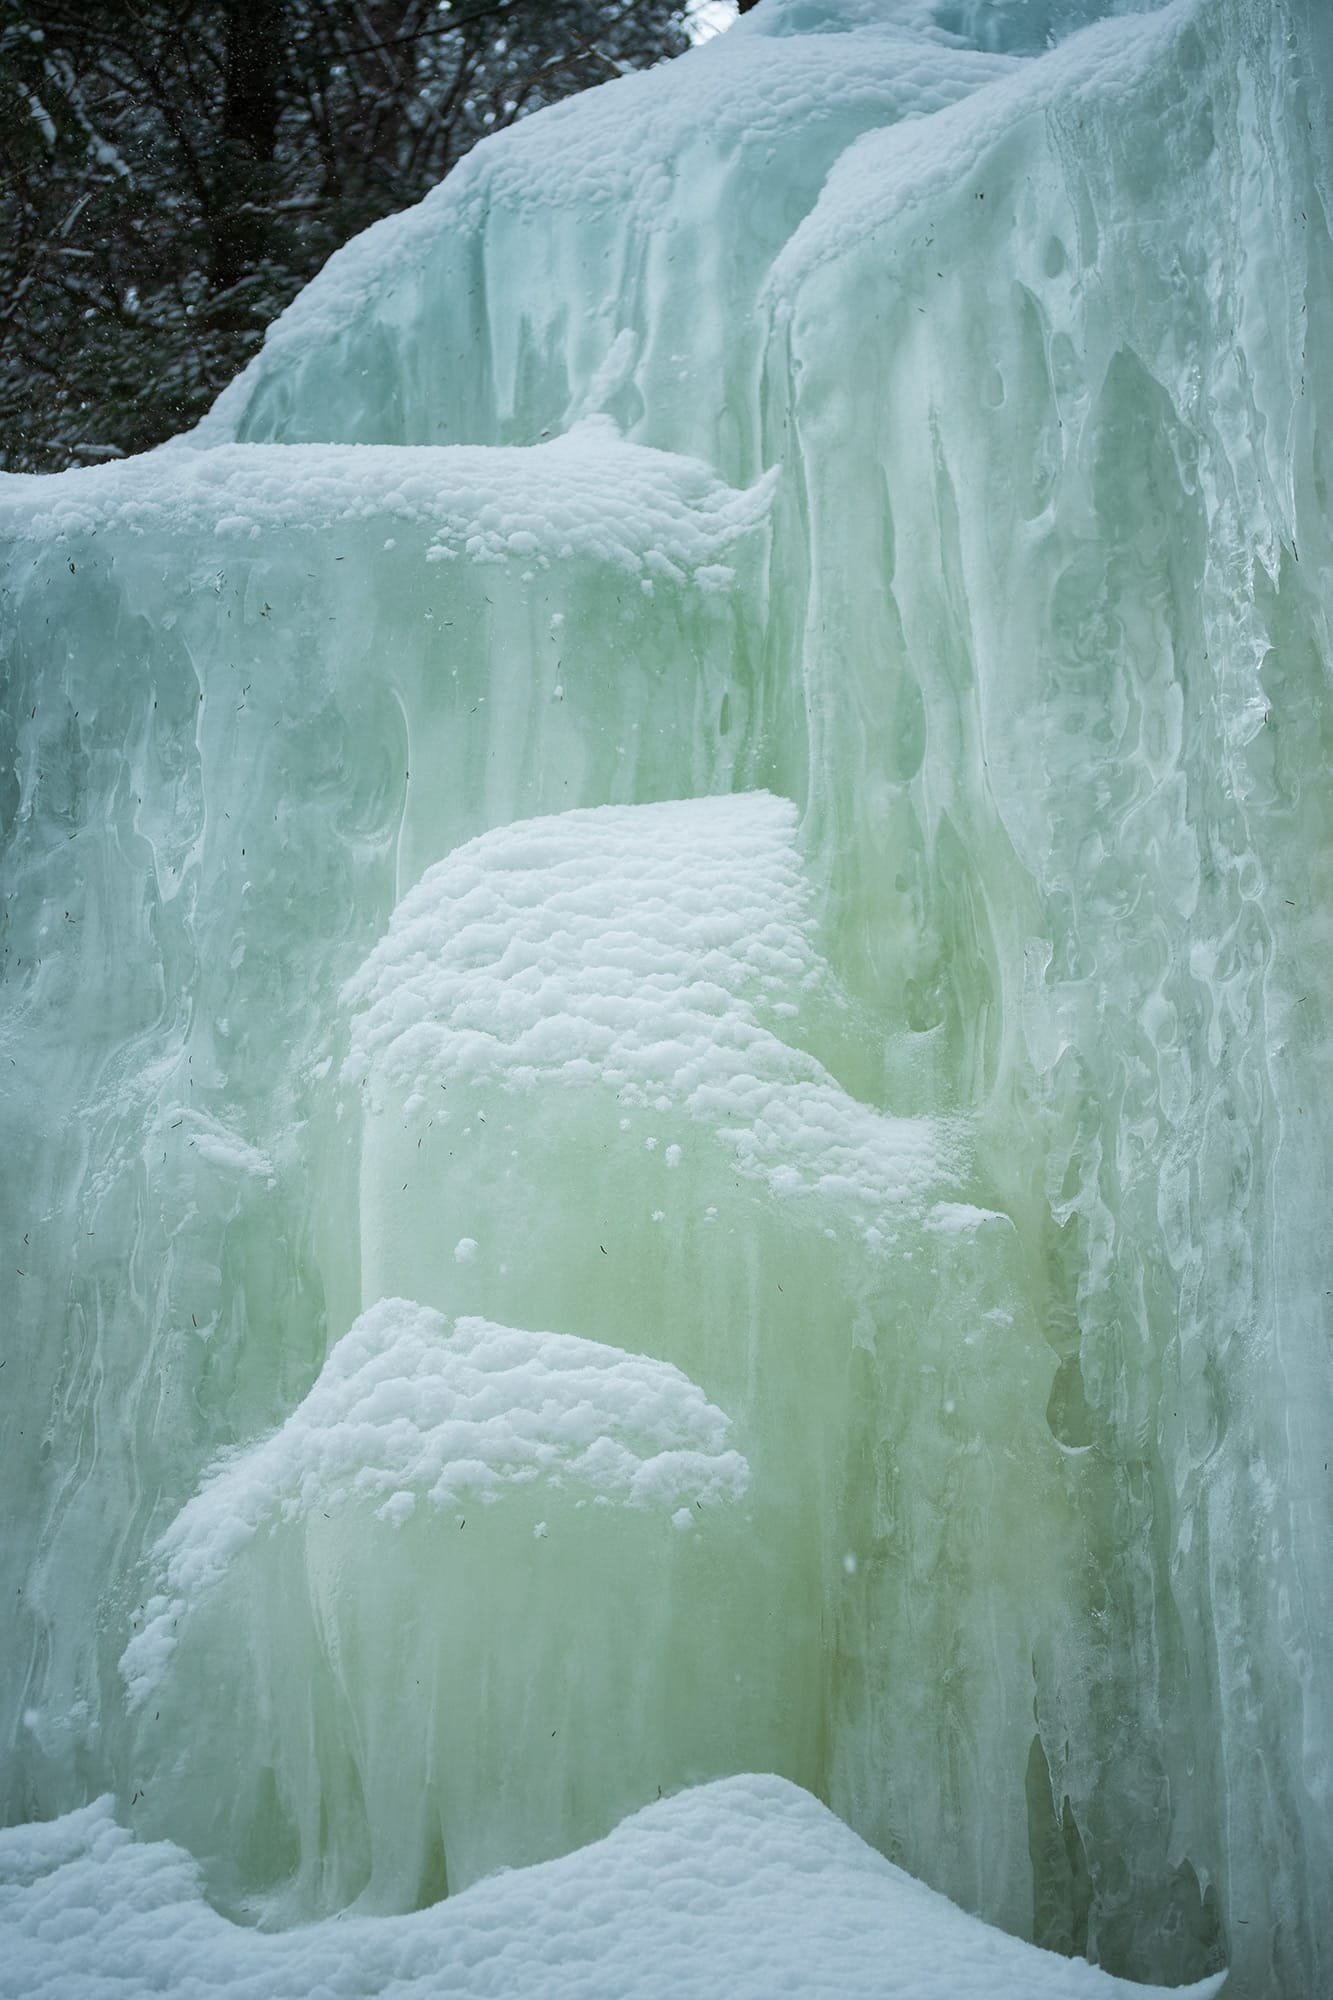
Not too far away, these ice formations were flowing down a cliff, lookin' like solidified bluegreen lava.
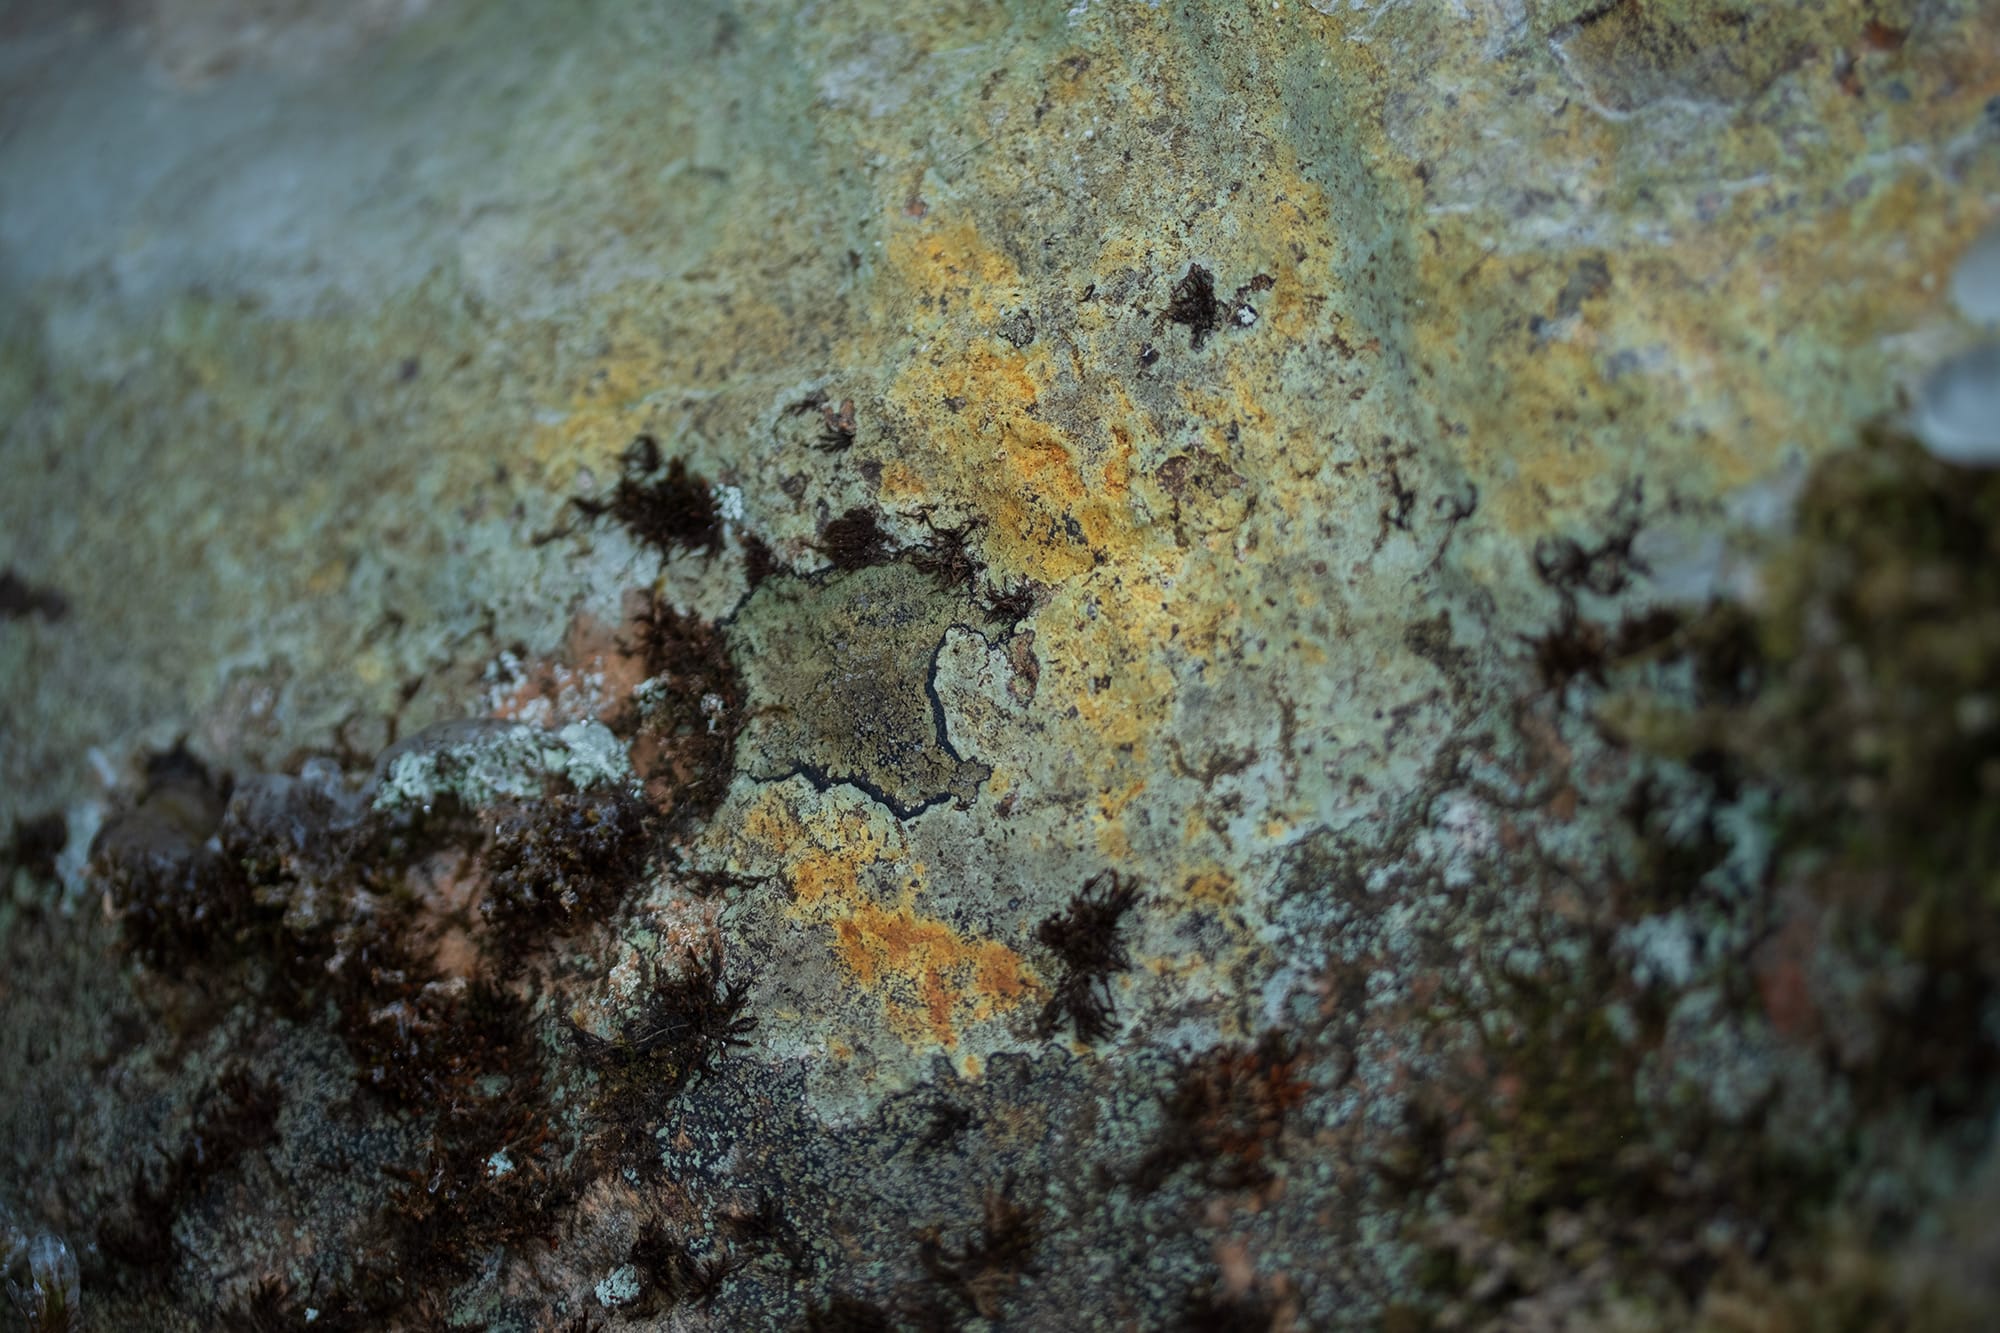
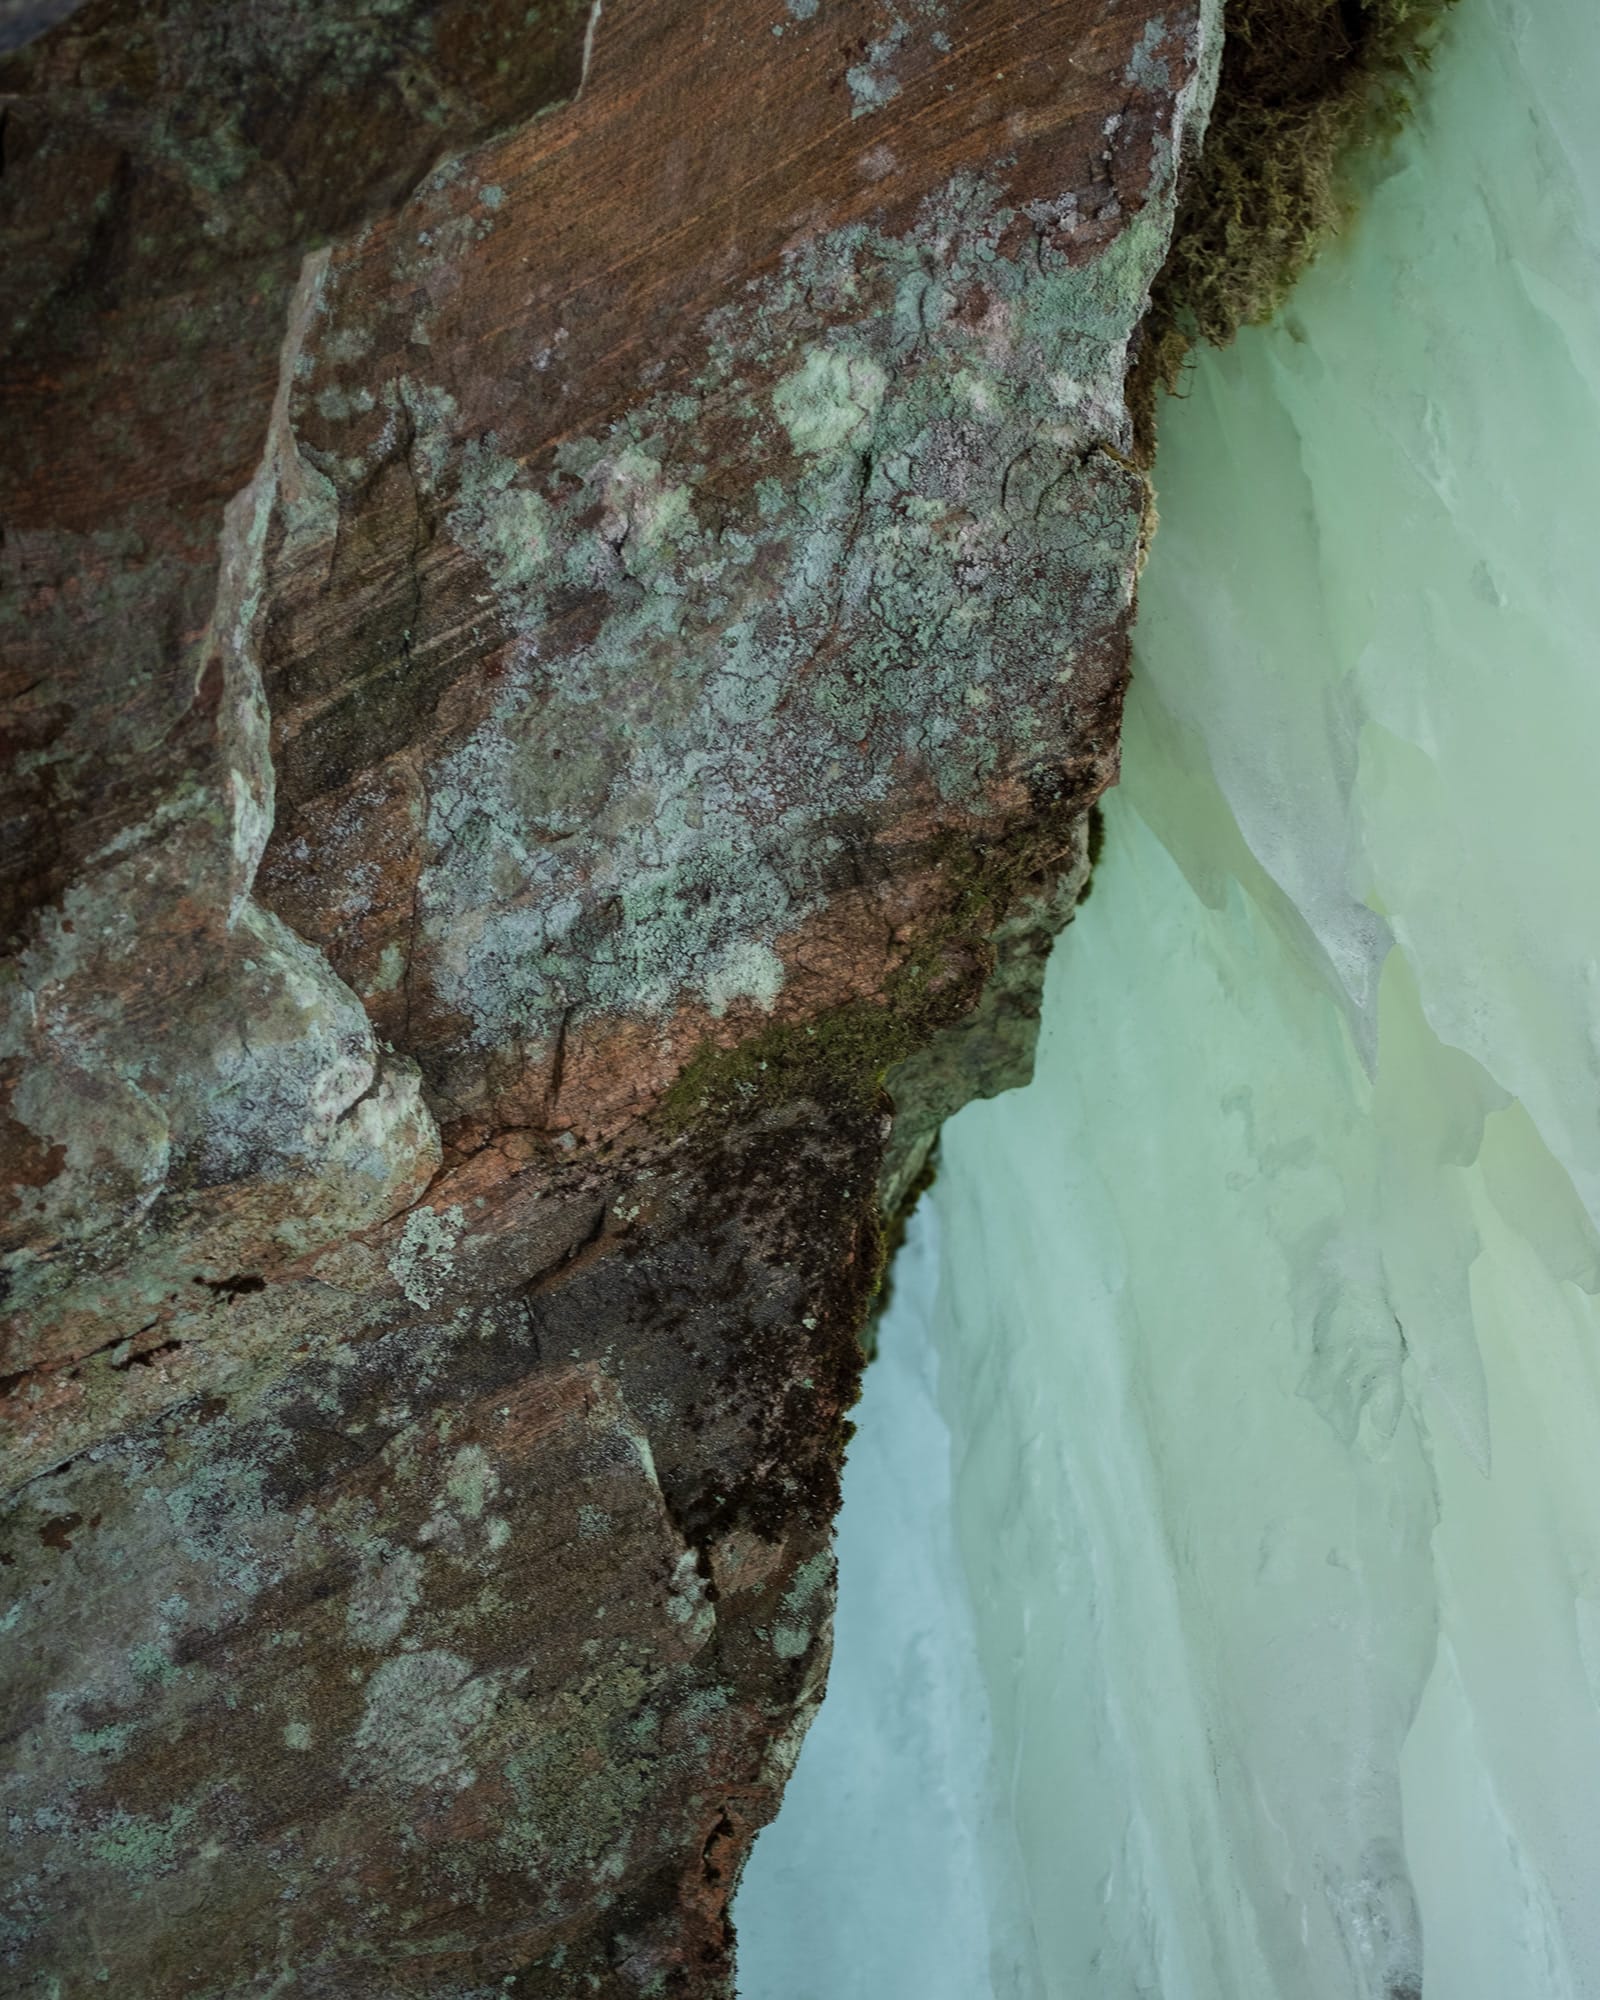
Many of the Toad designs are inspired by the neat things I find around here. I like to snap a few photos for reference. This cliff face gave up a few really interesting color swatches.
Behind the ice wall, everything was cast in an eerie greenish light.
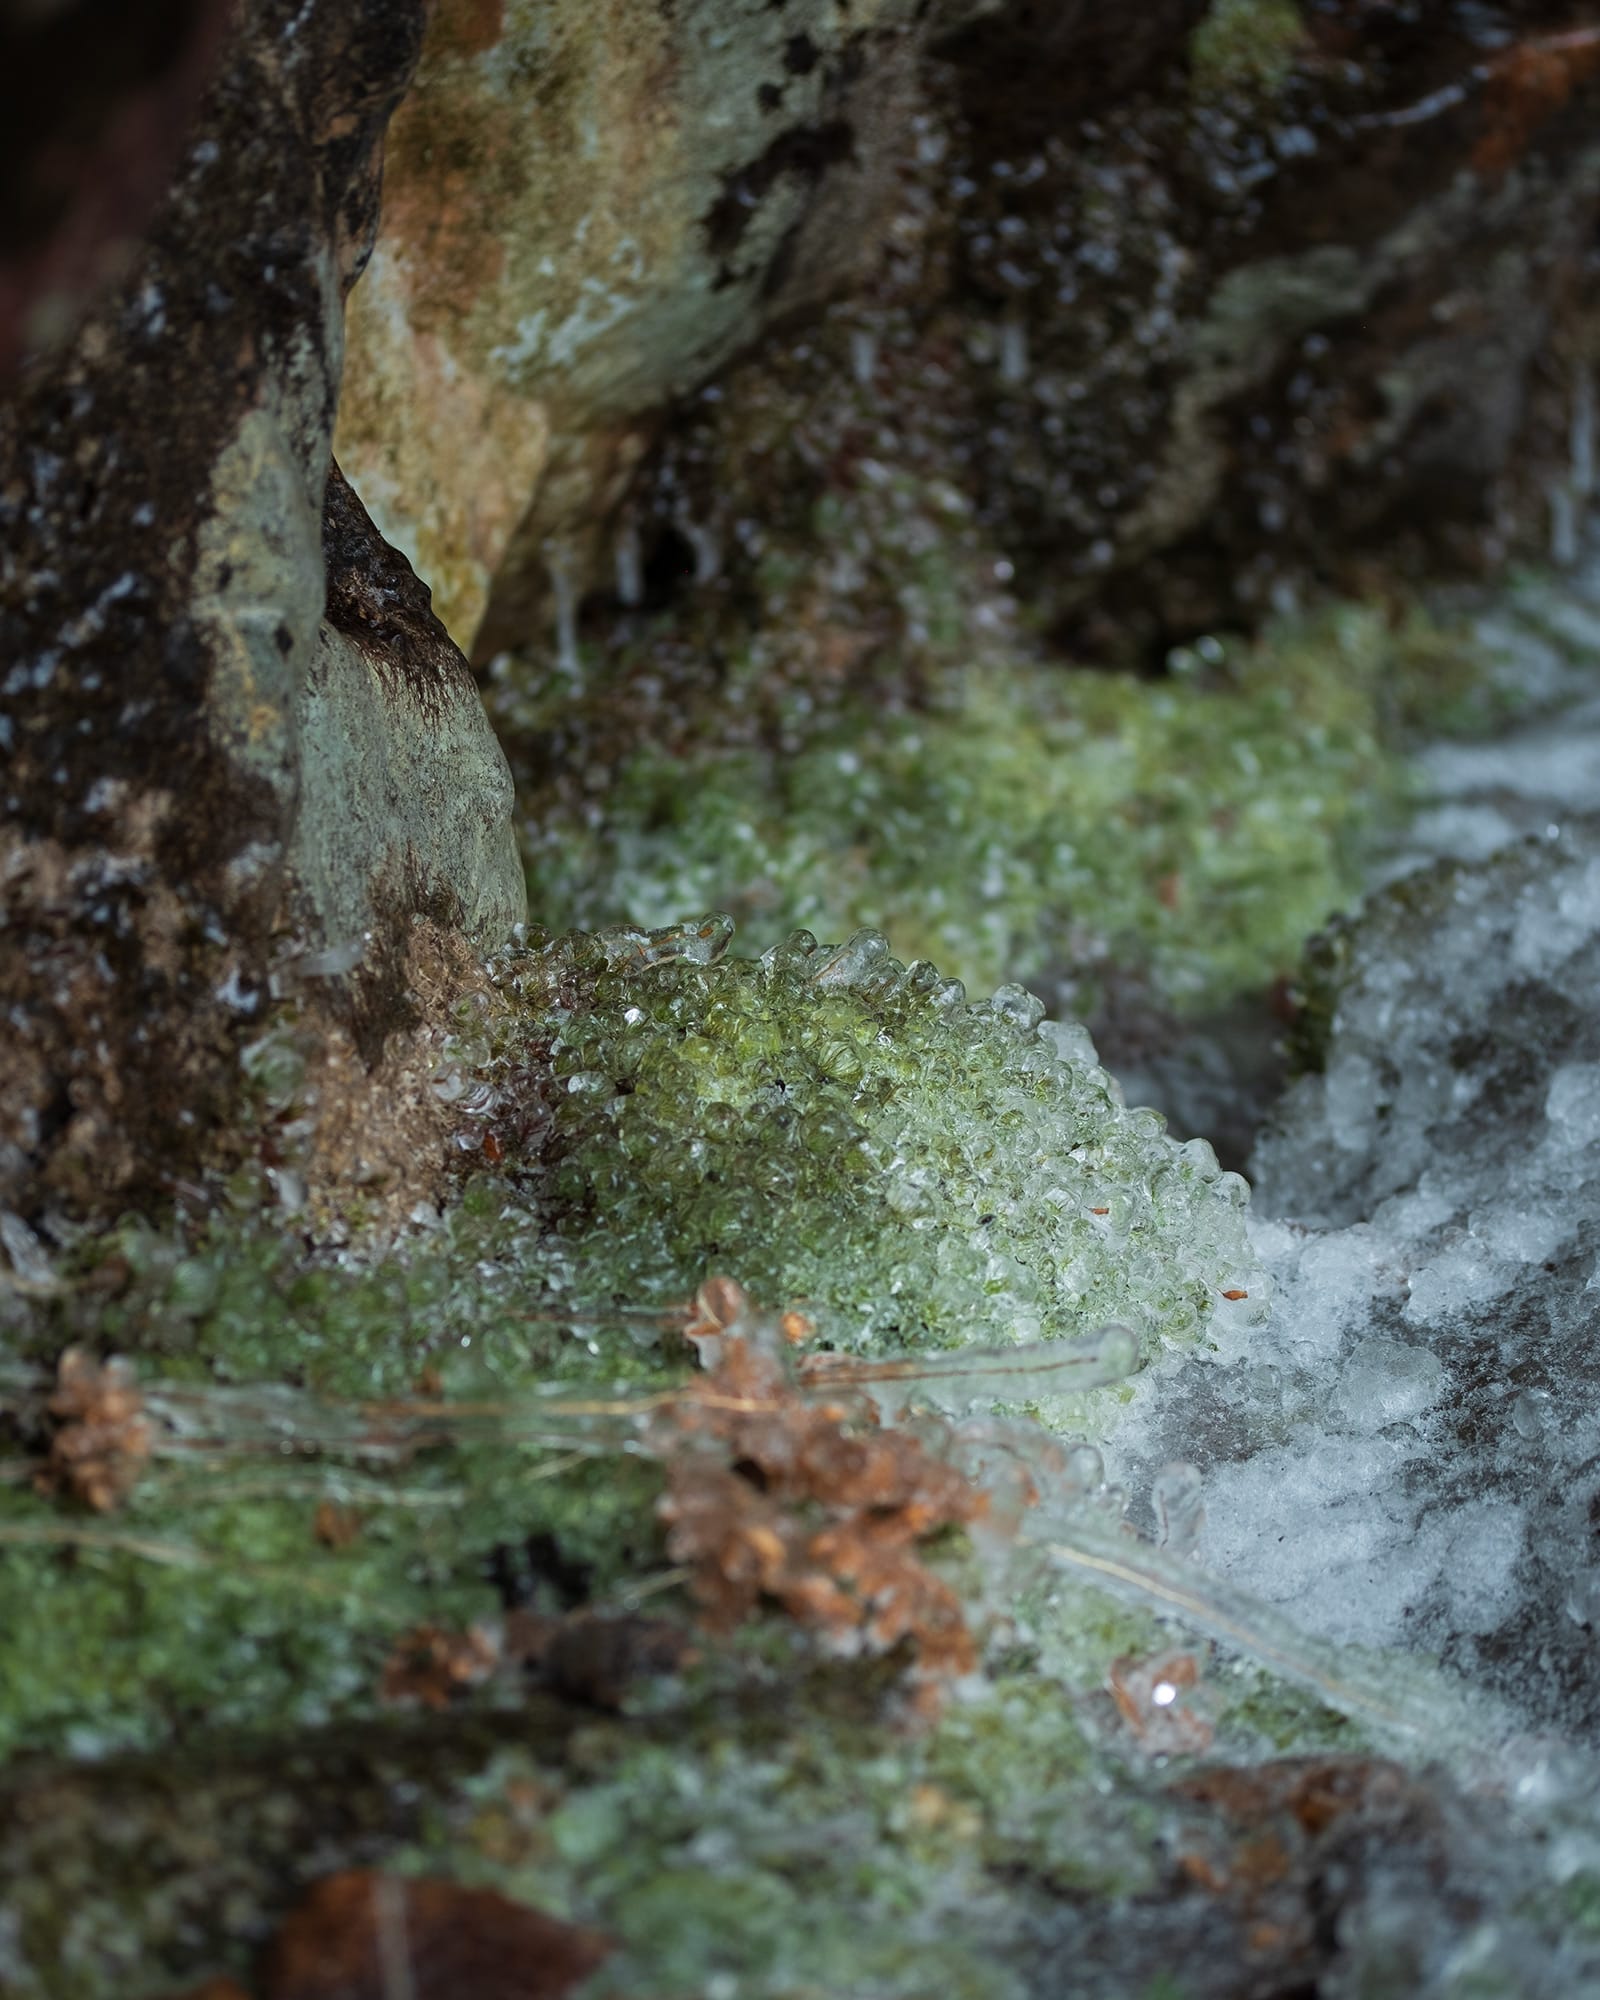

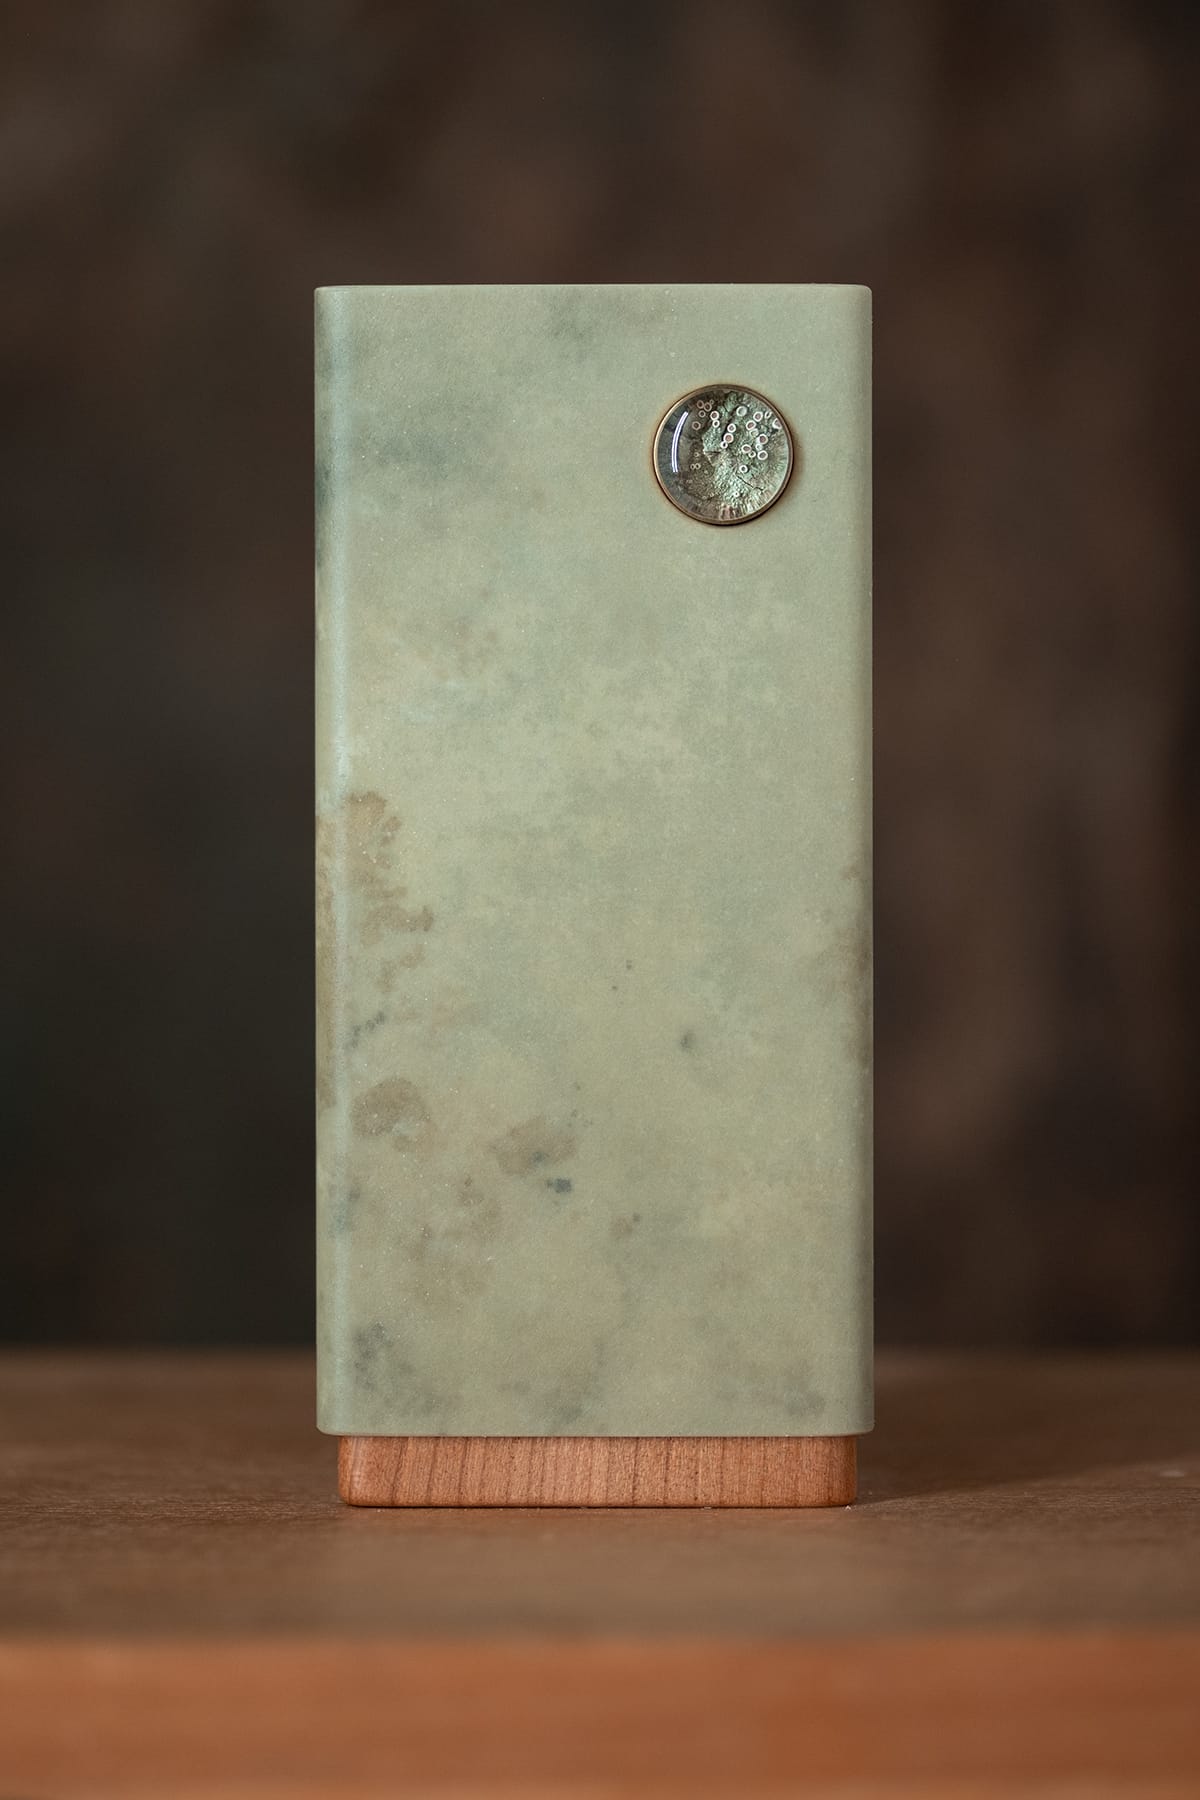
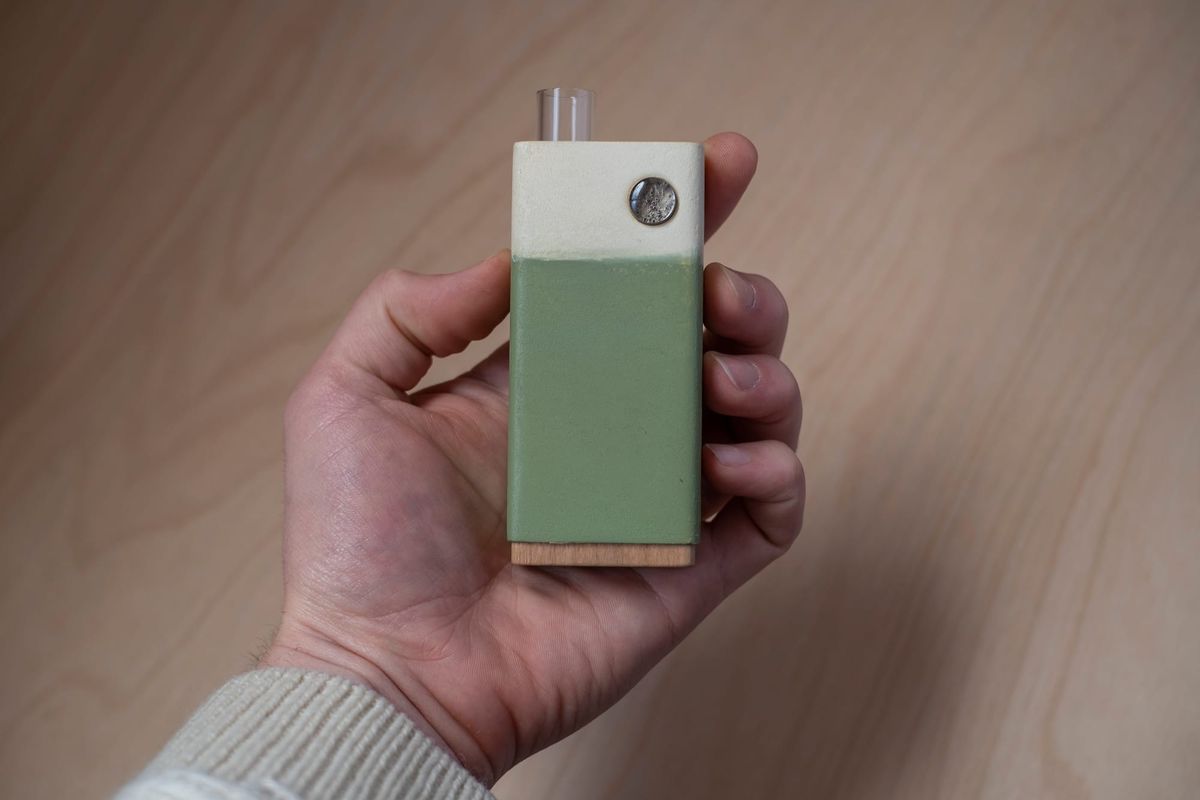
This is a nice example of a design that was inspired by these sorts of natural formations, I think the vibe carries over quite nicely.